It’s cold in Michigan again, so that means outdoor work is done and back to the Jag I go!
My dad was doing some sandblasting this week so I brought over one of the starfish wheels. I have four clean wheels I want to repaint to match.
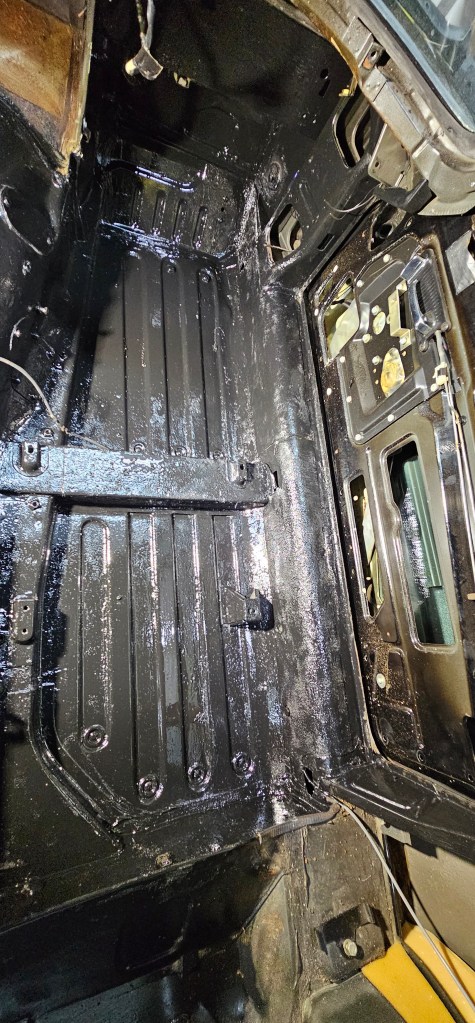
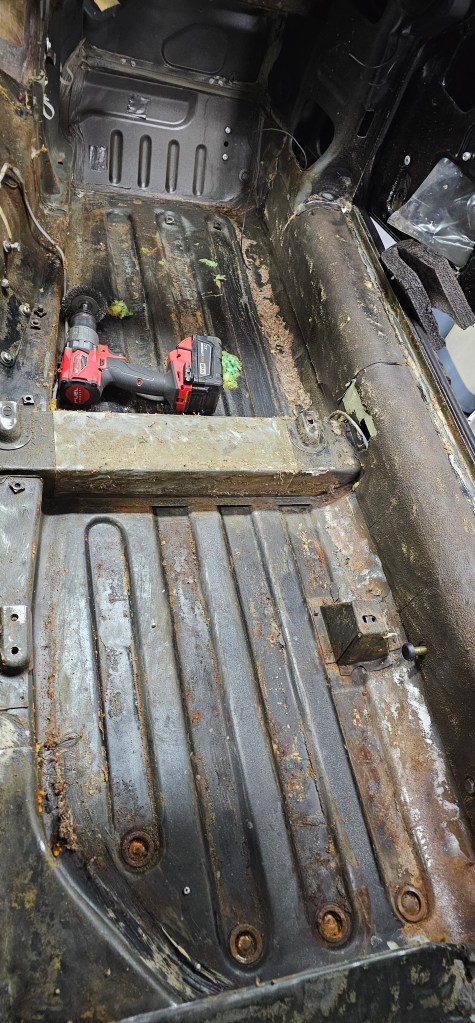
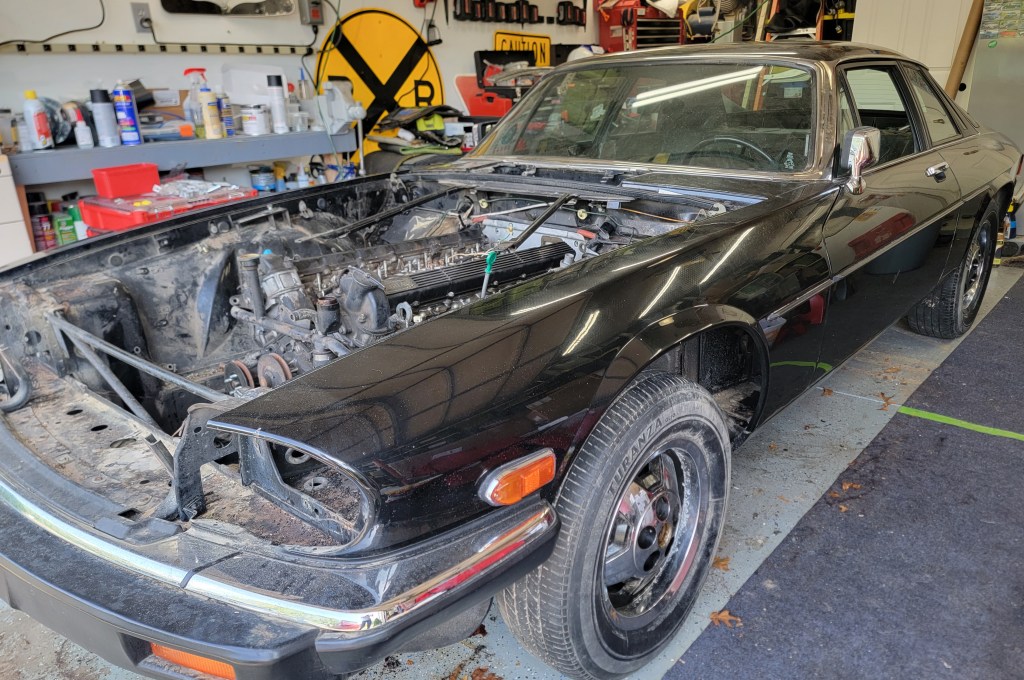
Back on the car I managed to get the passenger side cleaned up and a sealing coat of paint on it. Next up is adding in wire loom, figuring out as much of the “boot to bonnet” wiring runs as I can (adding a pull string for the ones I forget down the road), and then installing carpet!
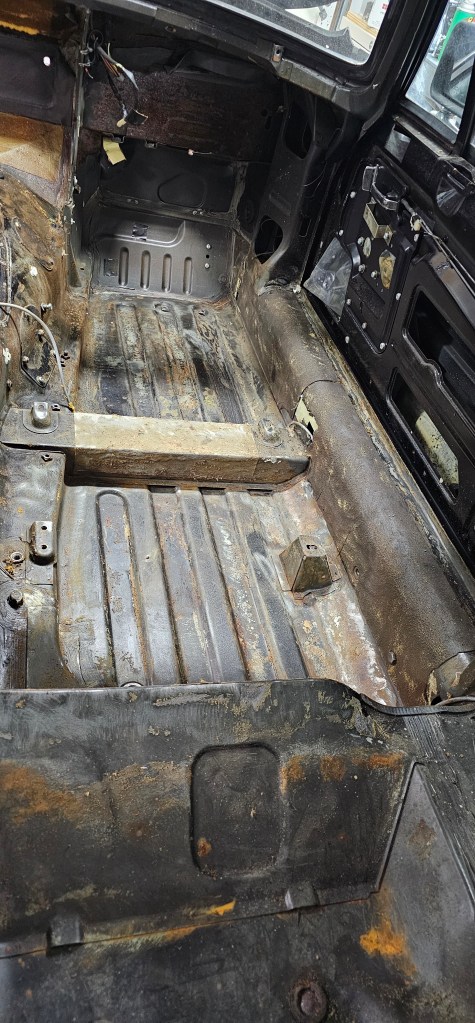
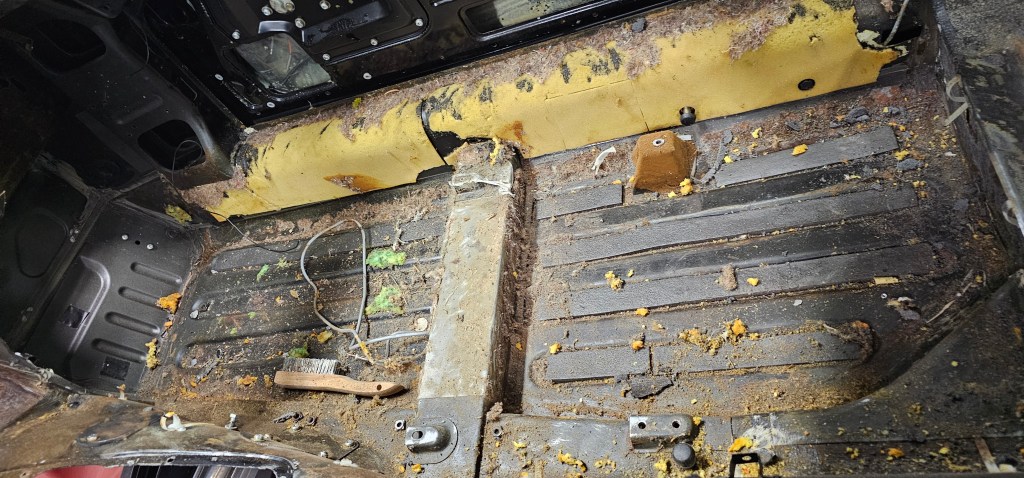
It’s been a nice summer in Michigan and the car has taken the back seat (pun?) At any rate I do plan to resume working on this soon. I did do some cleaning of parts over the summer, removed what I think is the last of the mice nests. I hope to order carpet soon and start getting the interior back together.
The more I dig into this car, the more I find where the mice lived.
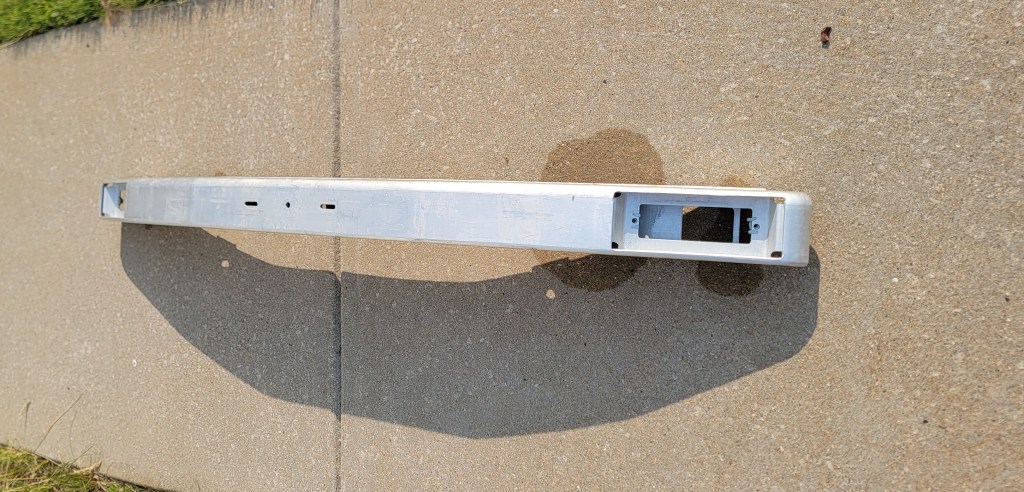
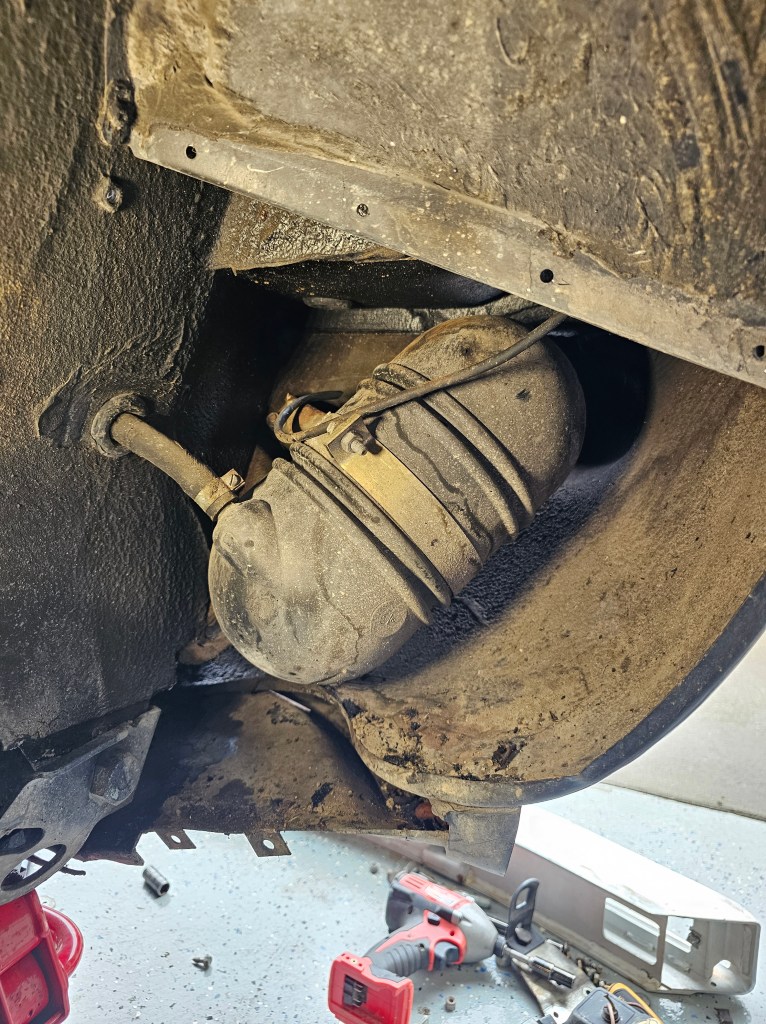
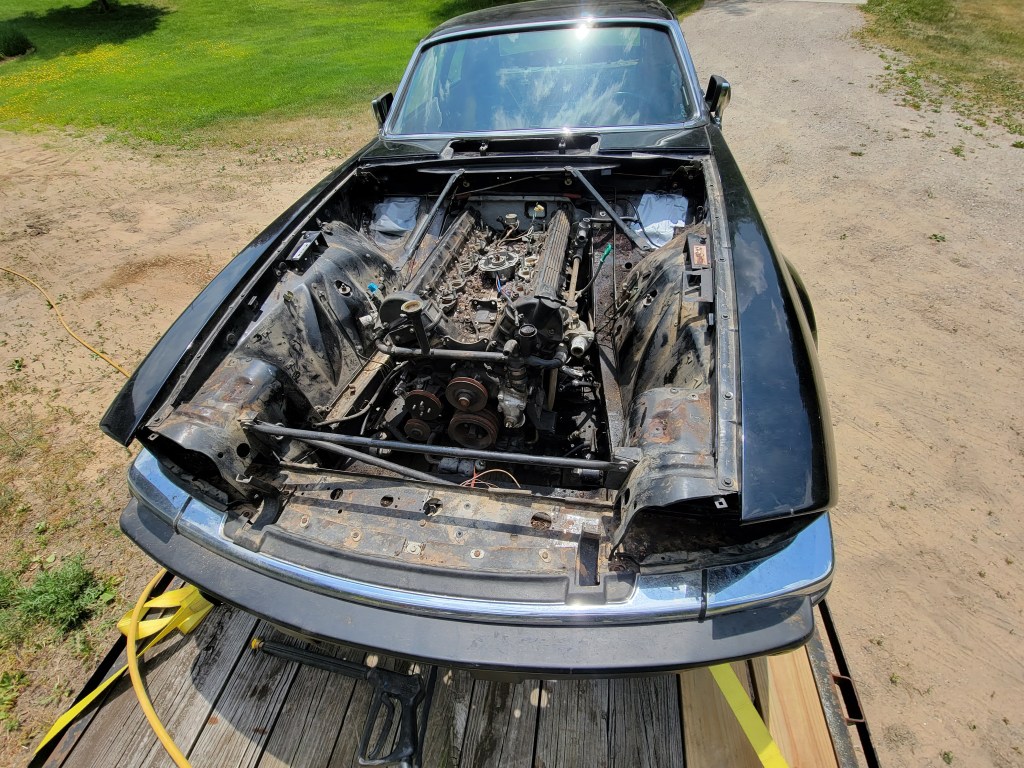
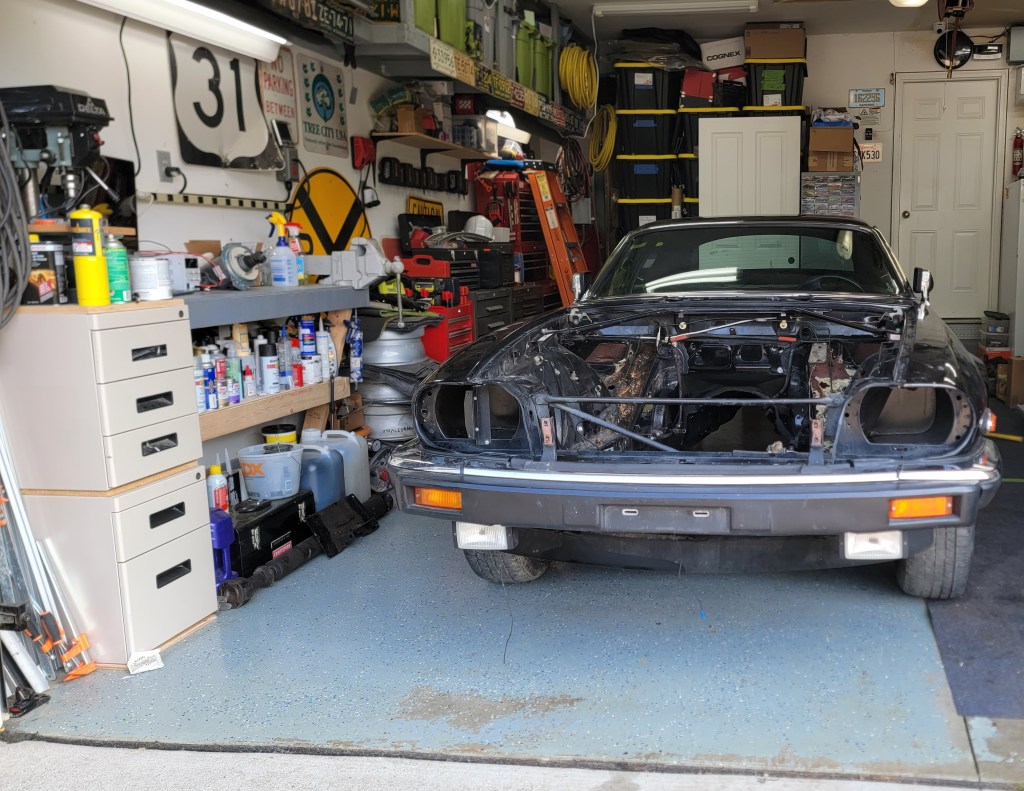
When we pulled the engine out I discovered there are frame-rail like boxings that go from the engine bay all the way back. Mice gross in there. I need to flush it out, but I need to expose some inspection plates to do so. In the process of figuring that out, I learned the bumper is hollow-ish and also if full of mouse gross.
So off the bumper went and I power washed it inside and out and now it’s clean.
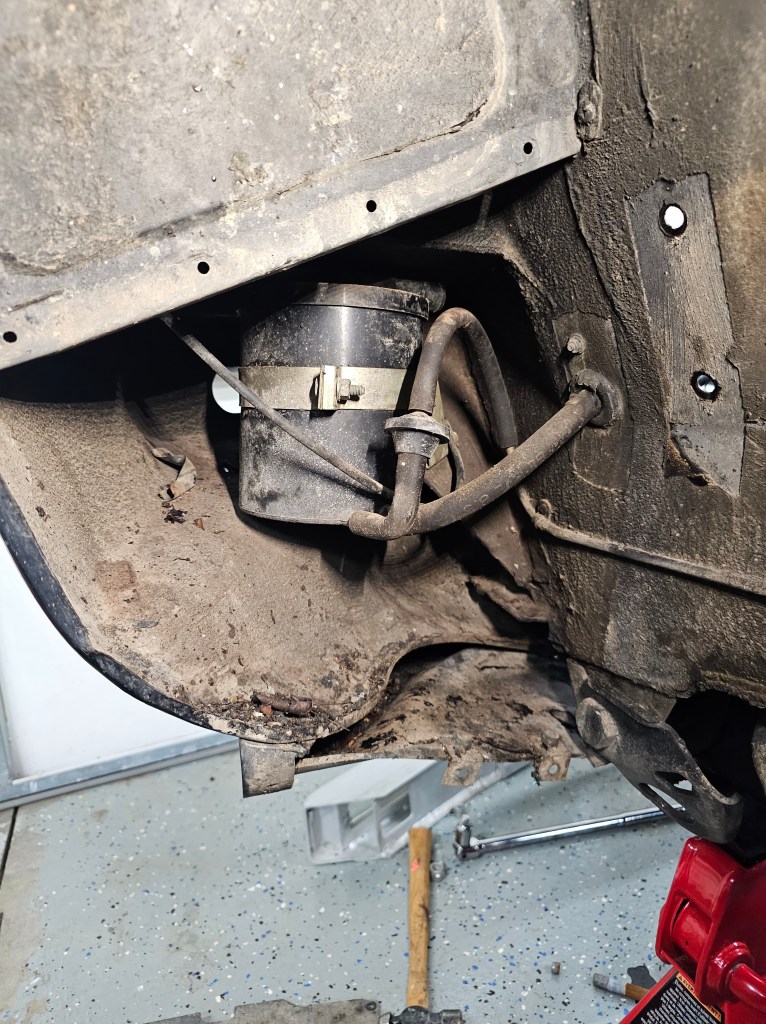
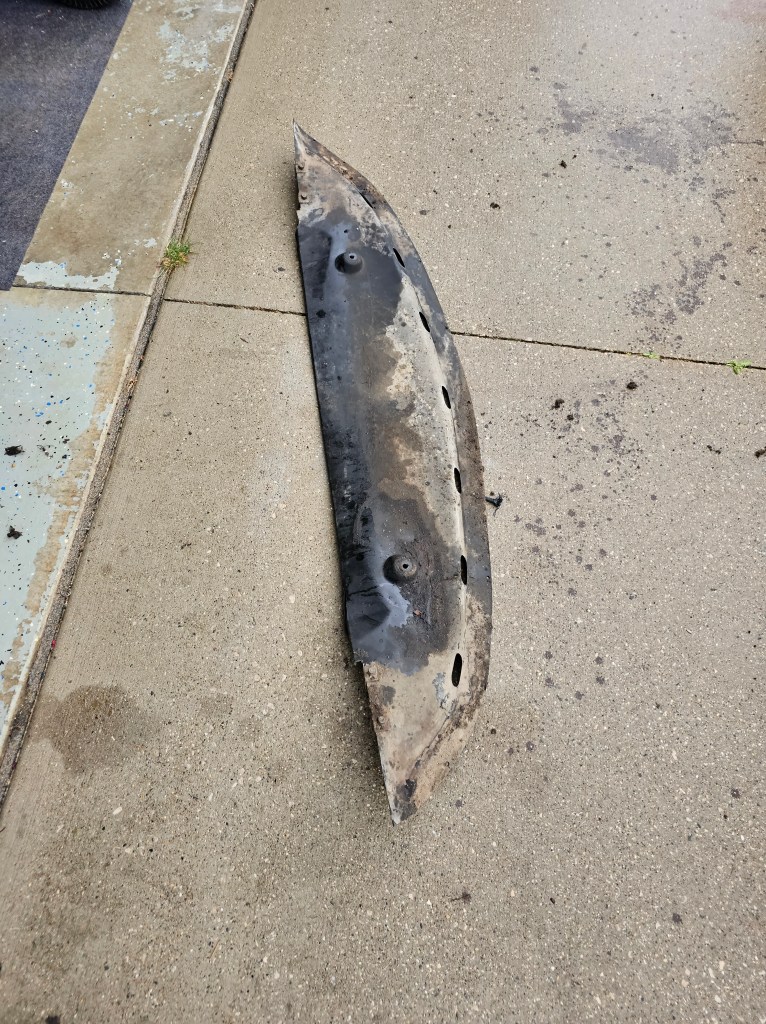
Next up was this plastic air dam in the front. It was attached from the sides and I needed to drop that down to see how much was laying in there. To my not-surprise, I found two access panels in the wheel wells I had not taken off…and guess what? More random Jaguar bits were installed behind these. Literally every panel I remove has some sort of can or module.
After this was done I was able to pull down the air dam, which wasn’t as bad as I thought.
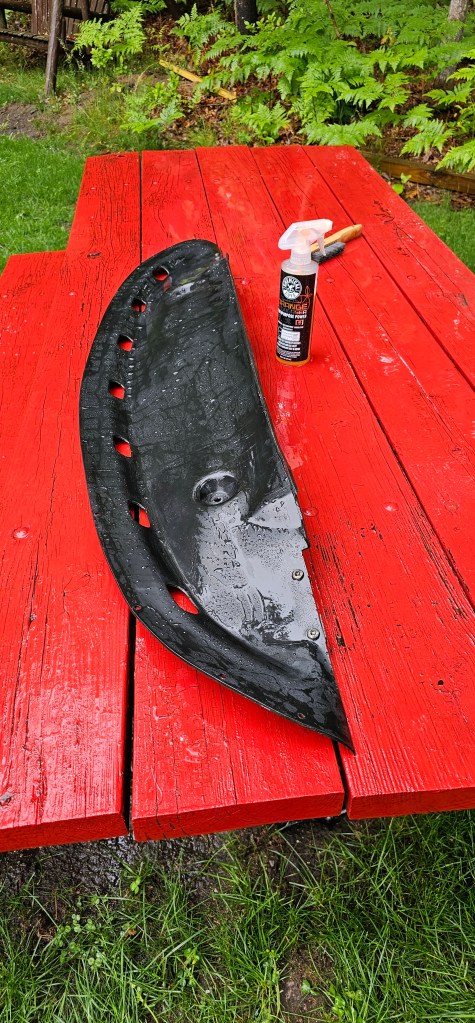
And with a little Chemical Guys magic, it’s clean:
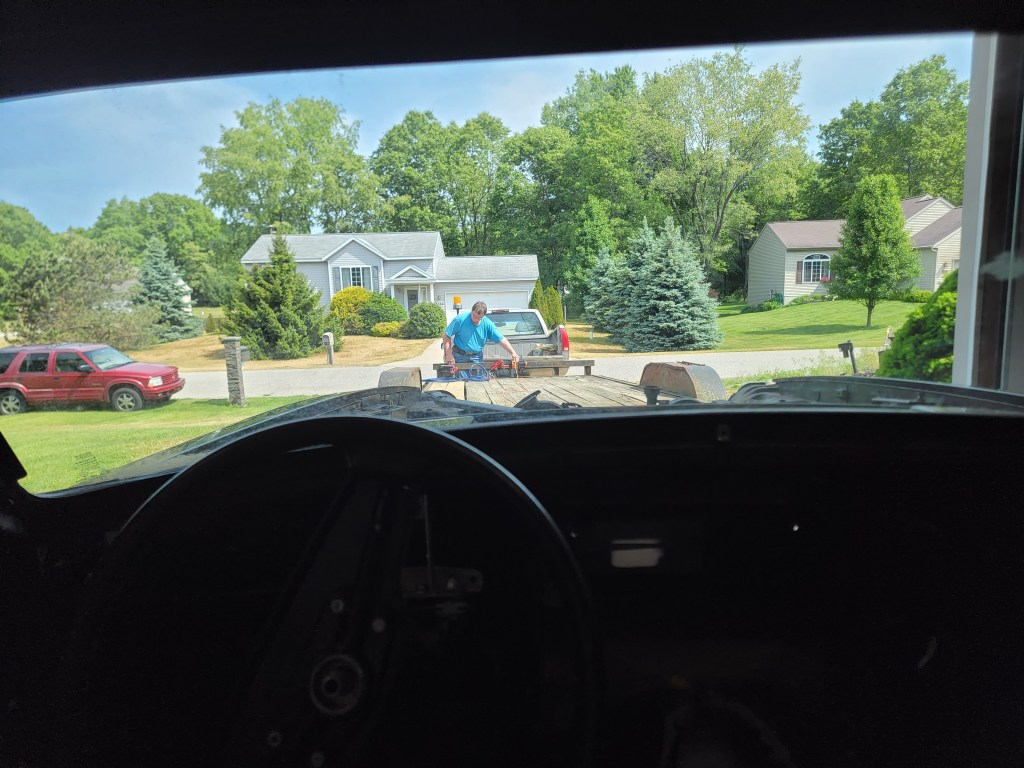
A little late in posting this, but here we are! The V12 is out!
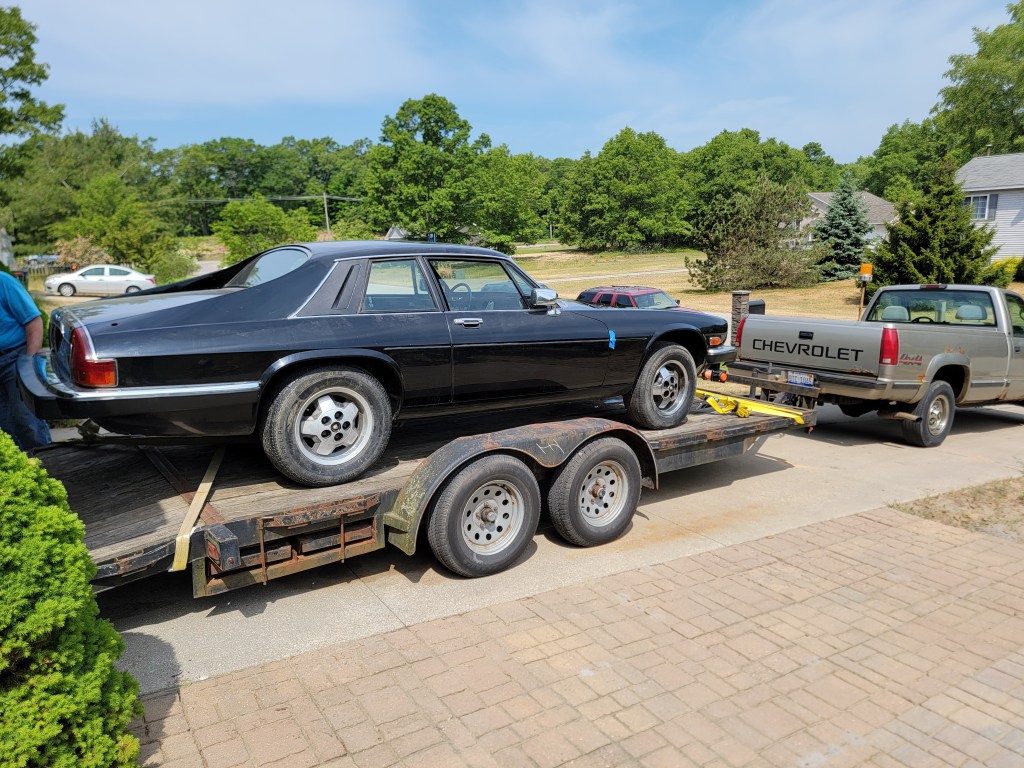
I’m sitting in the driver’s seat while dad is engaging the winch. My driveway is on quite an angle, so getting the car on to the trailer wasn’t all that hard as the trailer ended up being nearly flat when against the driveway angle.
Loaded, strapped and ready to roll…
First task was an initial power wash to get more mouse grossness out.
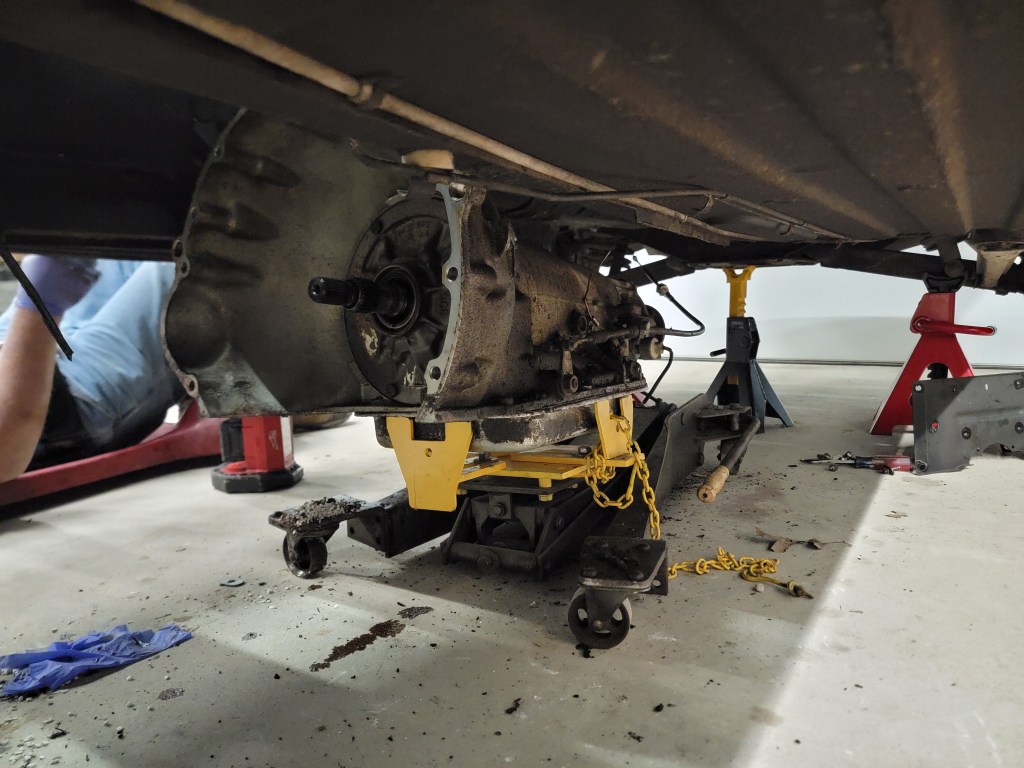
Next is to pull the Turbo 400 transmission
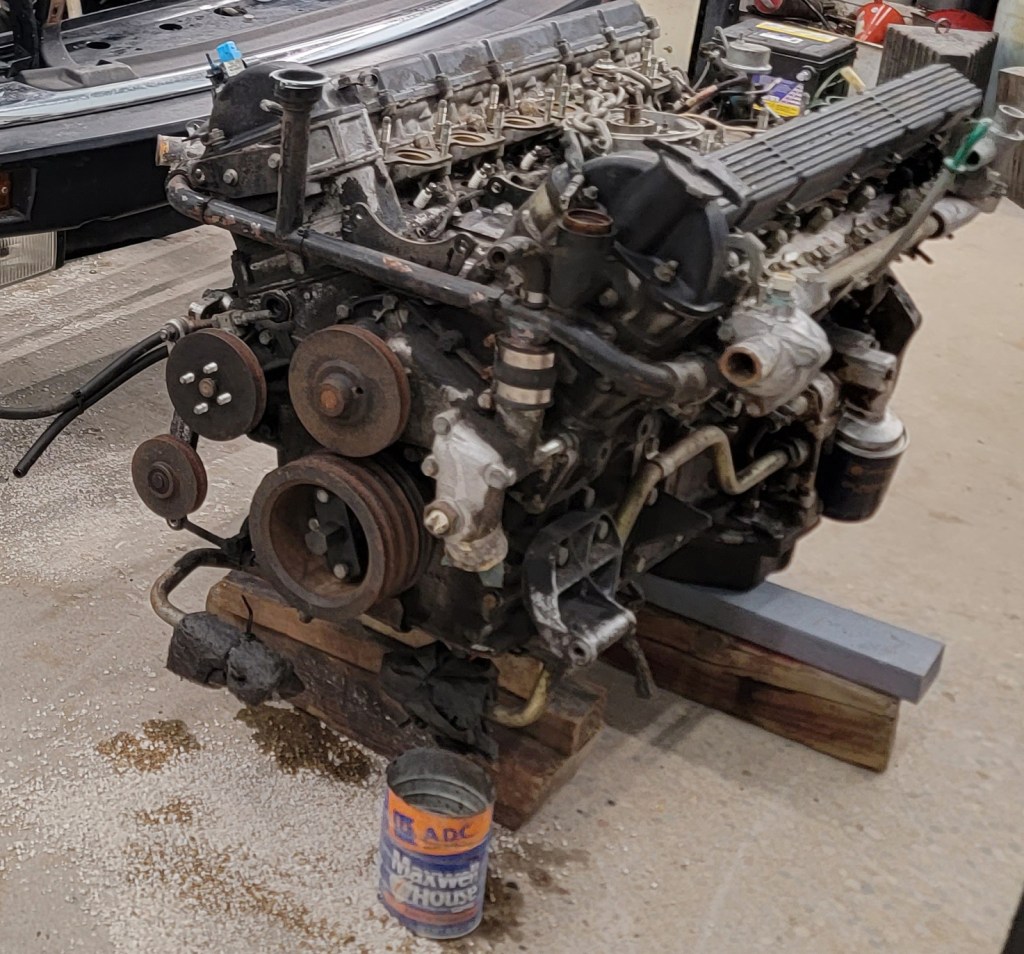
Engine crane is attached and ready to rip!
It’s out!
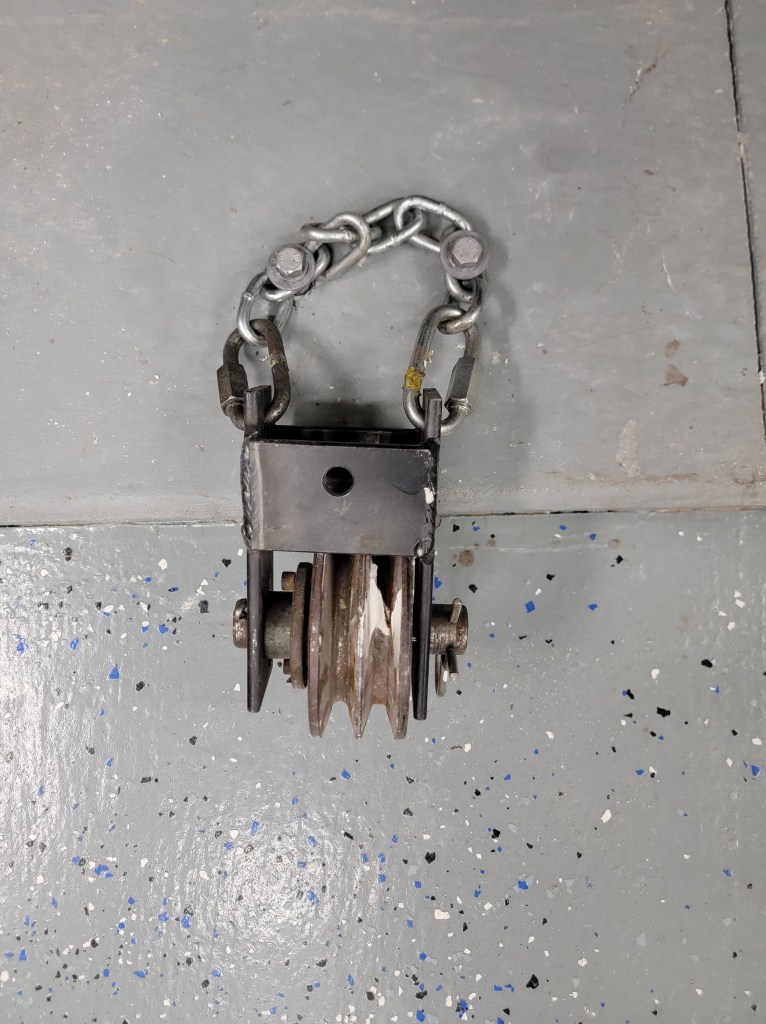
Back in my garage, we weren’t so sure getting the car off the trailer and back into the garage would be that easy – mainly because of that driveway angle was now no longer in our favor.
So, I bolted this block to the floor to loop the winch rope through and pull the car into the garage from the trailer.
Quick update. The car is back on four wheels as I’m taking it to my folks’ to pull the engine and transmission out! Then a power wash and we’ll return it to begin the conversion!
Hi there! I’ve been pretty busy with family and work so I haven’t had much of a chance to work on the Jag. But here’s a few updates:
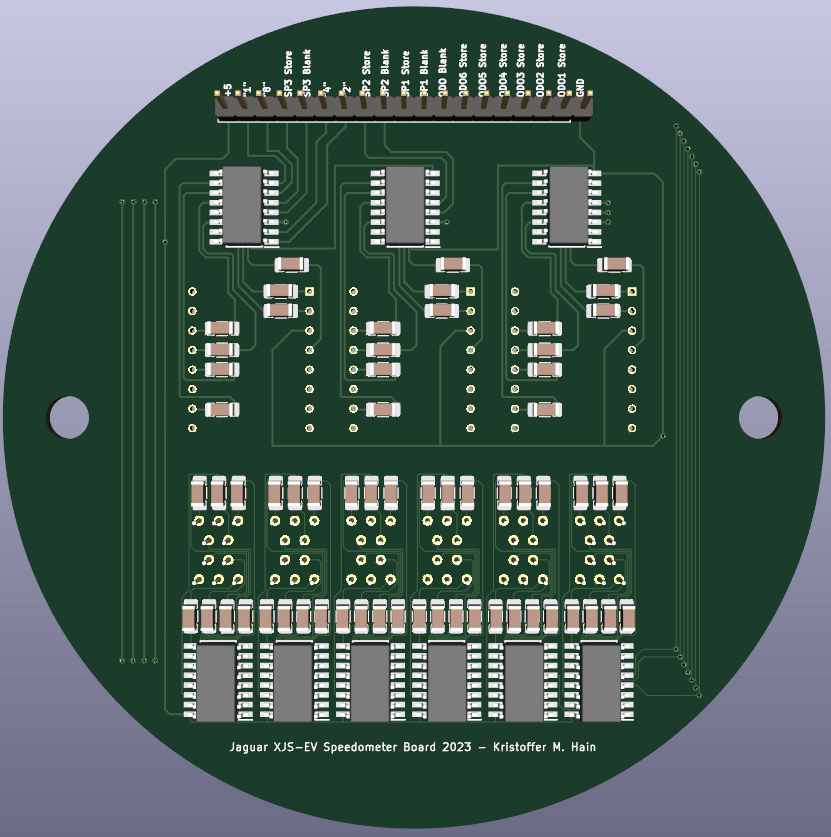
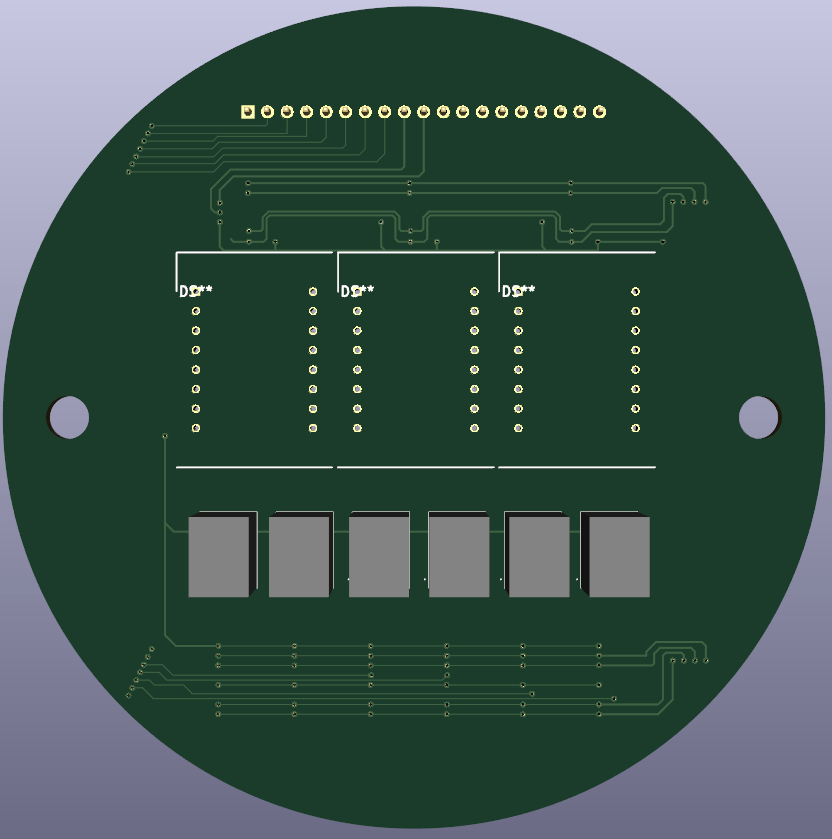
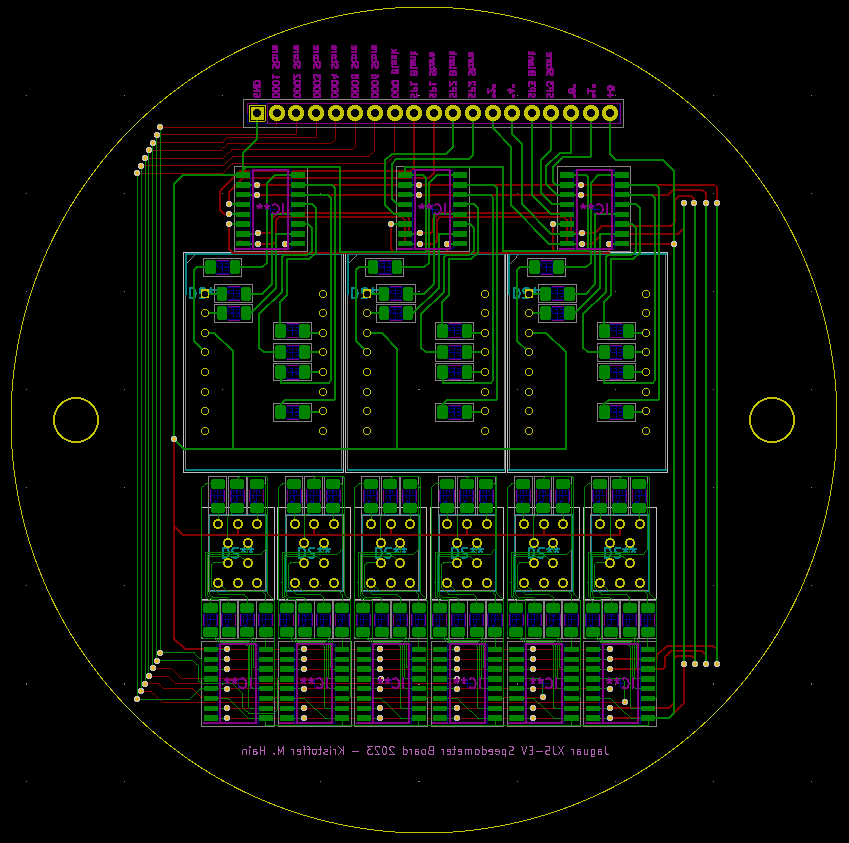
I received the PCB for the speedometer and I made some errors I couldn’t live with, so I’m redesigning that. I’m also using larger displays for the MPH
The plan to pull what’s left of the engine is set – doing that early June, followed by a pressure wash and then everything that’s going to be removed is out
I HOPE to get the driveshaft and maybe the trans out before the engine pull as we have to trailer the car to my dad’s shop to do that part of it.
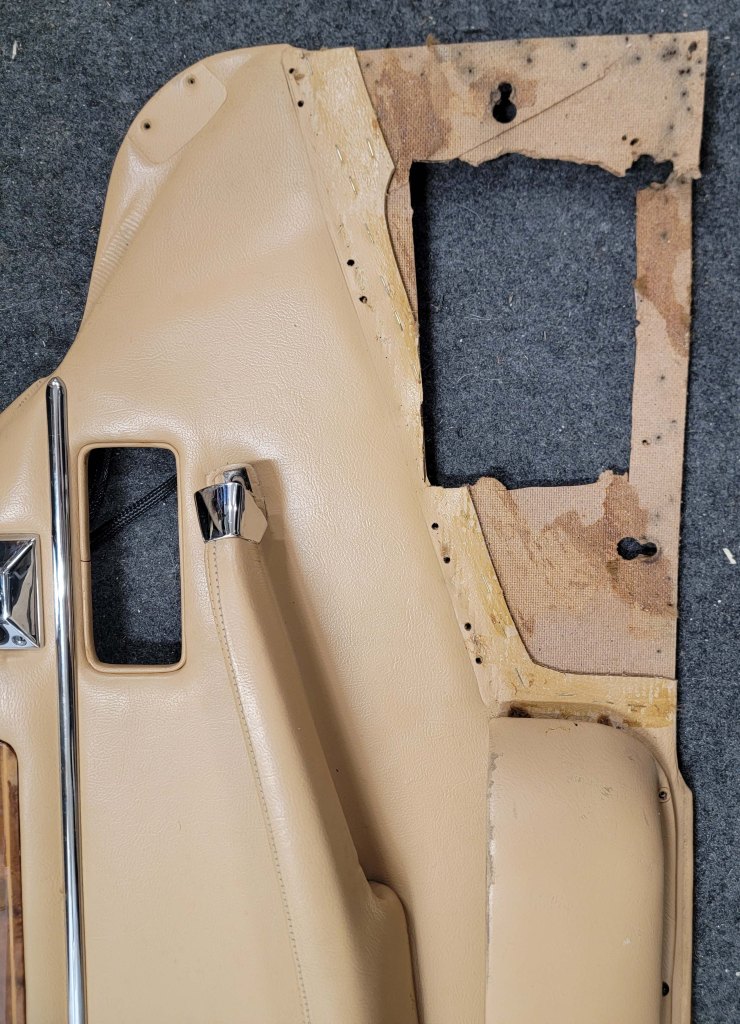
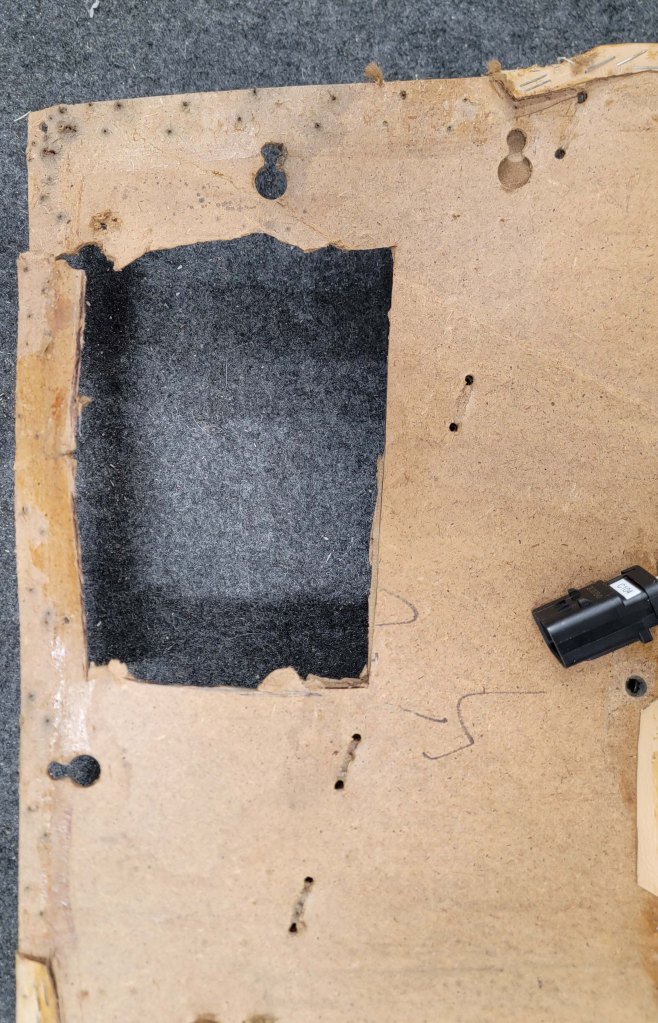
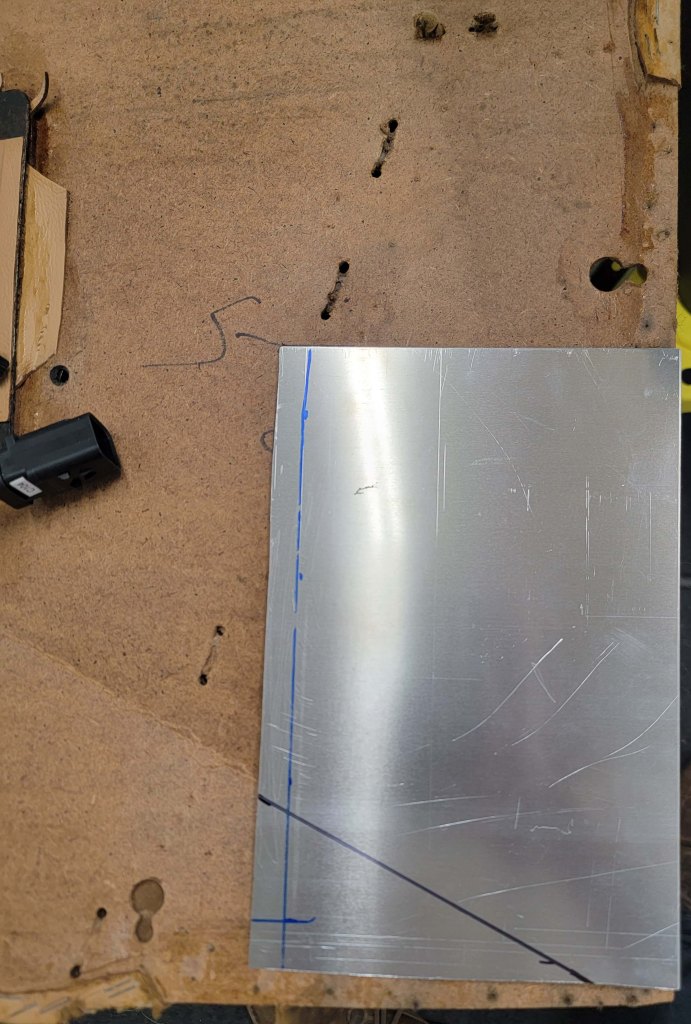
Not a lot of time today, but I pulled the door pad off the driver door and removed the carpet. Now I start the process to repair the big hole I made 15 years ago with a piece of aluminum!
So today I continued on installing the 6×9 speaker in the driver’s door. 15 years+ ago when I was doing the whole gas tank thing, I had modified the driver door to accept a Kenwood 6×9 that was previously in my 88 Beretta GT, which was previously in my 86 Cavlier RS. However, like the rest of that project, I never finished it. So only the driver door was done. Then the whole mold issue came into play, so I decided to just trash those speakers and get something new.
I got these. They are amazing. And thick. Way too thick as you’ll see soon.
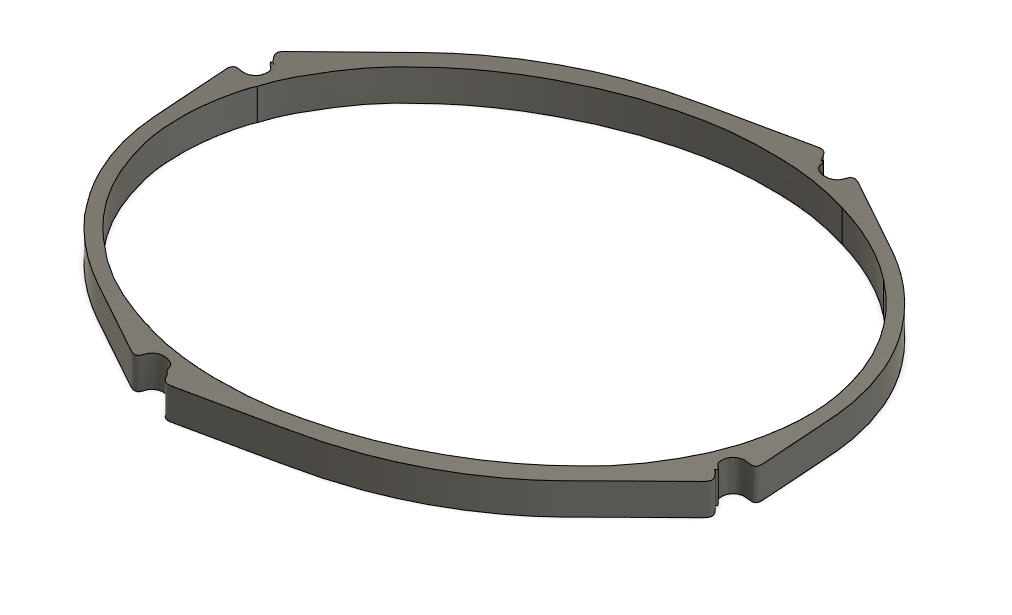
So in order to make them fit, I needed to use a spacer between the speaker and the door. The speaker kit came with spacers, but they were not thick enough. So, I scanned the original spacer, traced the outline in Illustrator and made a 3d replicate in Fusion 360 and we have this:
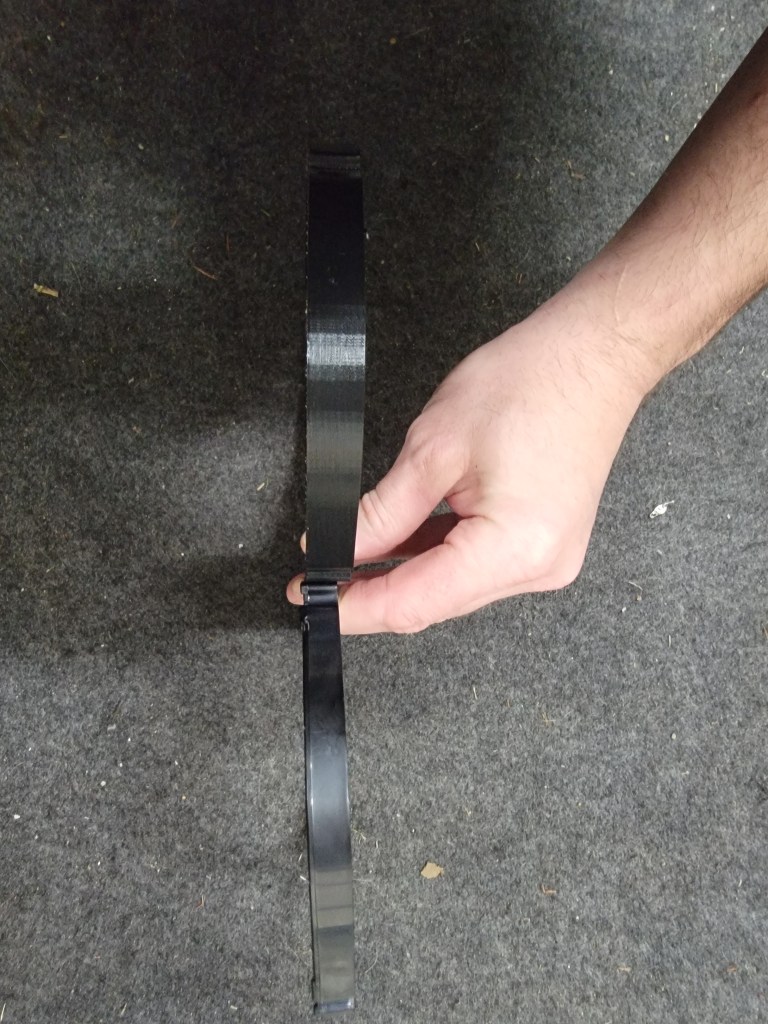
An hour of printing later and we have the perfect spacer:
Everything was great until I tried to close the door and I noticed how close it was to the pinch welds. I temporarily popped the threshold back in and … yeah, it hits. Ok. Well, let’s think about this. The spacer pushes the speaker way out, these don’t look at sleek as the original Kenwoods did.
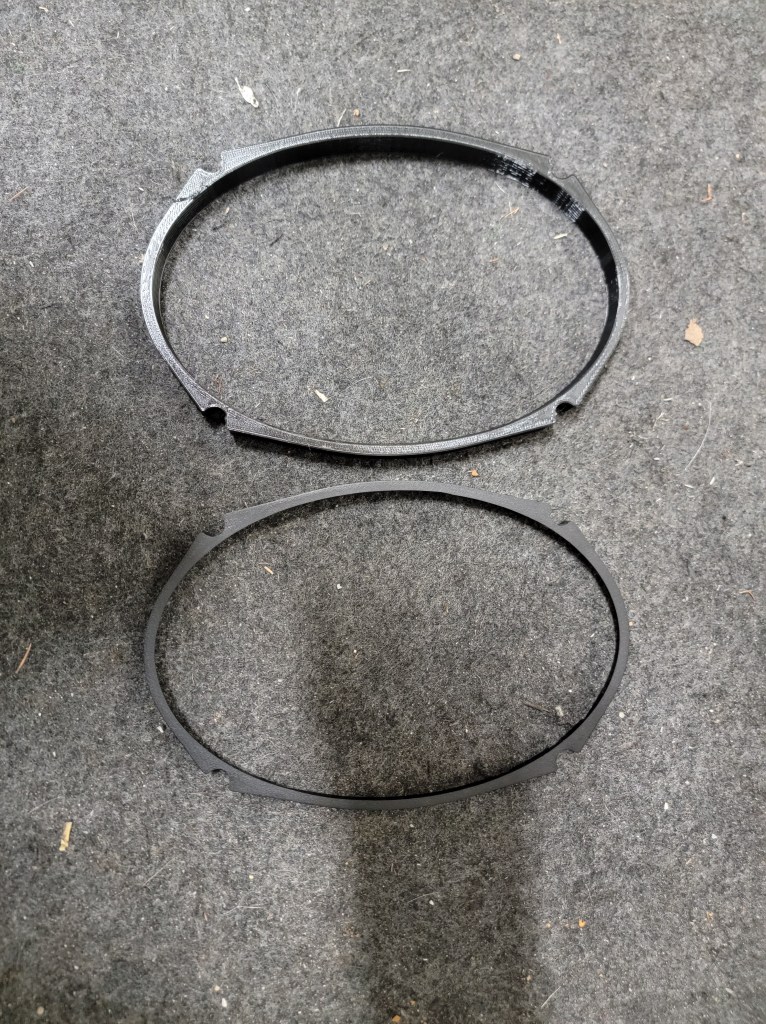
Plan B:
I kinda forgot that when I get new carpet for the car, I need to recarpet the bottom of the door pads. That gives me a chance to repair the big hole I cut 15 years ago, recarpet and install more suitable round speakers in their place.
So I guess I’ll pull the door card off and wait until I have carpet in hand and redo what I did…and I’ll be happier in the end.
I’m fairly close to having the driver’s door done. In fact the only things left are to figure out if/how I can Dynamat the door and make a spacer for the 6×9. Yes, the speaker is quite bulky for the door, but I like it and want large speakers in the front. So there.
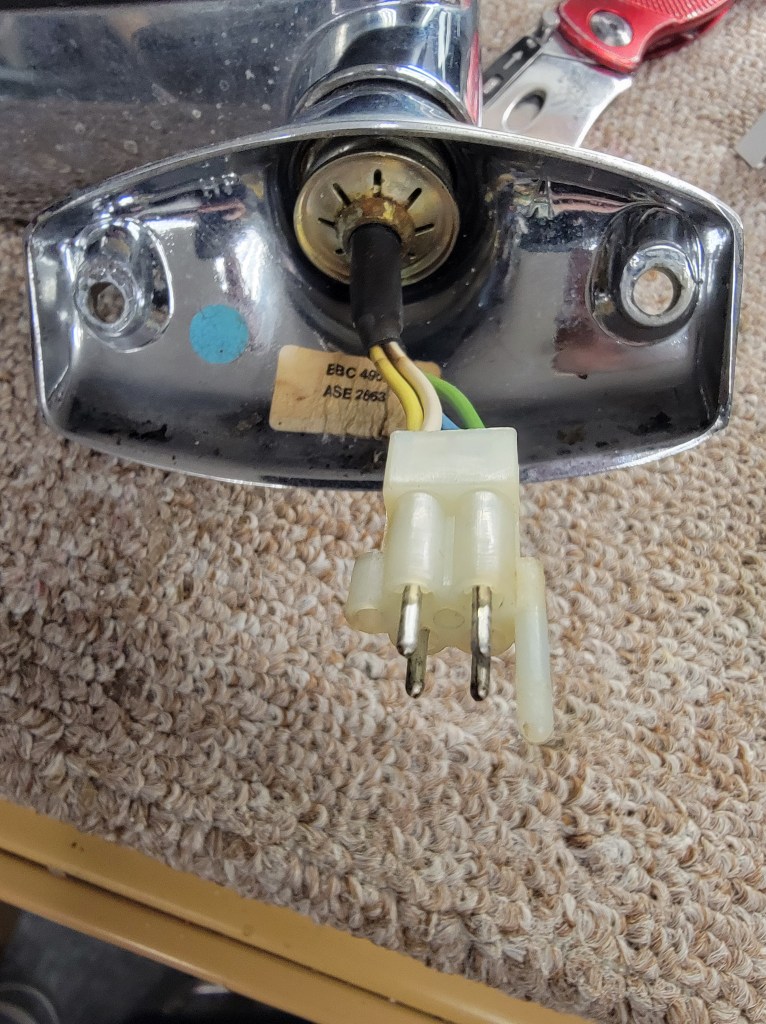
Here’s how the power mirror’s original plug/wiring was:
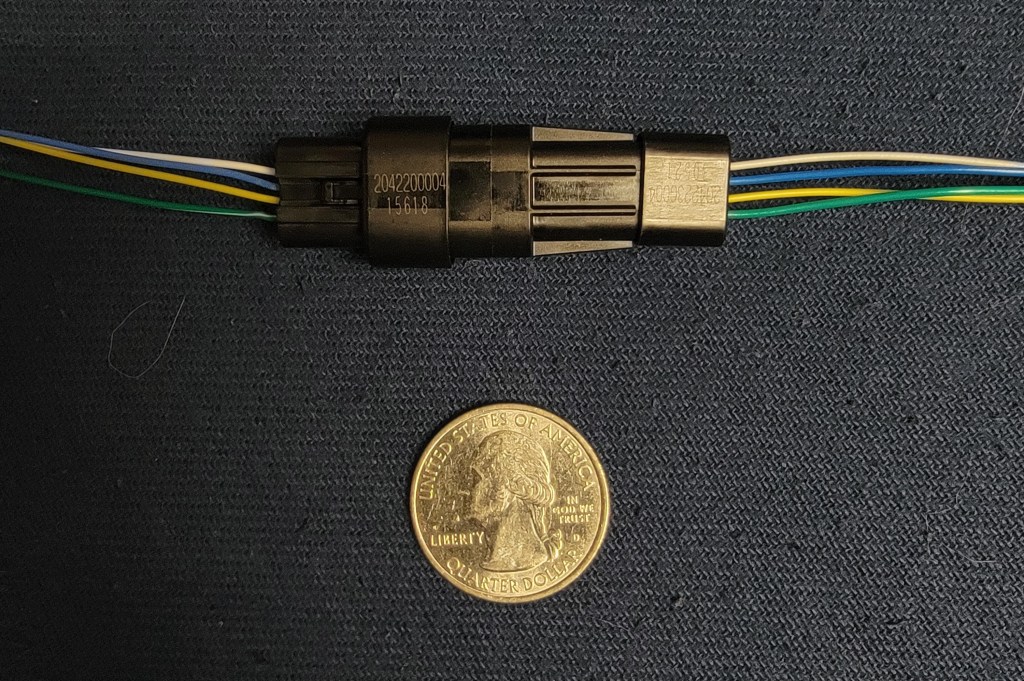
The Ampseal connectors I’m using elsewhere in the car will not fit in the small hole in which the wires have to pass, so I am using these Molex Squiba connectors. Actually, they are a little too small, but they did do the job.
All put together I have a nice harness whereby I can remove the mirror, or the switches, all with locking connectors.
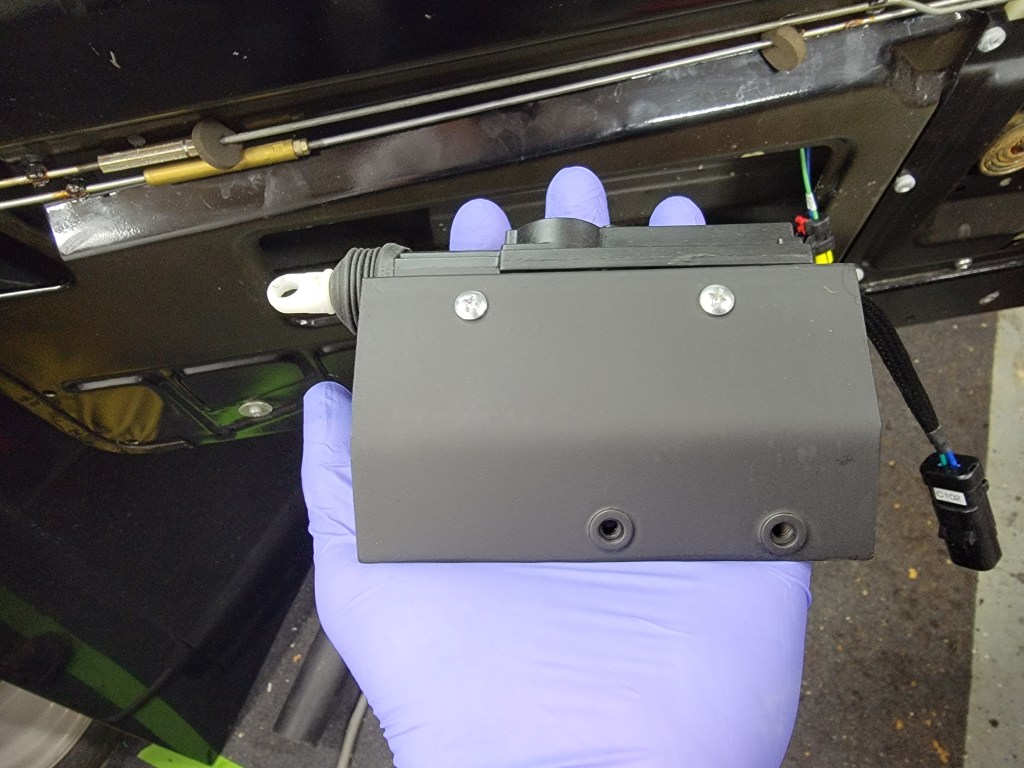
Back at the car, I have put in the rivet nuts and painted the bracket for the power lock. Now this is installed for good!
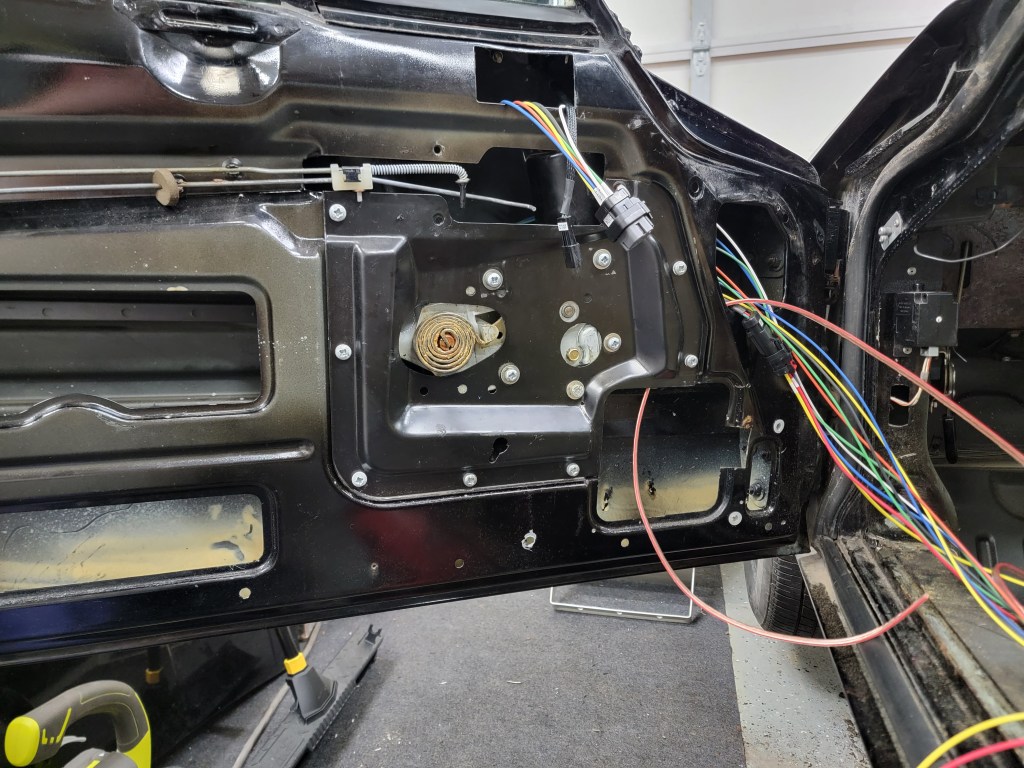
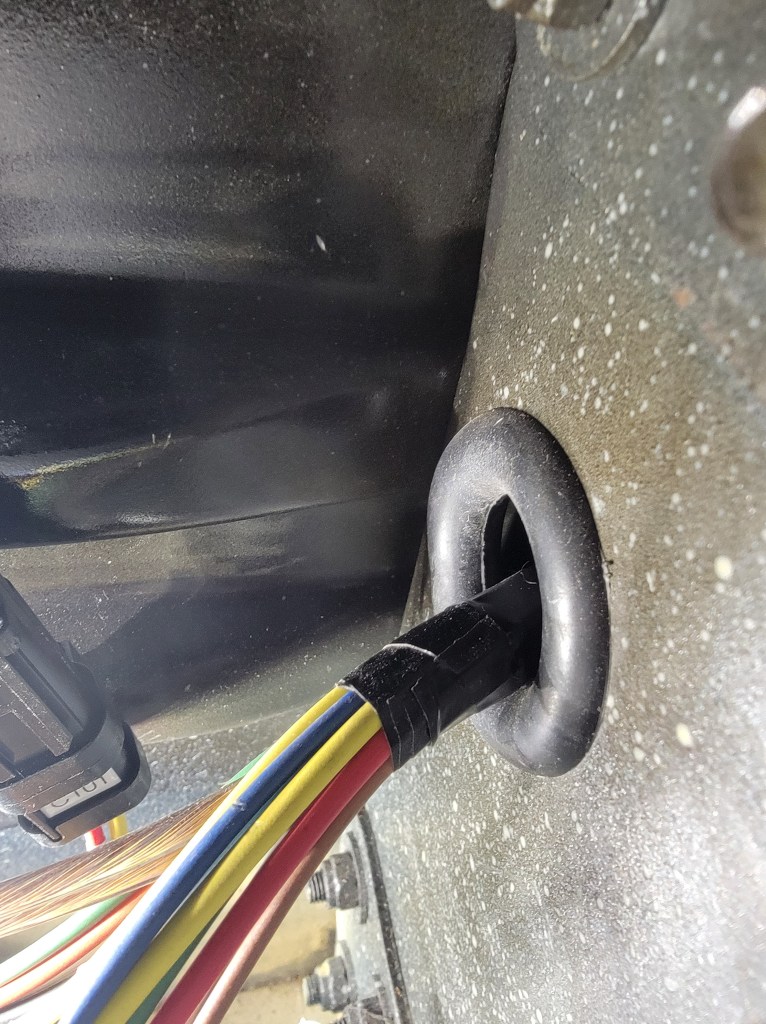
From here I started installing the other wiring harnesses in the door and passed the mass of cables through the gland at the door jamb.
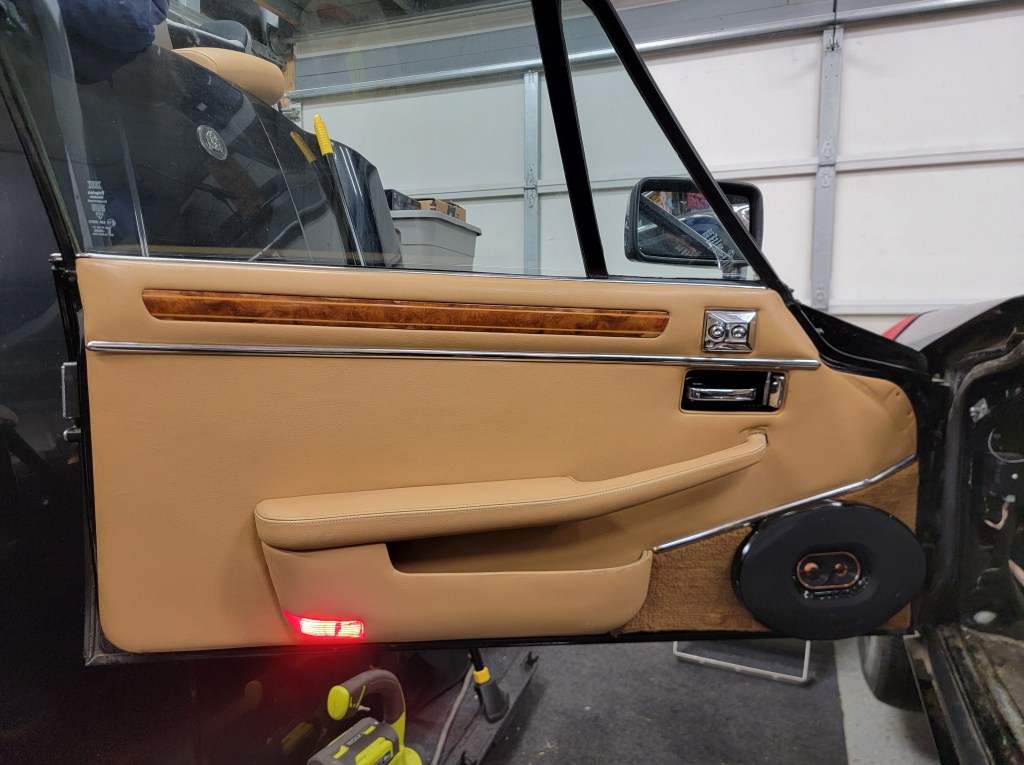
After that, I set the door card on the door to see how things fit/looked!