Demolding

(11/27/2022)

I mentioned earlier that the vehicle has sat a long time. Unfortunately what happens with a lot of vehicles that sit – they get moldy.

This was one of the more challenging parts of the car for me. I needed to clean the interior to remove any traces of mold/mildew, but I needed to do it safely (mold is dangerous for anyone and I’m especially sensitive to it) and do it in a way that didn’t trash the interior.

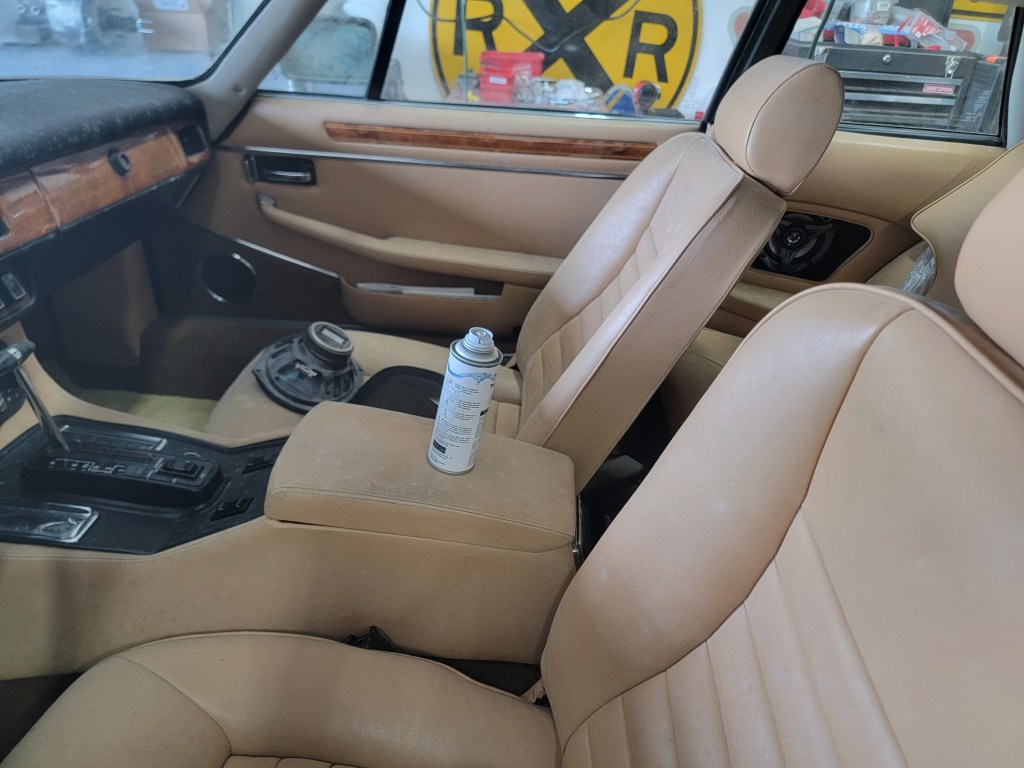
The first thing I tried was a “mold bomb” – this is one of those aerosol cans that fogs an area. Complete bust. Complete waste of money. This thing did something and sputtered and then just made a mess. 0 out of 10 would recommend.

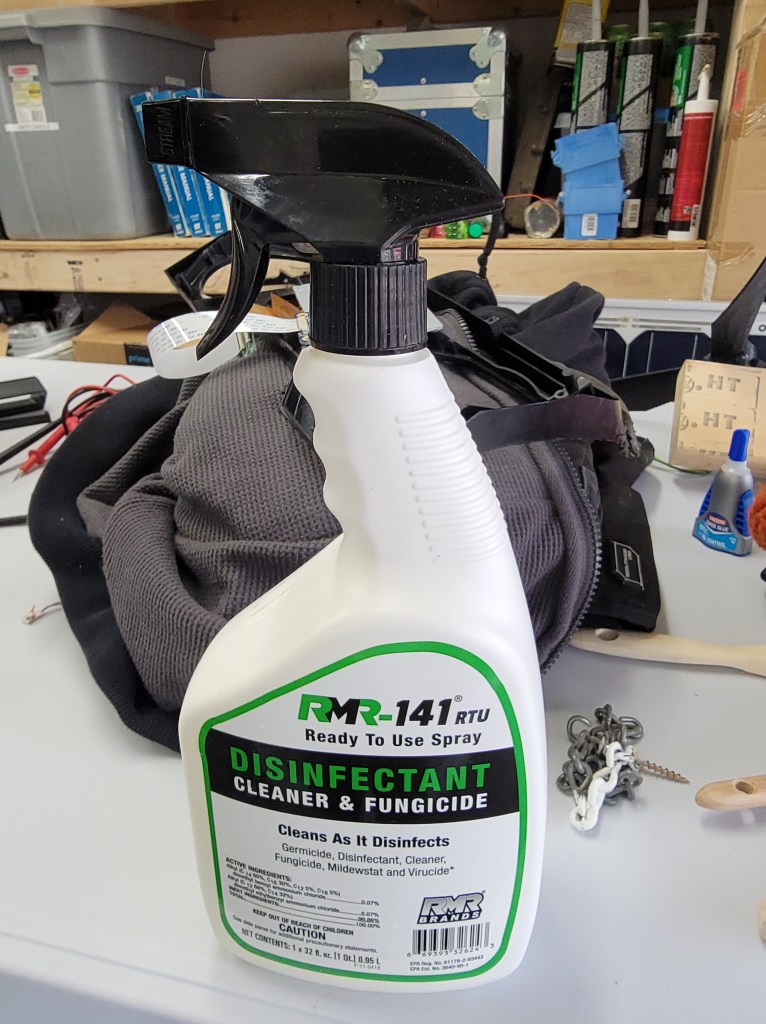
After a lot more reading online, I came up with this solution. This is a disinfectant / cleaner and then there is another product from the same company that is a mildew cleaner. The combination of these two items seem to do the trick on all of the interior. Everything I’ve used it on has been left clean and smelling nice and does not seem to affect the materials.

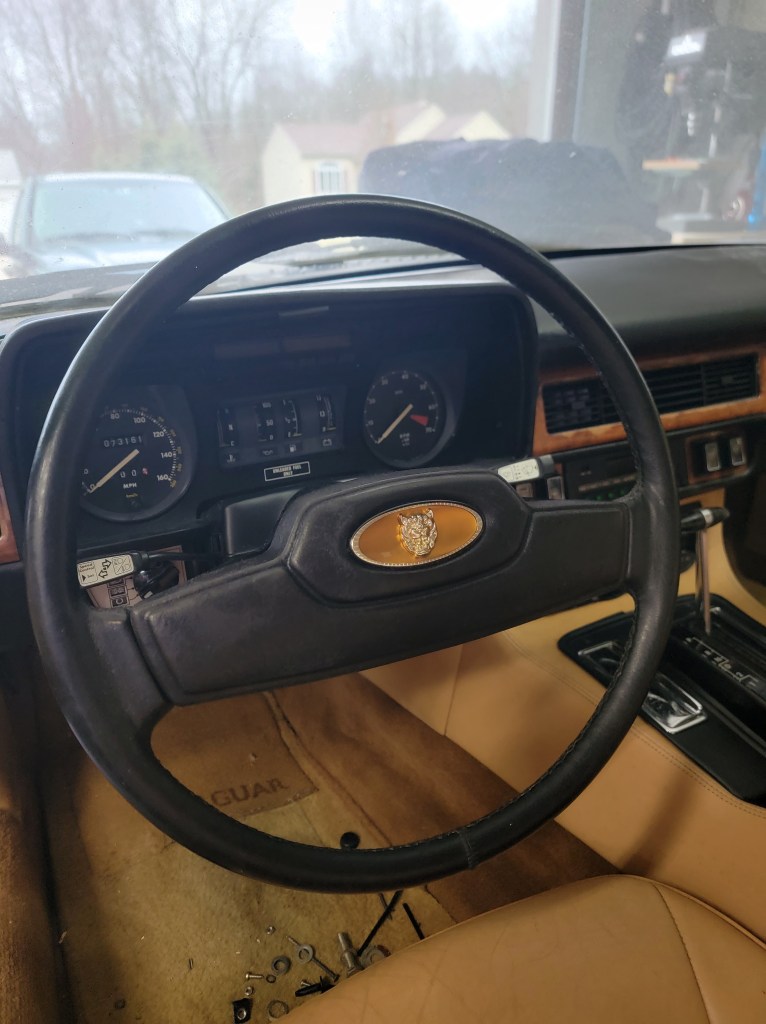
This is after the first spray down of the dash and steering wheel. A little hard to see in the picture, but you can see on the right side where I stopped and the mold is still there.

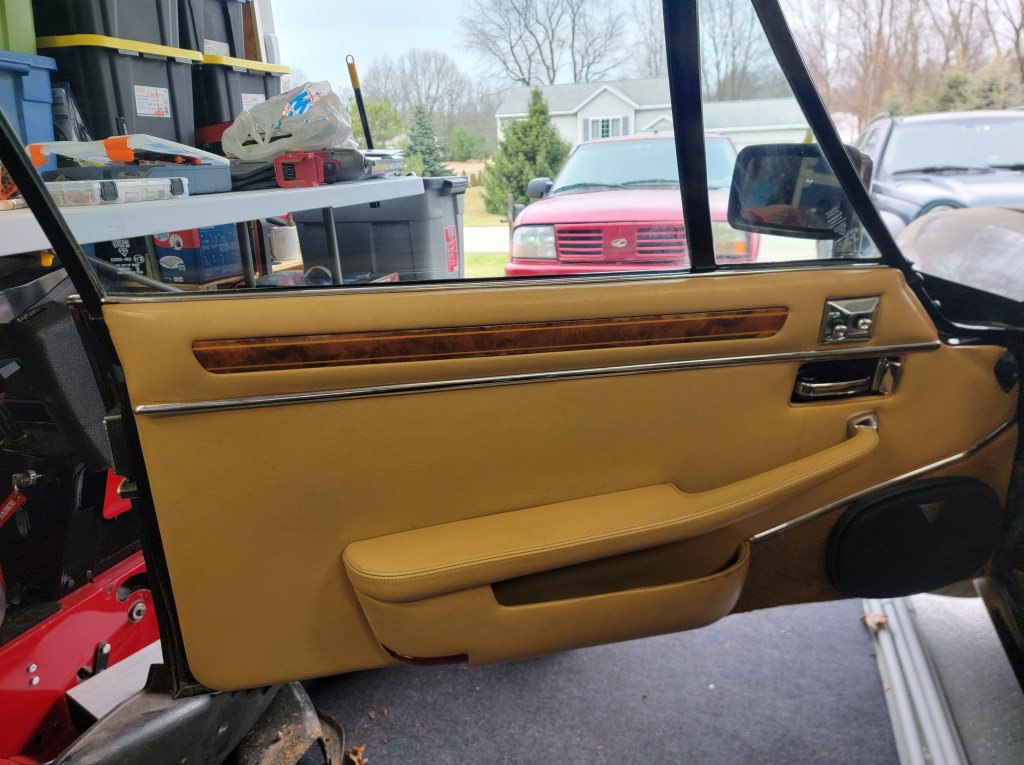
This door card wiped up so nice! All of the leather is then sprayed down with a leather cleaner/treatment from The Chemical Guys.

The interior plan is as follows:

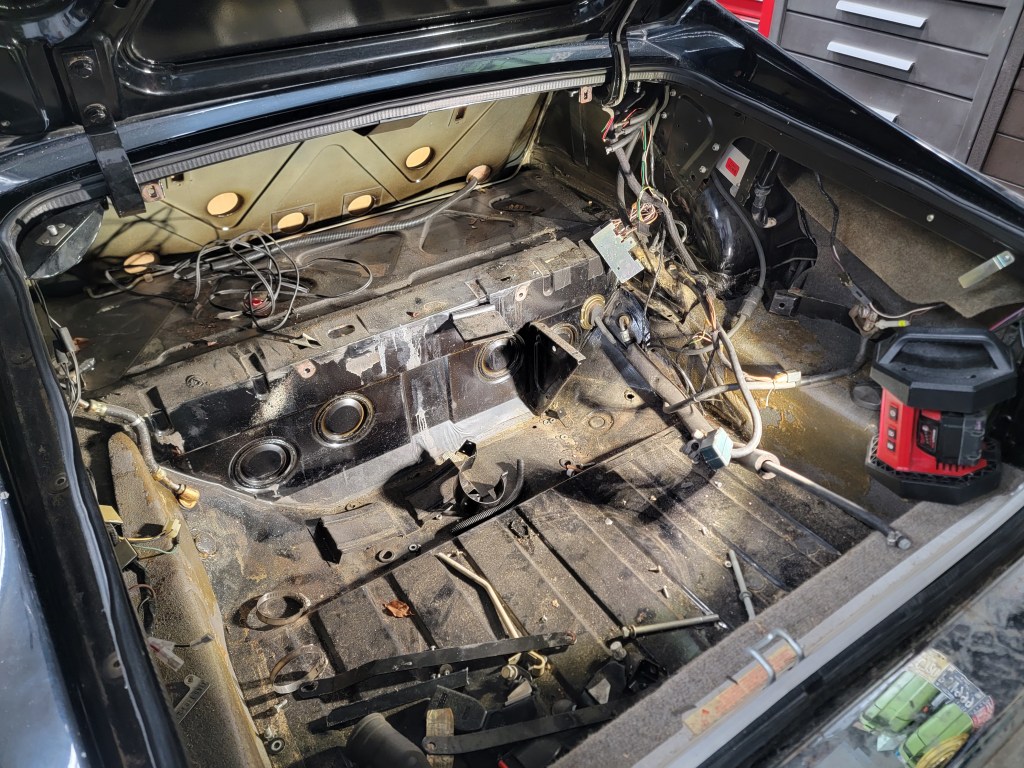
  • Clean everything inside the car
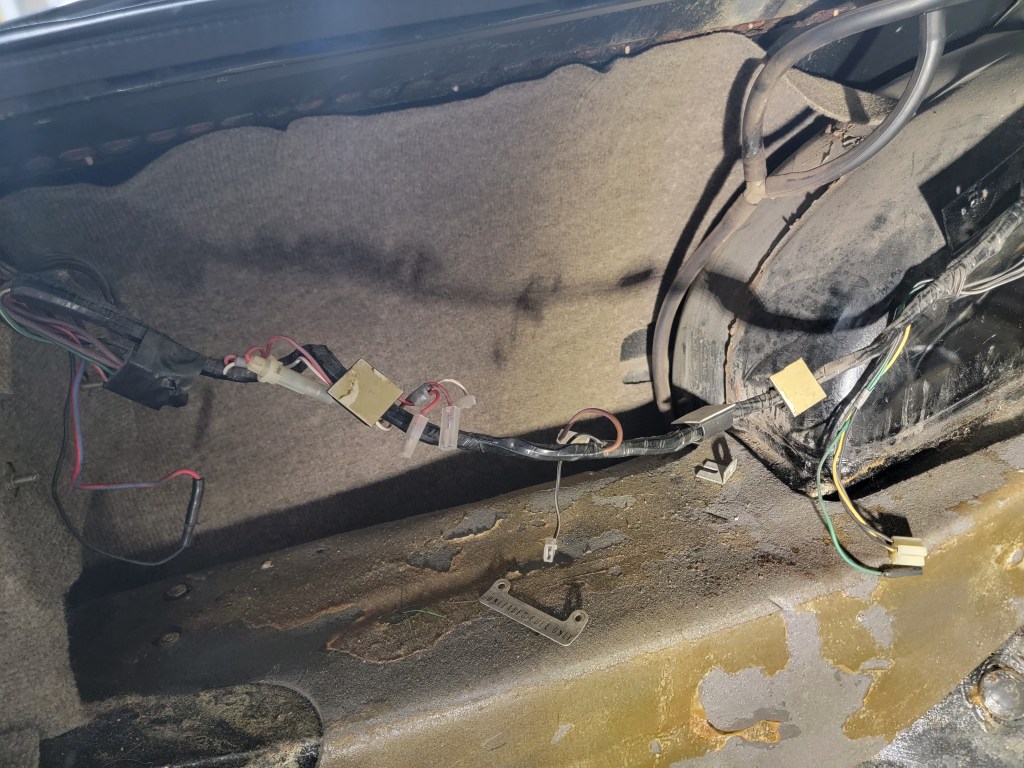
  • Remove everything from the car
  • Disassemble as much subsections as I can (like the door card can come apart in like 4 pieces)

The teardown begins (resumes?)

(11/23/2022)

About 15 years ago when the fuel leak was discovered I had fully intended to just replace the leaky fuel tank with one of those racing fuel cell type tanks. I even purchased the tank, a pump, filters – the whole deal. For some reason gasoline, or maybe the off chance of a fire in my trunk, scared me and I never finished it.

I had removed the back seat from the car to ensure no fuel was actually in the cabin, but then after that I just kinda parked the car. On 11/23/2022 I resumed the teardown of the car, this time with new intentions.

Here’s the trunk. The car is in perfect shape (well, more on that later) and I just need to remove all the wiring and plumbing mess that was factory installed.

See all these hoses with bolts plugging them? At one time they all went to the fuel tank, or the external sump tank, or the external fuel pump. Lots of external things on these cars that other vehicles in 1986 would have had mounted internally.

This full wave rectifier looks like an afterthought, but I have to believe this is probably factory? This is just many of electrical gems to be found…

What’s with all of the inline fuses and taps? Why is this wiring harness such a mess?

And then I came across this discovery. See this sticker? That’s a factory Jaguar replacement part. Great, right? Factory parts are typically superior to aftermarket, right? Yup, that’s certainly true. However, this is a rear quarter panel. This means the car was wrecked at one point in it’s life. The repair looks to be done quite well and was possibly done at an authorized factory repair shop. I haven’t uncovered the mystery of how bad the wreck was, but my dad and I believe that it sideswiped something. The driver rear quarter was replaced, there’s evidence that a completely new door was fitted and evidence of body filler in the front driver side fender.

Lights

Like most projects I do, I’m starting from probably the most bizarre angle; taillights. I probably have various ways to justify this, but honestly I like lights. Furthermore I like sequential turn signals. I’ve always wanted a vehicle with a set. When I was younger I used to add turn signals to my bikes and wagon. I often had sequential signals on them. Years ago I was going to make a teardrop trailer and that too was going to have sequential signals. None of that ever panned out, so here we are again with a new project….and sequential turn signals!

This is a spare taillight housing I got off eBay. I gutted it and designed a board in KiCad to hold the LEDs. In later posts I’ll have videos of it operating, but since I’m playing catch up on this blog, I’m trying to do things in somewhat of the order in which they occurred. In this case, the beginning of sequential tail light design.

Let’s catch up

Since I’m starting this blog after the project of the car has started, let’s catch up what I’m doing, where I’m at and what’s left.

Currently the plan on the vehicle is to fit it with NetGain Hyper9HV motor at 144v. This will be coupled to a TorqueTrends 1.9:1 transmission (single speed, think of it like an underdrive) and I’ll need to change the rear differential to a 4.11:1 ratio. This gives me close to an 8:1 from motor to rear, which I’m told is the golden ratio for the motor I’ve chosen.

Power brakes will be handled by a Bosch iBooster gen 2 and power steering will be an electric assist from a Toyota. I have the iBooster on hand, have not purchased the assist motor yet as I’m concerned about room under the dash/hood for this. I might have to go electric-hydraulic. I don’t want to, because I want the vehicle nearly silent when not moving. More on that later.

Thankfully no mice ever entered the cabin of the vehicle, however the interior did get mildew inside. I suspect when I last parked it, it was humid and that was trapped in the car. Regardless this turned the project from a ‘replatform the drivetrain’ into a full on restoration minus body work…and after I dug into the interior, I was super glad I decided to rip everything out. It turns out any spot a relay or a fuse or a wire connector should be shoved in this car, that is exactly what they did.

At any rate, enjoy these photos as I tear into the vehicle!

It begins!

I’m a little late in creating this blog, I get that. Honestly, I hesitated because I’m altering a car in a way that a purist of the brand would disapprove of. However as I talk about this project to others in passing it seems counterintuitive to share the same pictures and stories over and over; I may as well have a location dedicated to that.

So here it is.

This is the journey of taking a 1986 Jaguar XJS and transforming it from a V12 gas thirsty mechanical beast to an electric cruiser.

“But Kris, that’s a V12, you can’t do that to a classic” Yeah. I can. Here’s the thing…this car hasn’t driven in over 15 years. I parked it once I discovered fuel was leaking out of the gas tank that was mounted IN THE TRUNK. And although it has been garaged this whole time, I’ve had issues with mice getting into the engine bay and doing mice things.

So, here’s an opportunity to take a vehicle that hasn’t seen the roads in a lifetime and make a nice Sunday cruiser out of it that doesn’t leak all the fluids.

I have comments disabled as I don’t want to deal with WordPress spam. Feel free to email me at kris (at) hainkm (dot) com.

Enjoy the journey.