Two steps forward, one step back

(03/19/2023)

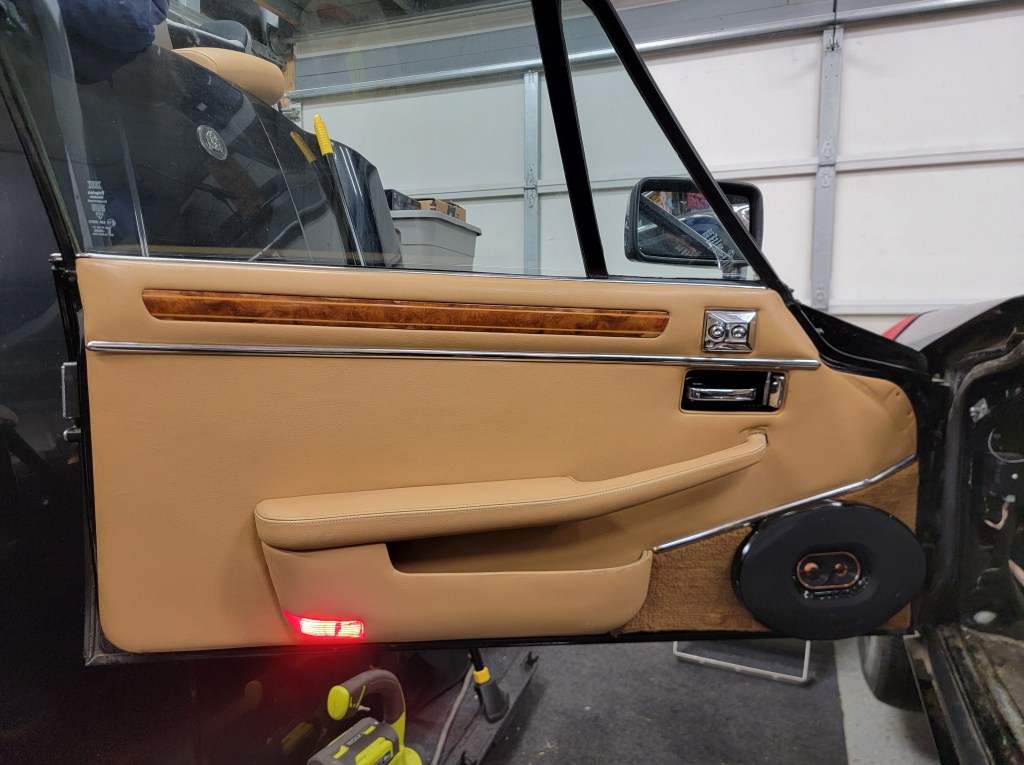
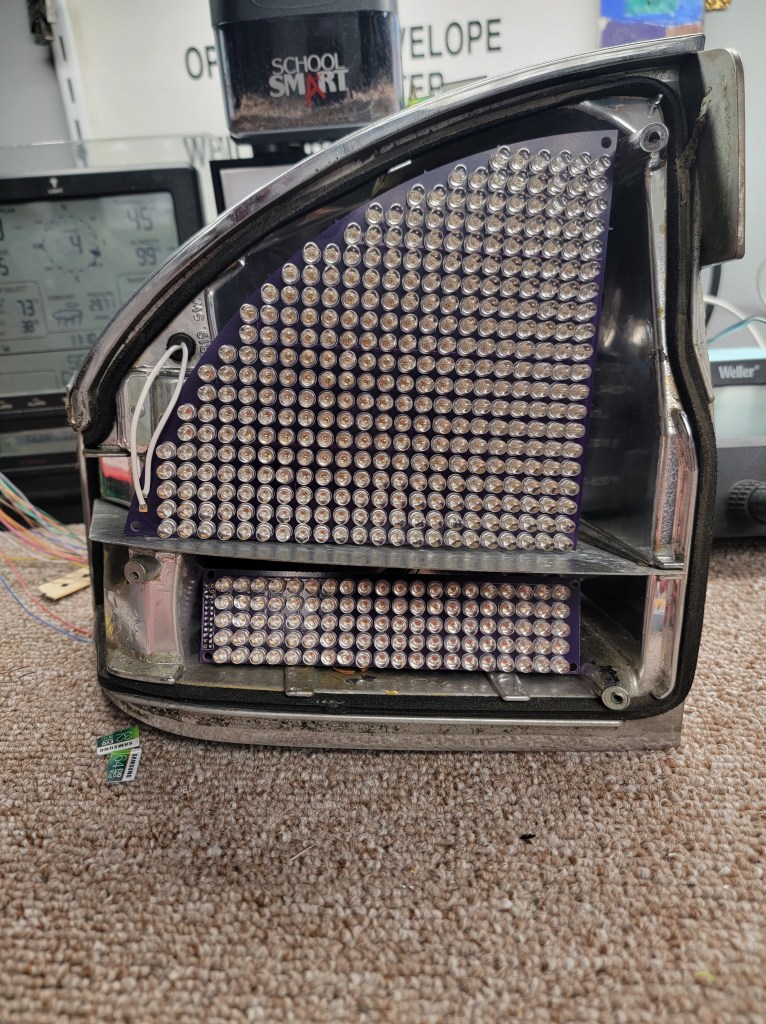
So today I continued on installing the 6×9 speaker in the driver’s door. 15 years+ ago when I was doing the whole gas tank thing, I had modified the driver door to accept a Kenwood 6×9 that was previously in my 88 Beretta GT, which was previously in my 86 Cavlier RS. However, like the rest of that project, I never finished it. So only the driver door was done. Then the whole mold issue came into play, so I decided to just trash those speakers and get something new.

I got these. They are amazing. And thick. Way too thick as you’ll see soon.

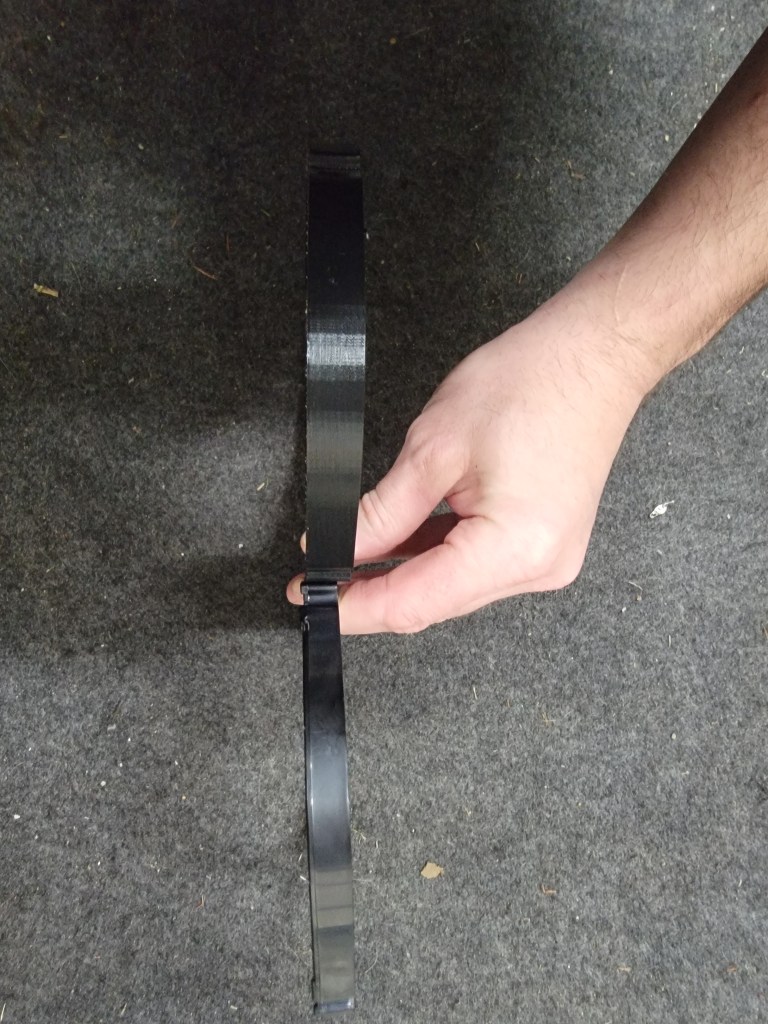
So in order to make them fit, I needed to use a spacer between the speaker and the door. The speaker kit came with spacers, but they were not thick enough. So, I scanned the original spacer, traced the outline in Illustrator and made a 3d replicate in Fusion 360 and we have this:

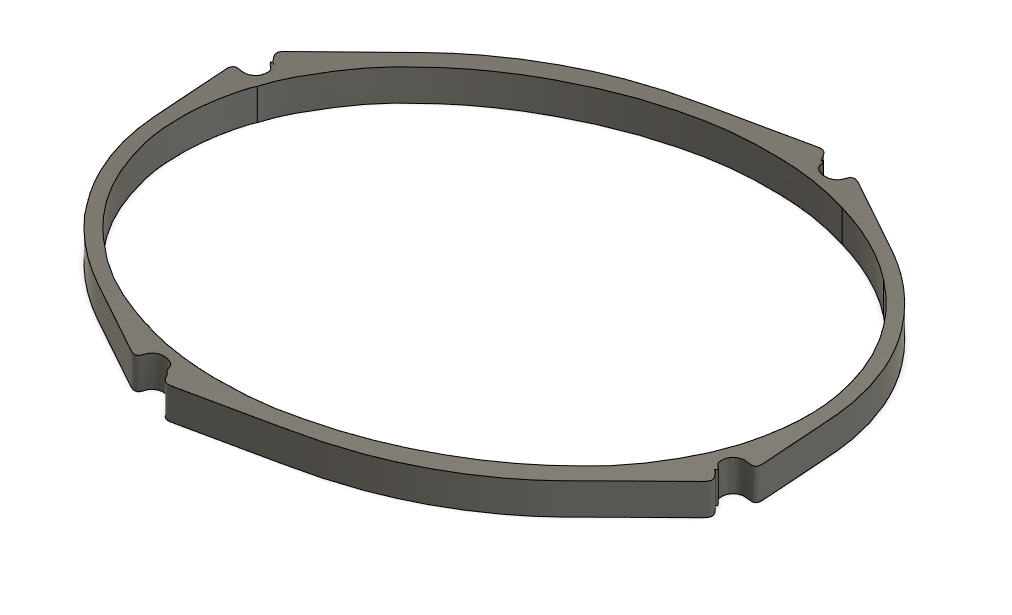
An hour of printing later and we have the perfect spacer:

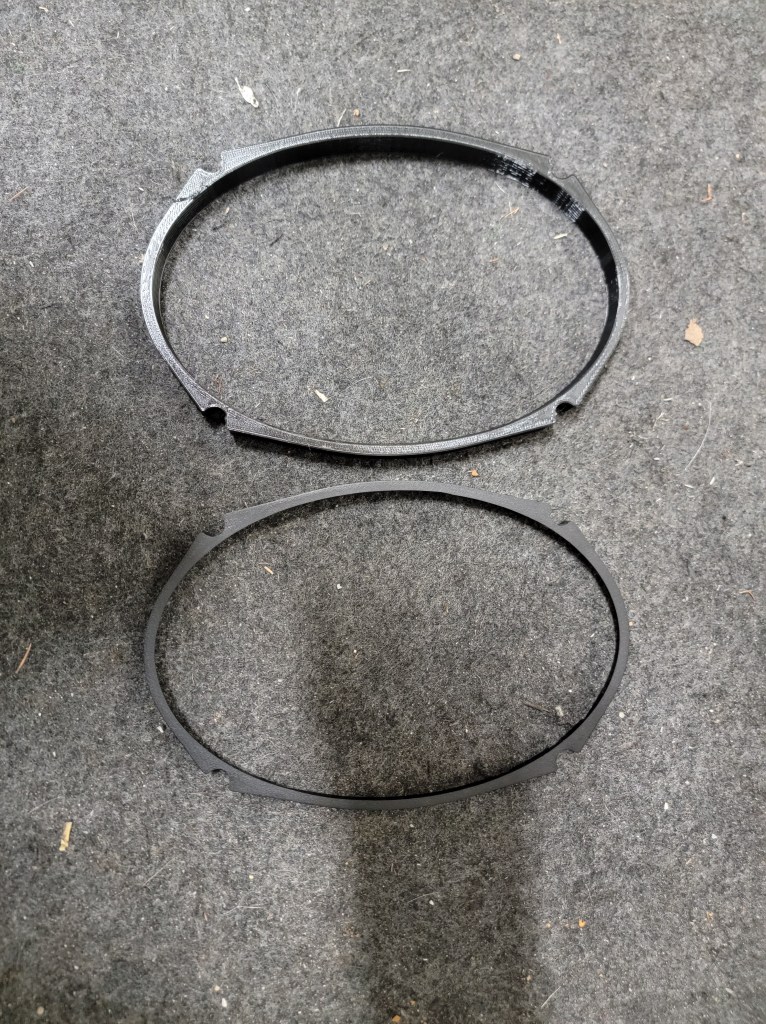
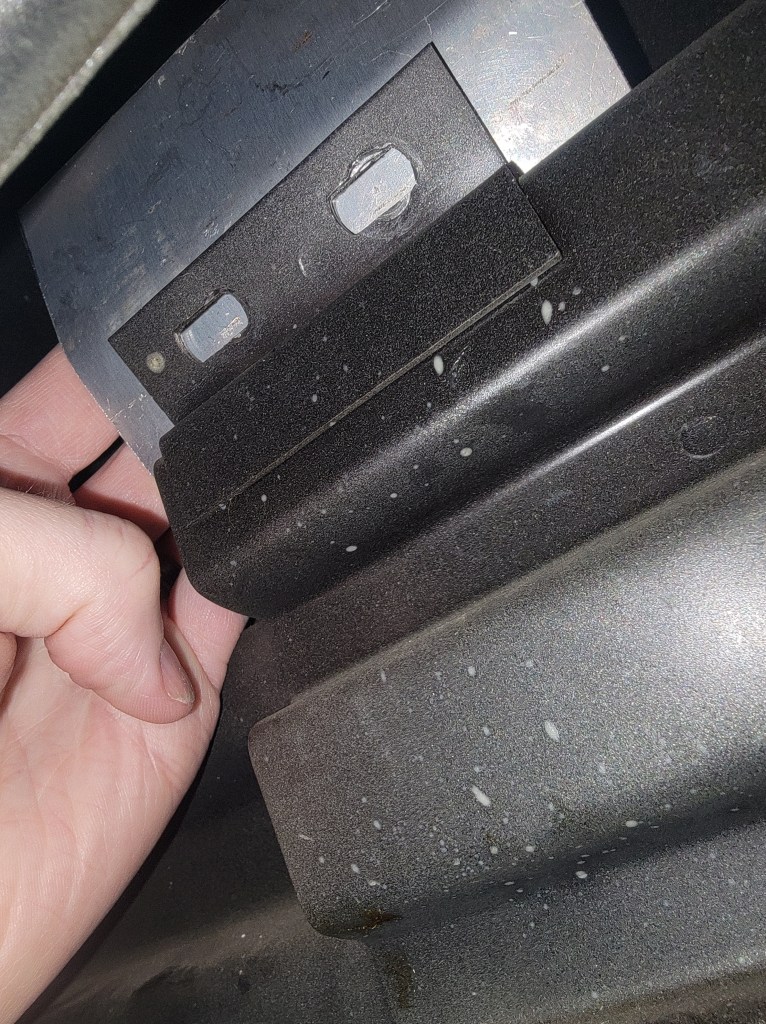
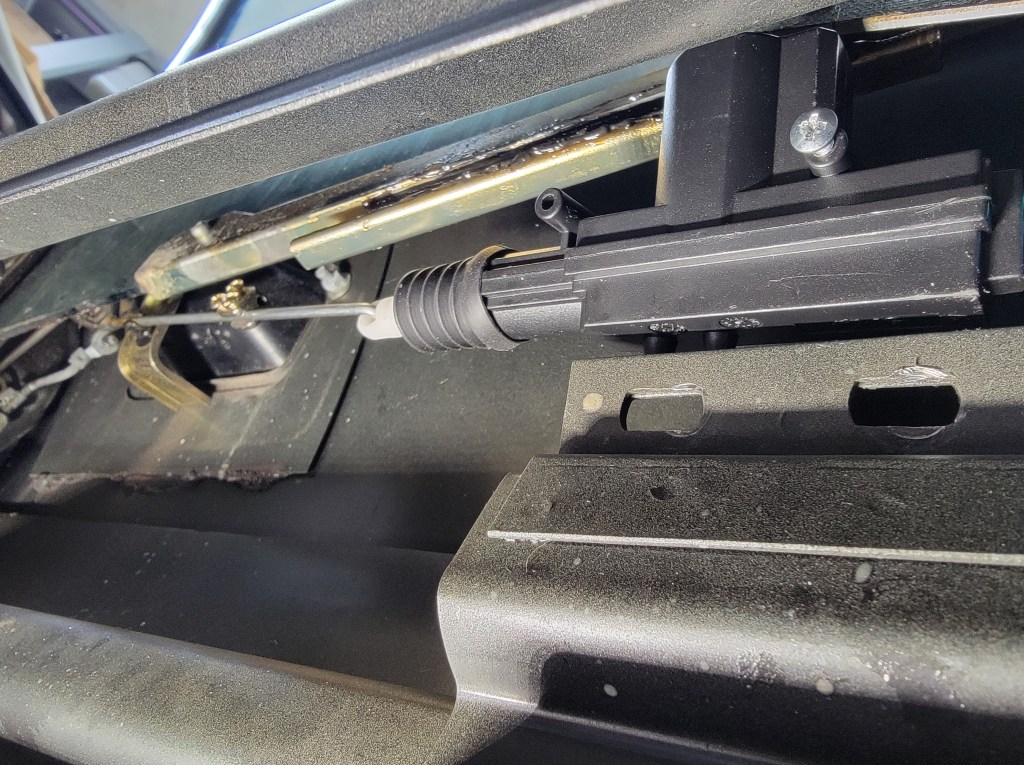
Everything was great until I tried to close the door and I noticed how close it was to the pinch welds. I temporarily popped the threshold back in and … yeah, it hits. Ok. Well, let’s think about this. The spacer pushes the speaker way out, these don’t look at sleek as the original Kenwoods did.

Plan B:

I kinda forgot that when I get new carpet for the car, I need to recarpet the bottom of the door pads. That gives me a chance to repair the big hole I cut 15 years ago, recarpet and install more suitable round speakers in their place.

So I guess I’ll pull the door card off and wait until I have carpet in hand and redo what I did…and I’ll be happier in the end.

Driver’s door update!

(03/18/2023)

I’m fairly close to having the driver’s door done. In fact the only things left are to figure out if/how I can Dynamat the door and make a spacer for the 6×9. Yes, the speaker is quite bulky for the door, but I like it and want large speakers in the front. So there.

Here’s how the power mirror’s original plug/wiring was:

The Ampseal connectors I’m using elsewhere in the car will not fit in the small hole in which the wires have to pass, so I am using these Molex Squiba connectors. Actually, they are a little too small, but they did do the job.

All put together I have a nice harness whereby I can remove the mirror, or the switches, all with locking connectors.

Back at the car, I have put in the rivet nuts and painted the bracket for the power lock. Now this is installed for good!

From here I started installing the other wiring harnesses in the door and passed the mass of cables through the gland at the door jamb.

After that, I set the door card on the door to see how things fit/looked!

Indicators!

(03/13/2023)

A big shout out to my dad on this one. The indicator stalk on the Jag has always been loose. Apparently it was internally broken.

I asked my dad to take a look at it. He found the broken piece and replicated it with aluminum!

Random Bits…

(03/11/2023)

Over the past week I started working on some other parts of the car. The first of which is converting the puddle lights to LED over their incandescent lamps the car came with.

I’m using these small cobb LED strips. They have a high density of LEDs in a small strip. I did have to notch the strip a little to clear for the screw, but I made sure to notch on the negative side so if something shorts out, it’s just bonded more to ground.

Next up is power door locks. I picked up these after market door motors. I thought about going something out of a GM product like from the GMT platform, but these looked well built and I got four for the price of what one used GM actuator would be. I decided to take my chances.

This also shows the wiring and connectors I’m using. These are all Ampseal16 connectors which use the Deutsch DT series pins. The Ampseal, in my opinion, offer a lot more options as far as keying multiple same-pin connectors to different shells (like in a door where I have a lock, a window motor, etc)

I need to make a small bracket to adapt the factory door lock mount to this new motor – I plan to do that next.

On the topic of wiring, I took the opportunity to change over the power window motor wiring from the bullet connectors also to Ampseal. The door lock uses the ‘yellow’ lock where as the window is using ‘red’ – same, but different!

Last for today was to install some Dynamat on the roof of the car. This is the thin/light stuff which works great for a roof. I plan to Dynamat the floor, but I need to get the engine pulled and pressure wash everything first.

Exhaust(ed)

(01/08/2023)

I randomly decided to tackle removing the exhaust. Or at least the driver side.

I found this bolt already missing. Hopefully that’s not important.

Back in the cabin, I pulled off this transmission cover to reveal…wait for it….MORE FOAM.

This is starting to look really good.

On the flip side

(01/03/2023)

I’m starting to move my attention to the underside of the car a little. All of this is prep work to get the engine out as easily as possible.

Here we have the driveshaft going into the rear diff. The other end disappears into one of 4,000 shields.

This will be fun to take apart later.

Oh look a bunch more grounds. Wait. No. Those are hots.

And a similar grouping on the otherside of the cabin

Extra Pieces

(01/02/2023)

Not a big post for today, but I’m slowly getting the carpet and foam glued down mess off from inside the car.

Today I found a random extra rivet from the factory that never made it somewhere.

Last post of 2022

(12/29/2022)

2022 will be remembered as the year I decided to finally tear into this pig. Now to keep the momentum going in 2023!

I finished the LEDs for the red part of the tail light and started working on the animation for the turn signals.

It’s time to pull coolant out of the car. I need to remove the heater core and I don’t have a good way to drain everything in the tight space I’m in. So, I decided to use an old garden hose and a small pump and suck all the coolant out of the engine. And it’s gross looking.

I finally won the battle with this HVAC box. I’m certain someone will email me and tell me that I’m ruining something special. That’s fine. The new setup will be under the hood and I can service it in an afternoon, not a month of afternoons.

Looks like the heater core was leaking anyway. Go figure.

So much more room for activities!

Wipers

(12/28/2022)

I’ve worked on many wiper motors in the past. All of them have had some sort of crankshaft like bar attached to a cam like gear on a motor. I have never seen anything cable driven.

I have to admit, I don’t think I hate this. Yes, I hate the electrical connector, but something about being able to remove an entire wiper assembly from the car in one piece is kind of refreshing.

I’ll give this one to Jaguar.

And here’s the terrible electrical connection:

I started playing with the instrument cluster. The four gauges in the middle will be replaced with a small LCD screen, but the speedometer and tachometer will remain. The tachometer will be changed to become a KWH meter. Looks like I can easily put a pulse in and control both gauges. Maybe someday I’ll change them to steppers? For now they work like this and still has the old-car charm of bouncing gauges.

And then there’s this. This is just part of the incredibly over-complex HVAC this car has (had)

And if my dryer at home has it’s thermostat go out, I can just grab this spare off a nearby Jag.