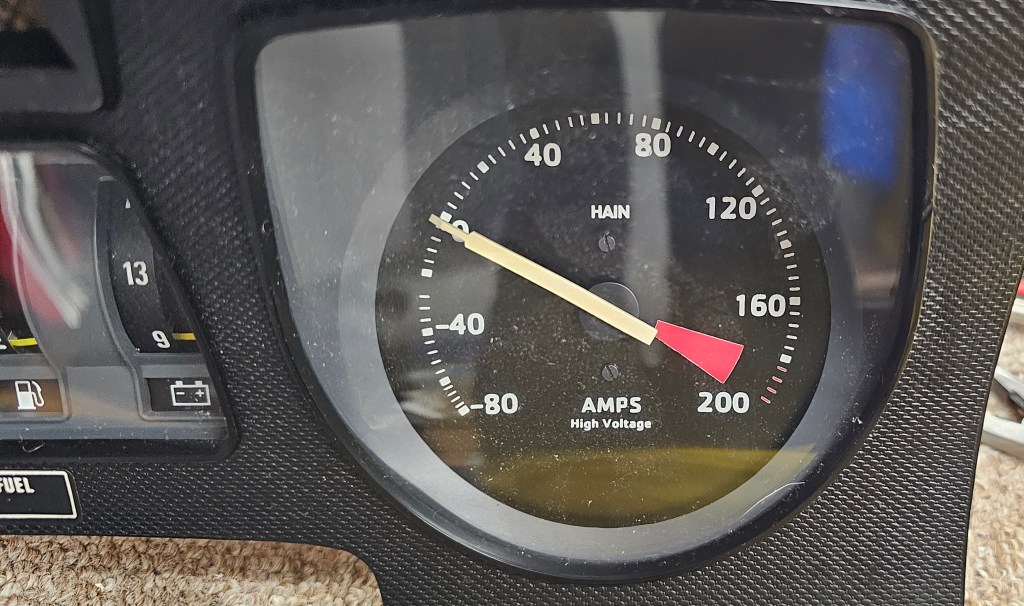
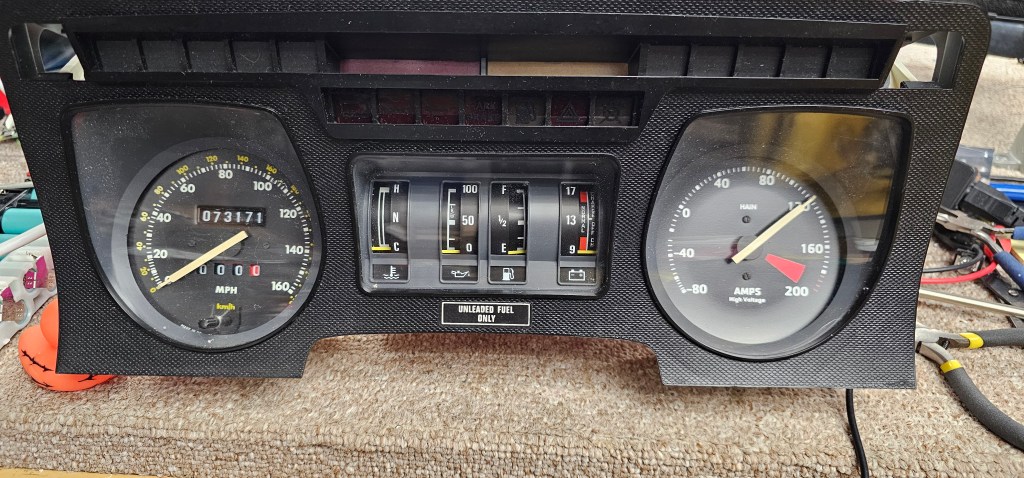
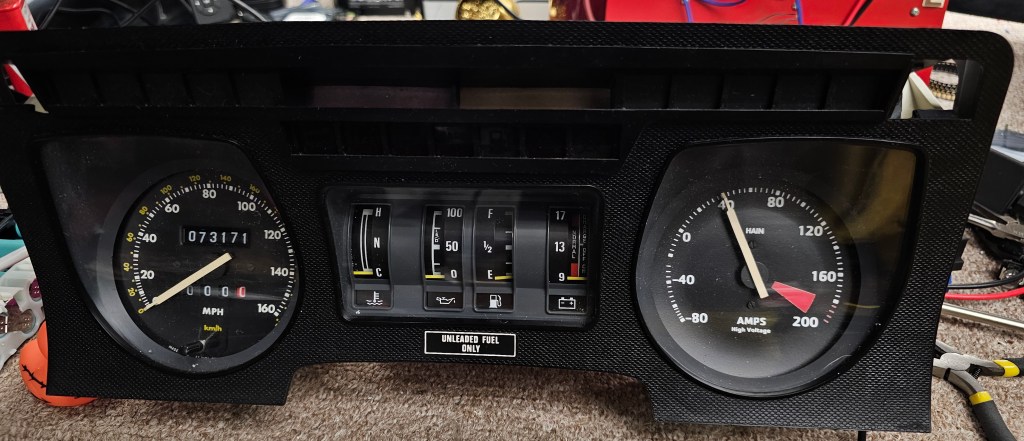
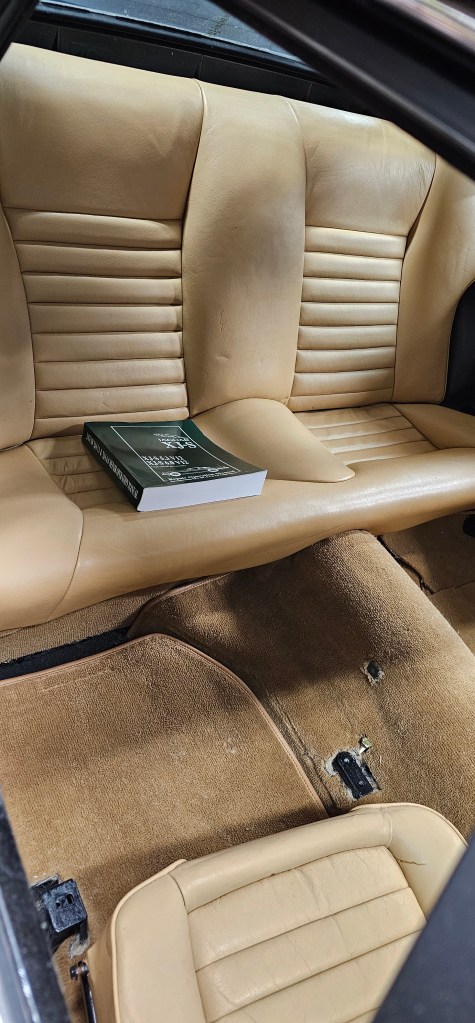
Christmas 2024!

(12/23/2024)

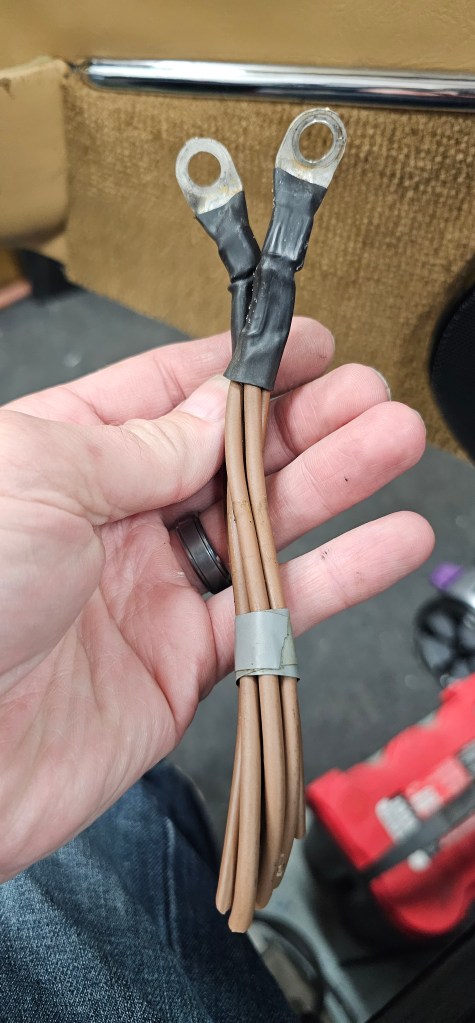
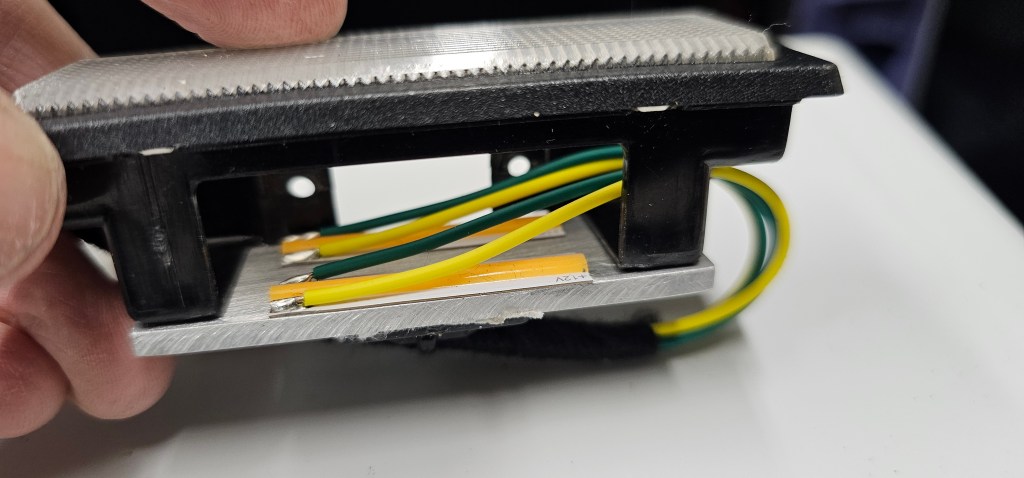
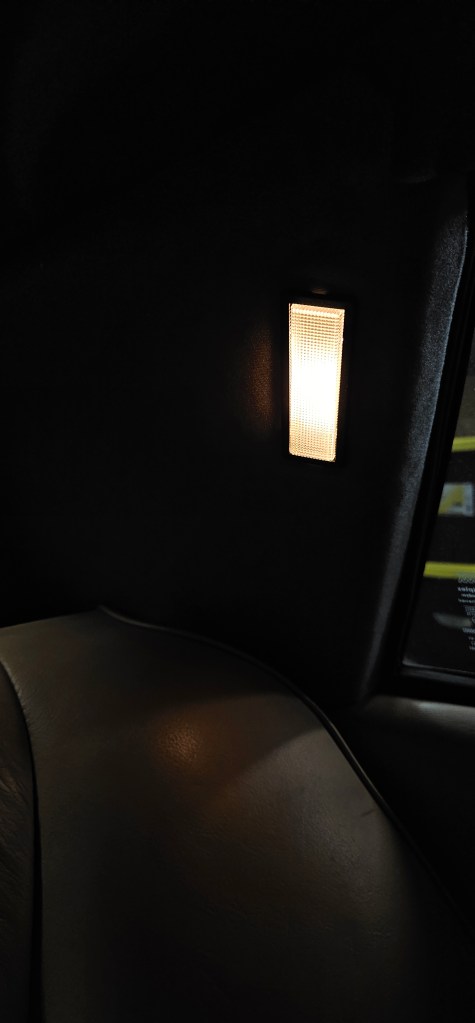
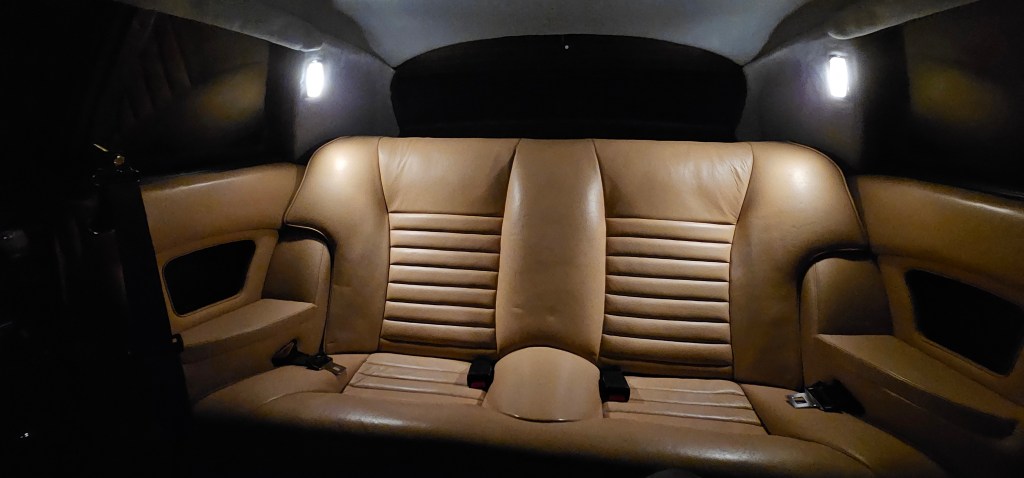
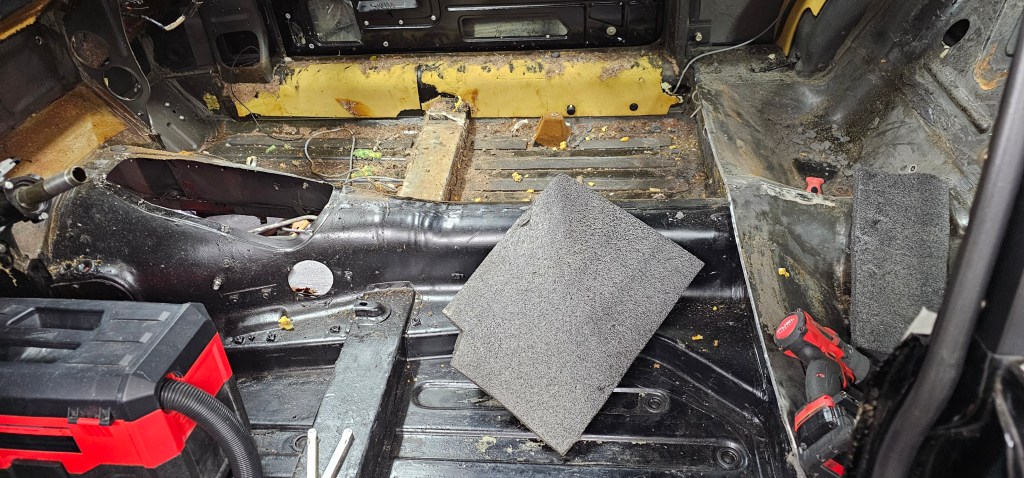
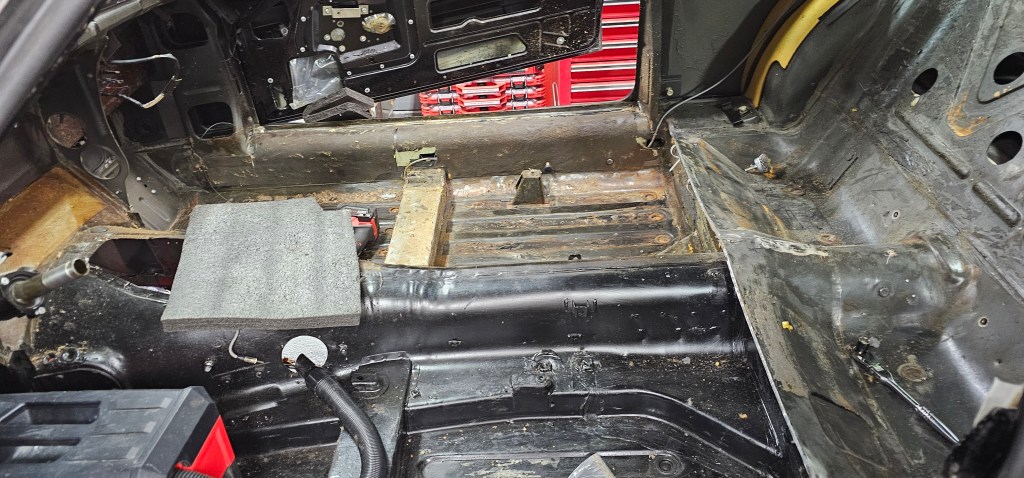
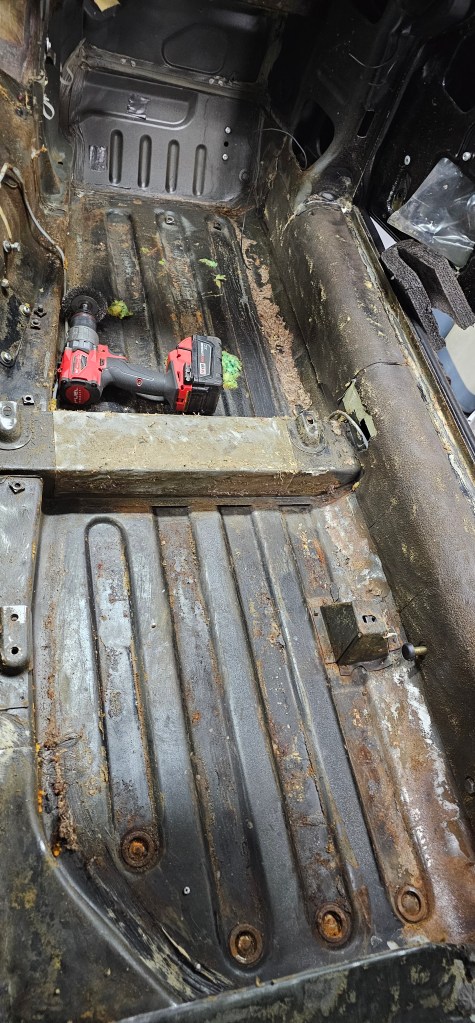
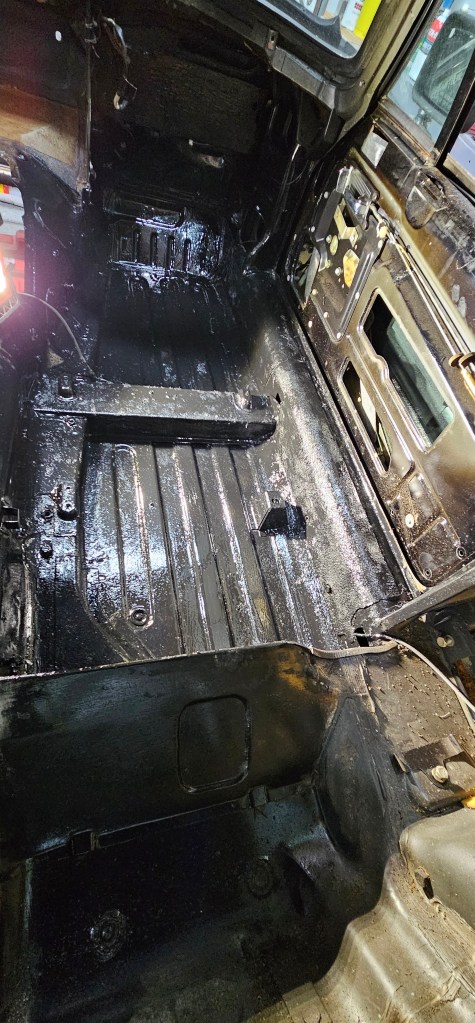
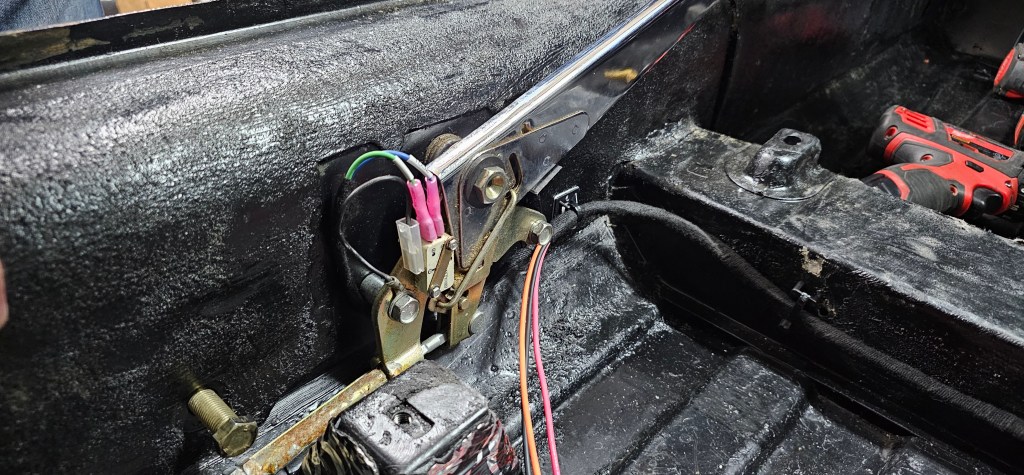
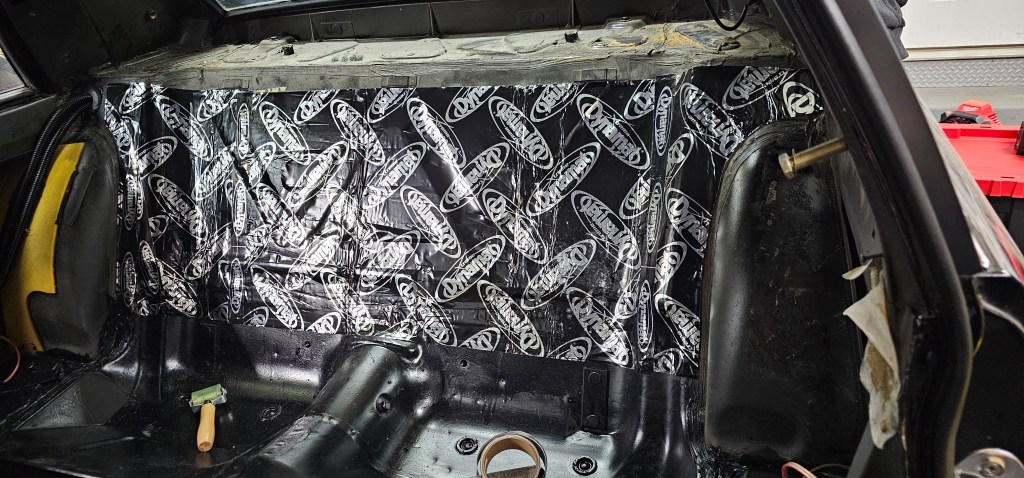
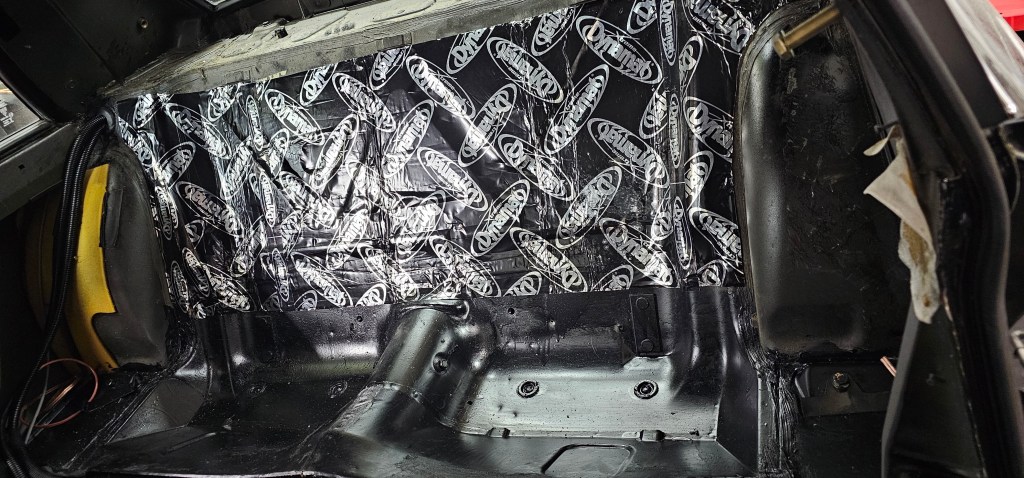
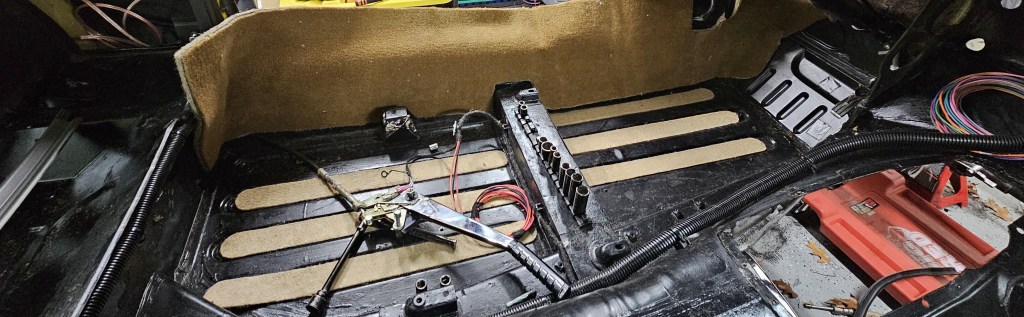
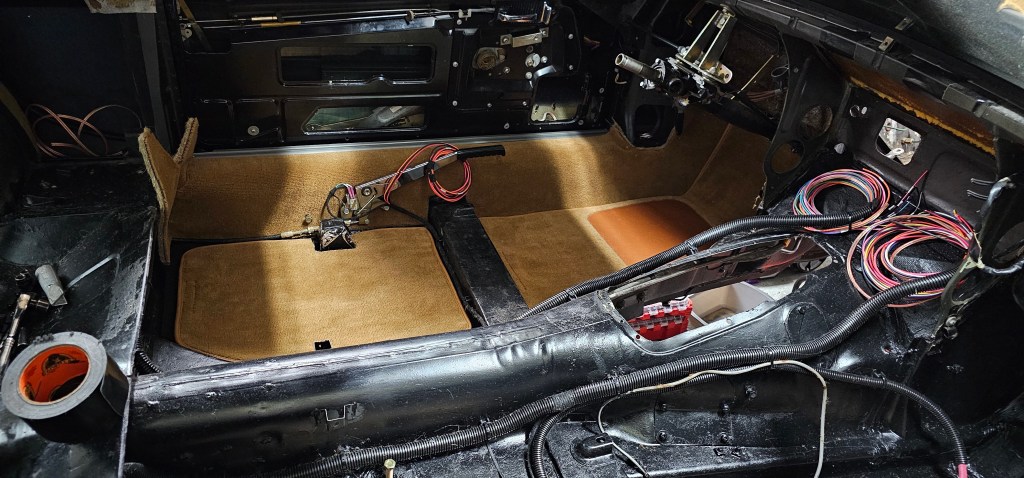
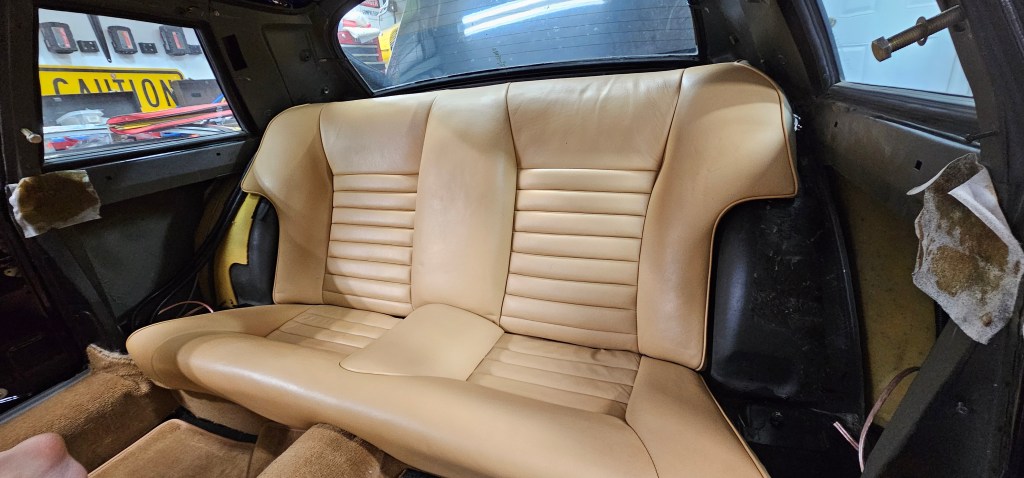
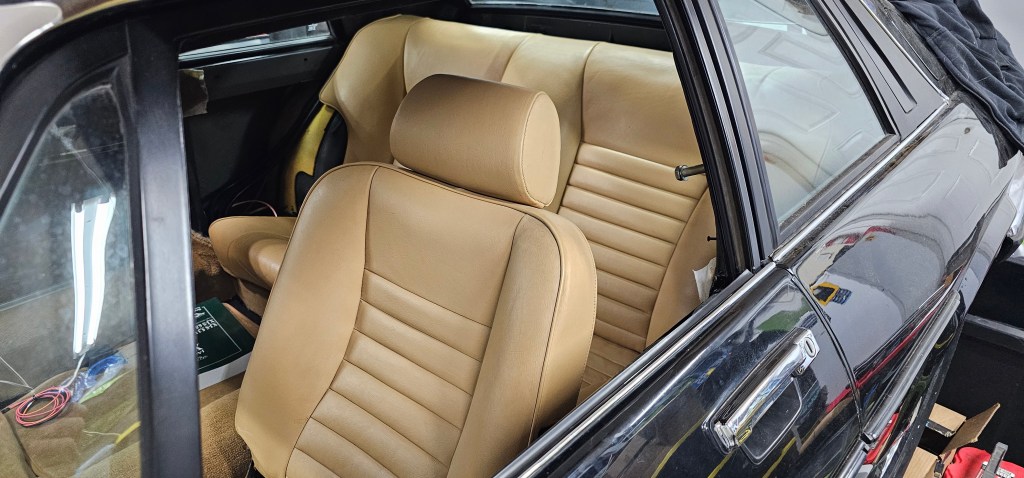
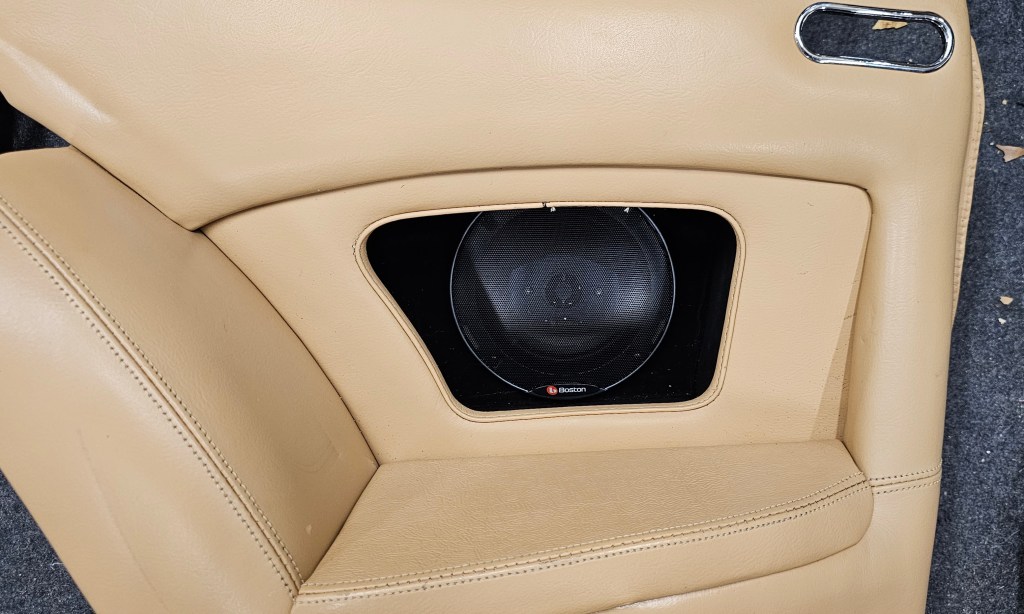
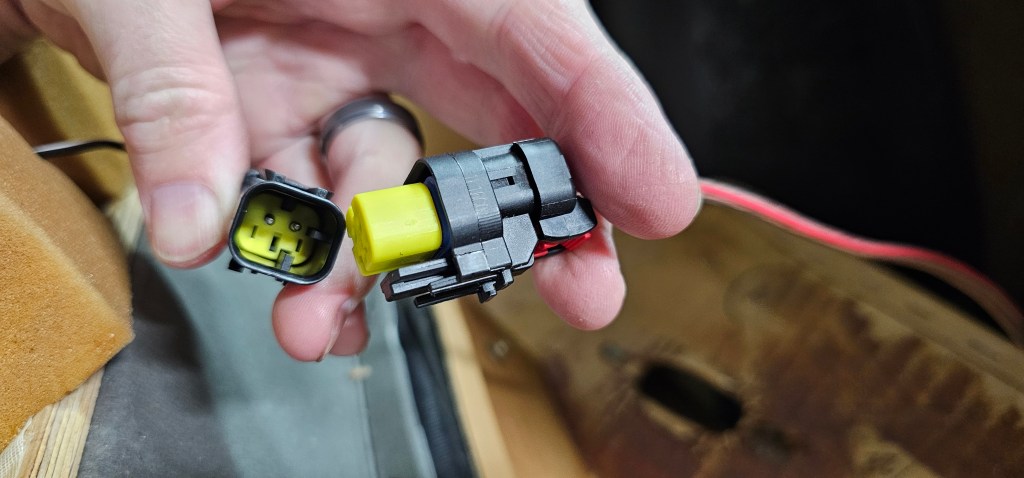
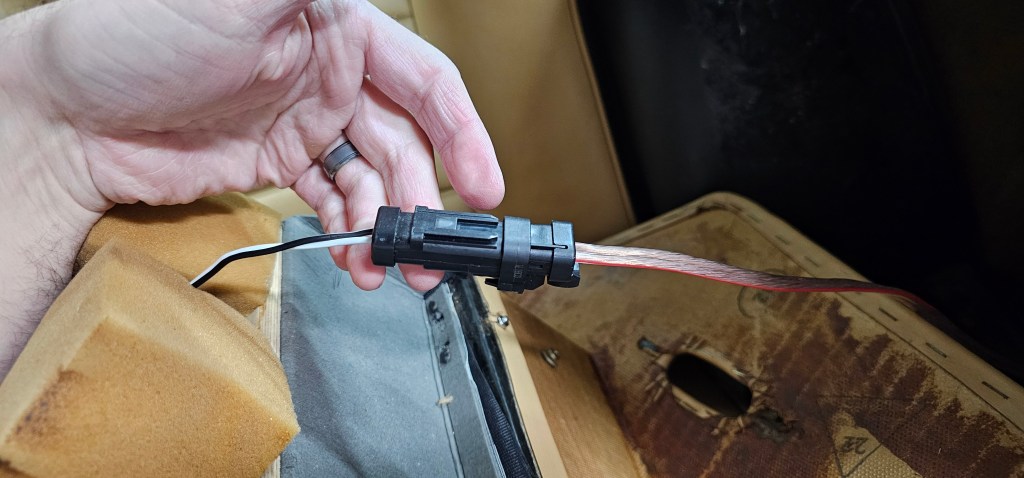
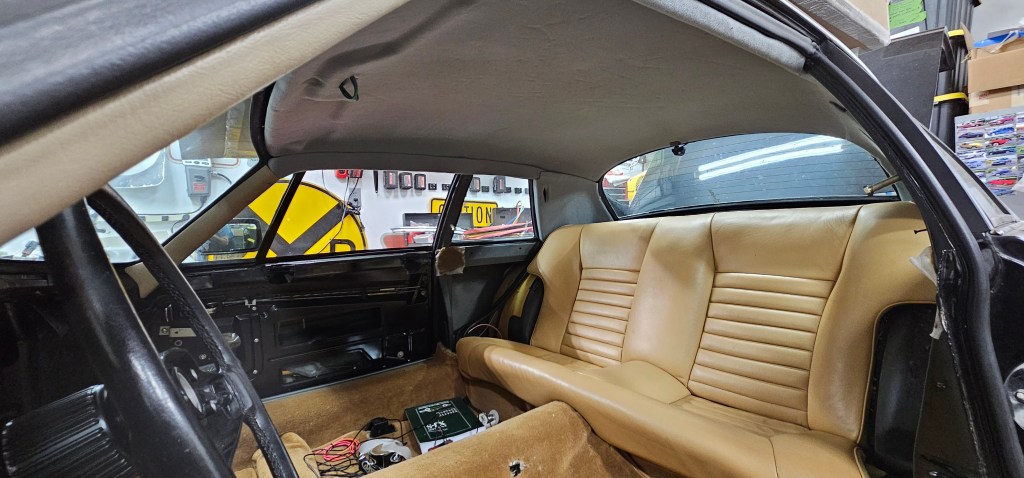
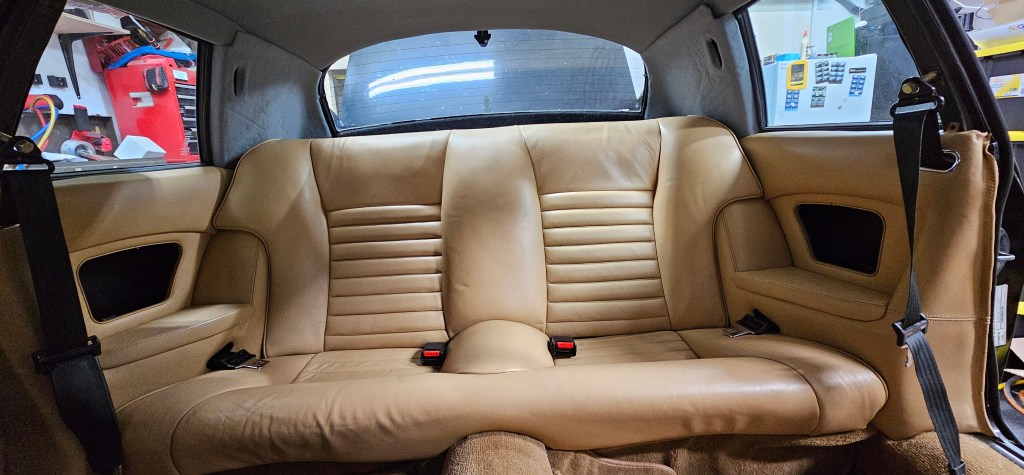
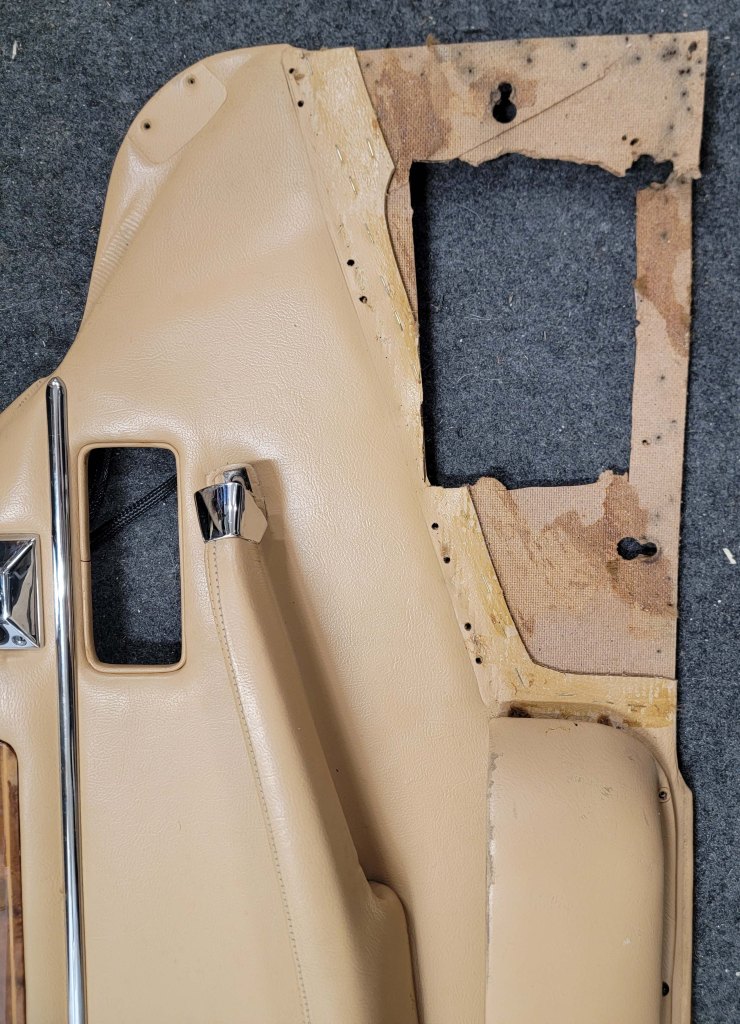
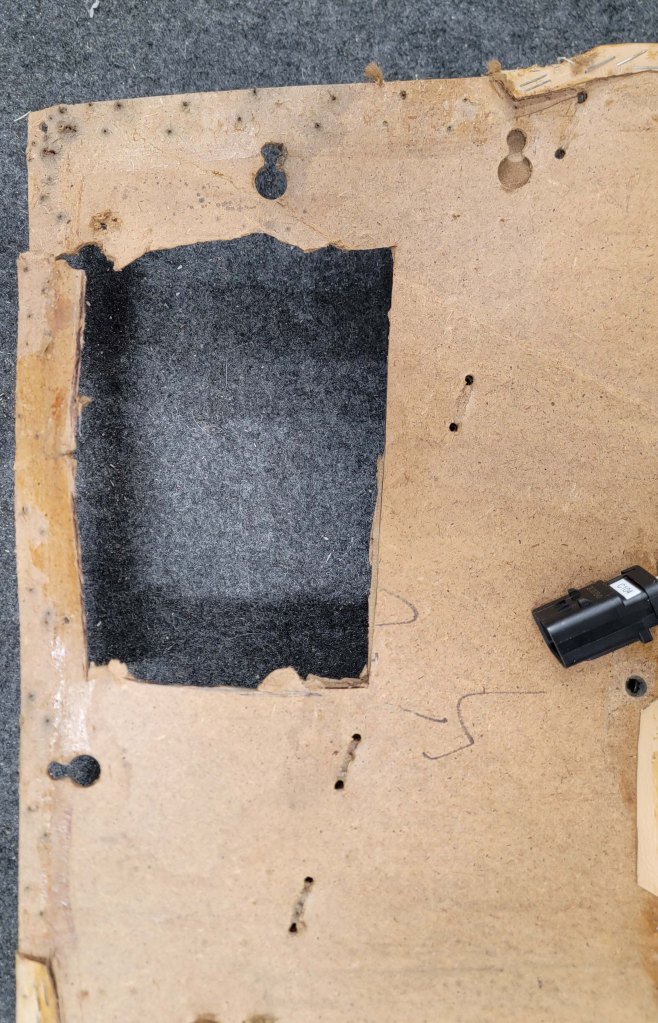
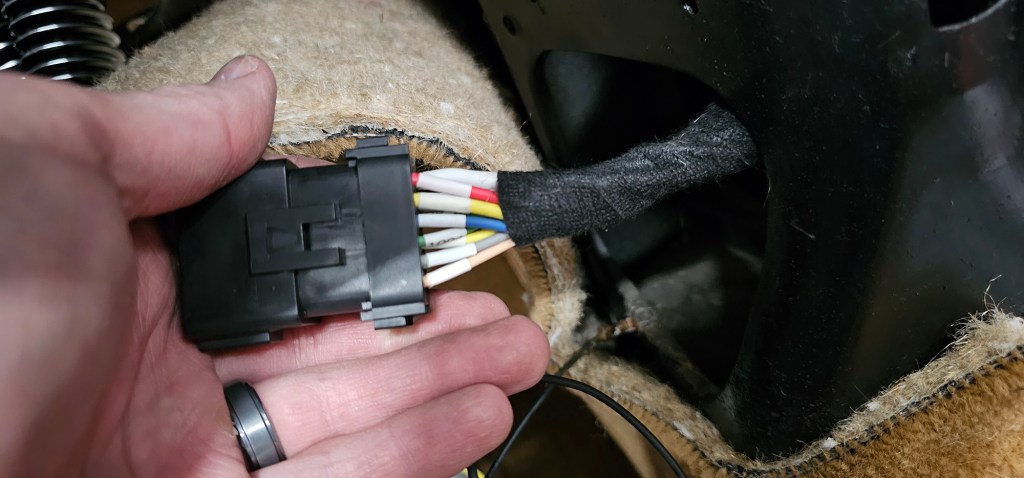
Hi! I have some time off work and a little free time, so back at the Jag project. Over the last week I’ve been able to get the passenger side door card back together, the door rewired and buttoned up.

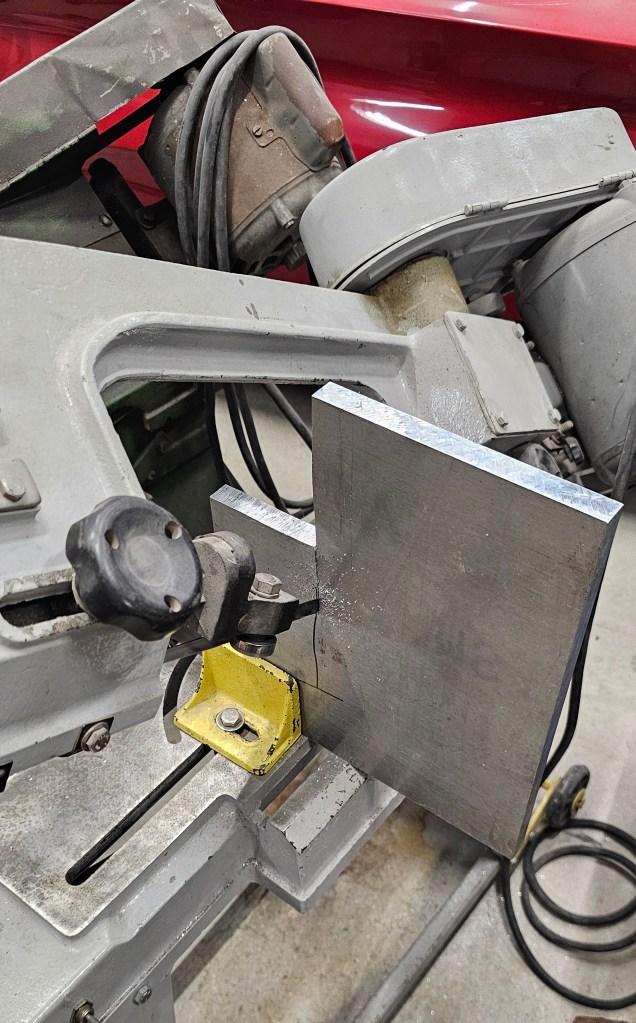
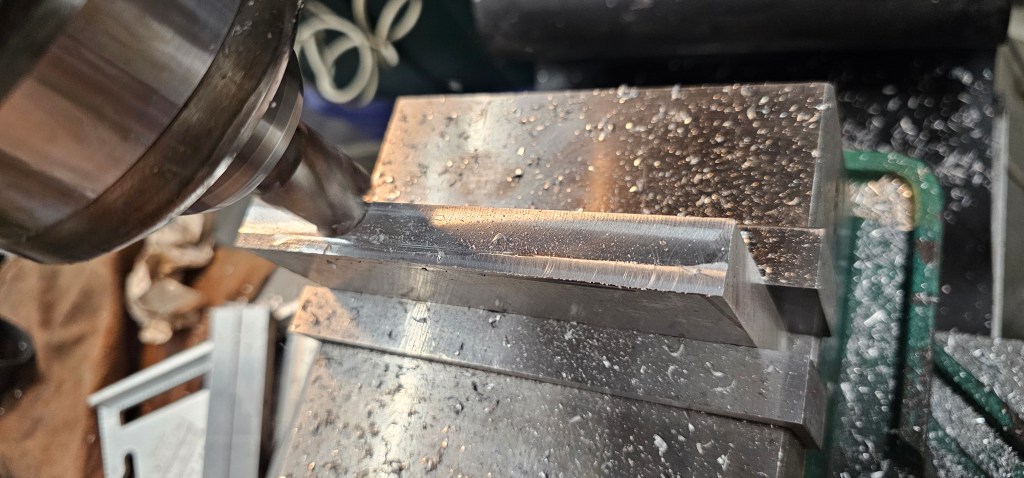
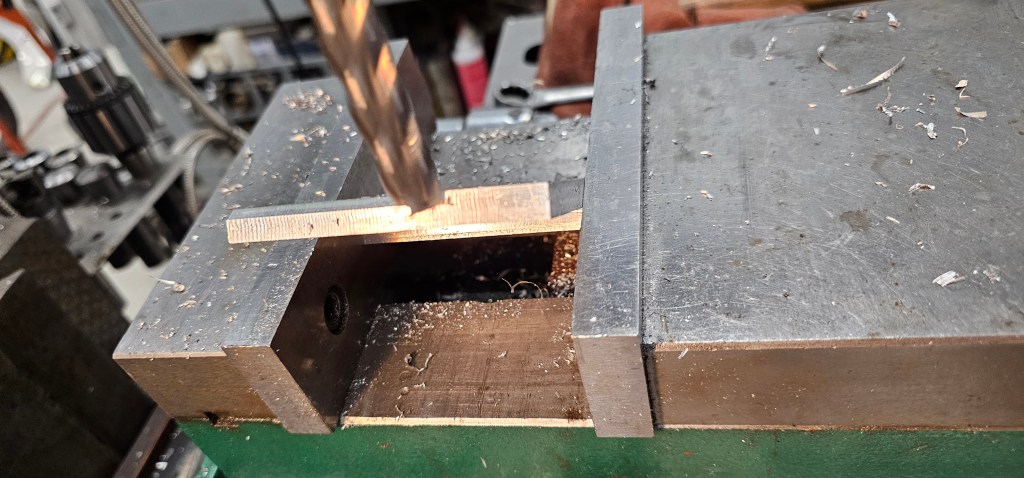
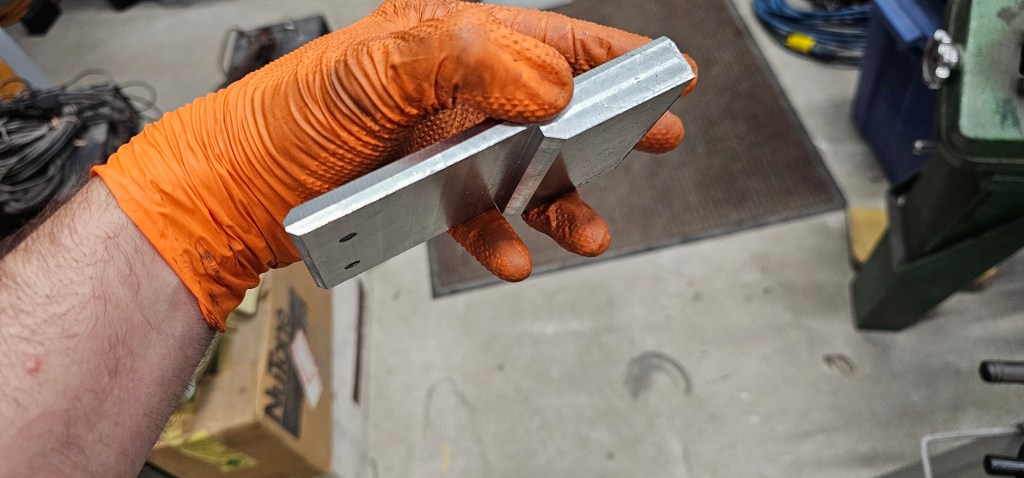
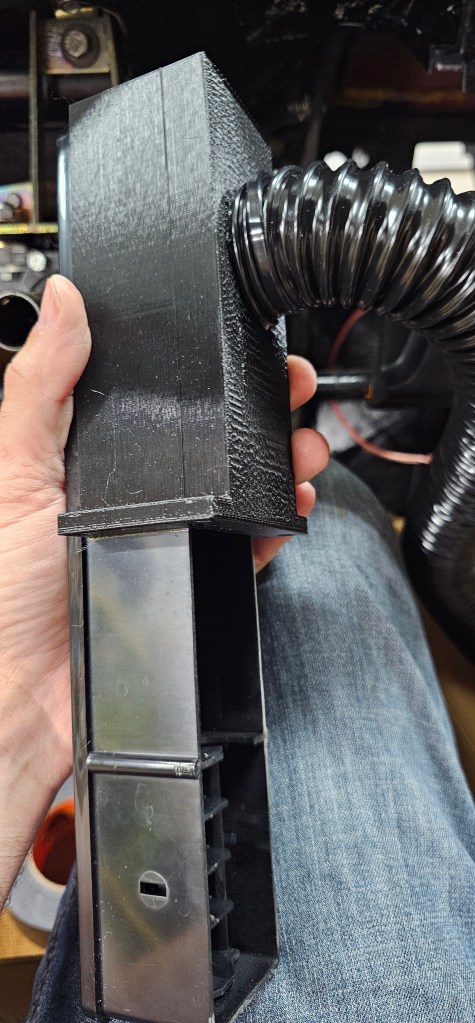
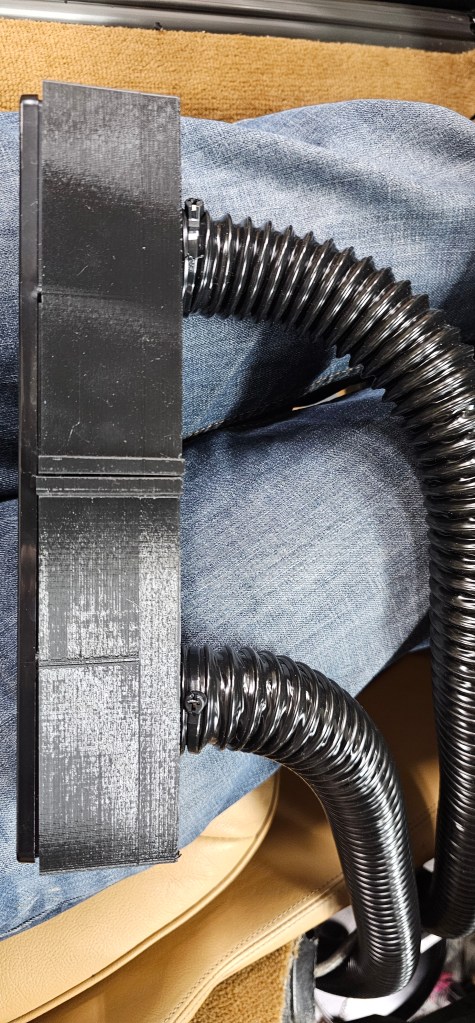
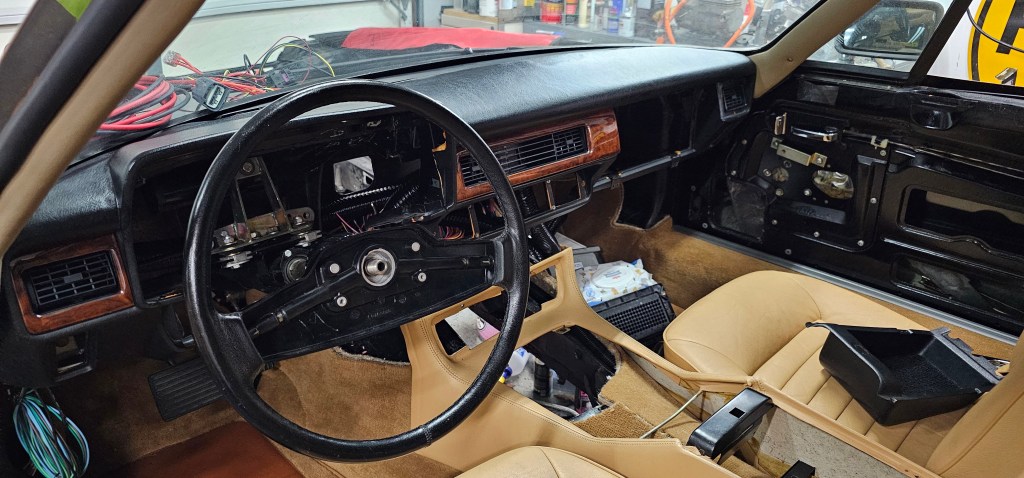
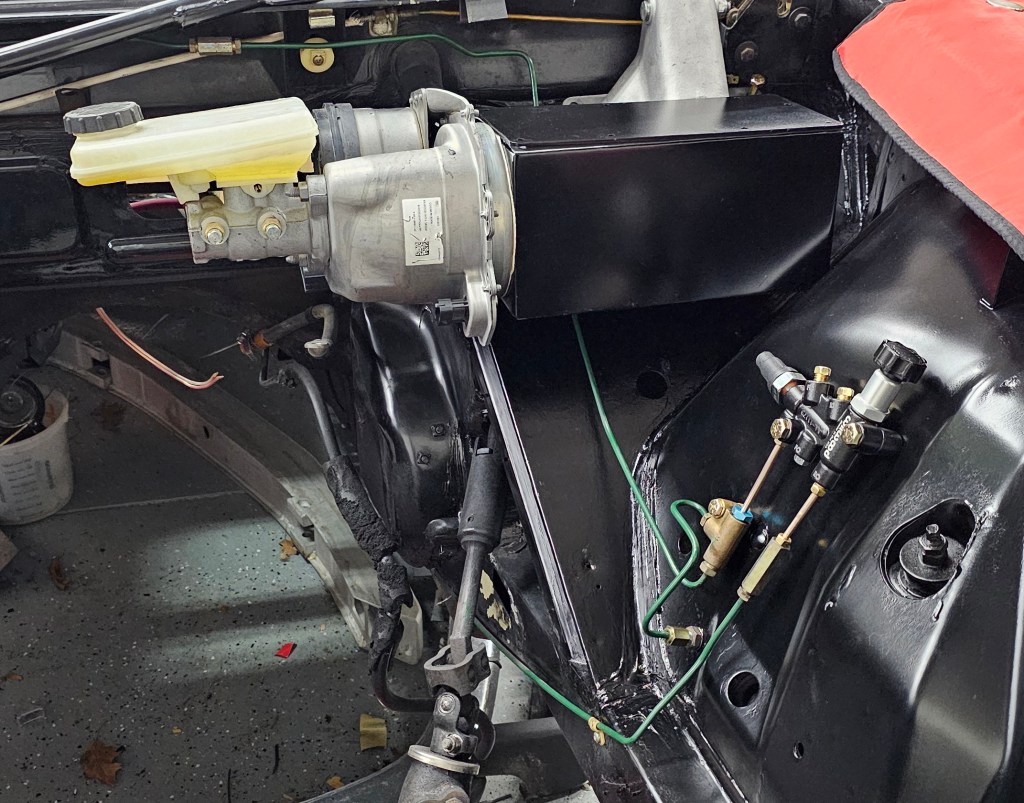
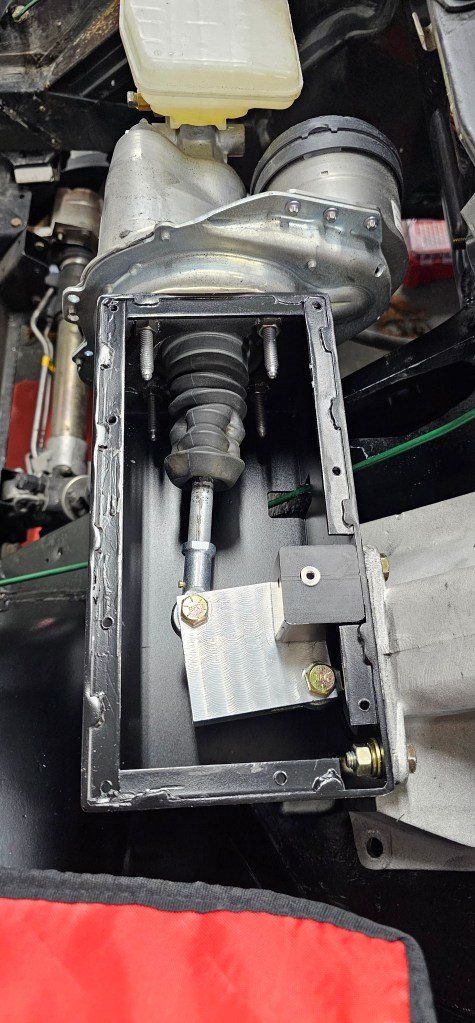
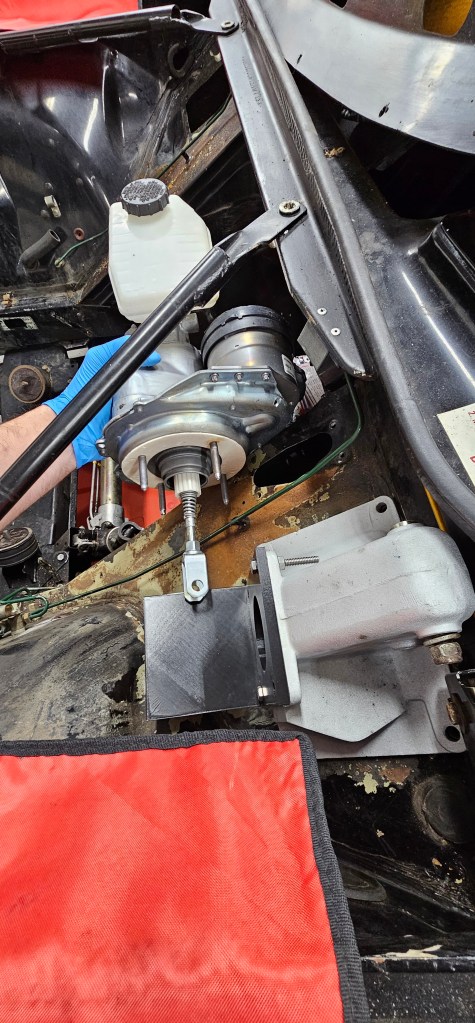
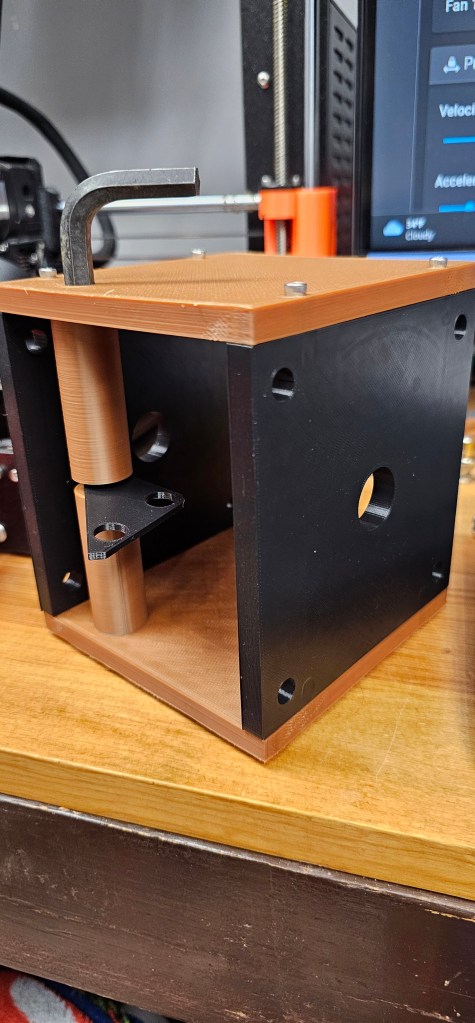
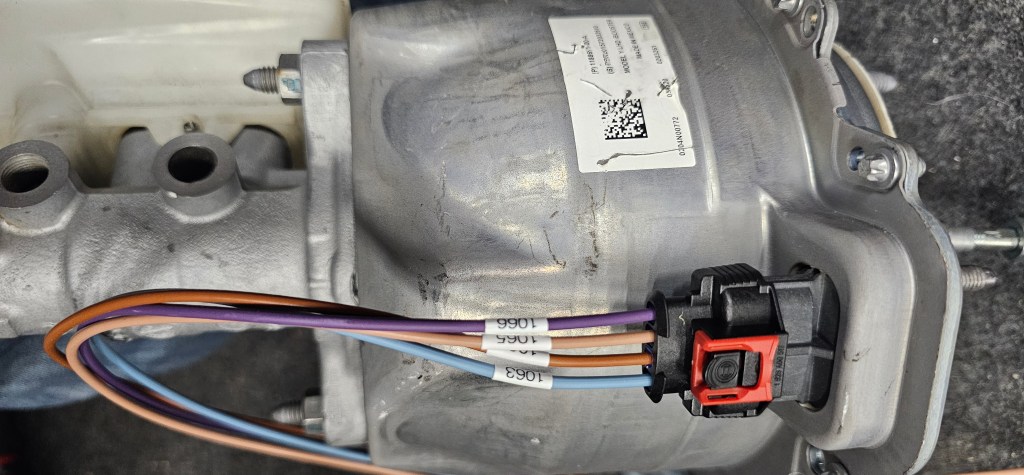
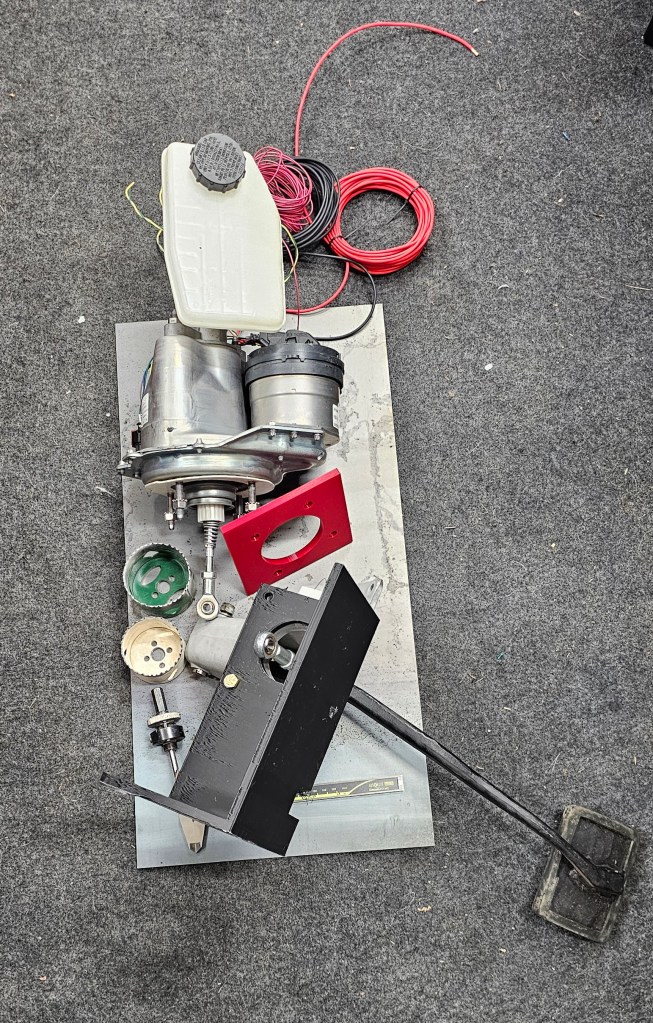
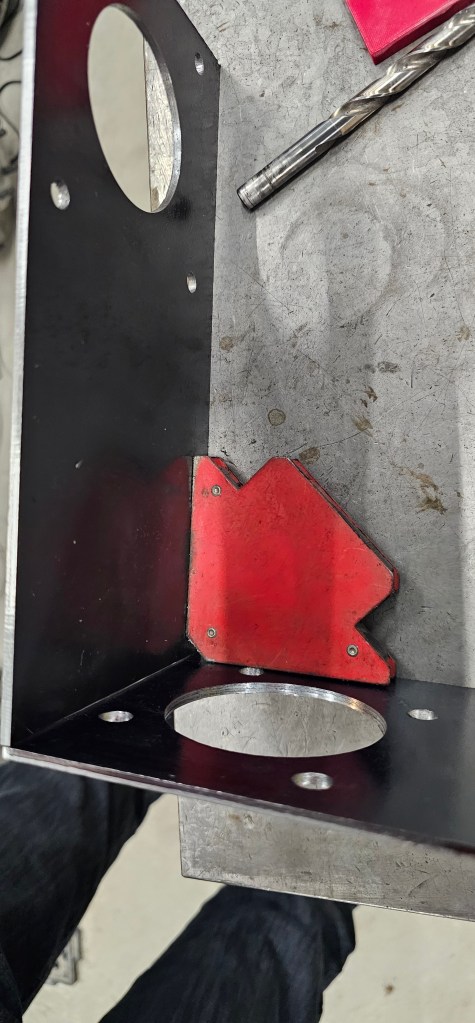
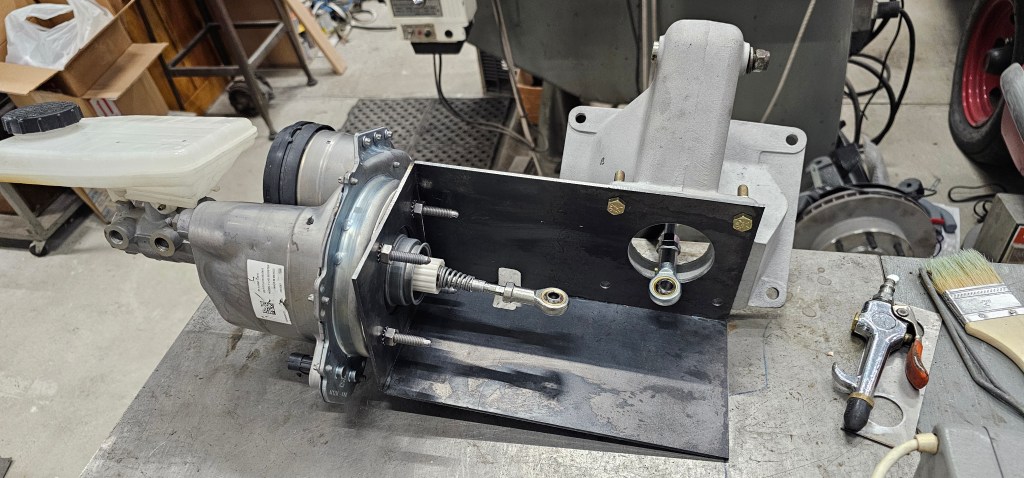
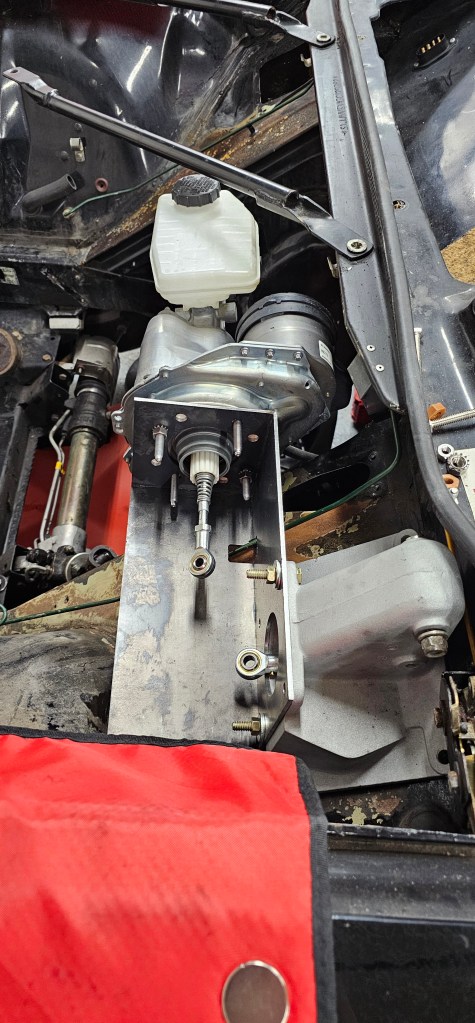
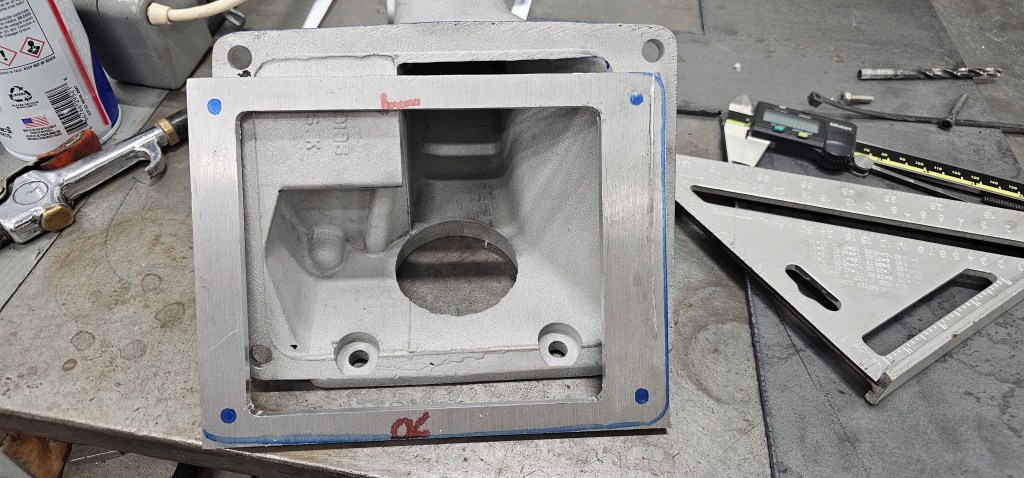
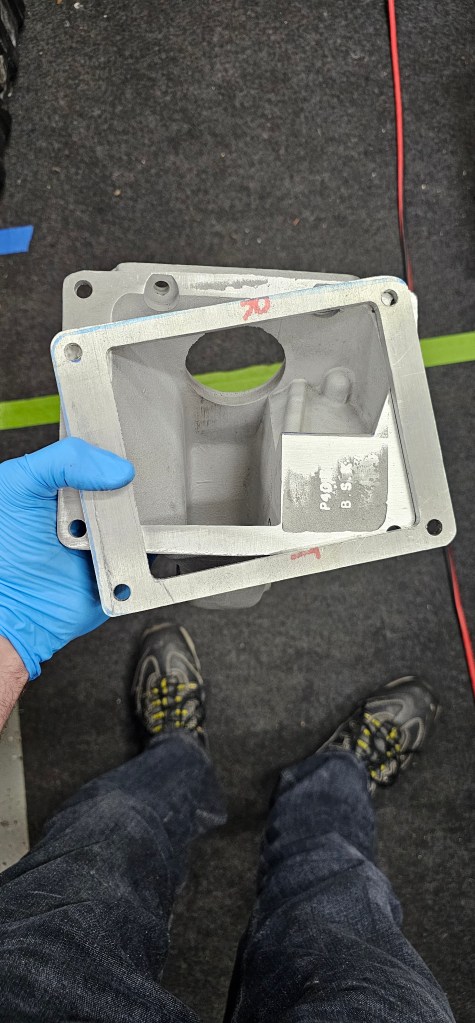
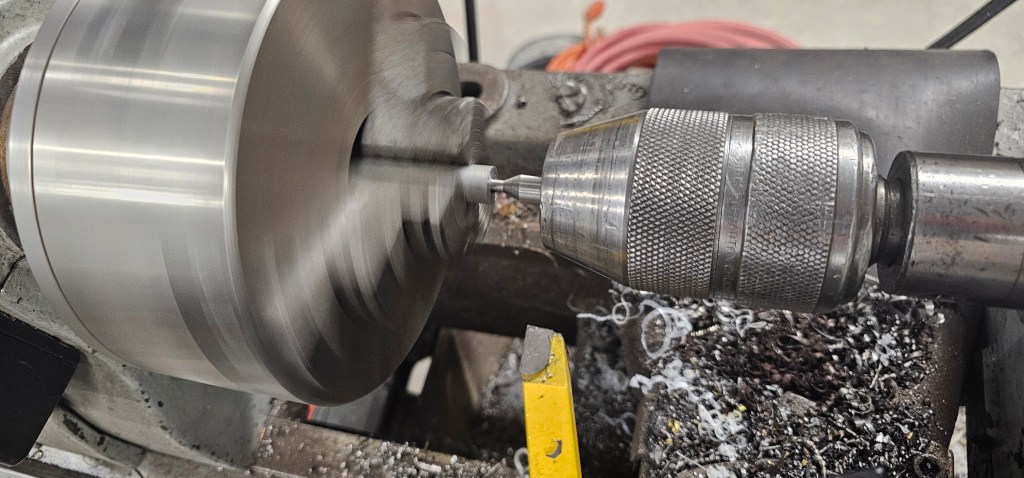
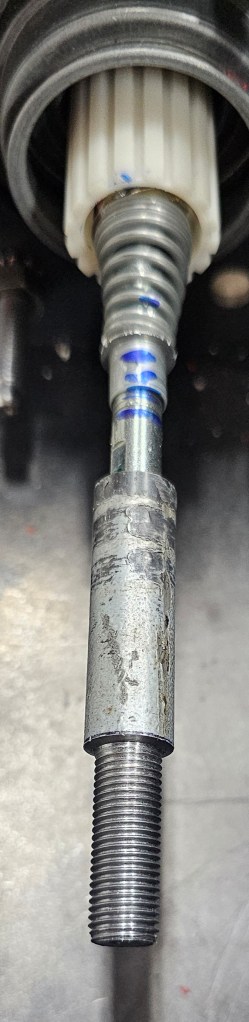
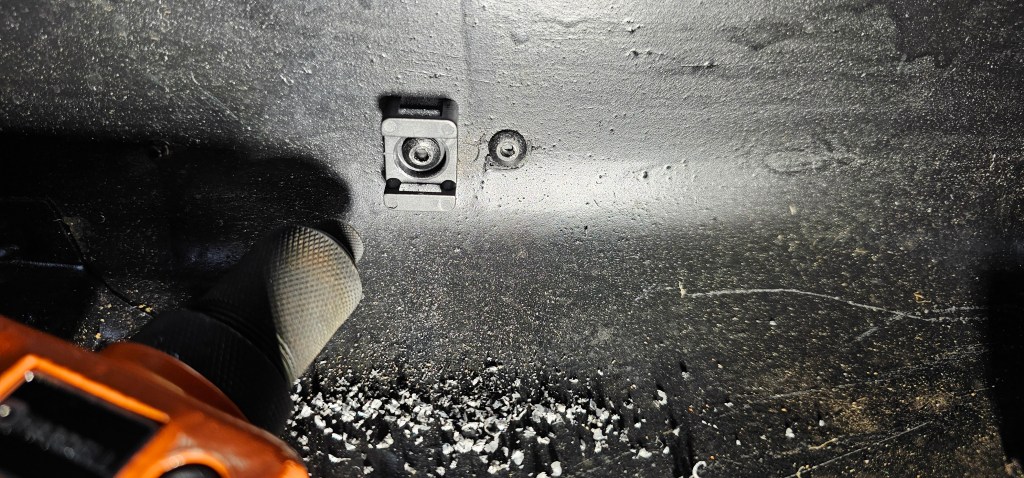
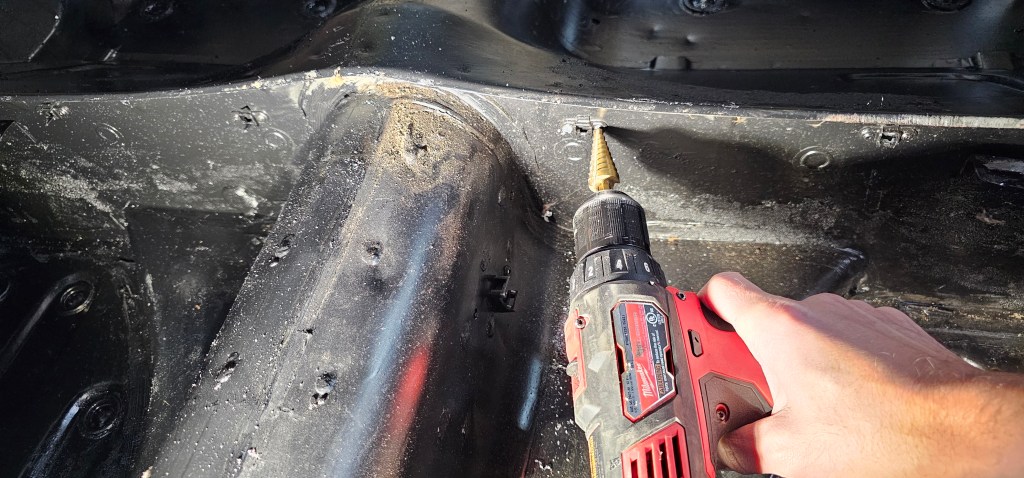
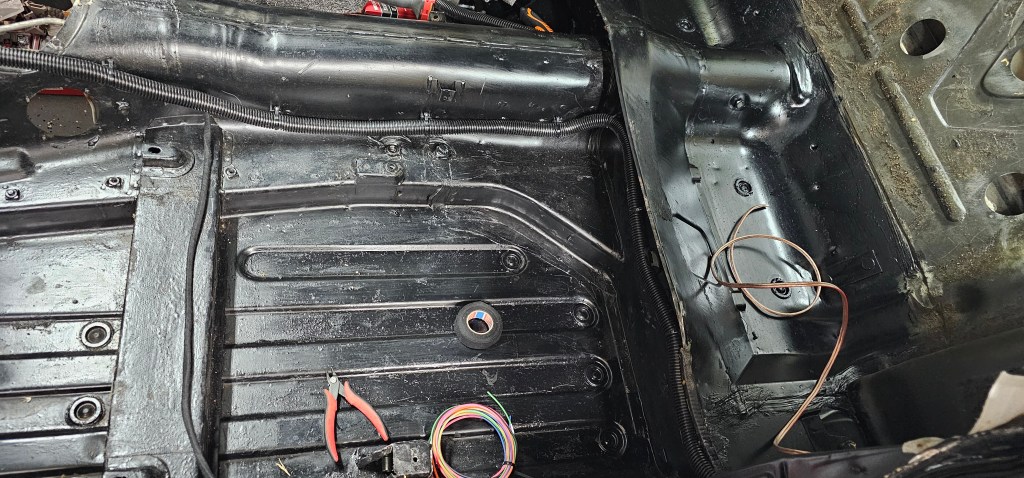
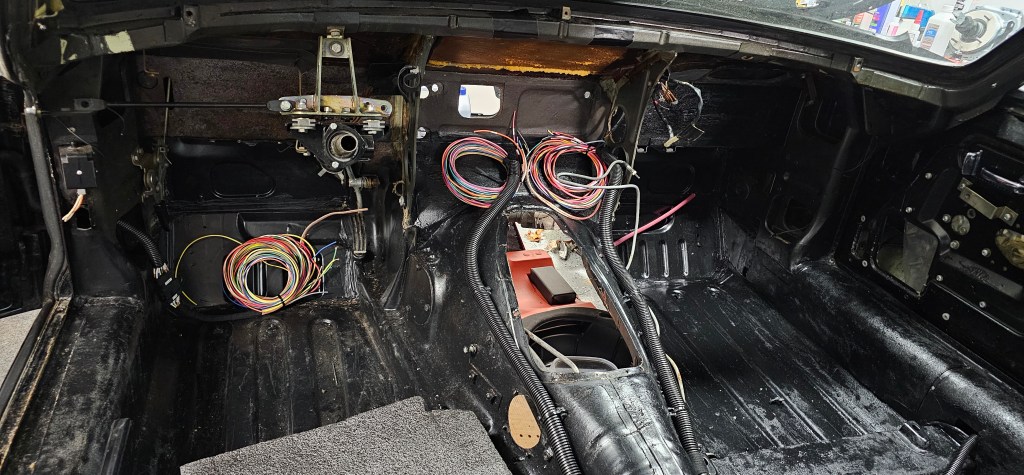
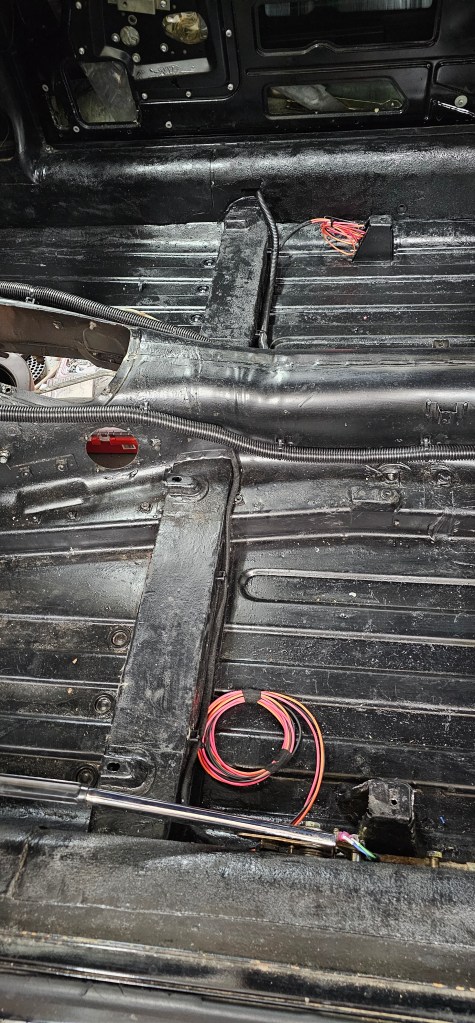
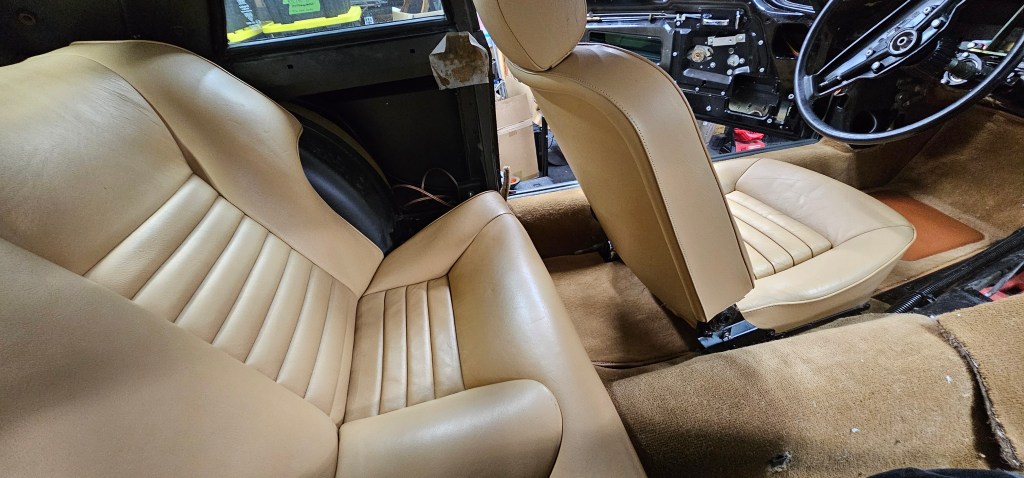
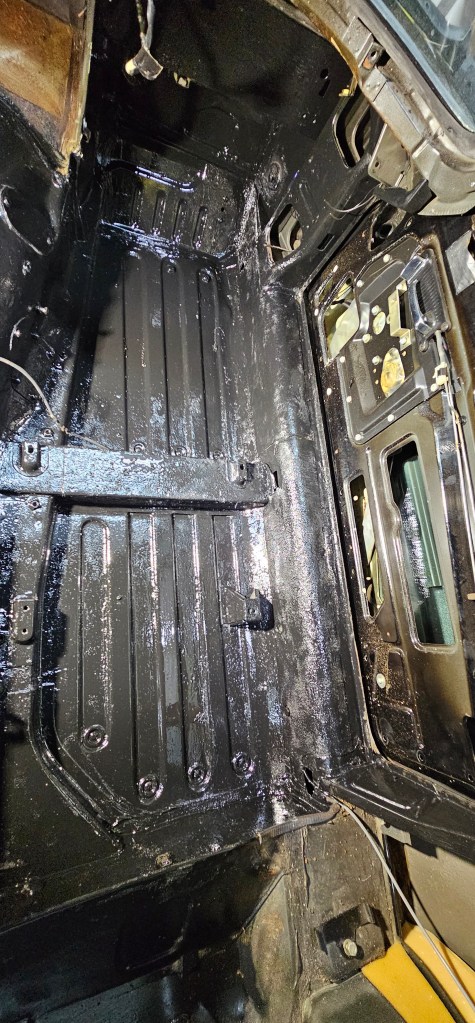
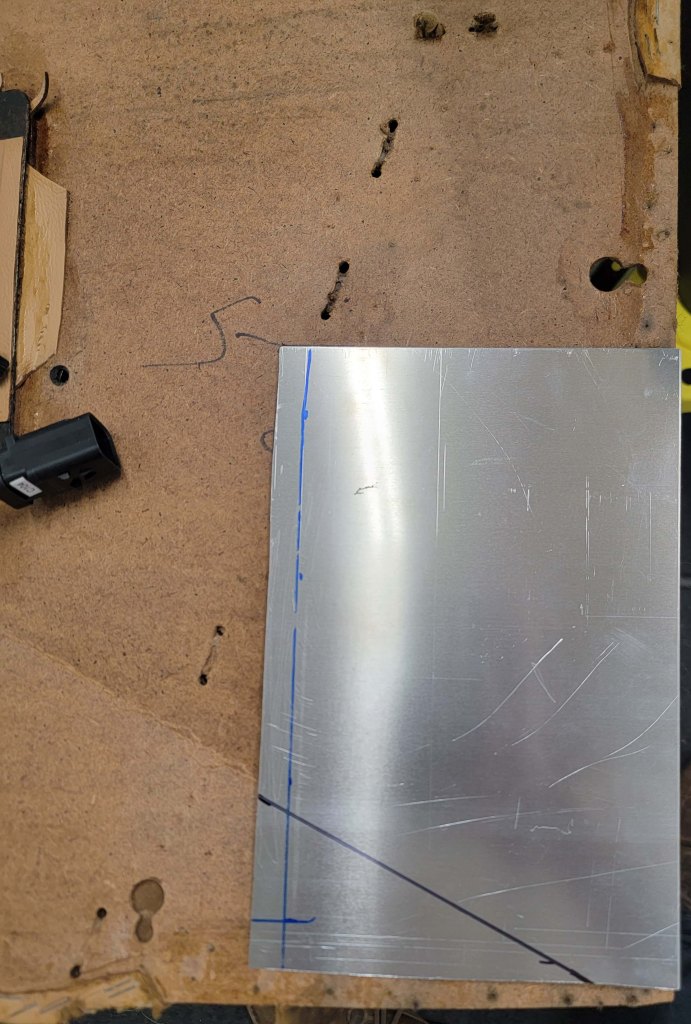
Now the next task before I do anything else is to see where the motor is going to mount. I need to get that in the proper location before I really do anything else.

Accelerator!

(10/06/2024)

I had a few moments to work on the car recently and installed an accelerator pedal from a random Mercedes. I think they use these in a lot of vehicles, but this was one of a few pedals I found where the pivot was at the bottom and not the top. I have VERY little room in the pedal box for a different pedal and I didn’t like the cable-driven setup I had started.

I ended up machining out a block of aluminum to hold the pedal at the right depth/angle and mounted it to the side of the transmission tunnel.

I like this pedal because it also has a double wiper, which I can use in my Thunderstruck VCU. It appears that the linearity of each pot is a little different, which may be interesting to configure.

Lights and interior!

(08/18/2024)

Another month has passed and some small progress on the XJS.

First, I have the left taillight complete! I finished the LEDs for the brake part and in total each light assembly will have 460 LEDs.

And just when you think I couldn’t find more of the old car wiring, I present this:

Because the HVAC is going to be all changed, I 3D printed some manifolds for all the vents to route to traditional tubing. This will eventually route under hood as that is where I am going to install the new HVAC box. A little unconventional, but space under the dash is at a premium and the setup I am looking to use will not fit.

Lastly I have the dash frame and the dash pad installed and starting installing the wood trim around the bits I have complete! It’s slowly starting to look like a car again!

Brakes are (basically) done!

(03/31/2024)

This weekend I bolted the brake booster in for what I hope is the last time. I made a gasket for the lid and did my best at bending the nickel-copper lines. I then designed and 3d printed a small clip to hold the lines in place. It didn’t turn out too bad!

I started working on the throttle for the vehicle. Using the existing pedal because no modern electronic pedal will fit, but rather than using all the linkage over (that was used for the transmission kickdown and cruise control) I am running the cable right to the pedal. The issue is that the gap in the pedal had to be widened about .020″ – – which meant I had to do this sketchy thing:

Aside from all that I also cleaned up the instrument cluster mid plate and primed it. Hope the right color paint arrives this week and I can get the cluster going again!

Brakes are nearly complete

(03/24/2024)

I’ve been sick most of this weekend so I haven’t done much here. However, I have the brake box completely painted and assembled for (hopefully) the last time. I need to make a new throttle ingress plate first before I bolt this to the car, but I’m close. I also mounted the brake proportioning valve and plumbed that in.

It’s been close to two years since I started the taillight portion of the project, but I finally drew up the PCB for the taillight controller. I have sent this out to Oshpark to make a board and hopefully no mistakes!

Gauges!

(02/24/2024)

At one point I was going to go full digital on the gauges. Old school 7-segment displays. Then I changed to use some round TFTs I found – – but those ended up having some driver issues and the ‘fix’ I didn’t like and felt it had some longevity constraints.

So, back to analog gauges! The speedometer can stay the same, the center four “roller gauges” will be a display (that isn’t as critical) and the tach is now changed to be an amp gauge. I’m fairly happy with how this came out, however the dry transfers I had made were not the best; even though I sent vector files to ensure they would be perfect, they have imperfections.

I’m going to let it go for now and know that I have another tach I can clean and paint and redo the gauge when I feel like it. Enjoy!

More interior and brakes!

(02/04/2024)

So I can’t believe it’s been a month since I’ve posted, but I have done work throughout January.

Two quick updates – the backseat area is finished and new LED retrofit lights made and installed!

Next item to tackle is power brakes. I’m using a Bosch iBooster 2 from a Tesla model Y – – – and it doesn’t clear the wheel well. So, I need to mount it 90 degrees and make a pivot box. Sounds simple, and it probably is, but for me it has been a head scratcher. Slowly getting it and making it out of metal, after multiple 3D printed trial. I 3D print the test parts and then once I know it’s good, I replicate it from steel/aluminum as needed.

Then after all this, I still had tolerances too close and had to make a spacer plate for the pedal box to the firewall – which is a real joy to bolt up.

Then this past weekend I machined out the extension for the booster pushrod; converting the M8-1.25 to 3/8-25 since everything else is UNC.

Hopefully I’ll make more posts throughout February, I need to get back to my every weekend habit… Until next time.

Christmas and New Years holiday

(01-01-2024)

Here we are at the start of a new year. I got a LOT done on the Jag over the holiday. Most importantly I have the entire back seat area reinstalled – everything cleaned, mold-free, replaced the velvet fabric, new speakers, etc. I’m waiting on some LEDs to arrive before I install the rear dome lights. Also in this photo dump is the beginning of the foam removal from the bottoms of the front seats. I wanted to add seat heaters – and I will on the seat part, but certainly not tacking the backs…it looks like it would be really tough to pull back the leather and install heating elements. I will have wires available in case some day I decide to do that.

Enjoy the photo dump!

Cold again…

(12/11/2023)

It’s cold in Michigan again, so that means outdoor work is done and back to the Jag I go!

My dad was doing some sandblasting this week so I brought over one of the starfish wheels. I have four clean wheels I want to repaint to match.

Back on the car I managed to get the passenger side cleaned up and a sealing coat of paint on it. Next up is adding in wire loom, figuring out as much of the “boot to bonnet” wiring runs as I can (adding a pull string for the ones I forget down the road), and then installing carpet!

Cardboard!

(03/20/2023)

Not a lot of time today, but I pulled the door pad off the driver door and removed the carpet. Now I start the process to repair the big hole I made 15 years ago with a piece of aluminum!