(03/11/2023)
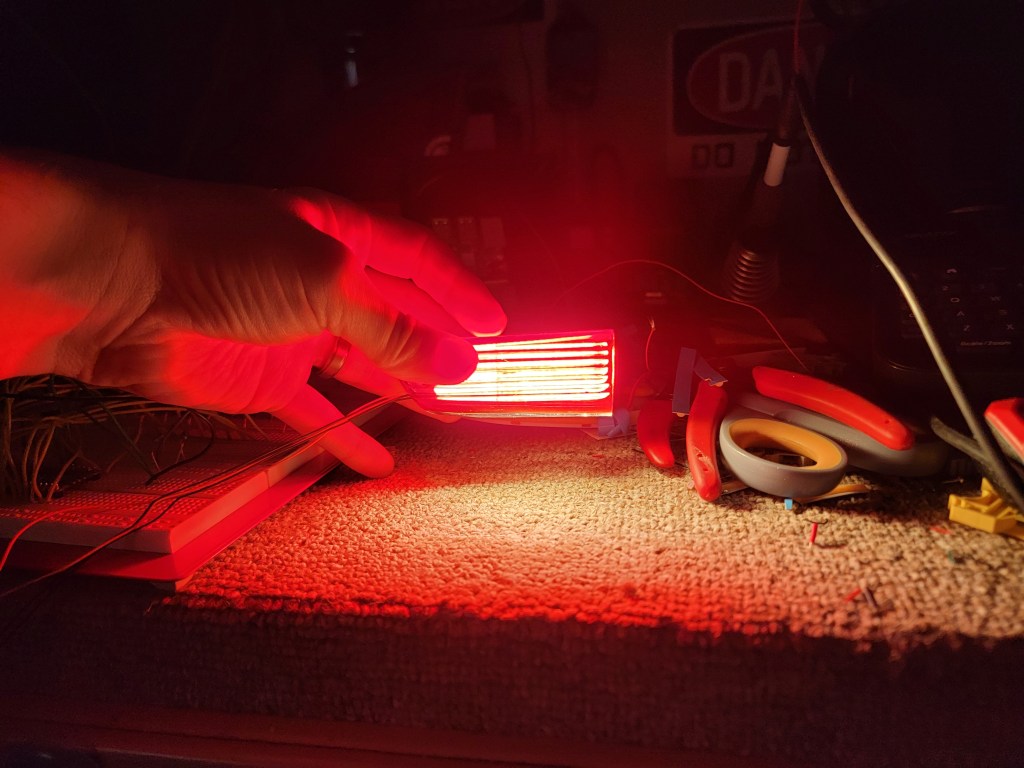
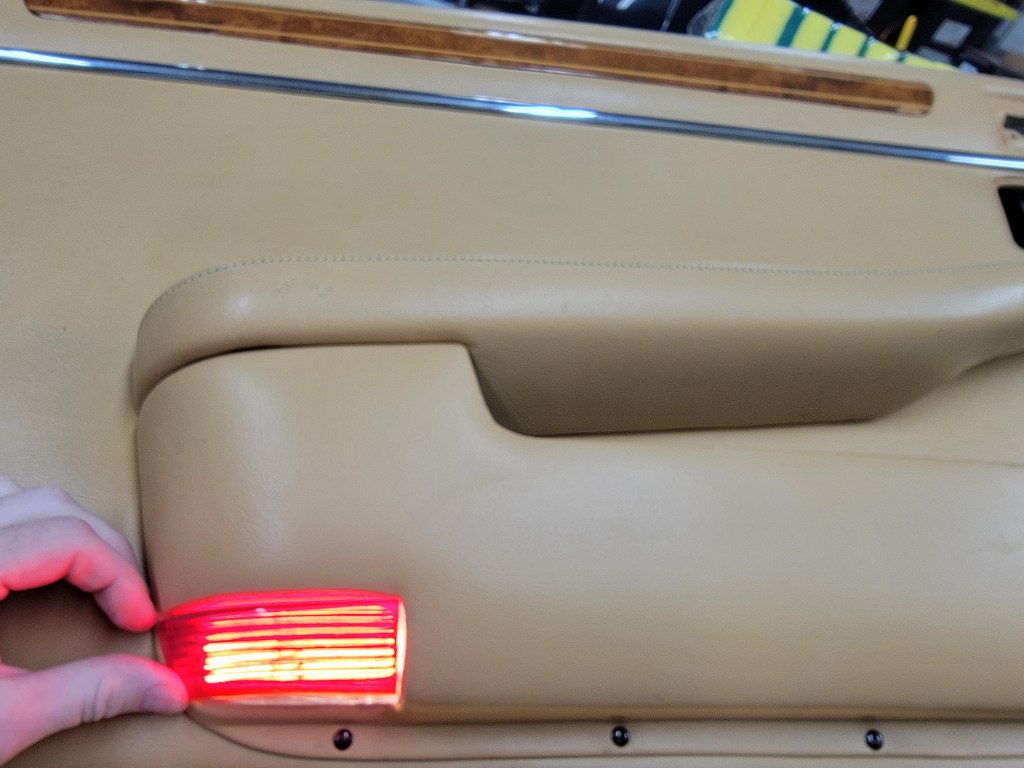
Over the past week I started working on some other parts of the car. The first of which is converting the puddle lights to LED over their incandescent lamps the car came with.
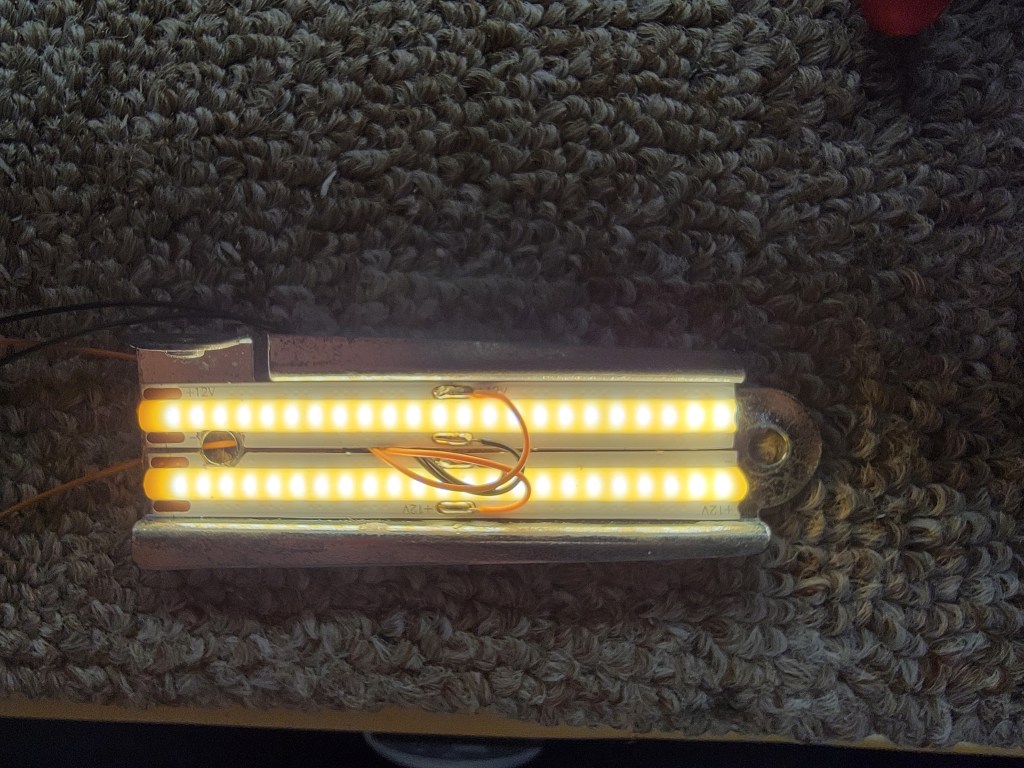
I’m using these small cobb LED strips. They have a high density of LEDs in a small strip. I did have to notch the strip a little to clear for the screw, but I made sure to notch on the negative side so if something shorts out, it’s just bonded more to ground.
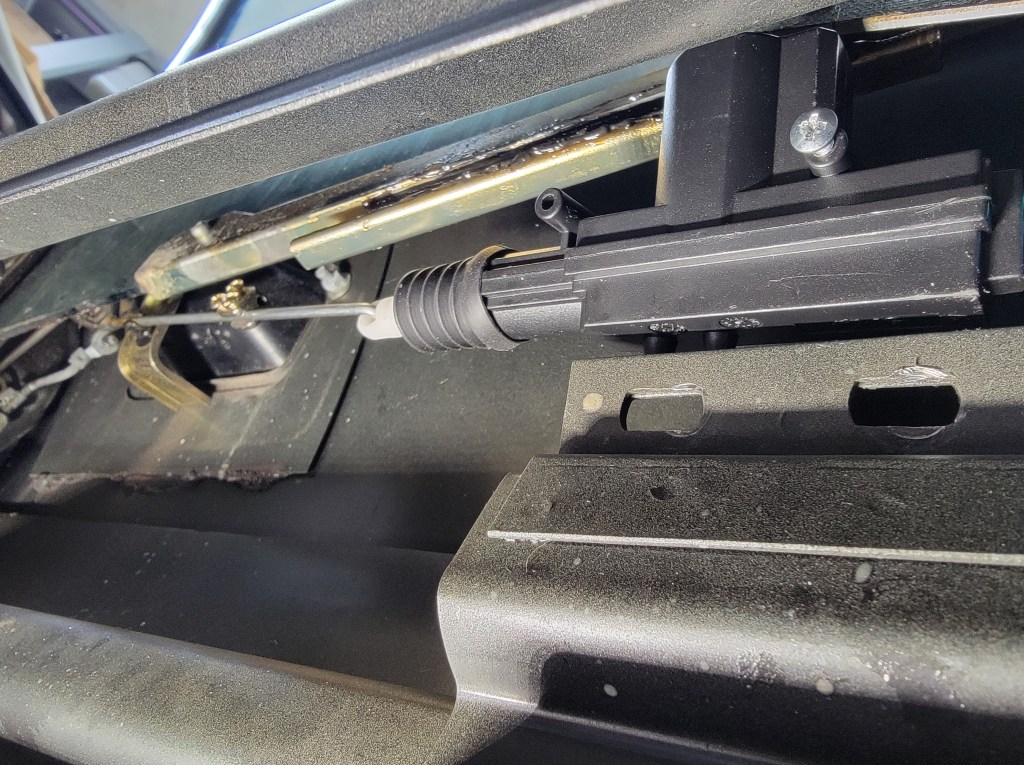
Next up is power door locks. I picked up these after market door motors. I thought about going something out of a GM product like from the GMT platform, but these looked well built and I got four for the price of what one used GM actuator would be. I decided to take my chances.
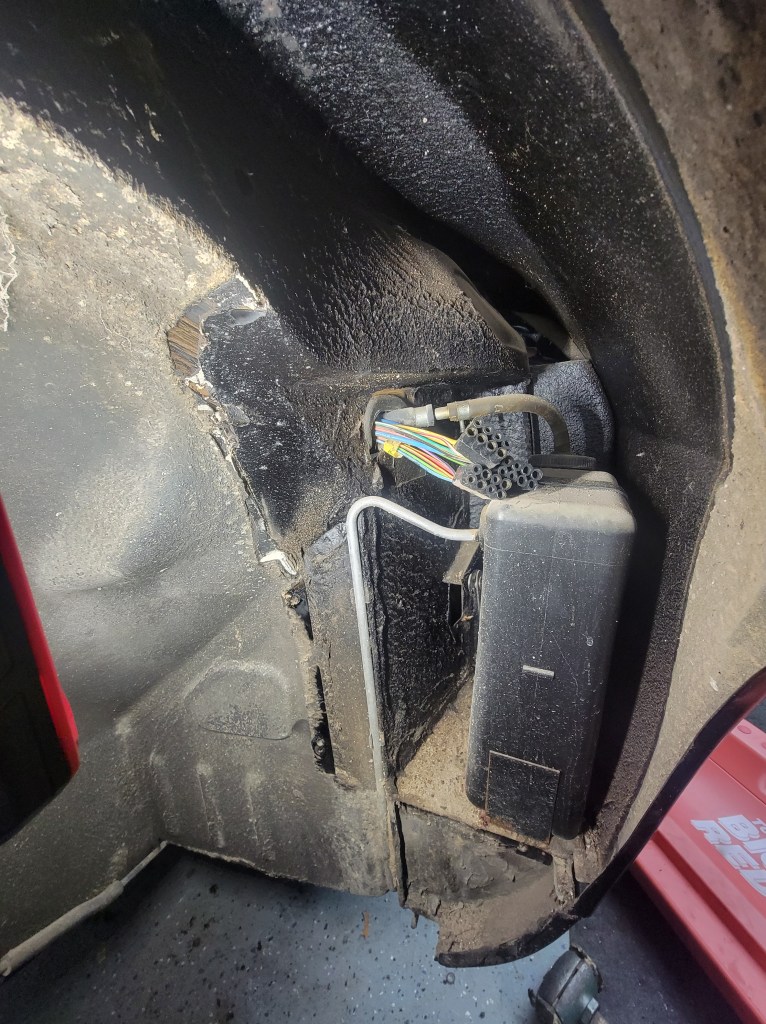
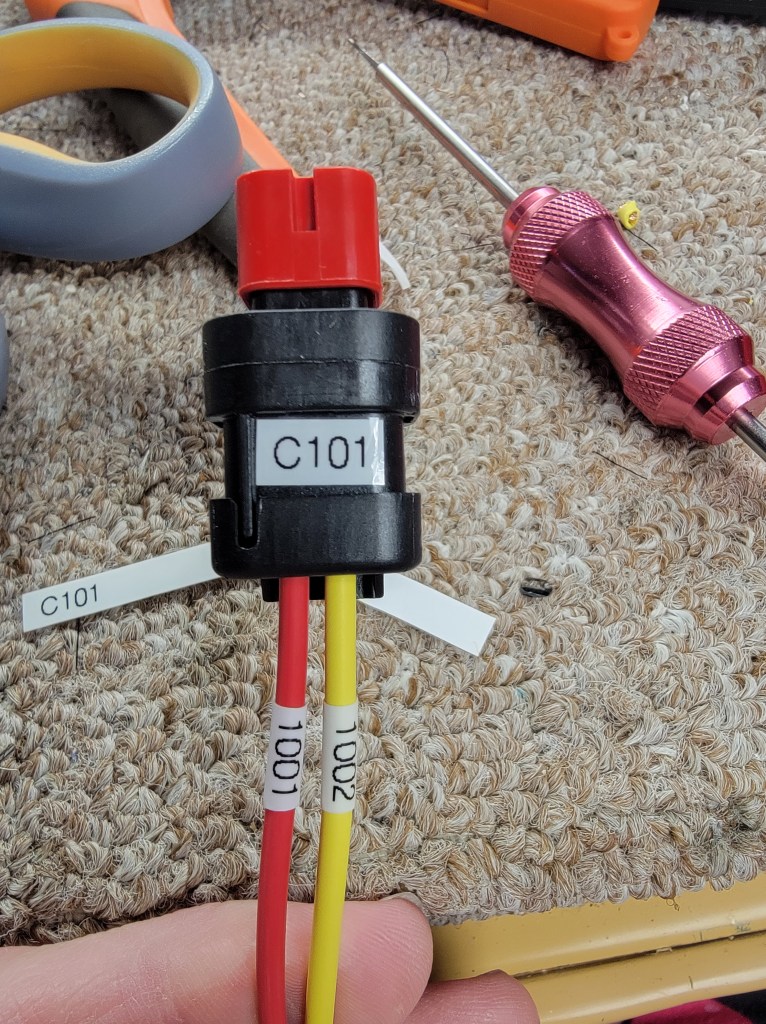
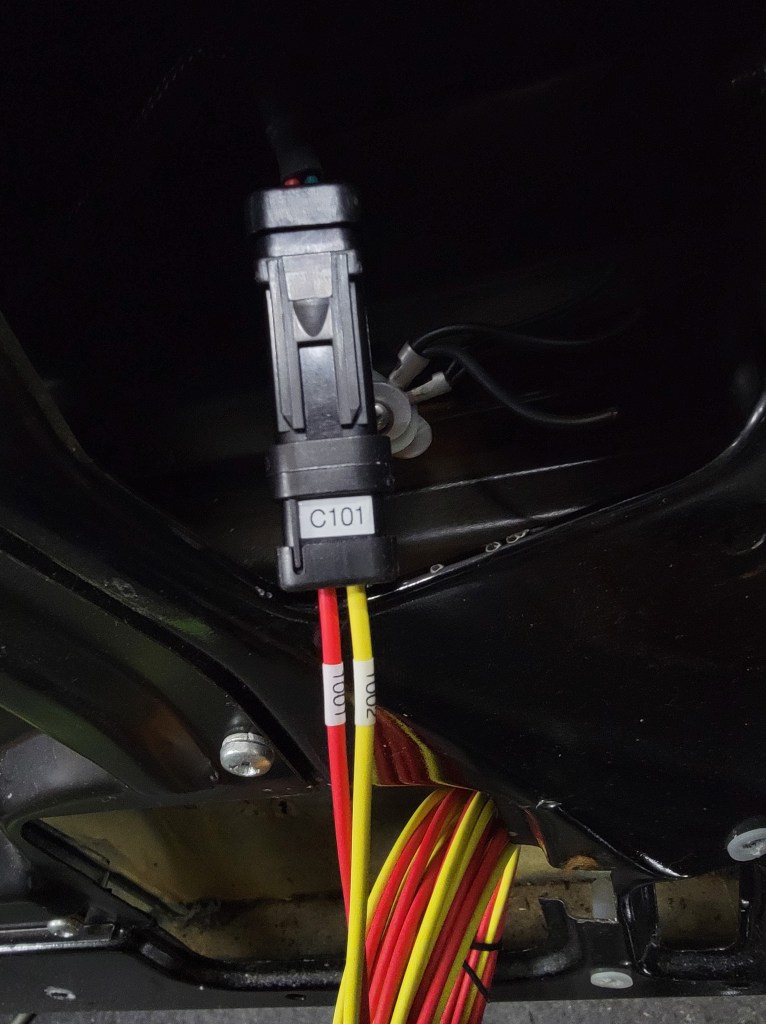
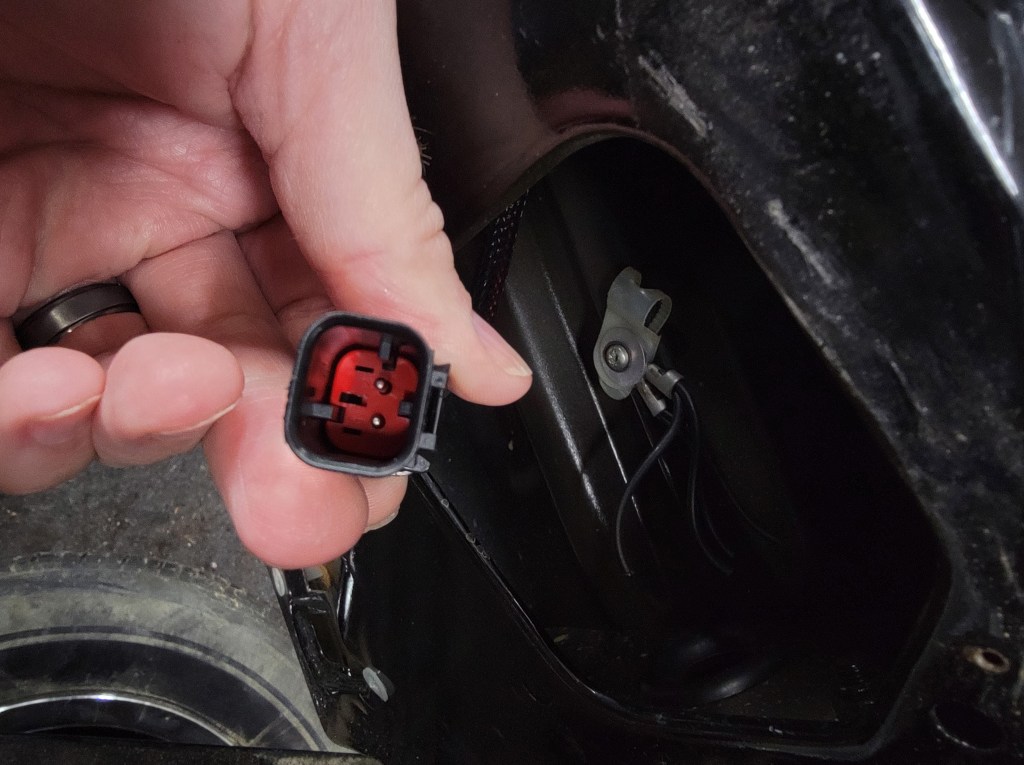
This also shows the wiring and connectors I’m using. These are all Ampseal16 connectors which use the Deutsch DT series pins. The Ampseal, in my opinion, offer a lot more options as far as keying multiple same-pin connectors to different shells (like in a door where I have a lock, a window motor, etc)
I need to make a small bracket to adapt the factory door lock mount to this new motor – I plan to do that next.
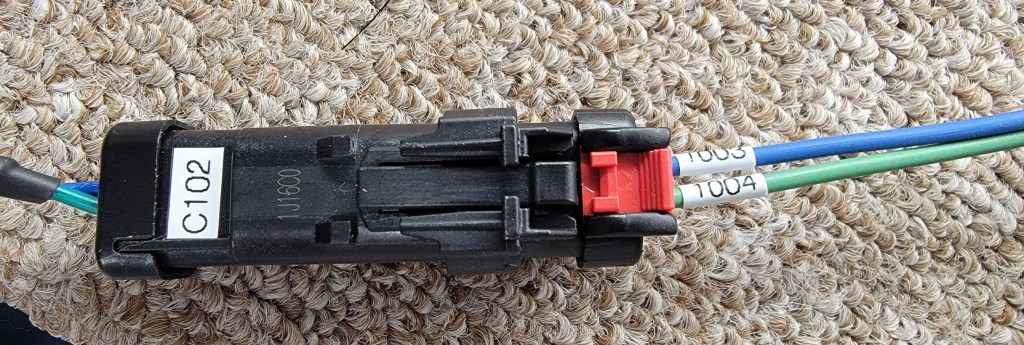

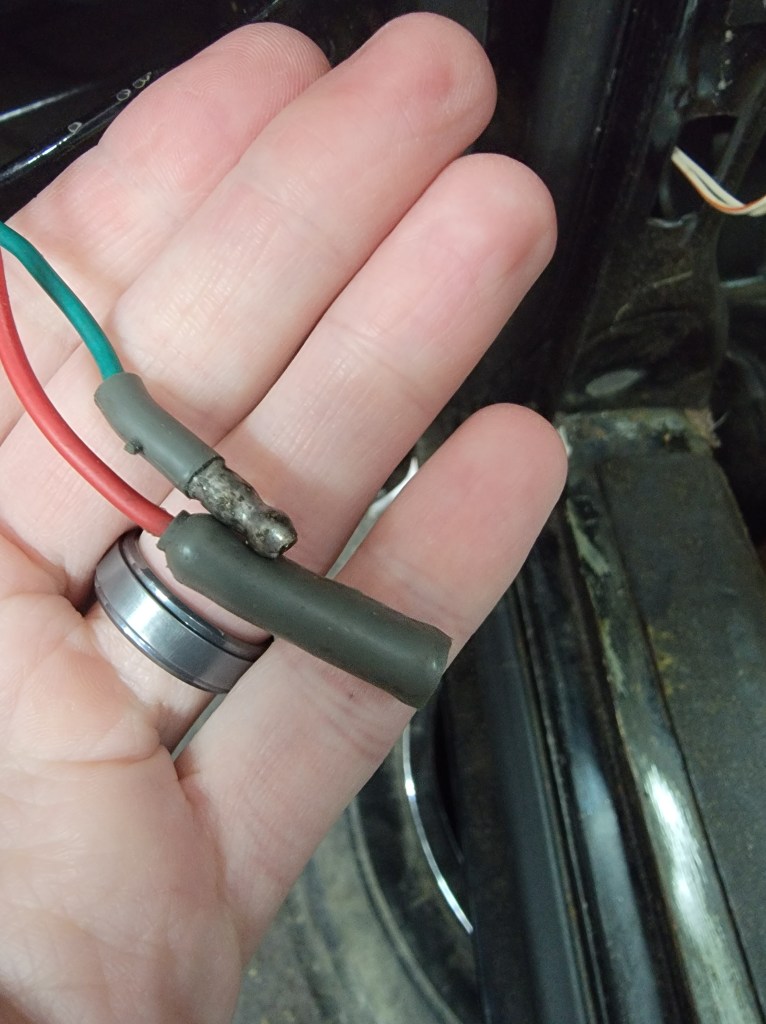
On the topic of wiring, I took the opportunity to change over the power window motor wiring from the bullet connectors also to Ampseal. The door lock uses the ‘yellow’ lock where as the window is using ‘red’ – same, but different!
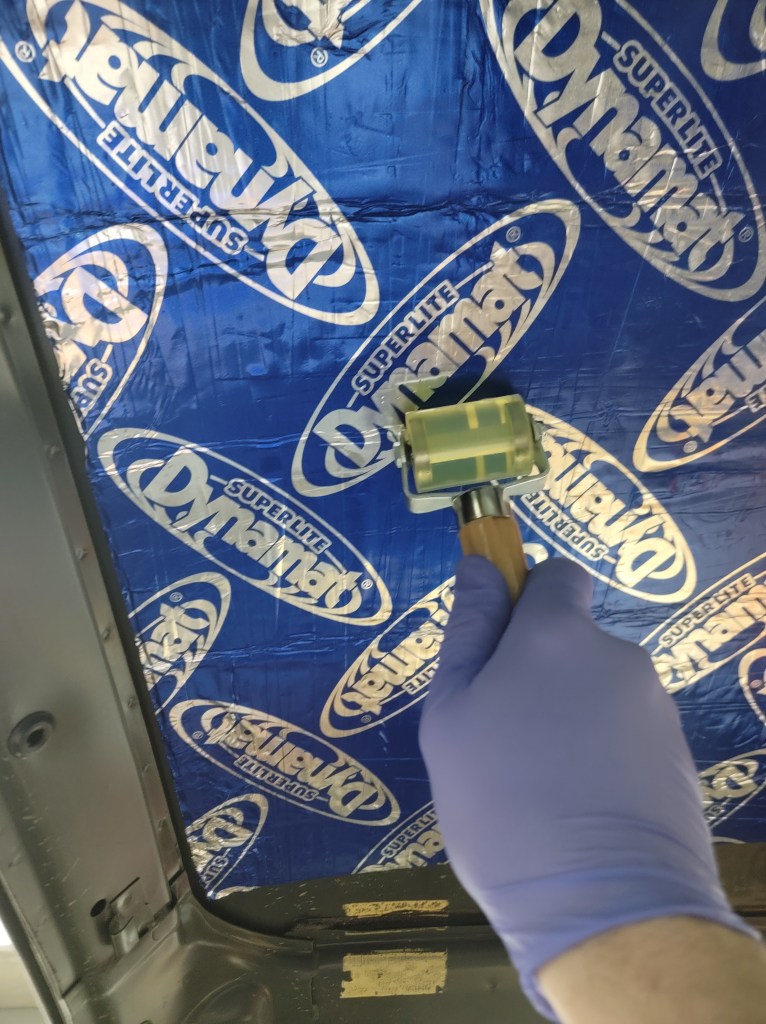
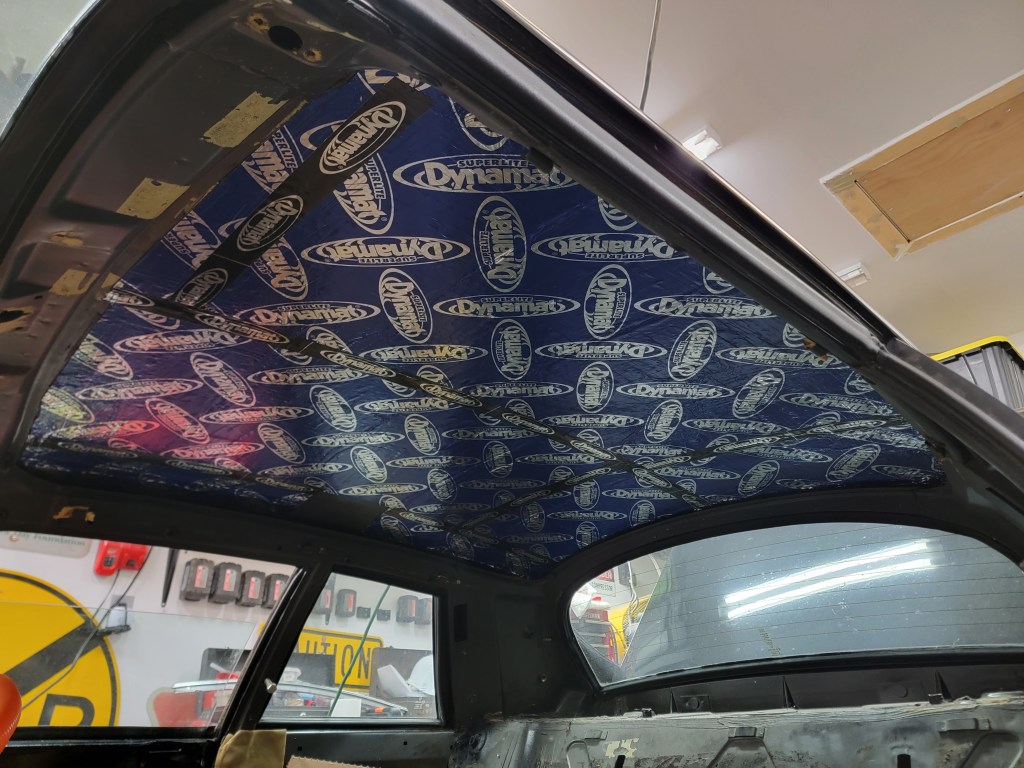
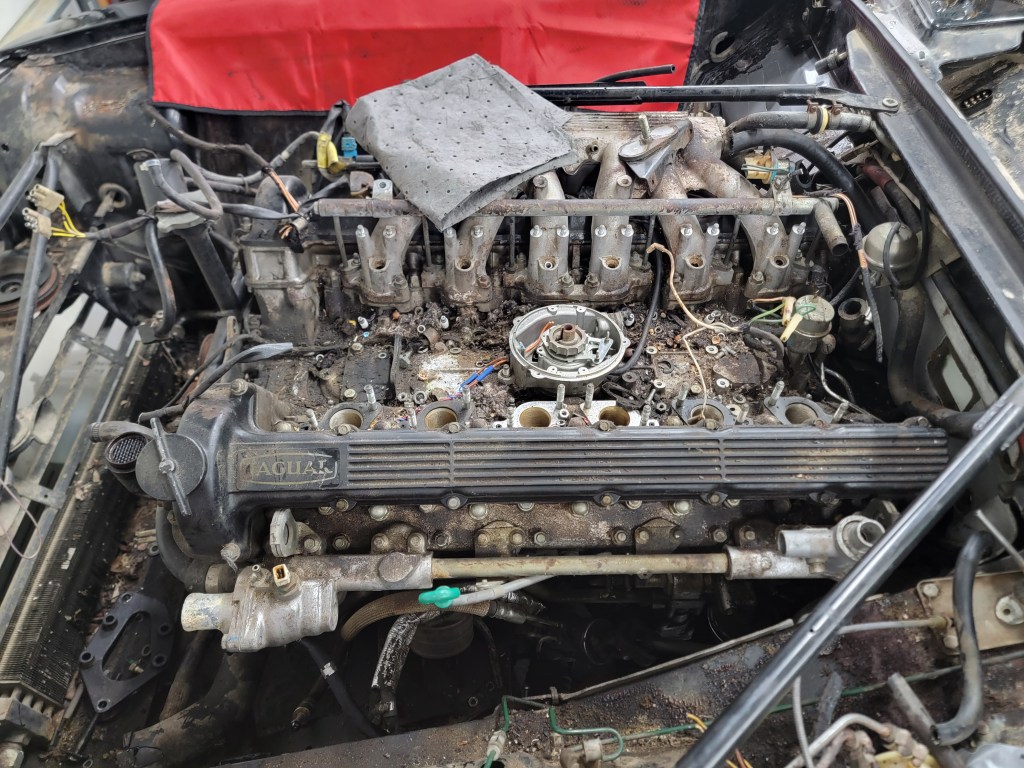
Last for today was to install some Dynamat on the roof of the car. This is the thin/light stuff which works great for a roof. I plan to Dynamat the floor, but I need to get the engine pulled and pressure wash everything first.