(06/11/2023)
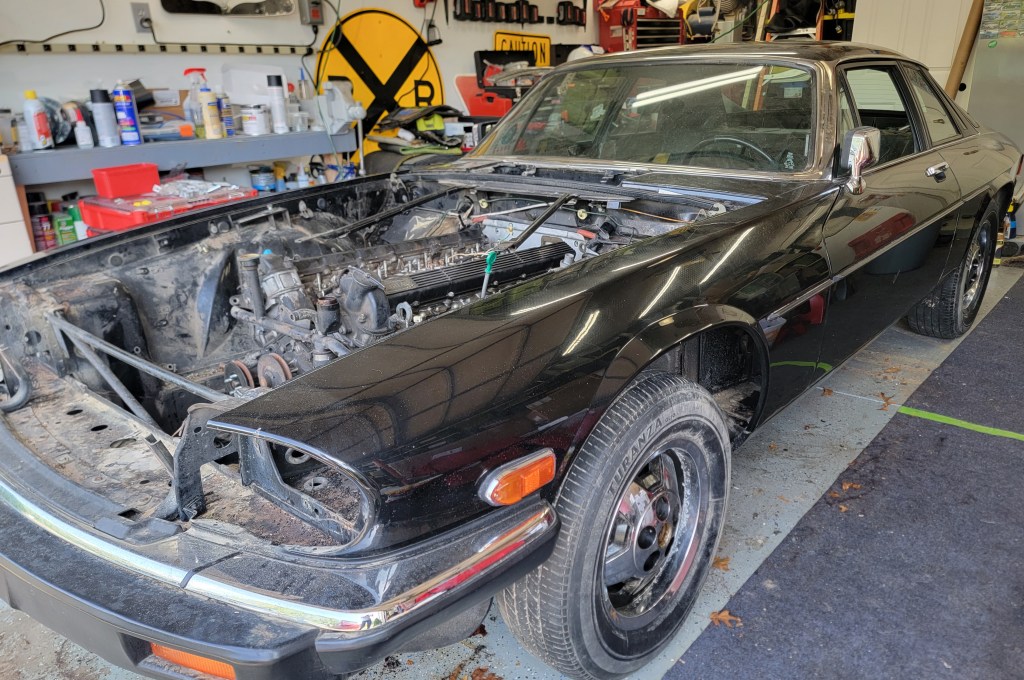
The more I dig into this car, the more I find where the mice lived.
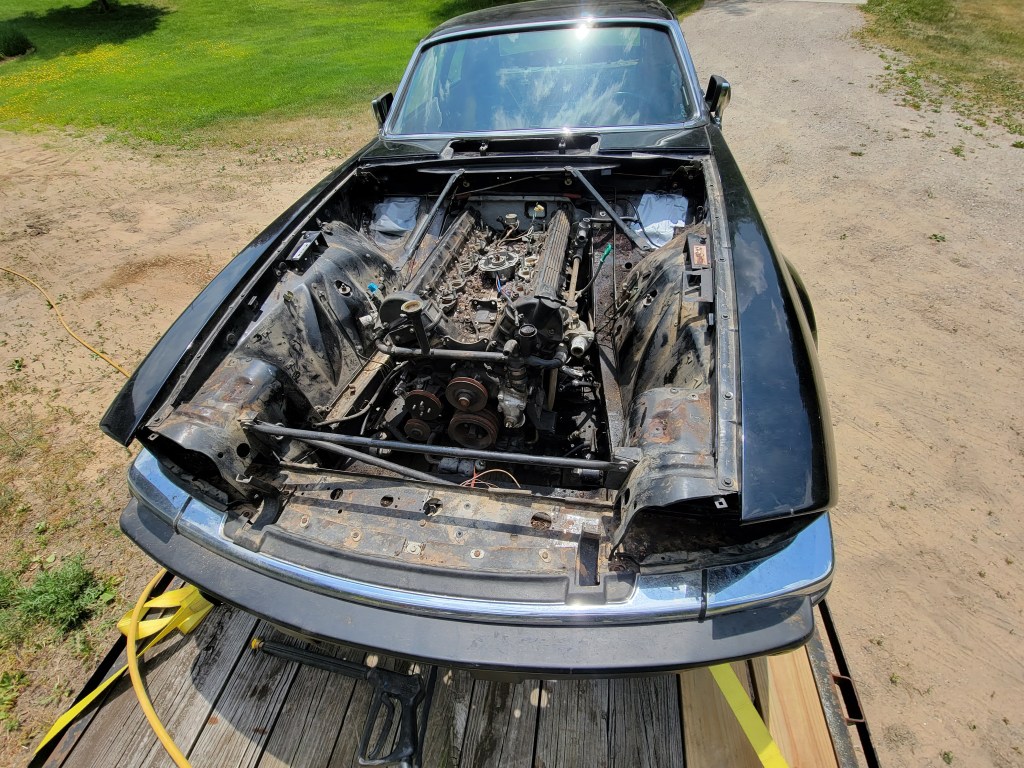
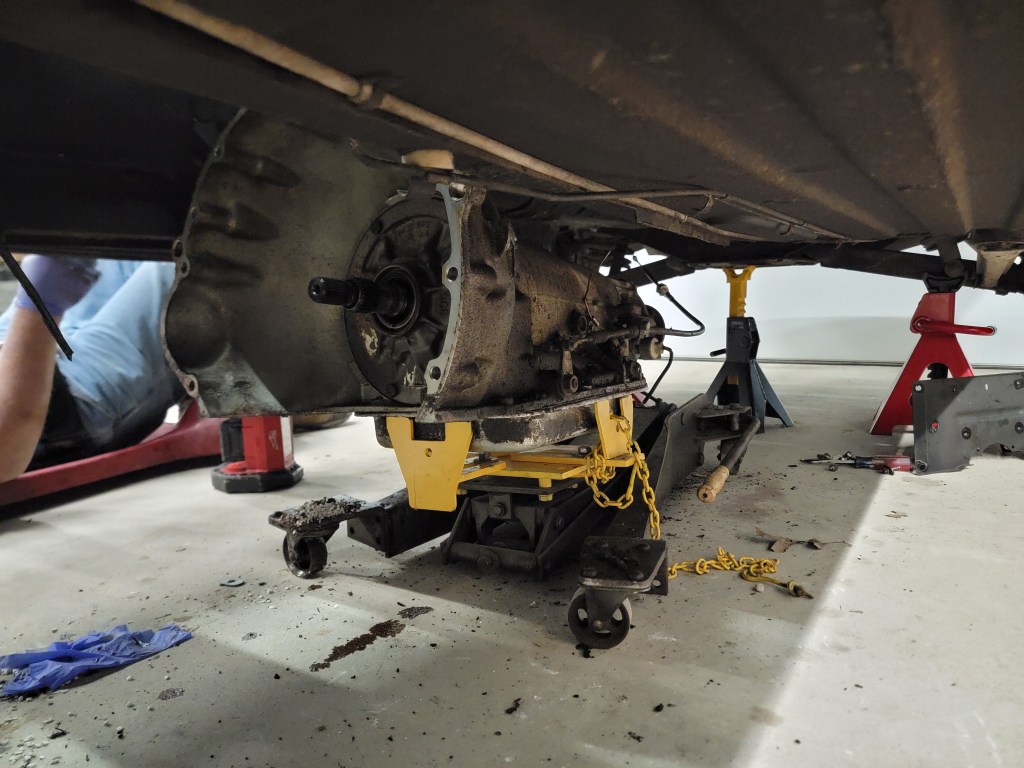
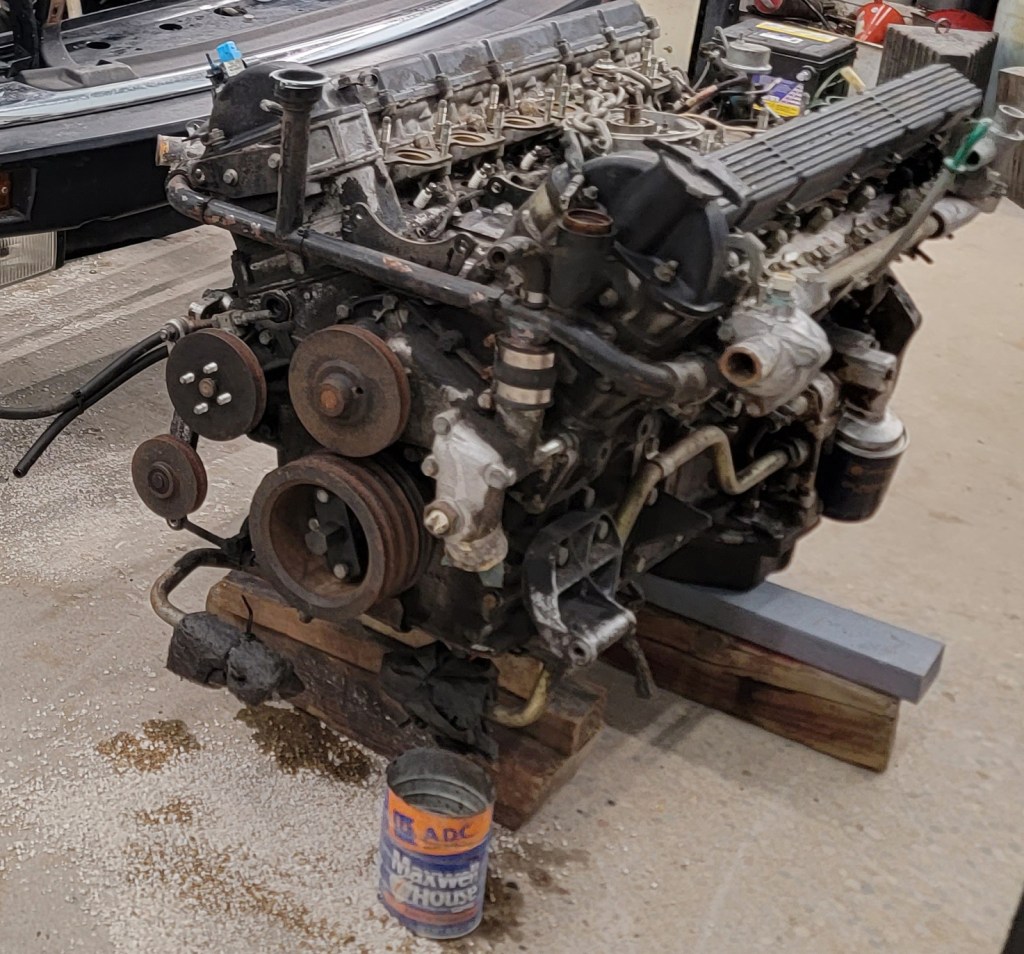
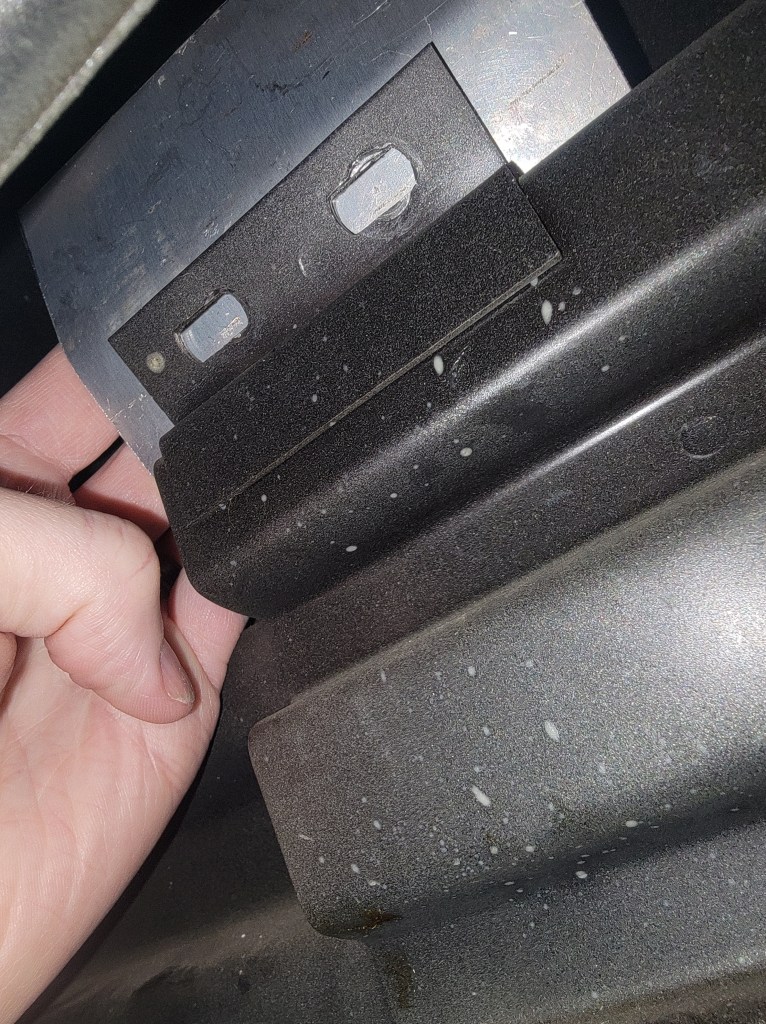
When we pulled the engine out I discovered there are frame-rail like boxings that go from the engine bay all the way back. Mice gross in there. I need to flush it out, but I need to expose some inspection plates to do so. In the process of figuring that out, I learned the bumper is hollow-ish and also if full of mouse gross.

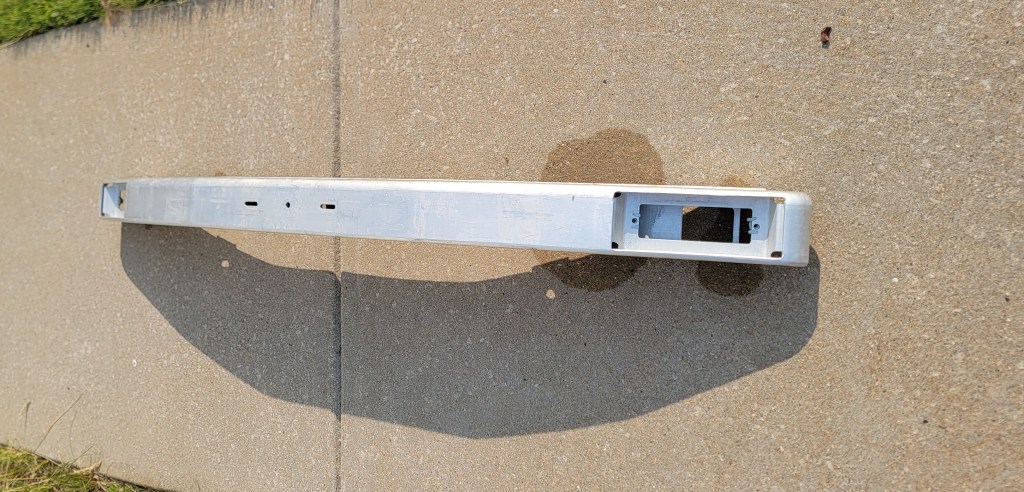
So off the bumper went and I power washed it inside and out and now it’s clean.
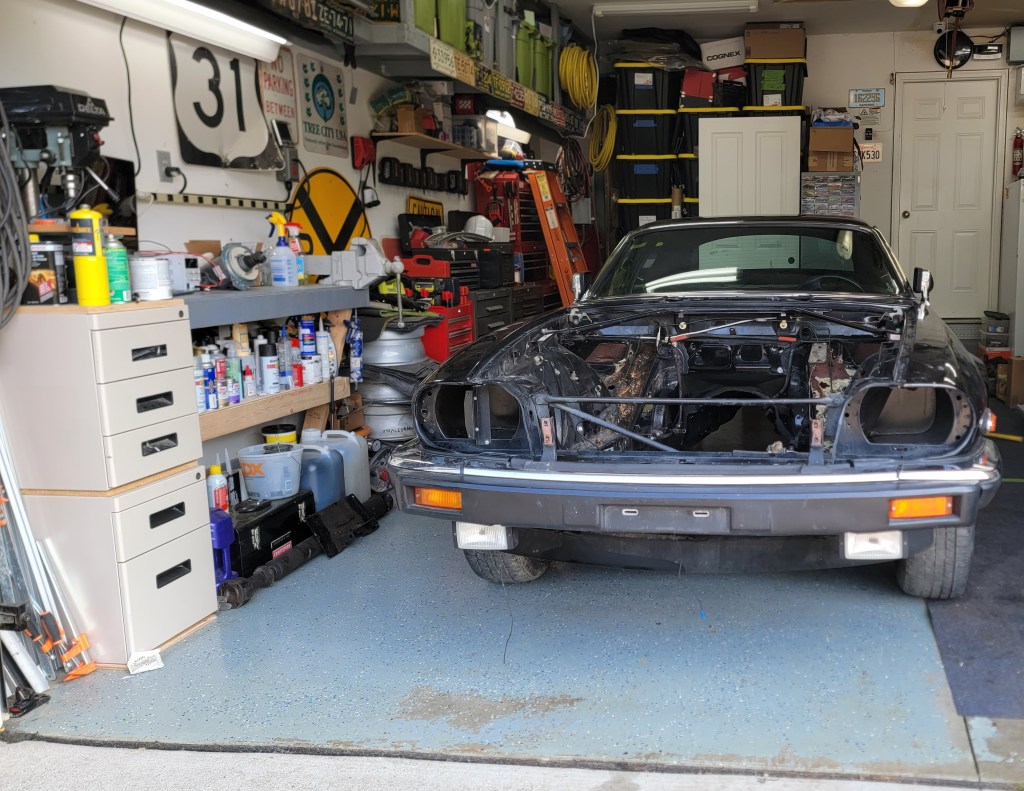
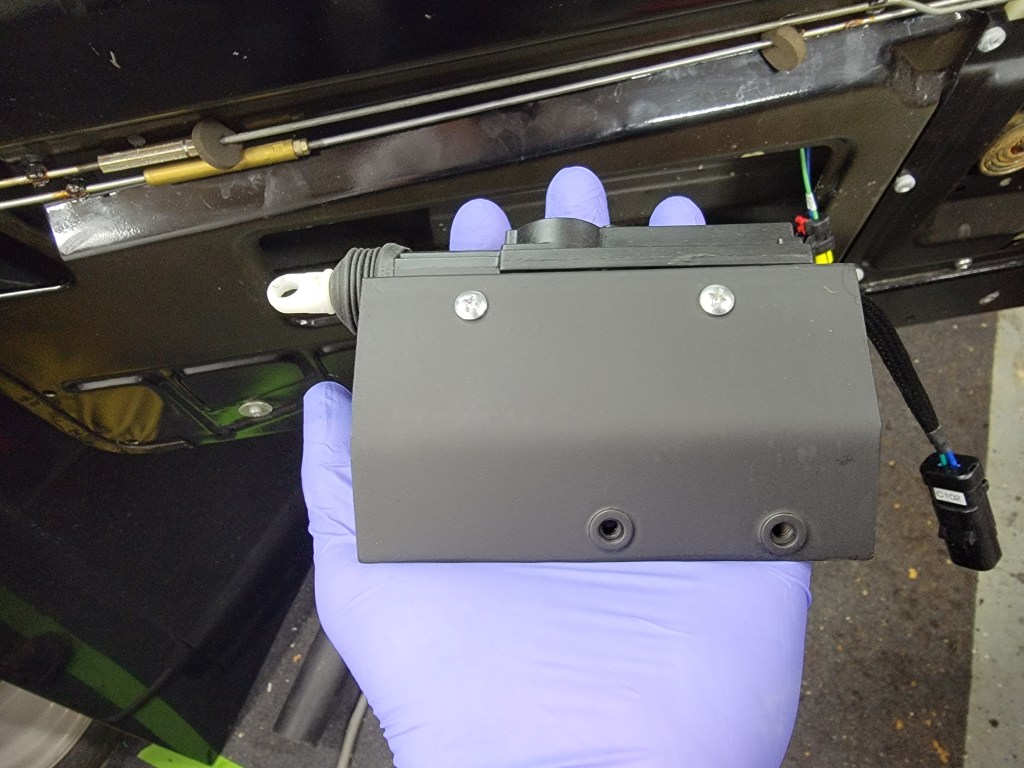
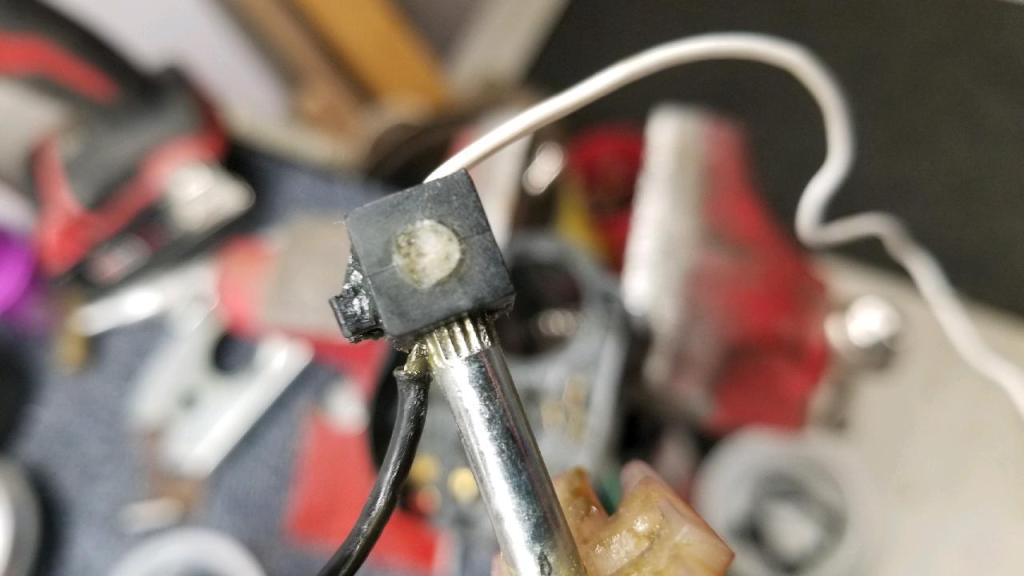
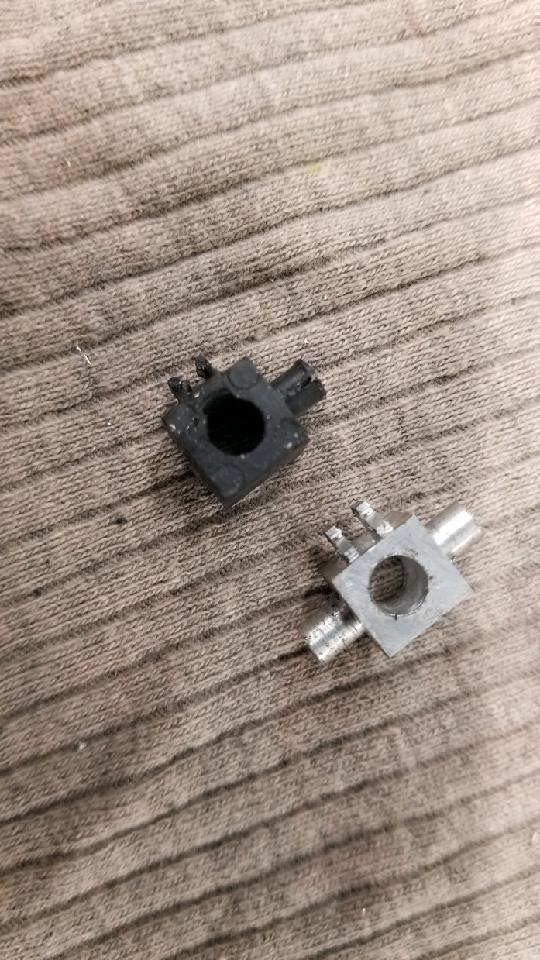
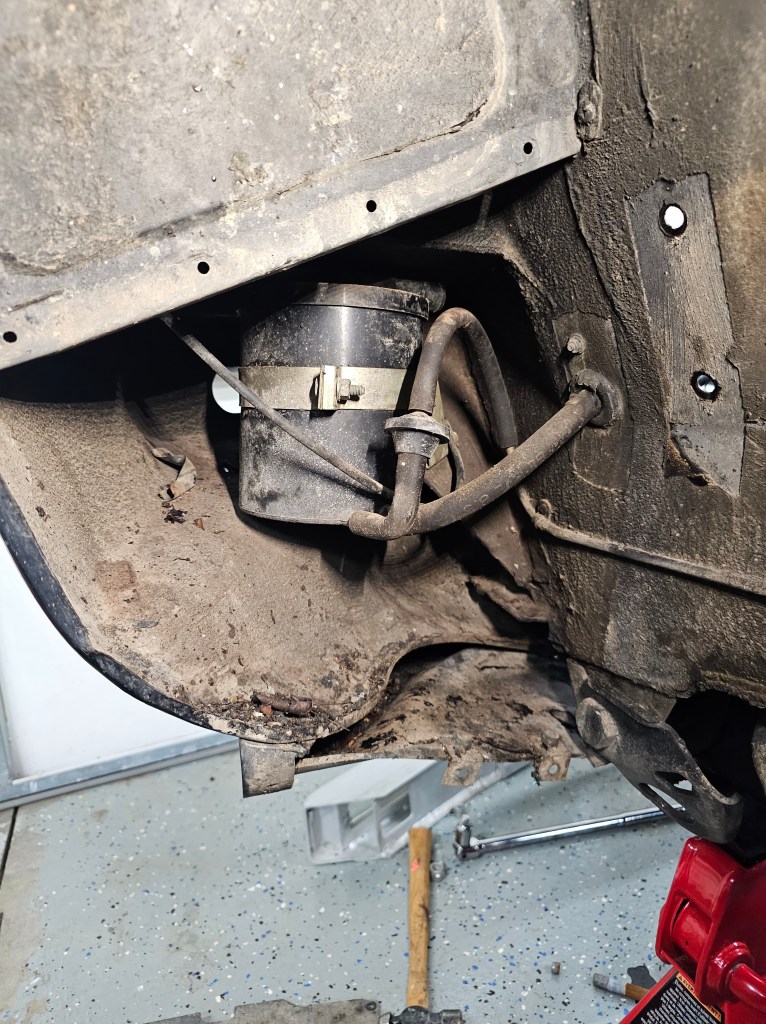
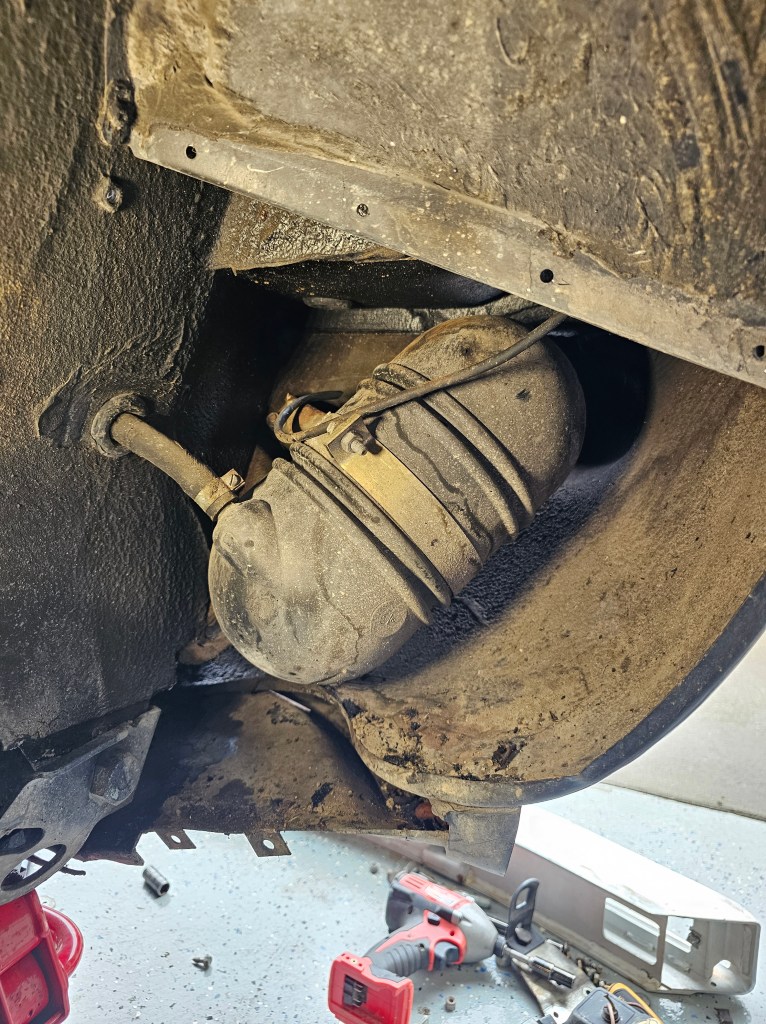
Next up was this plastic air dam in the front. It was attached from the sides and I needed to drop that down to see how much was laying in there. To my not-surprise, I found two access panels in the wheel wells I had not taken off…and guess what? More random Jaguar bits were installed behind these. Literally every panel I remove has some sort of can or module.
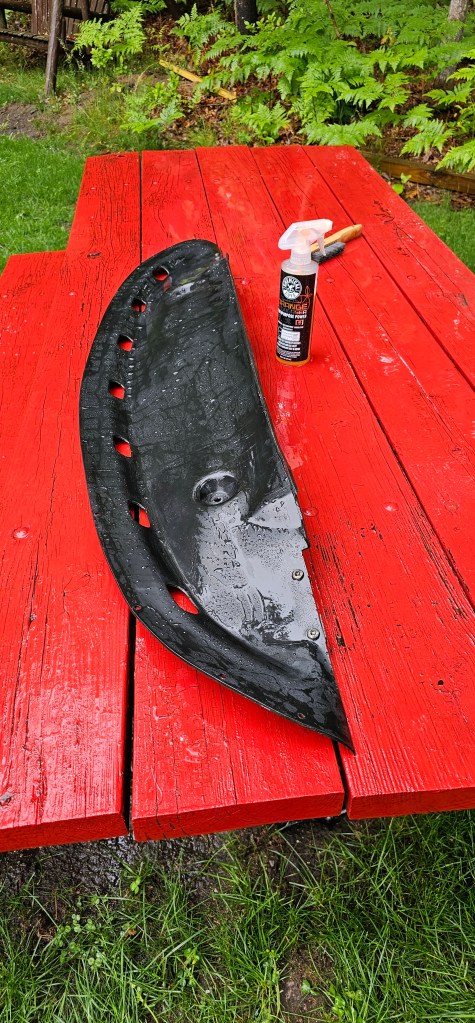
After this was done I was able to pull down the air dam, which wasn’t as bad as I thought.
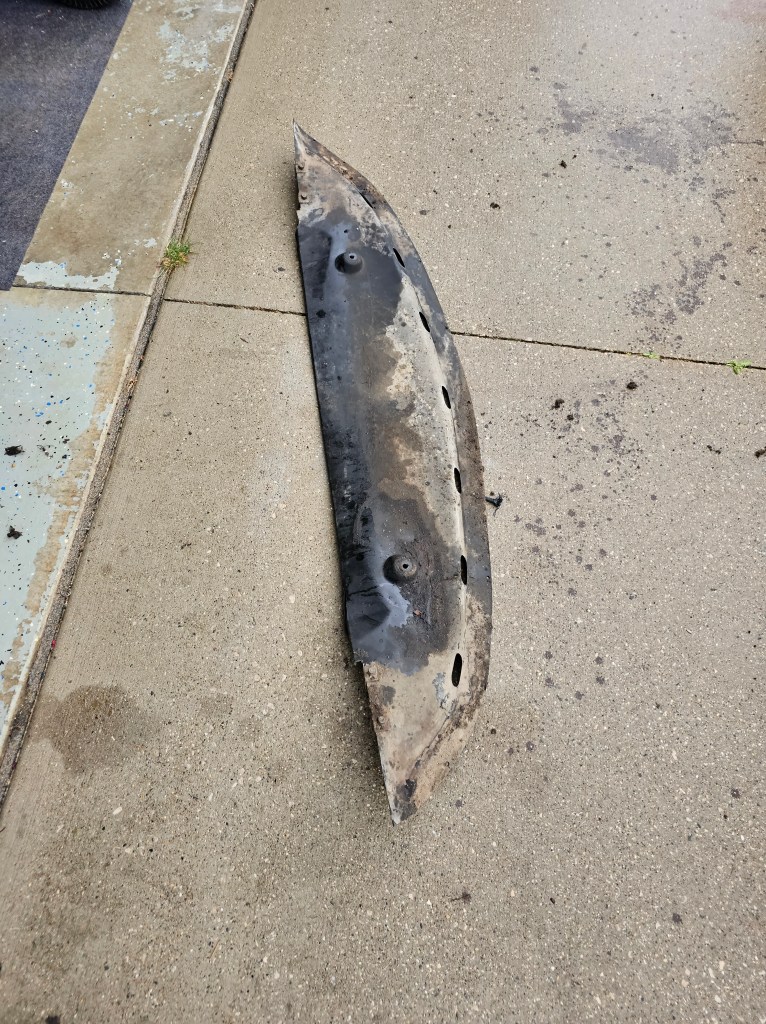
And with a little Chemical Guys magic, it’s clean: