(07/07/2024)
Busy summer. Here are a few updates!
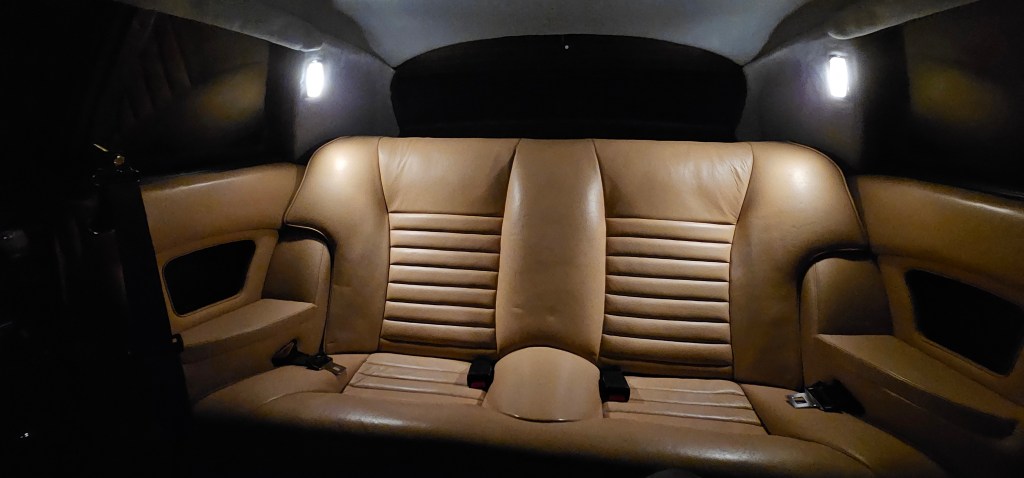
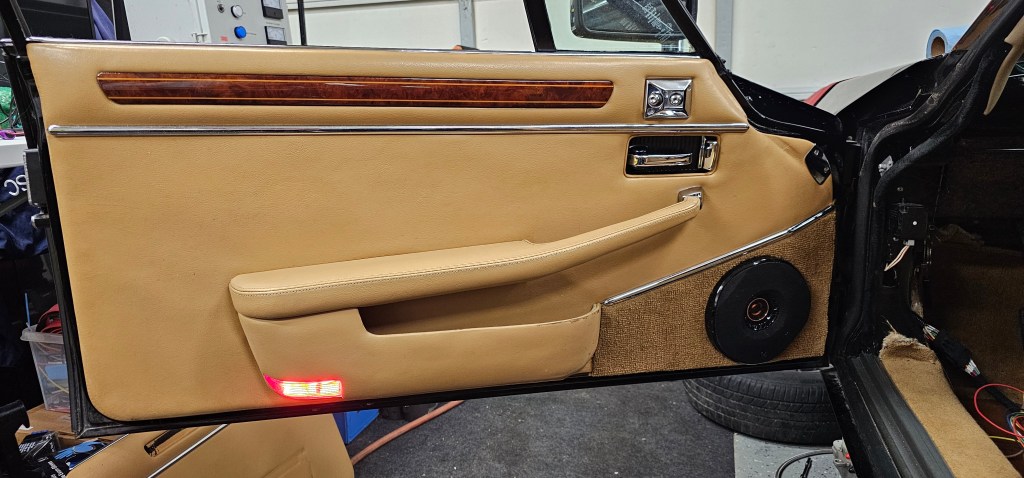
First, I got my wood back from British Auto Wood. Absolutely amazing job and good price. I would completely recommend! Now I’m able to put the driver door card back on!
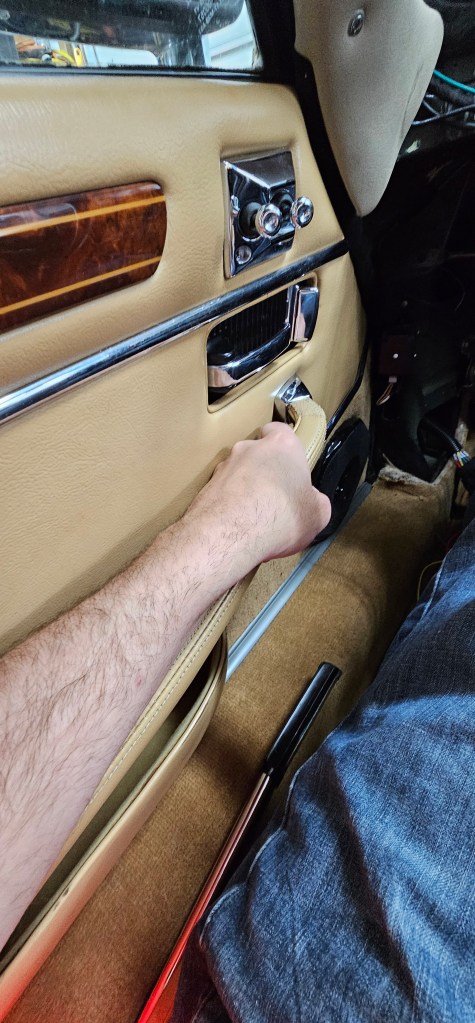
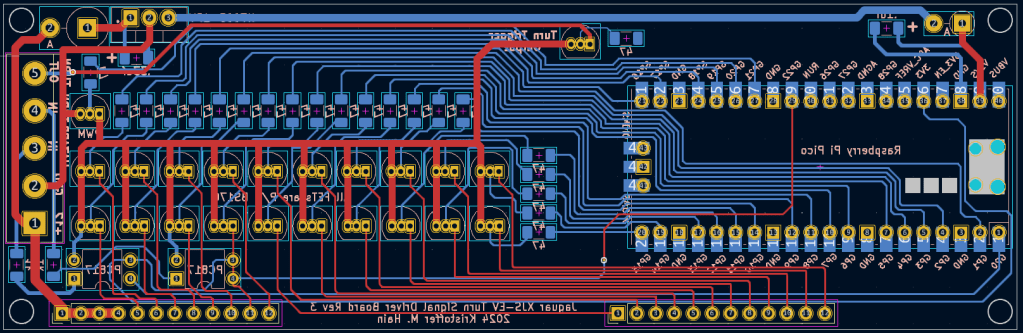
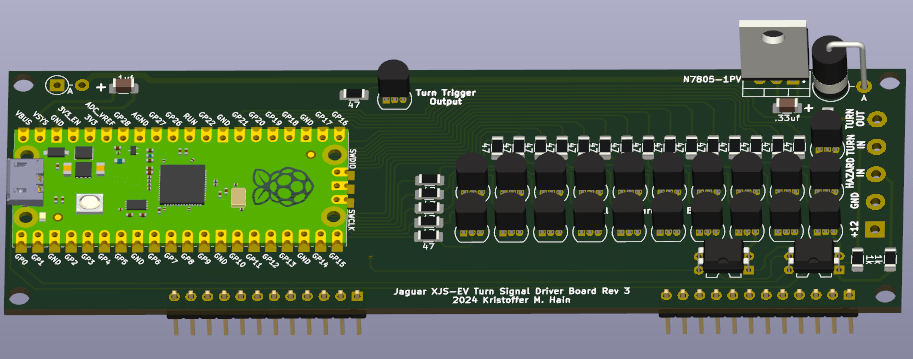
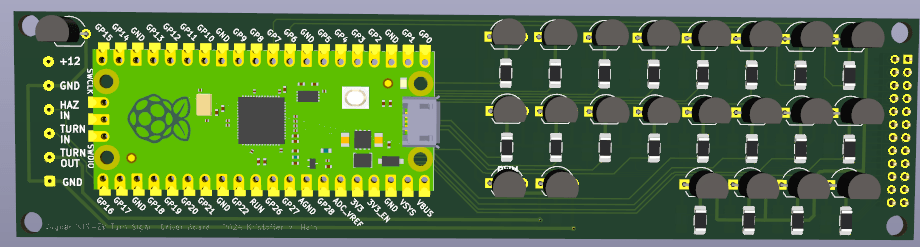
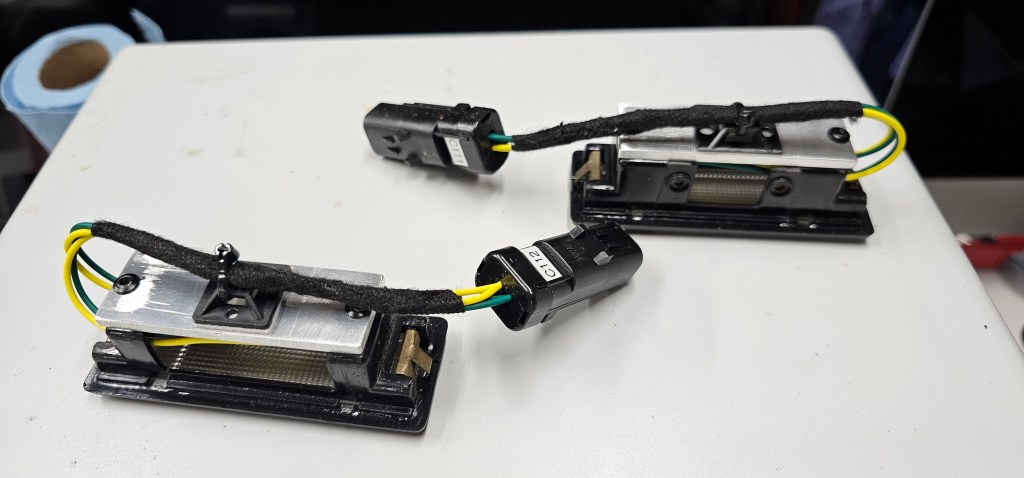
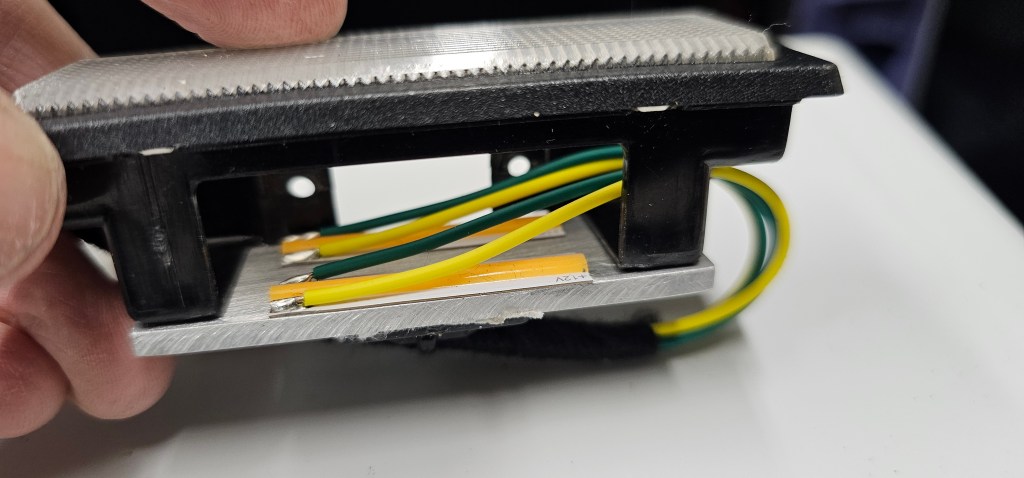
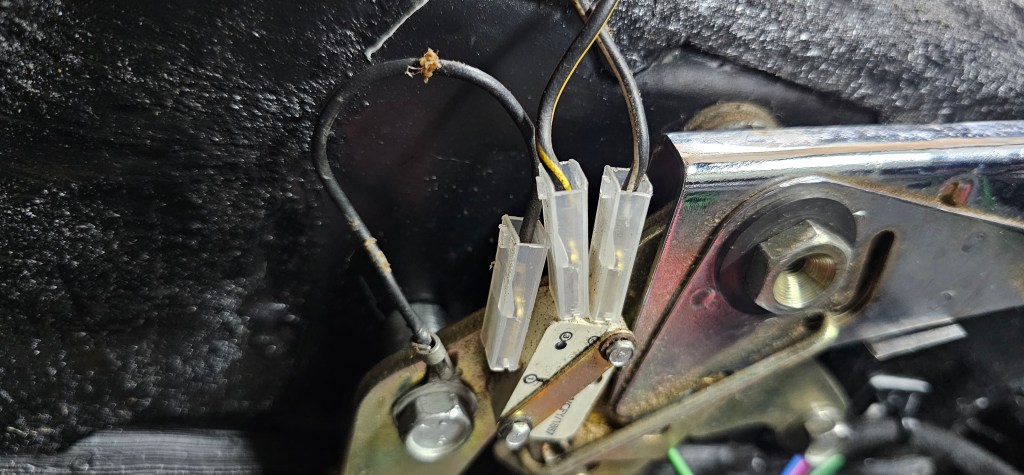
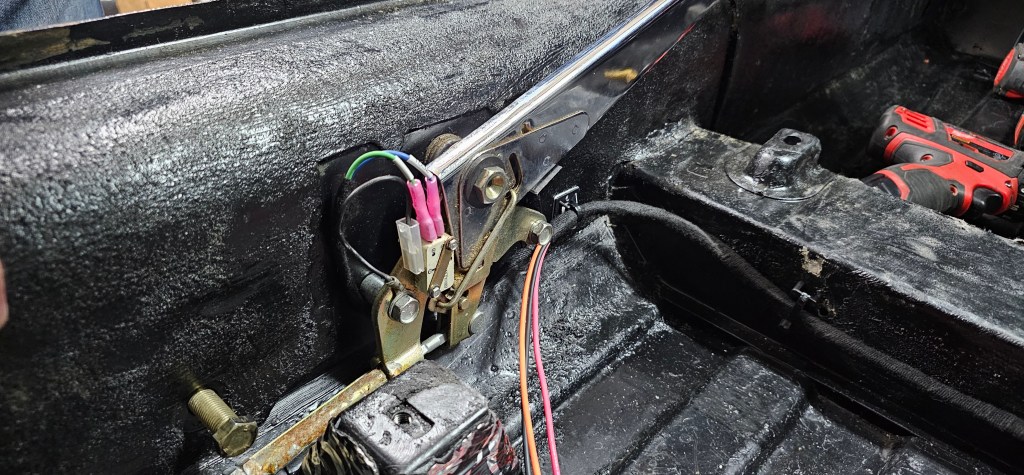
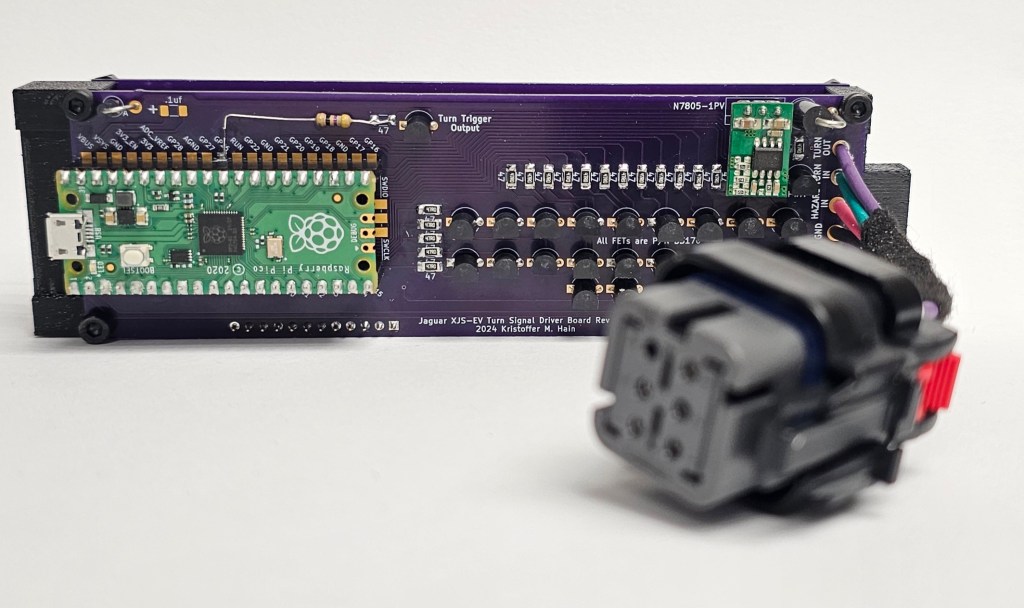
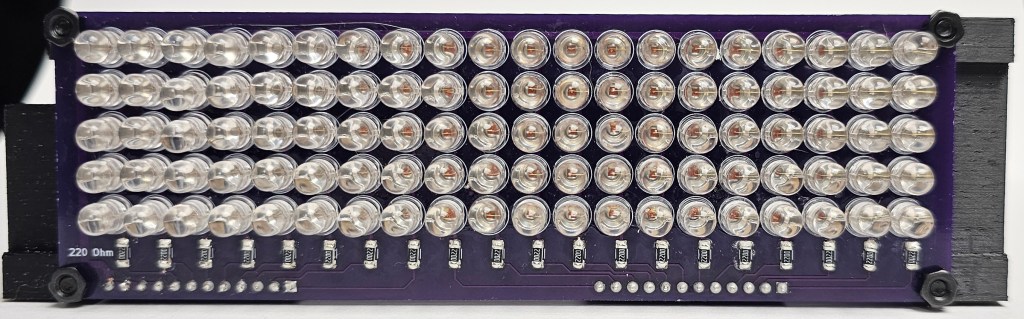
Next, I got back to finishing up the turn signal PCBs and have the driver side completed!

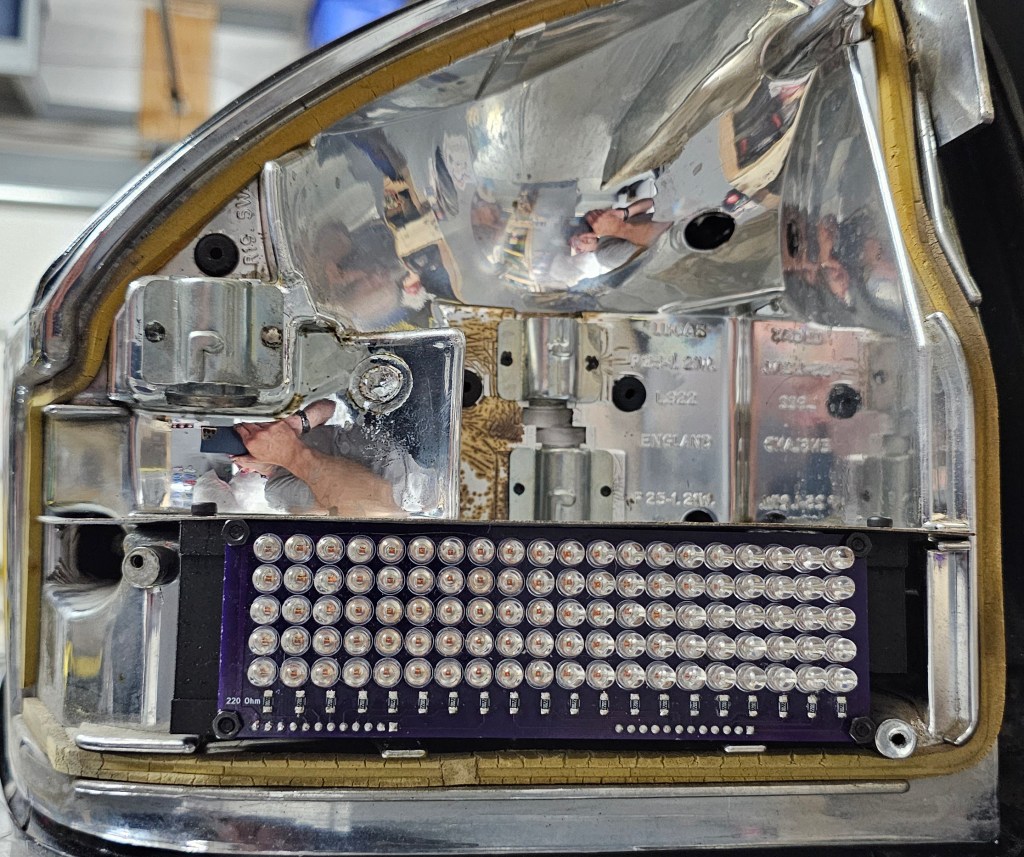
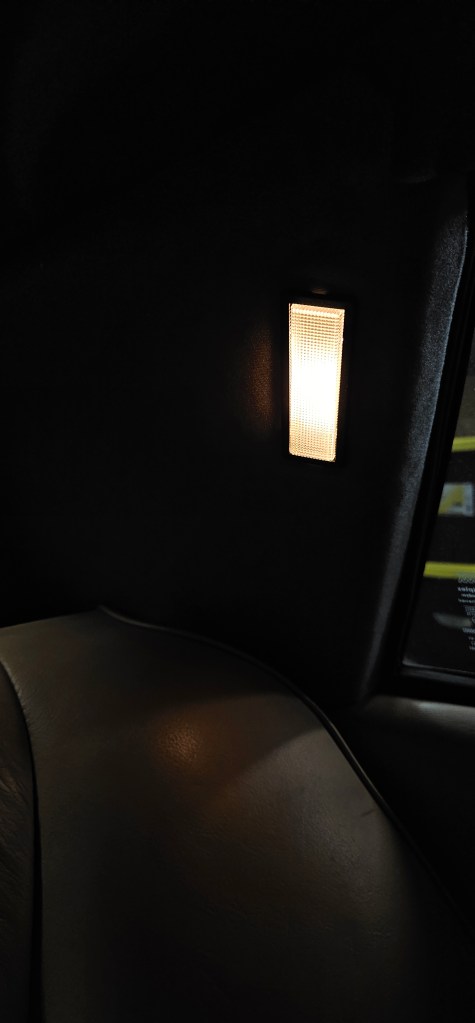
Here is a video of the turn signal in action. The shutter rate of the camera makes the effect look different than in person:
And when the 4-way hazards are on:
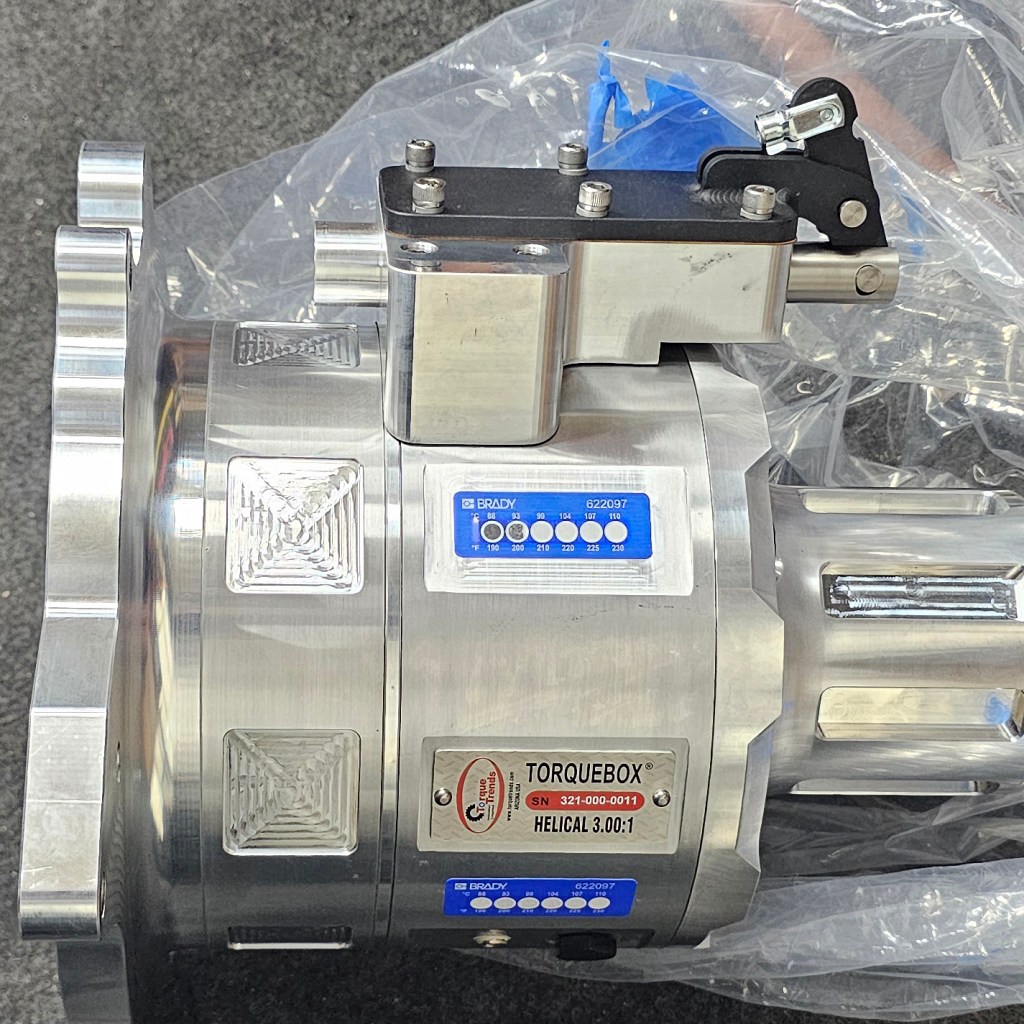
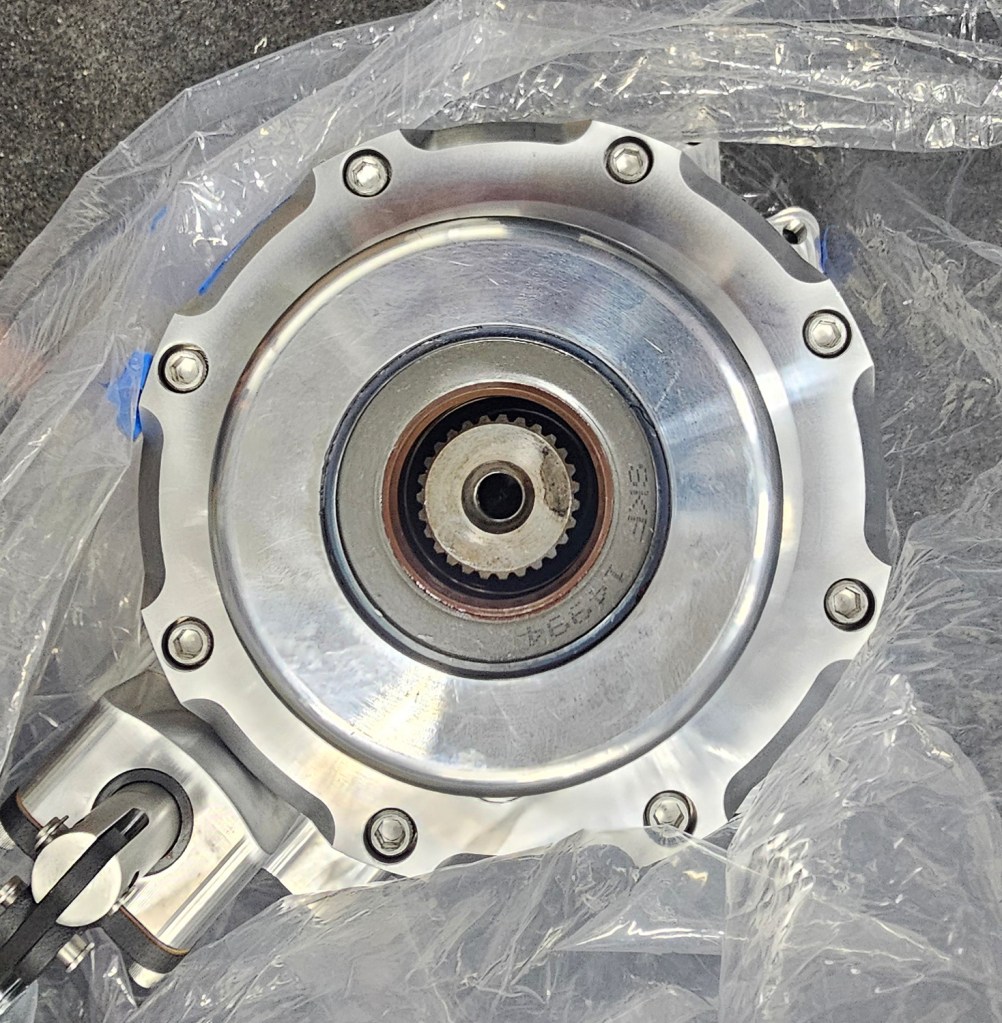
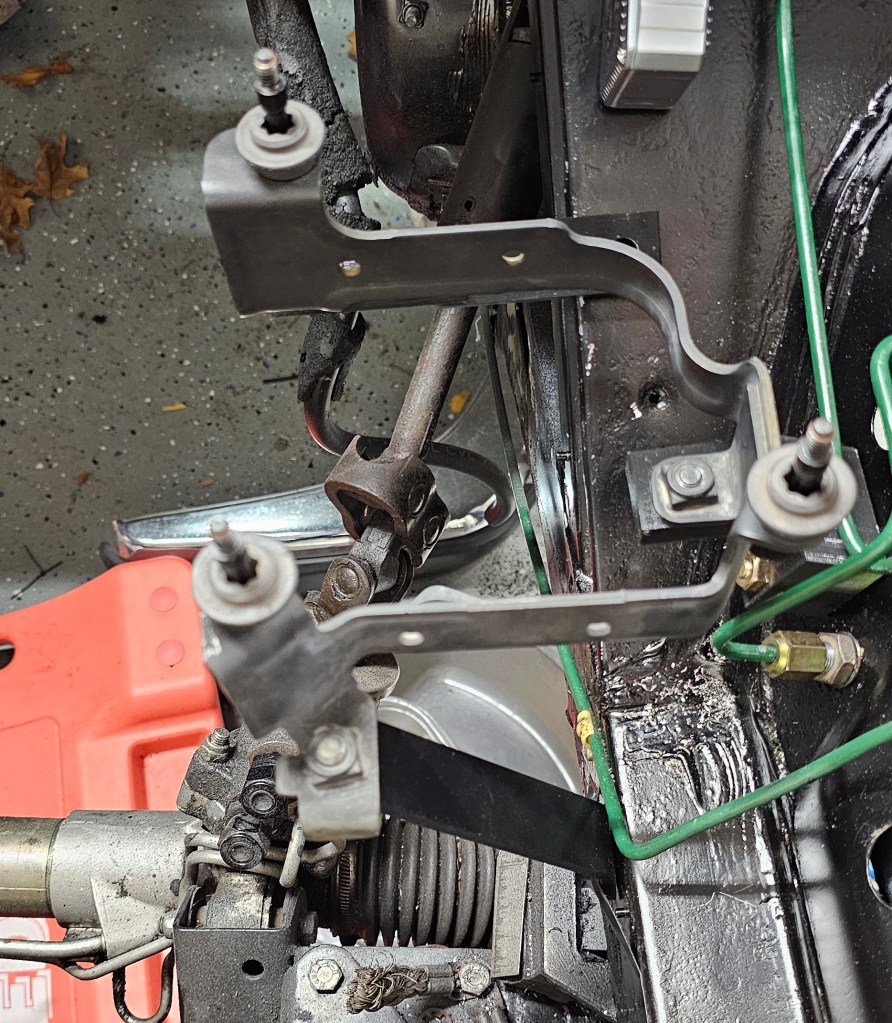
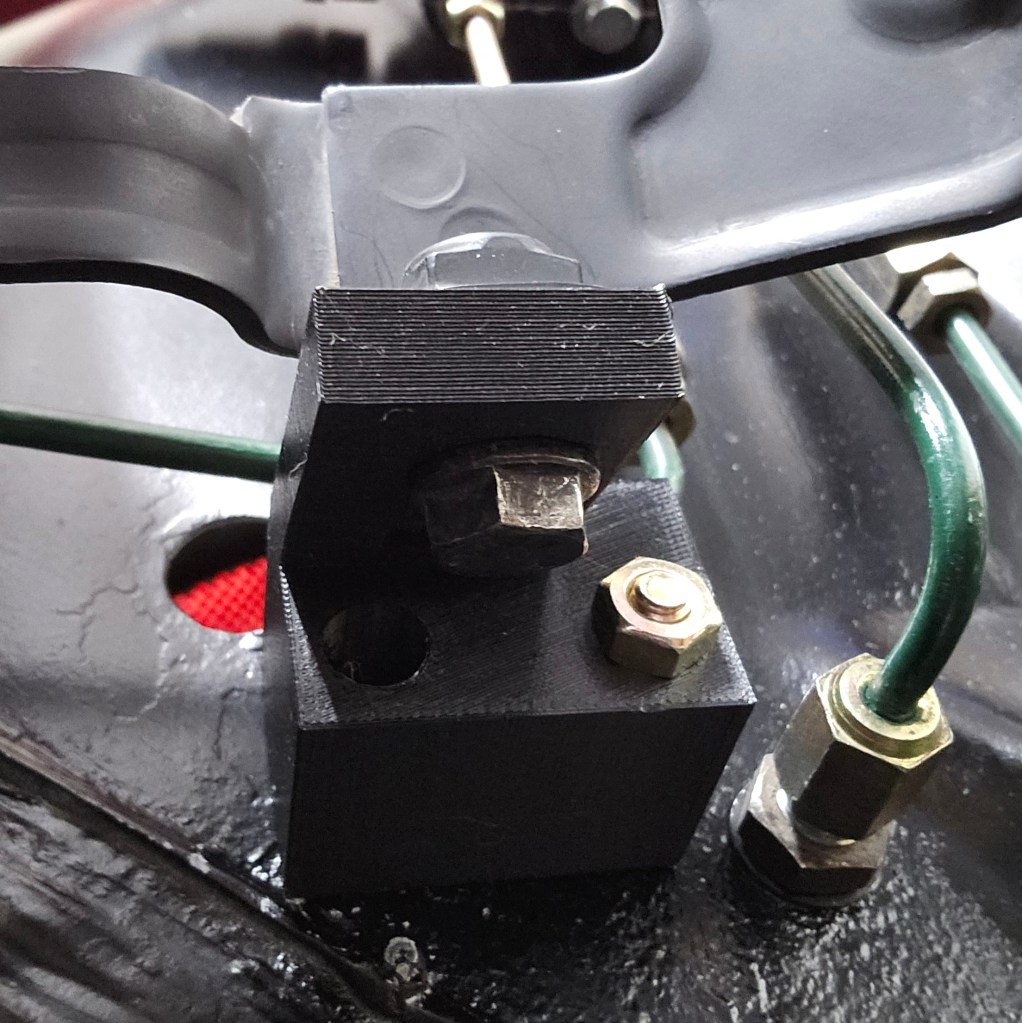
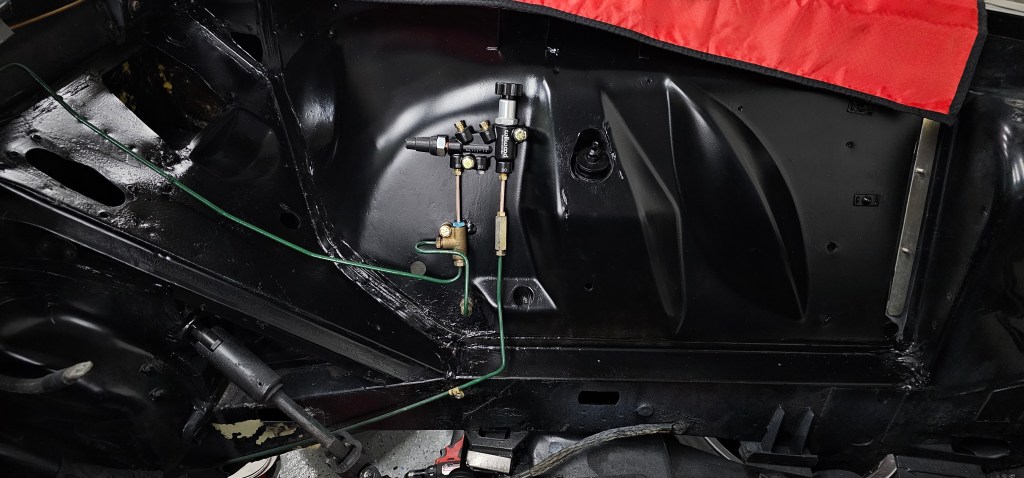
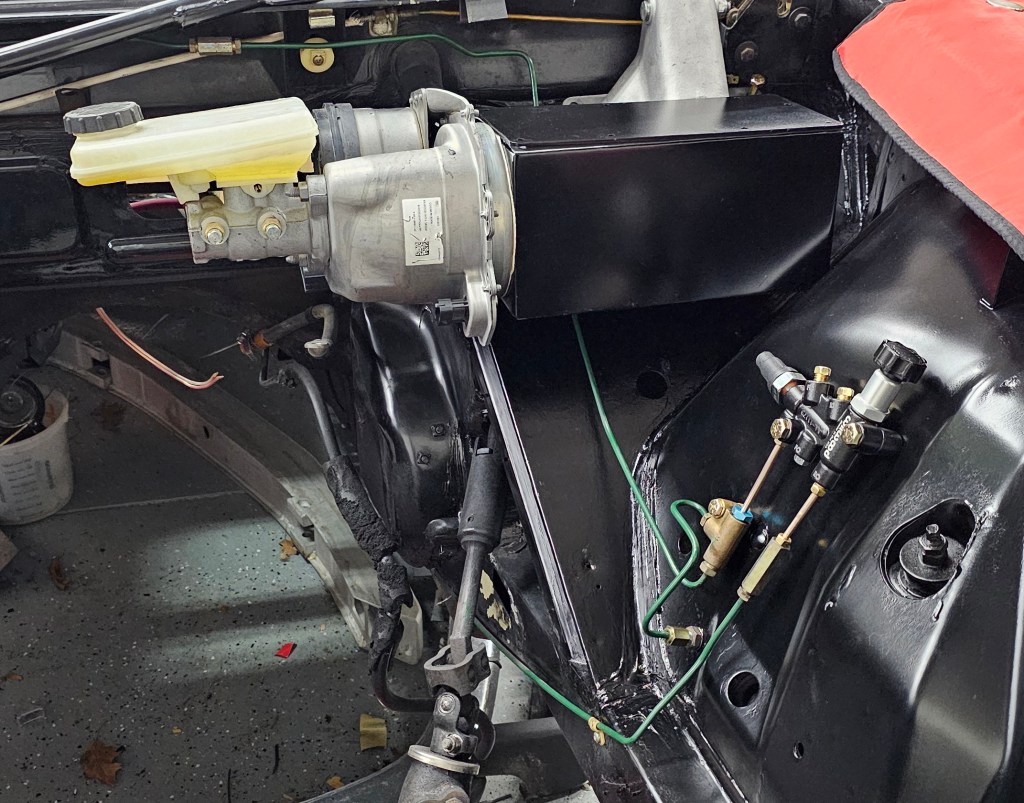
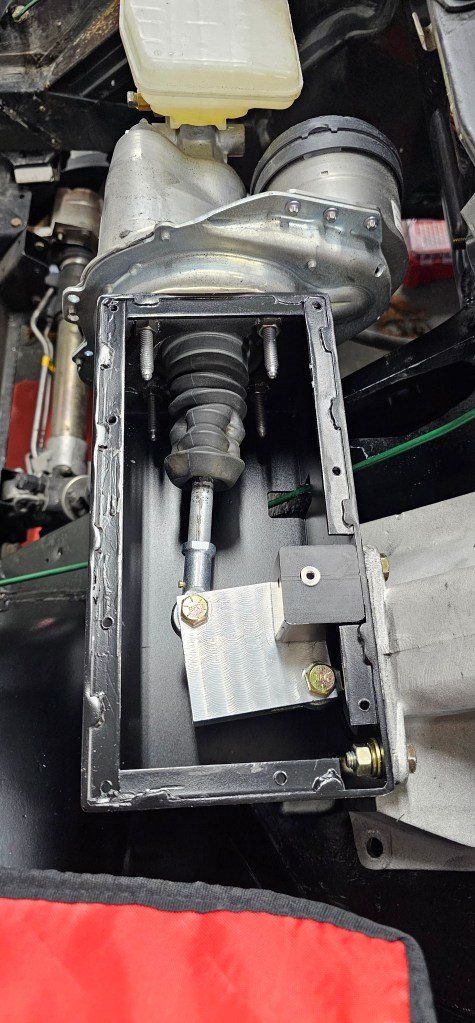
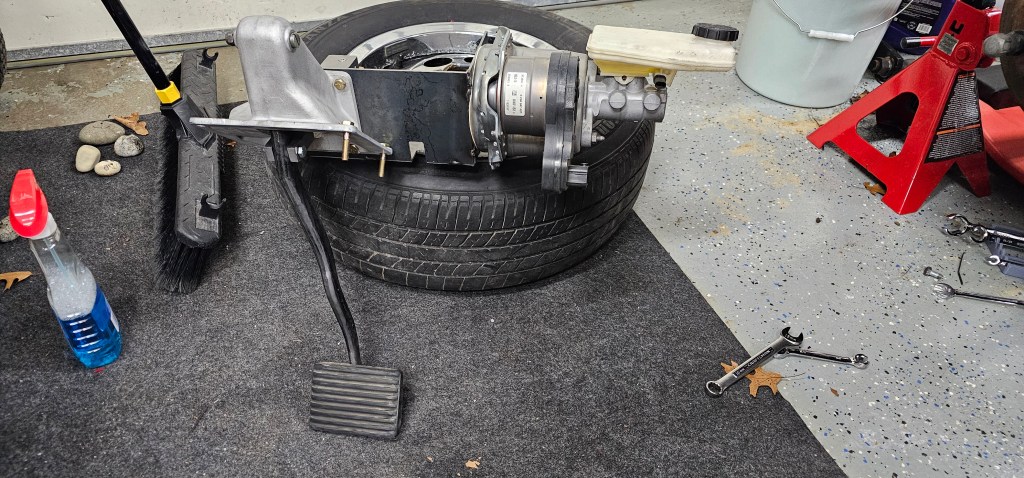
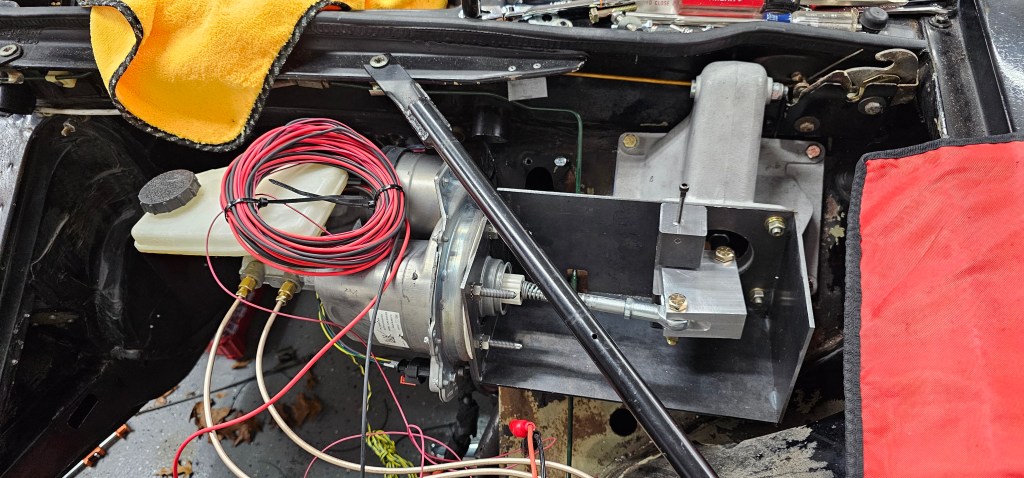
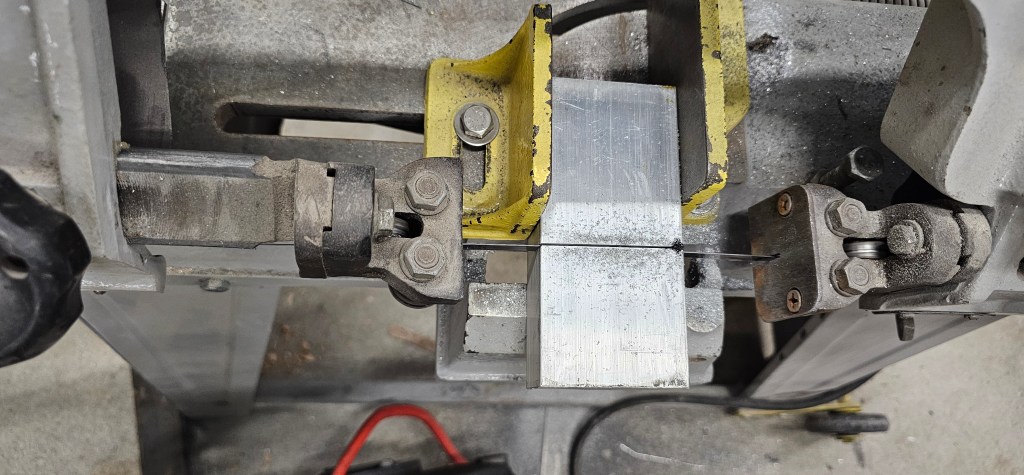
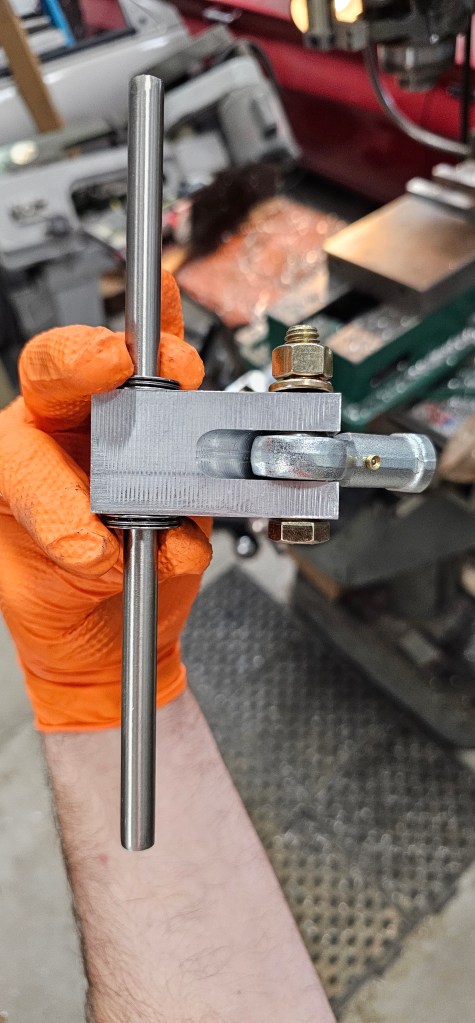
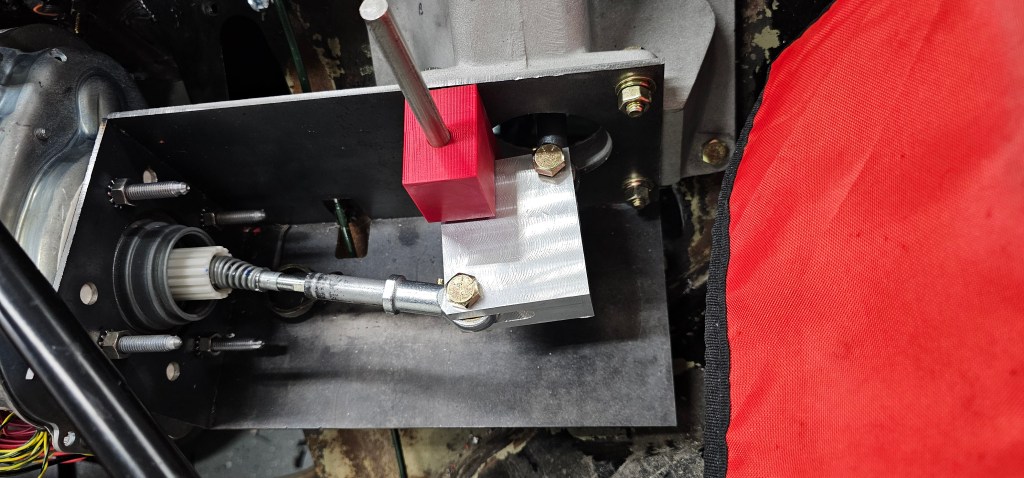
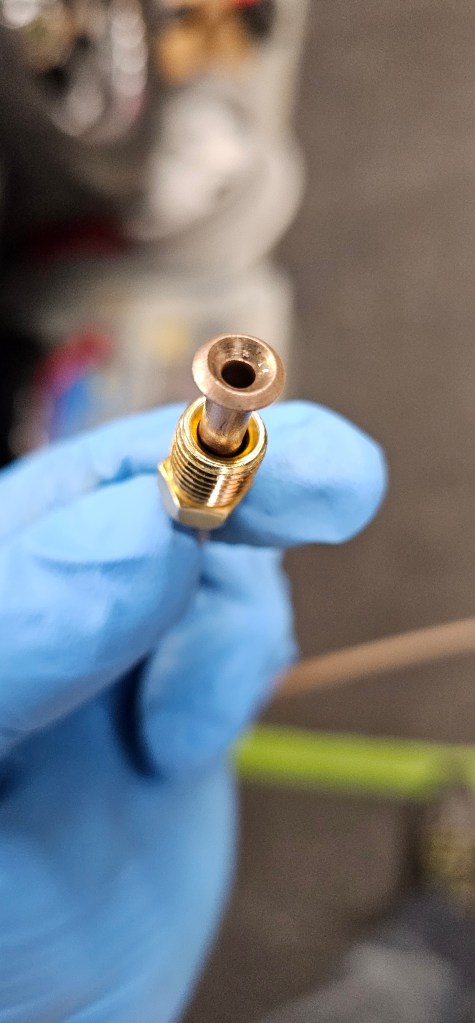
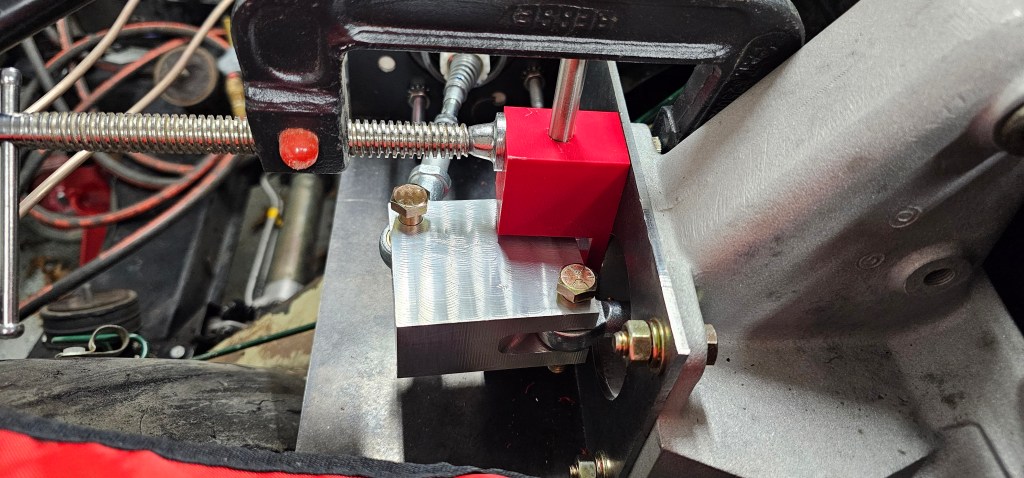
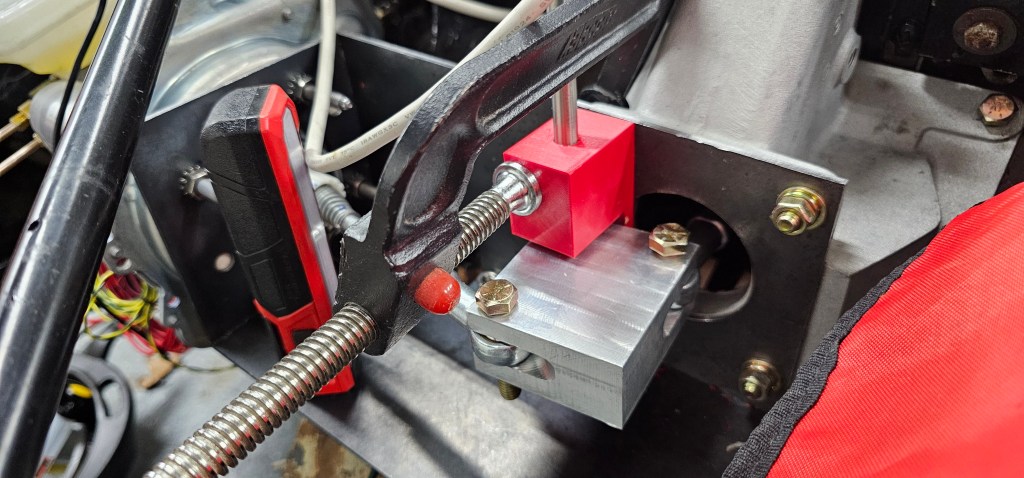
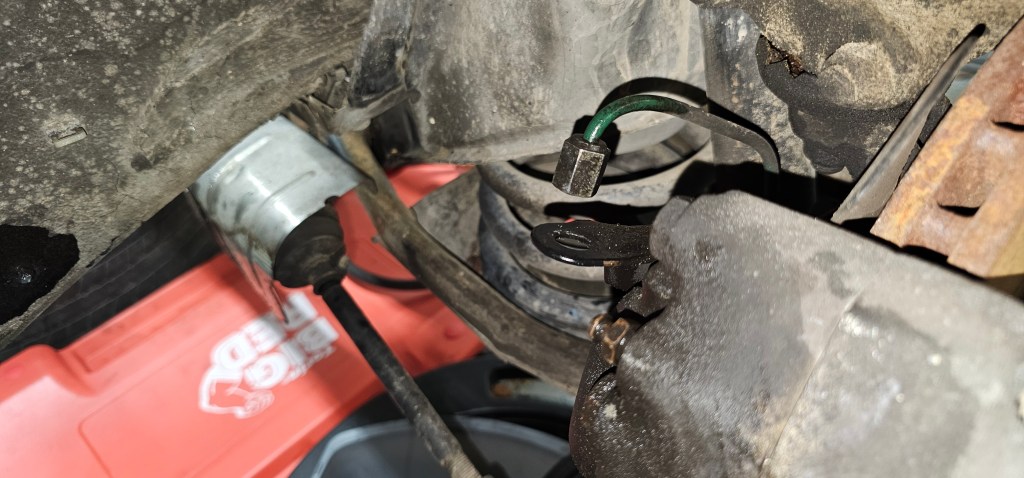
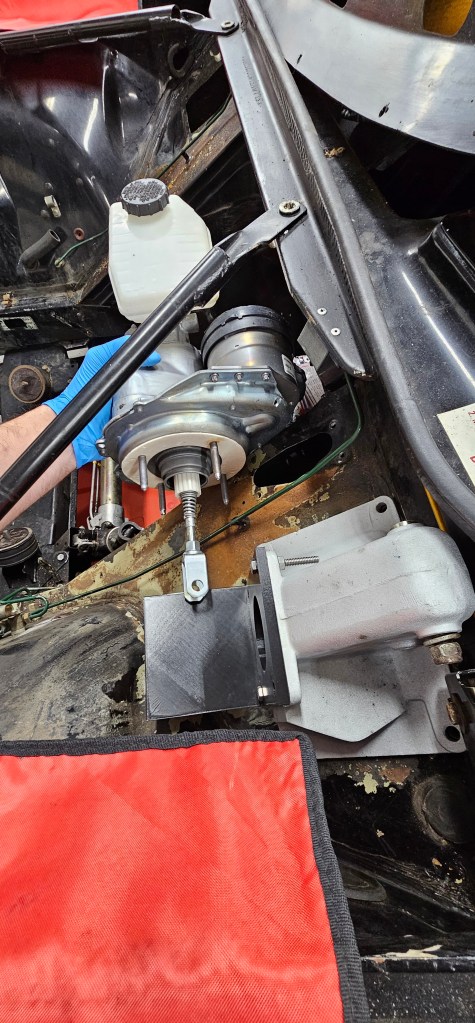
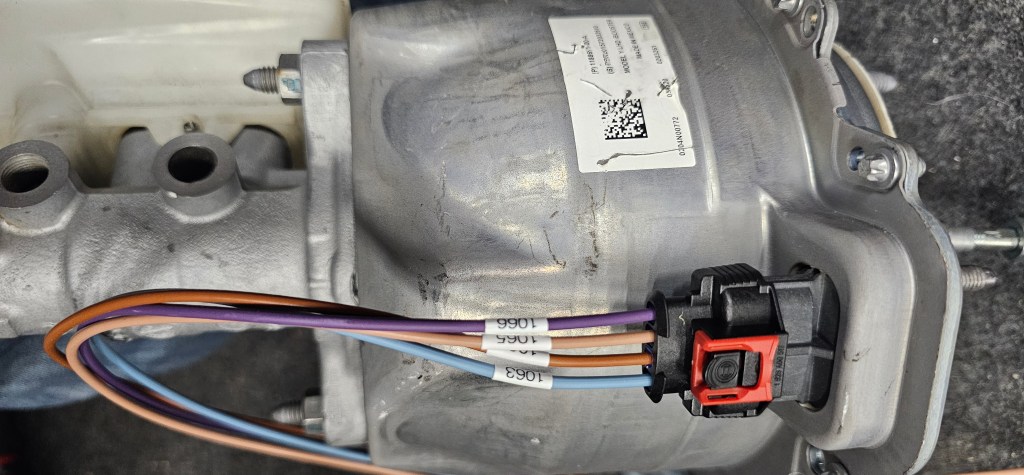
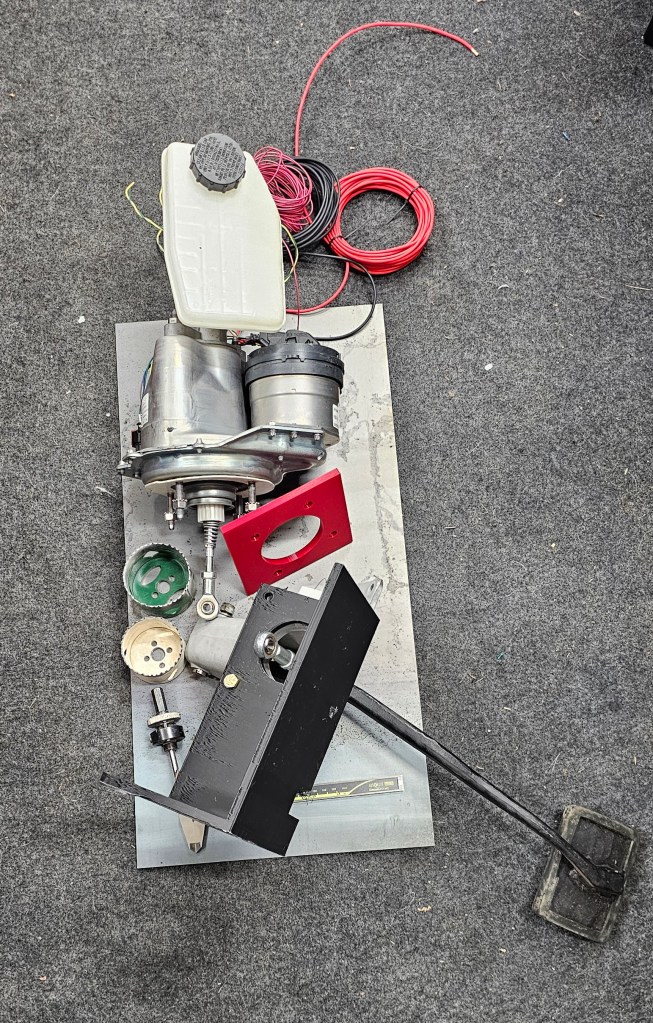
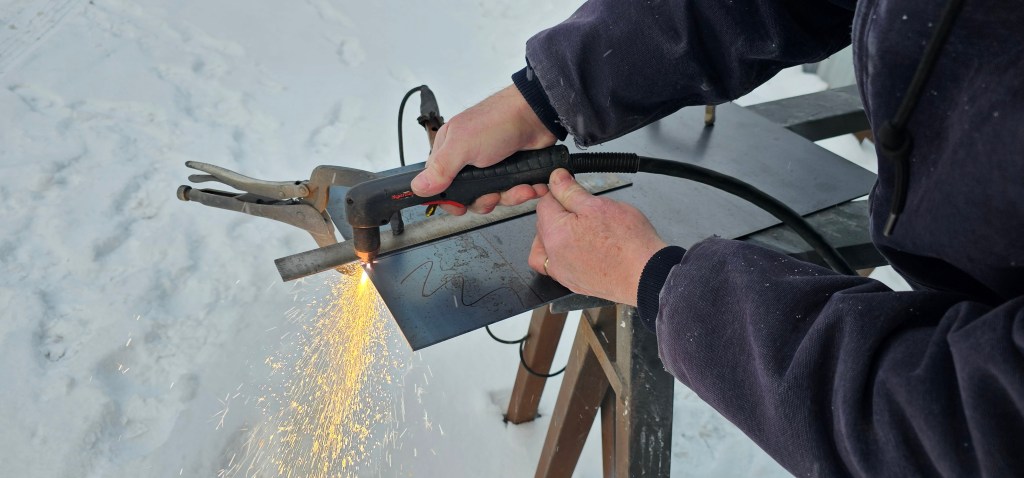
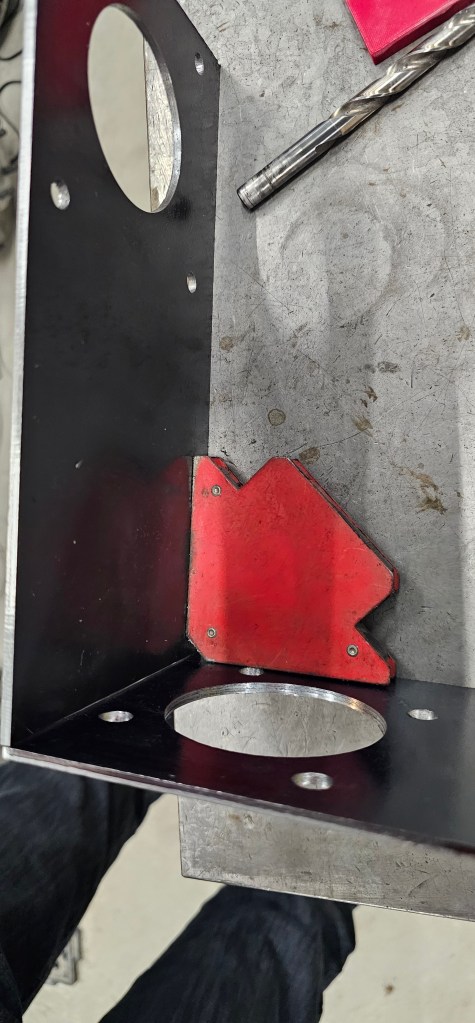
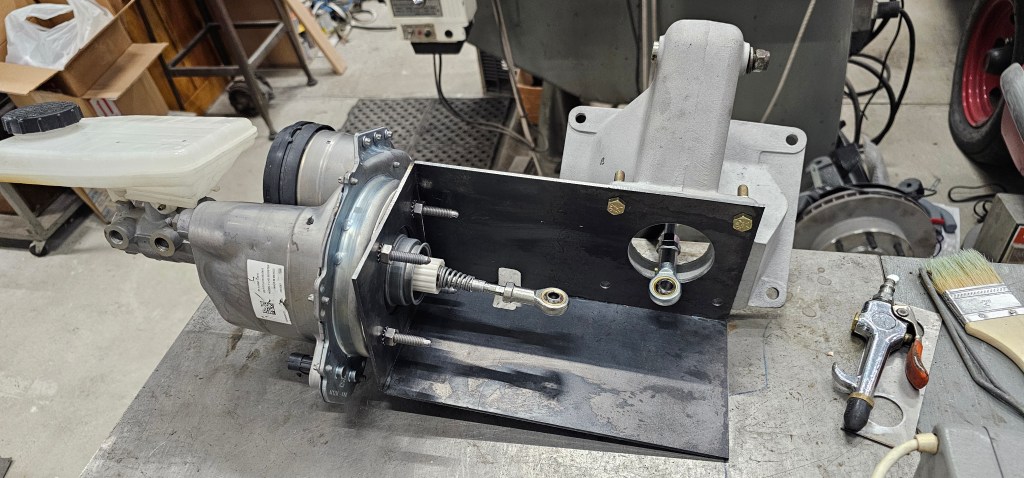
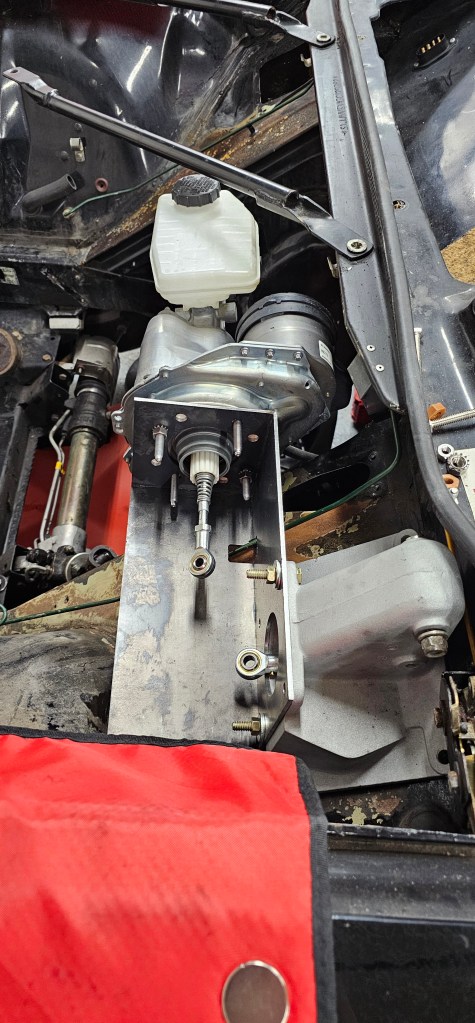
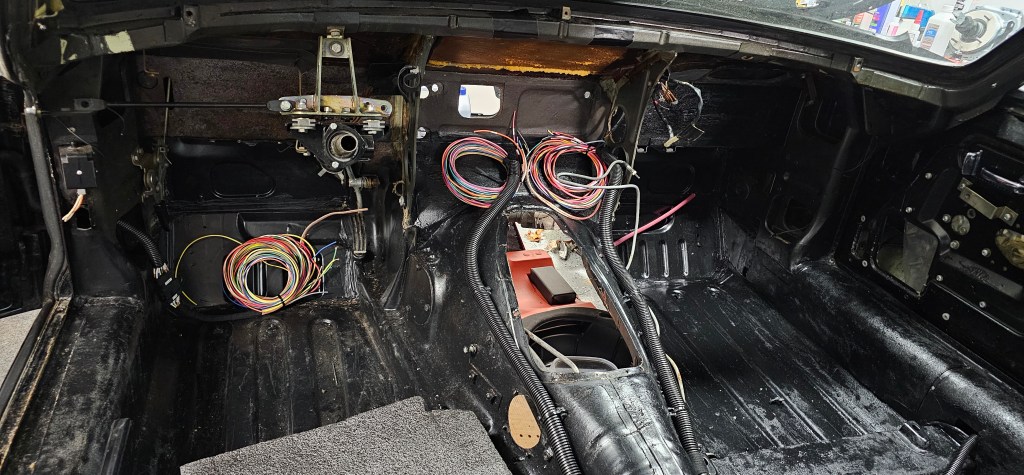
Finally I have the power steering pump installed and temporarily plumbed while I work out the CAN messages to control the speed: