Lights and interior!

(08/18/2024)

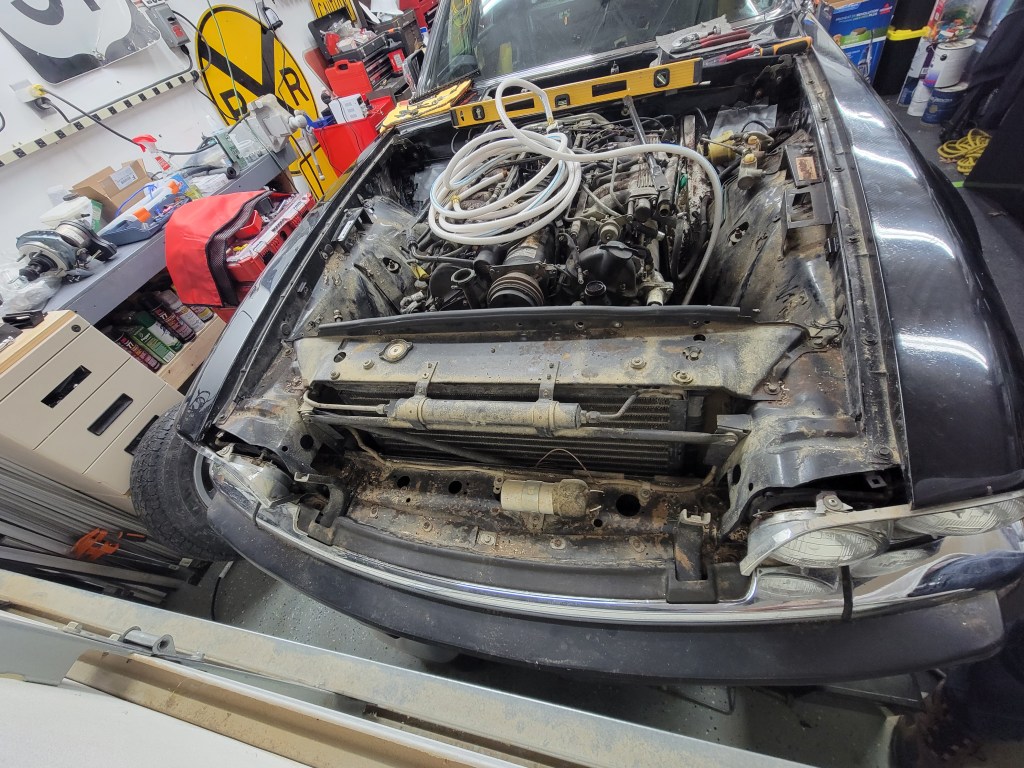
Another month has passed and some small progress on the XJS.

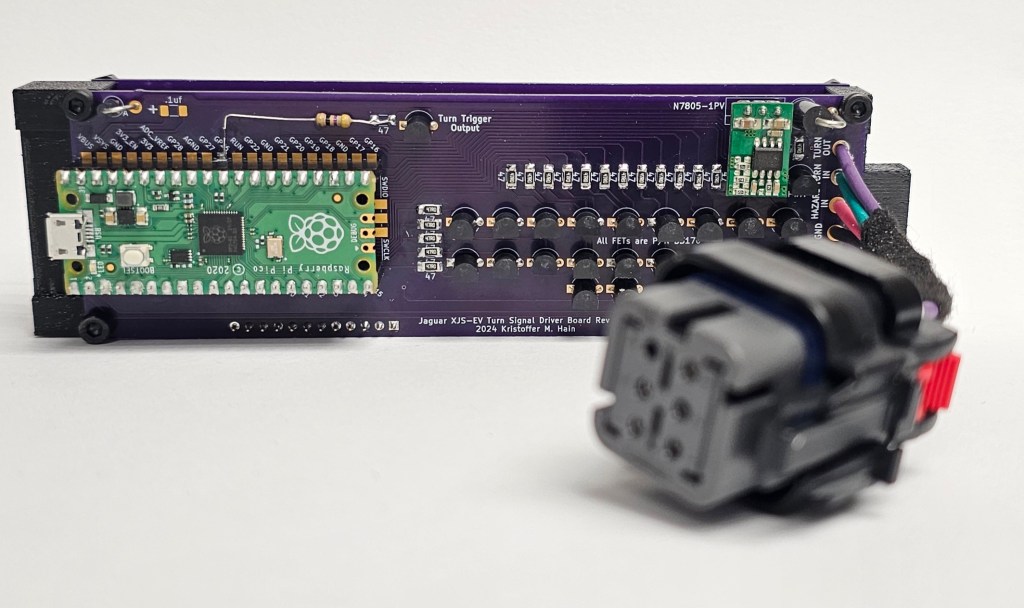
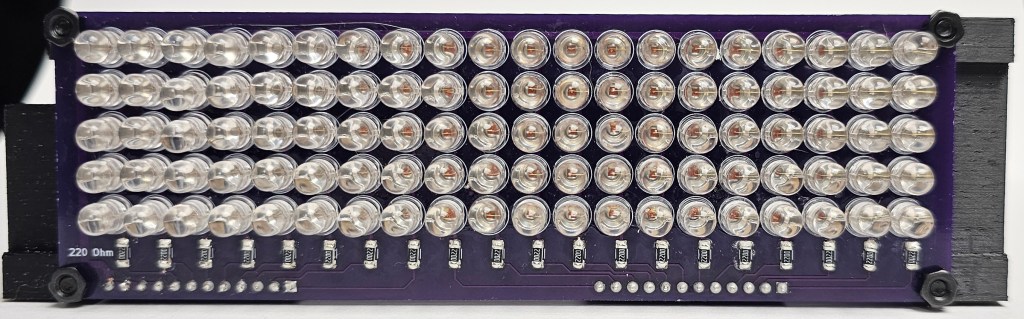
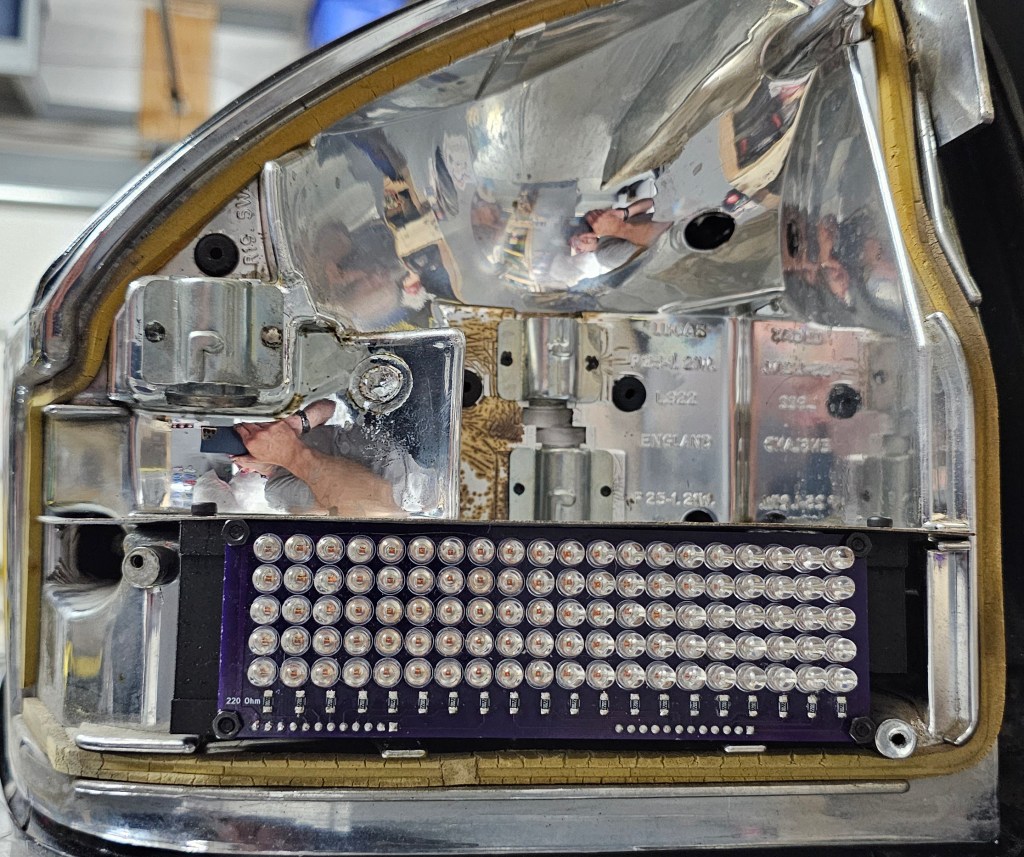
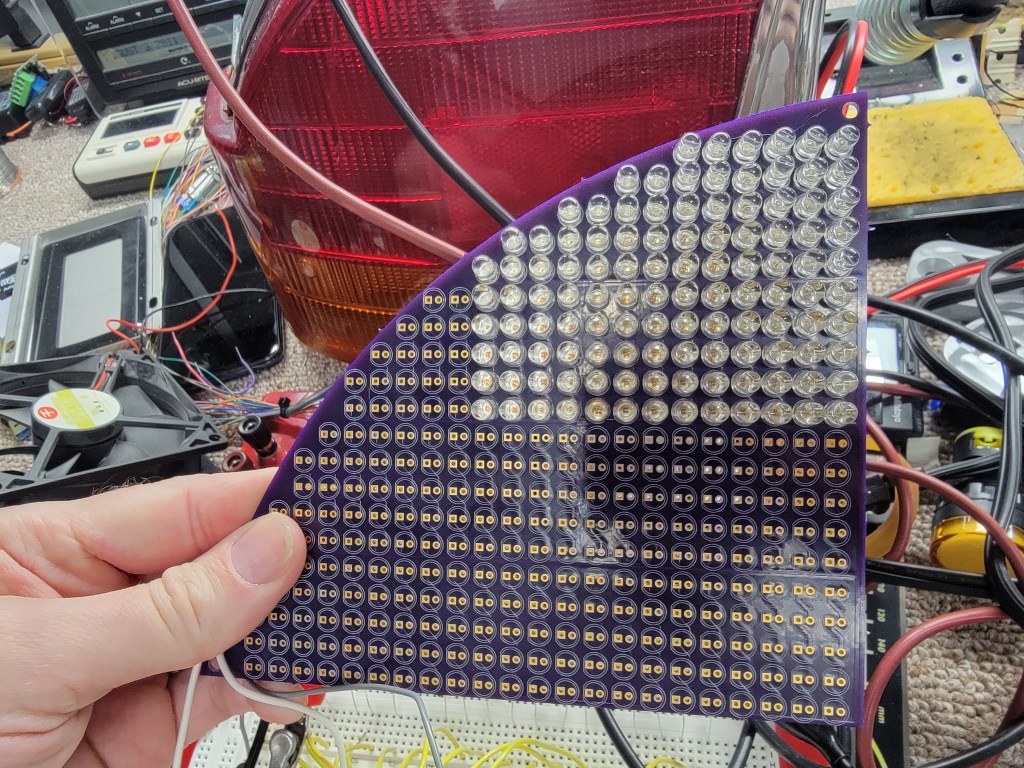
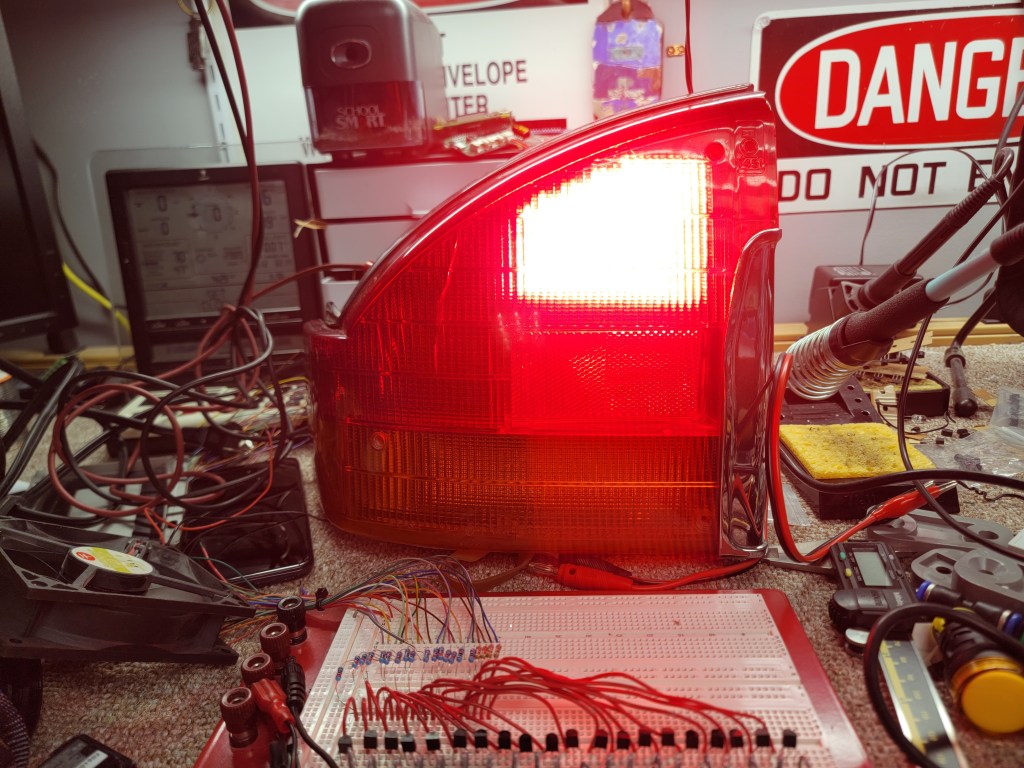
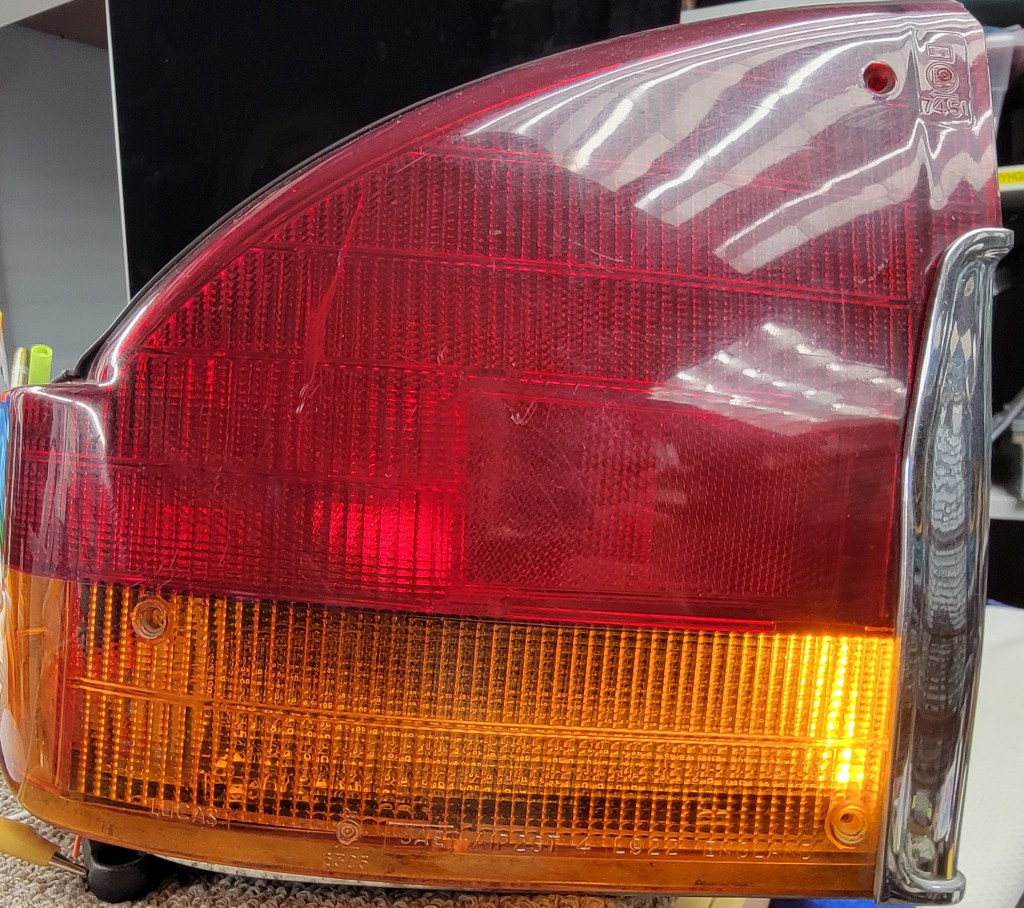
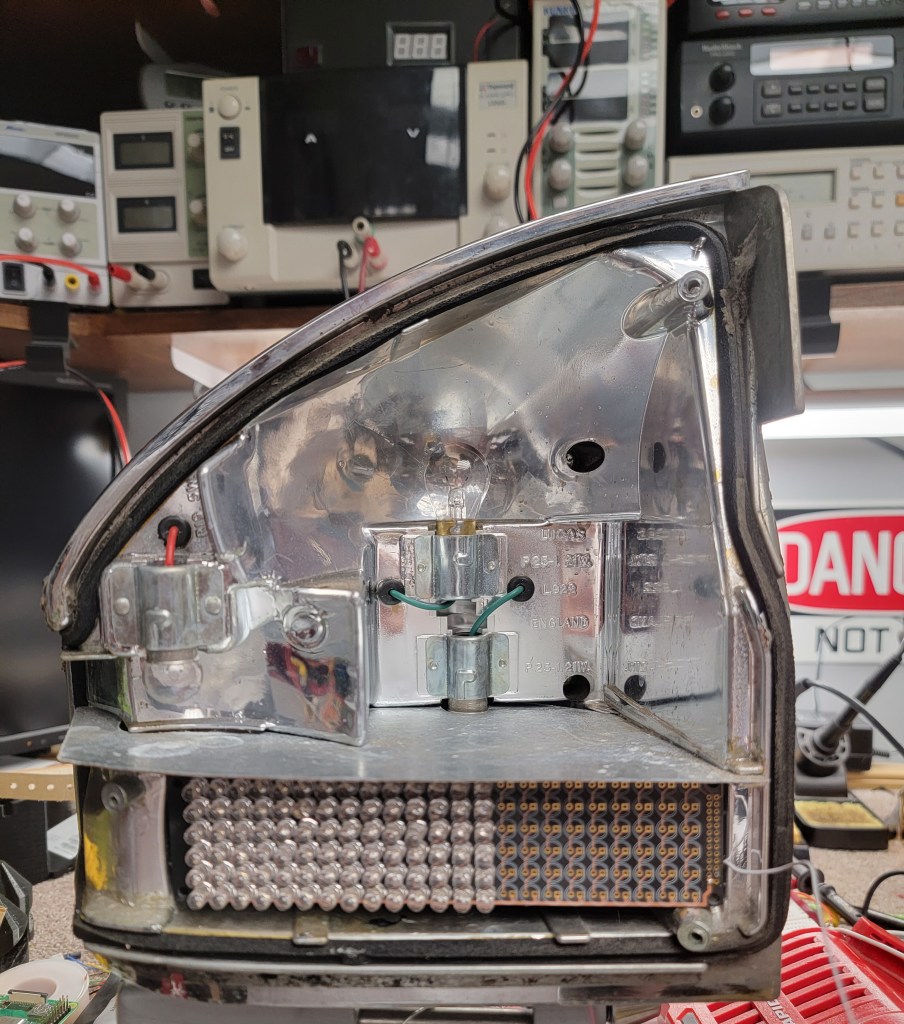
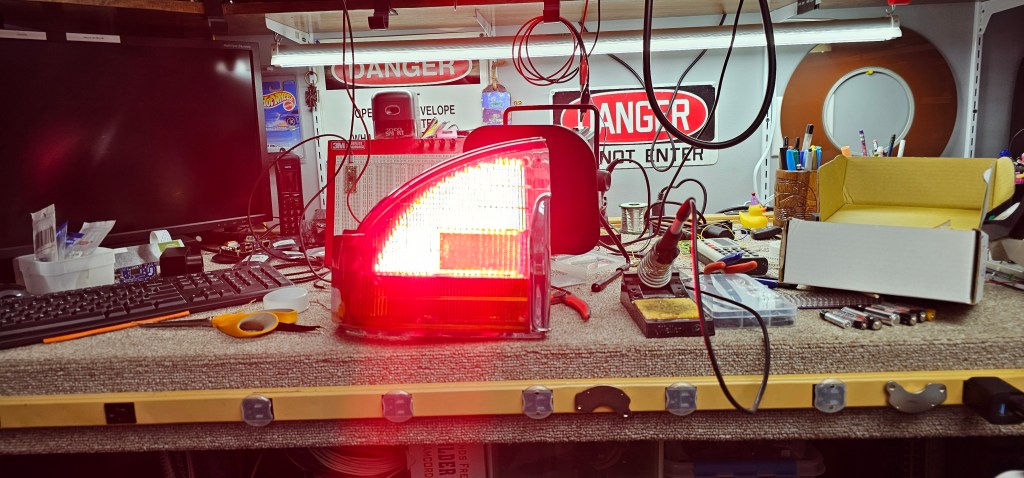
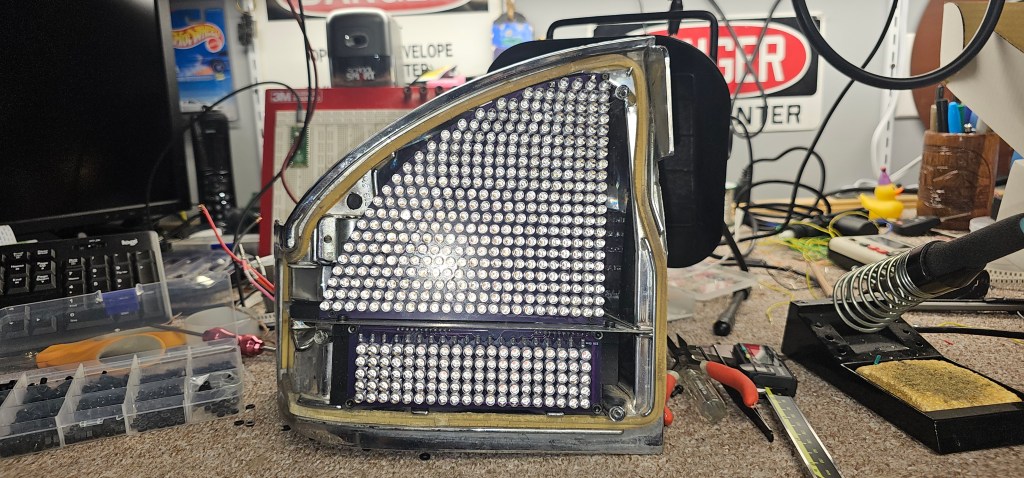
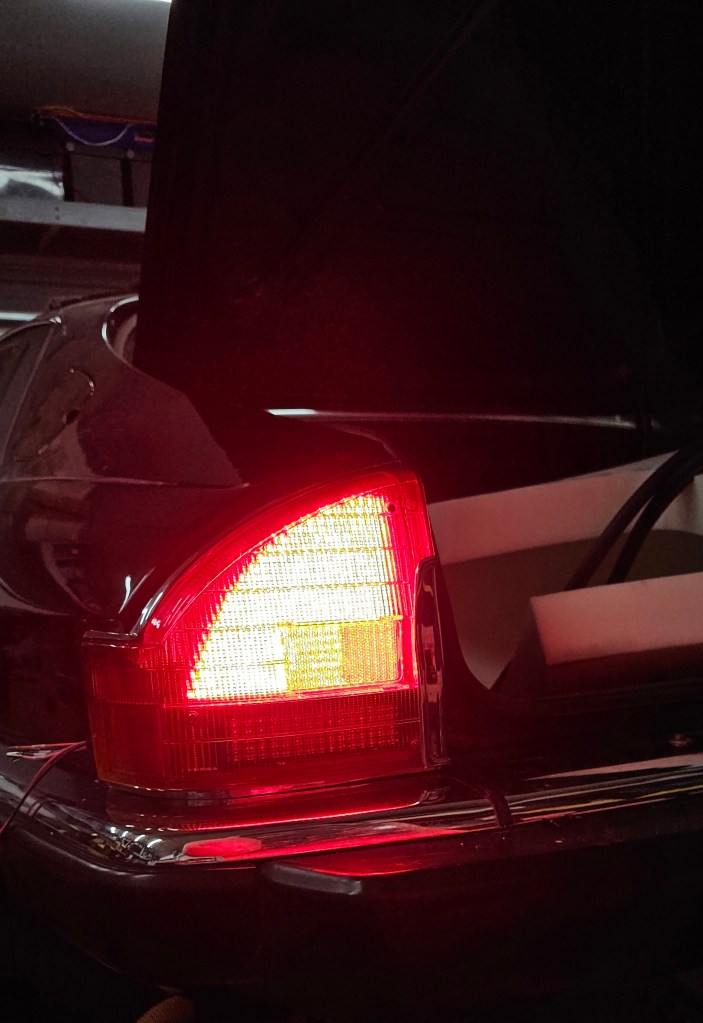
First, I have the left taillight complete! I finished the LEDs for the brake part and in total each light assembly will have 460 LEDs.

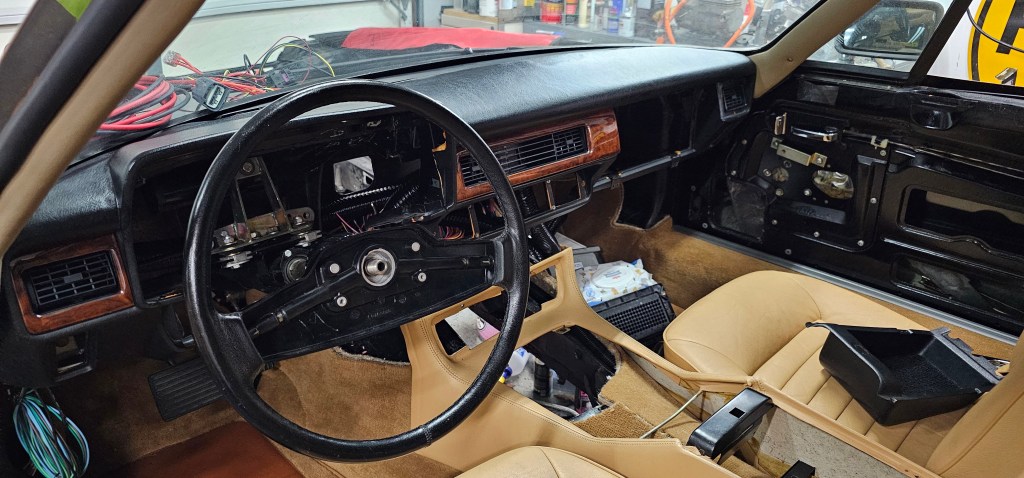
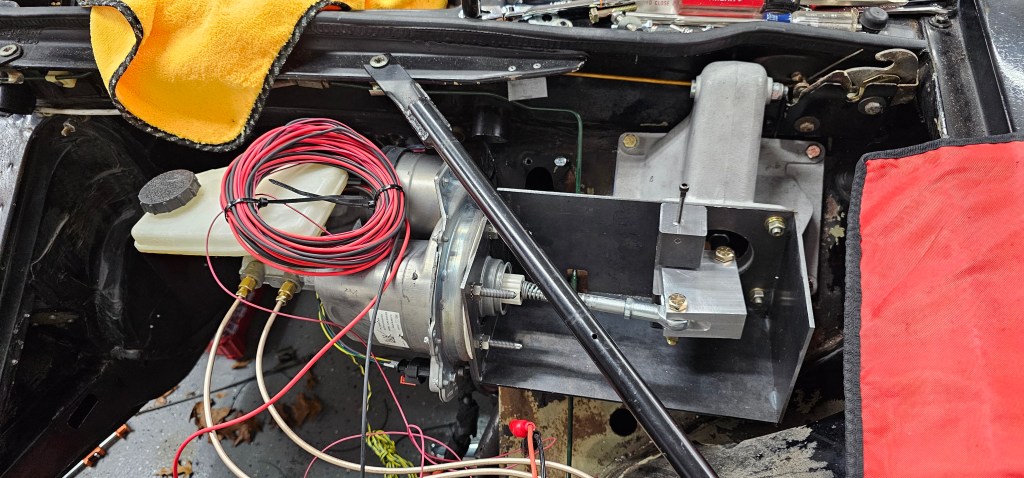
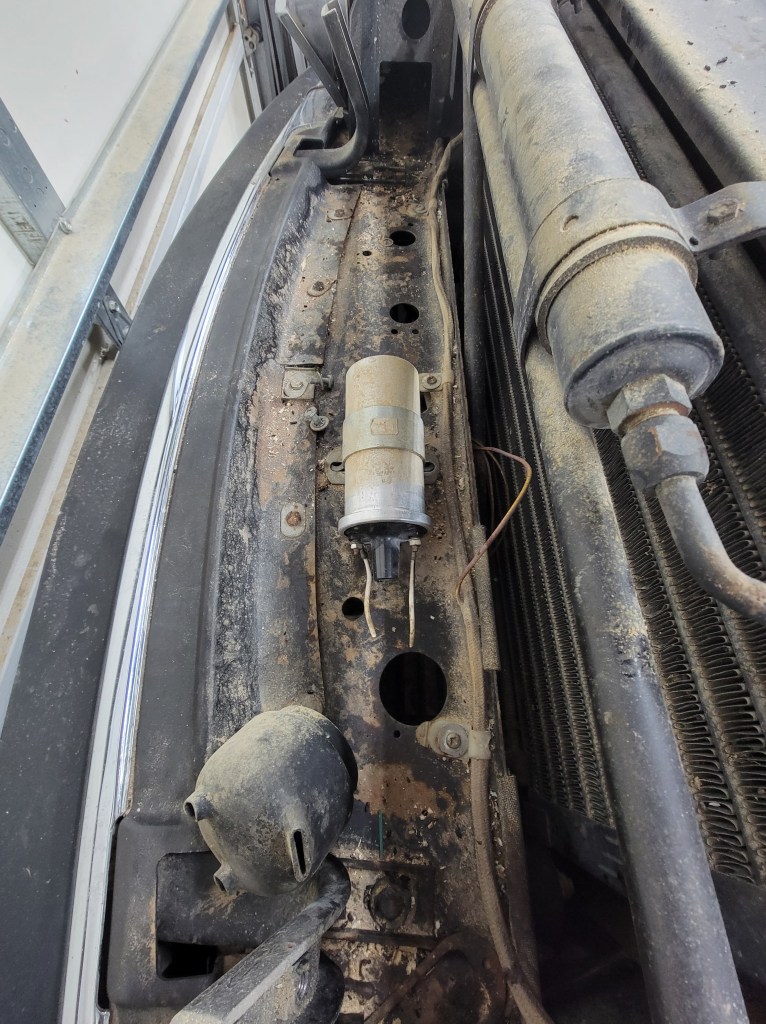
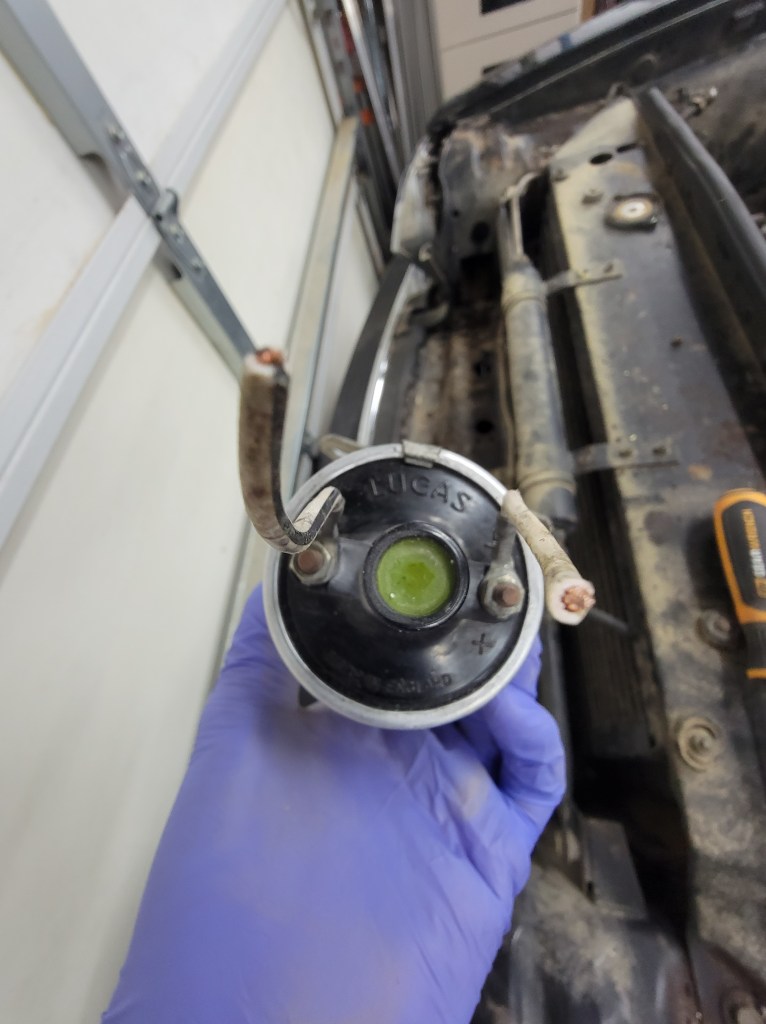
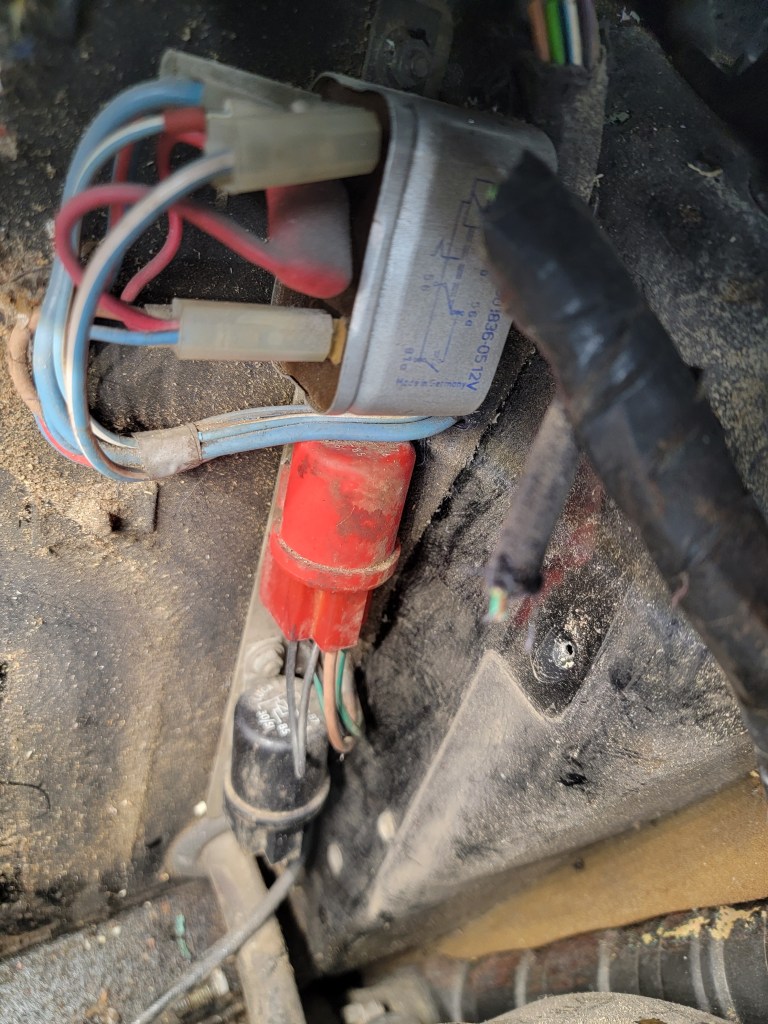
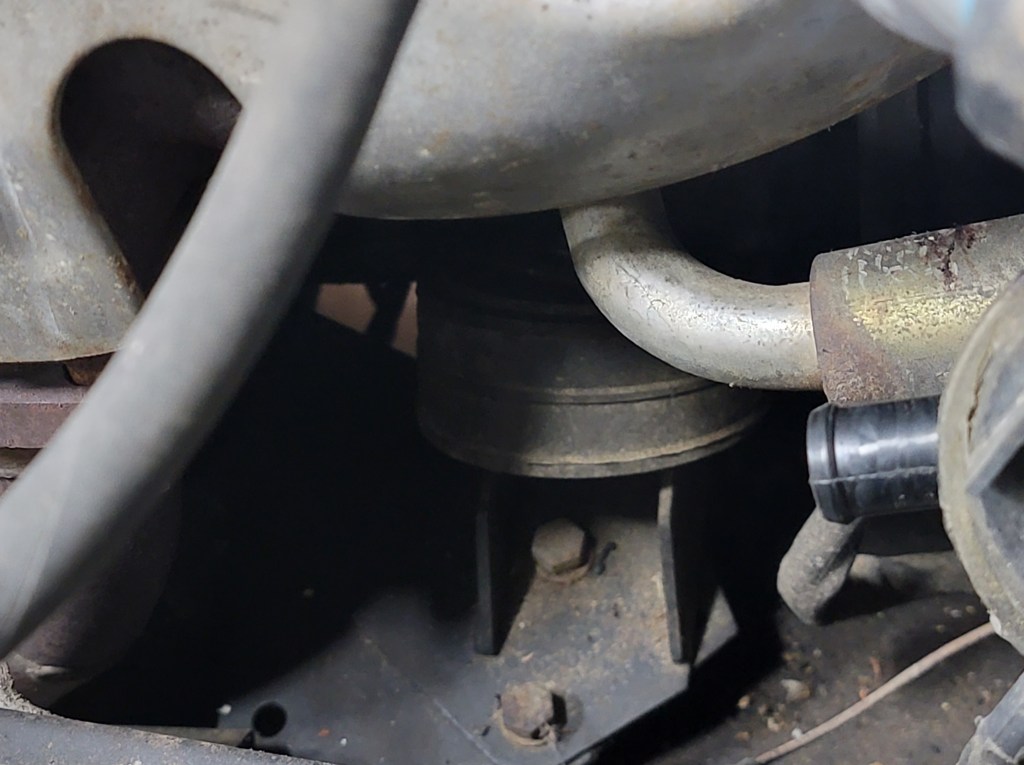
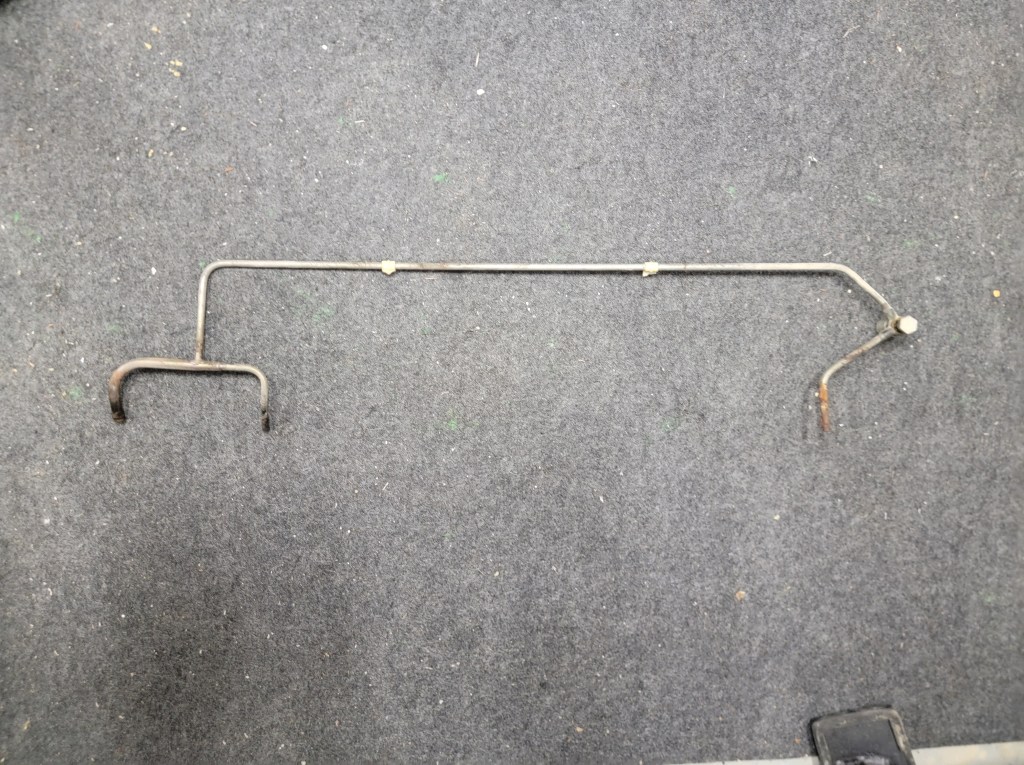
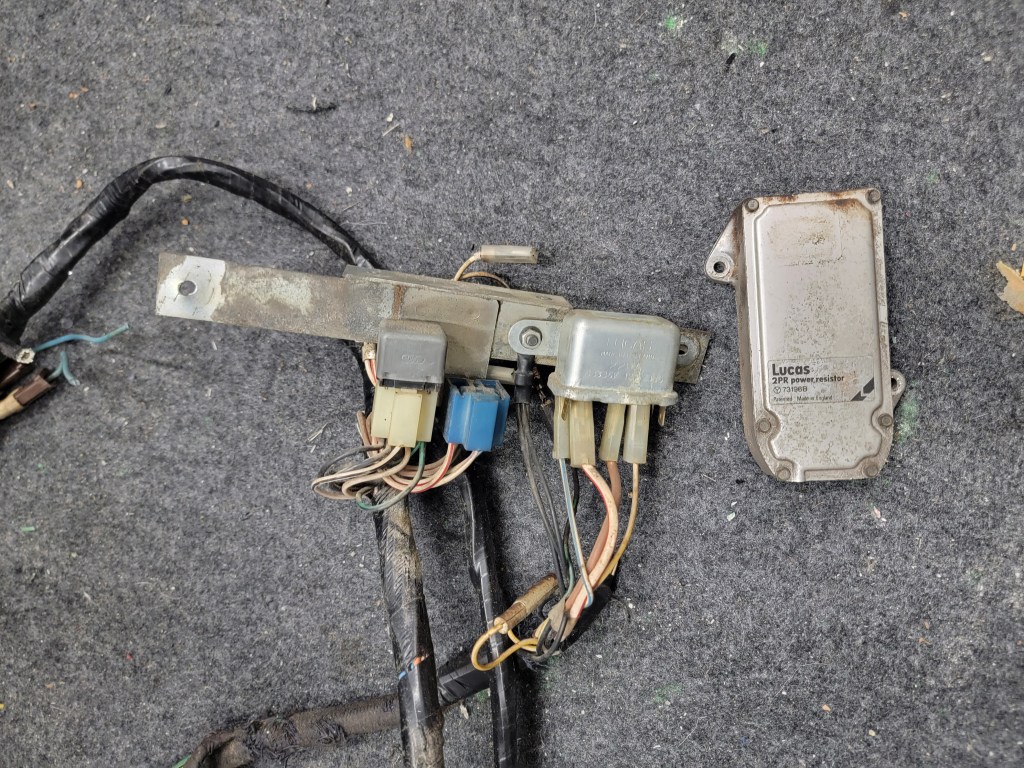
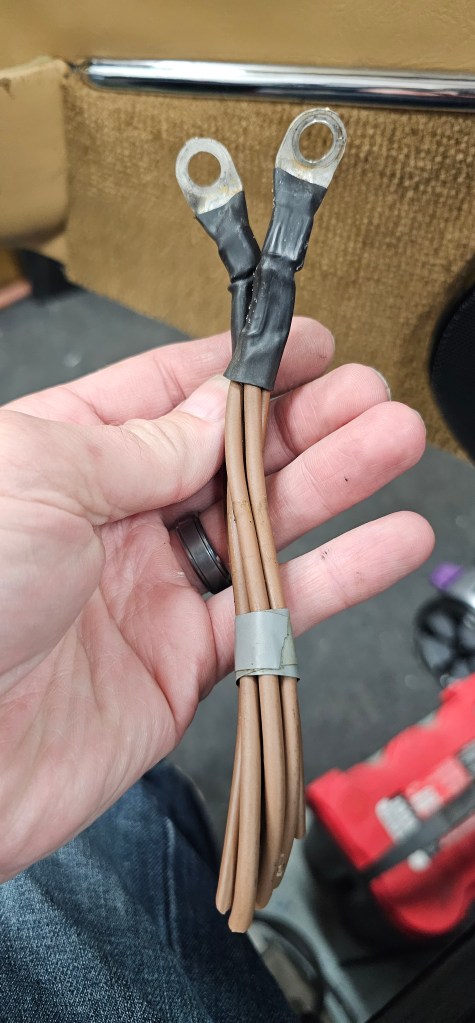
And just when you think I couldn’t find more of the old car wiring, I present this:

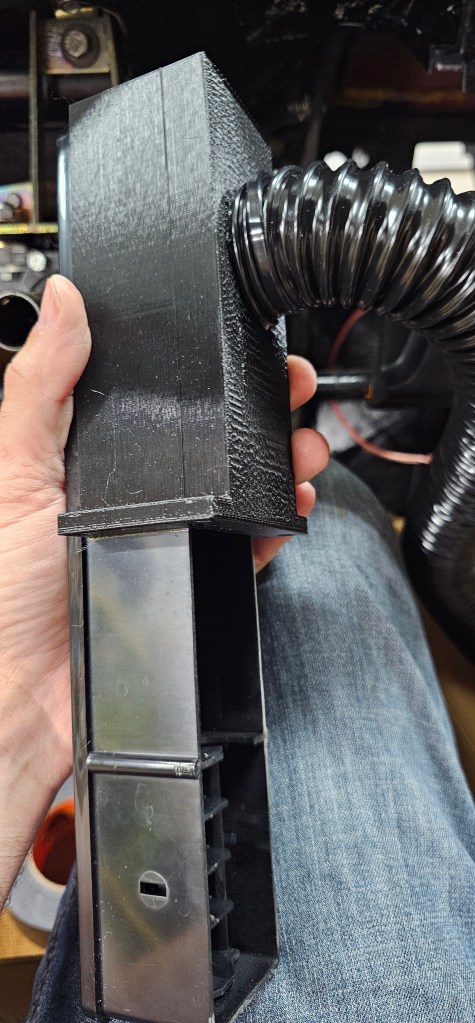
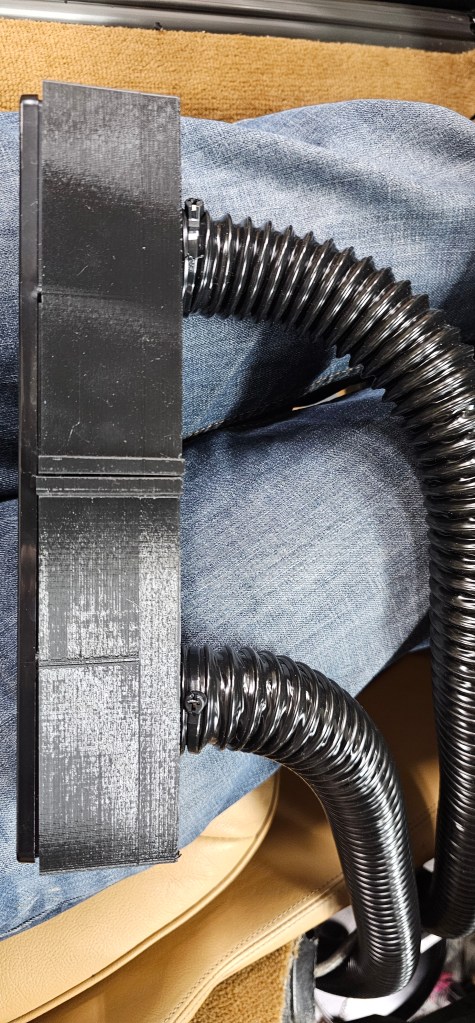
Because the HVAC is going to be all changed, I 3D printed some manifolds for all the vents to route to traditional tubing. This will eventually route under hood as that is where I am going to install the new HVAC box. A little unconventional, but space under the dash is at a premium and the setup I am looking to use will not fit.

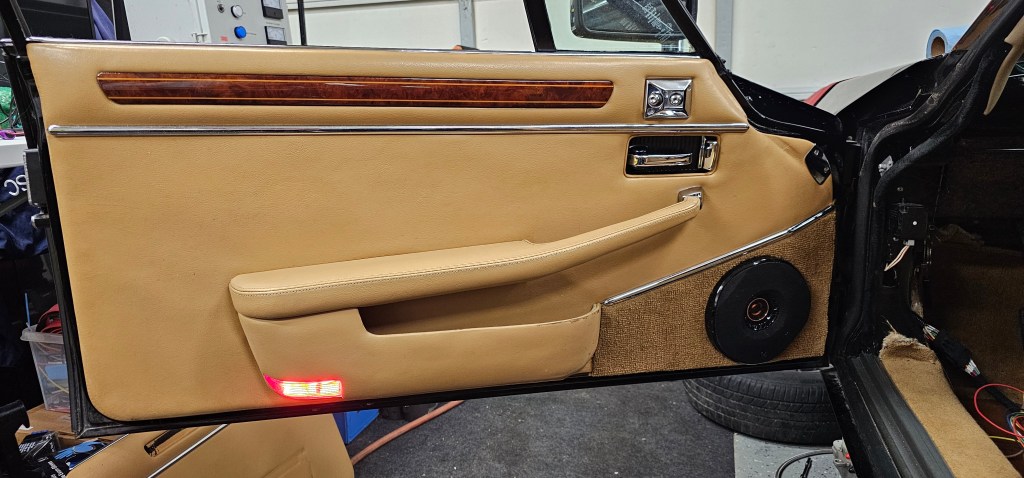
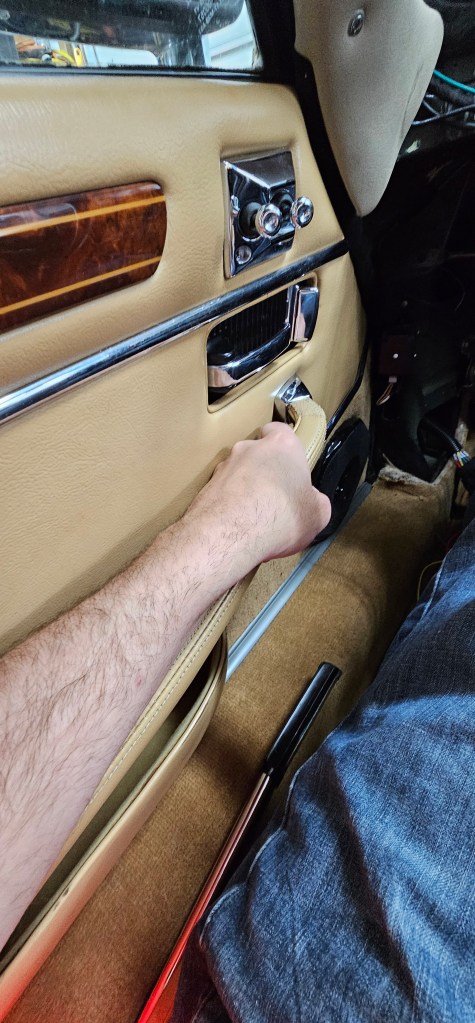
Lastly I have the dash frame and the dash pad installed and starting installing the wood trim around the bits I have complete! It’s slowly starting to look like a car again!

Making progress

(07/07/2024)

Busy summer. Here are a few updates!

First, I got my wood back from British Auto Wood. Absolutely amazing job and good price. I would completely recommend! Now I’m able to put the driver door card back on!

Next, I got back to finishing up the turn signal PCBs and have the driver side completed!

Here is a video of the turn signal in action. The shutter rate of the camera makes the effect look different than in person:

And when the 4-way hazards are on:

Finally I have the power steering pump installed and temporarily plumbed while I work out the CAN messages to control the speed:

More mice…

(06/11/2023)

The more I dig into this car, the more I find where the mice lived.

When we pulled the engine out I discovered there are frame-rail like boxings that go from the engine bay all the way back. Mice gross in there. I need to flush it out, but I need to expose some inspection plates to do so. In the process of figuring that out, I learned the bumper is hollow-ish and also if full of mouse gross.

So off the bumper went and I power washed it inside and out and now it’s clean.

Next up was this plastic air dam in the front. It was attached from the sides and I needed to drop that down to see how much was laying in there. To my not-surprise, I found two access panels in the wheel wells I had not taken off…and guess what? More random Jaguar bits were installed behind these. Literally every panel I remove has some sort of can or module.

After this was done I was able to pull down the air dam, which wasn’t as bad as I thought.

And with a little Chemical Guys magic, it’s clean:

Let’s make some space

(01/07/2023)

I decided it was time to get the hood off and get serious about the engine tear down. I want to tear down as much of the engine as I could before I have to pull it. This saves on weight, frustration and most importantly me pulling out hair from my already-balding head.

Why is there a second ignition coil here? Why is it potted? Is this a choke? Why?

Radiator is out!

Radiator was leaking!

What a very crude way to tighten a belt.

More things gross

(01/06/2023)

If you look closely underneath on the passenger side, the SECOND engine mount is visible!

Is there a reason Jaguar left the engine pull hooks attached to the V12?

I had to remove more coolant. This is one of the hoses I pulled.

Oh look, more relays random electrical crap mounted somewhere random.

Jag didn’t want that oxygen sensor to get unplugged I guess. Not like a light would appear if the sensor went bad (looking at you, 30k mile timer)

Another in-line fuse with a fancy mount.

More teardown

(01/04/2023)

The driver side of the cabin is getting cleaner!

This random pipe was under the hood. It’s used for coolant. It has a bleeder on the right side and exits the engine bay at the radiator support goes around the front and goes BACK into the engine bay on the left side. Why???

Under the hood I found more relays and inline fuses and a random resistor pack.

Red shark fins

(12/06/2022)

Quick update on the taillight project. I designed the red part of the light and had what look like shark fins created at OshPark

At this point I ran out of red LEDs and had to order more. I actually ordered GOOD LEDs for this project from Mouser. I certainly don’t want to be back in this replacing random dead elements any time soon.

Lights

Like most projects I do, I’m starting from probably the most bizarre angle; taillights. I probably have various ways to justify this, but honestly I like lights. Furthermore I like sequential turn signals. I’ve always wanted a vehicle with a set. When I was younger I used to add turn signals to my bikes and wagon. I often had sequential signals on them. Years ago I was going to make a teardrop trailer and that too was going to have sequential signals. None of that ever panned out, so here we are again with a new project….and sequential turn signals!

This is a spare taillight housing I got off eBay. I gutted it and designed a board in KiCad to hold the LEDs. In later posts I’ll have videos of it operating, but since I’m playing catch up on this blog, I’m trying to do things in somewhat of the order in which they occurred. In this case, the beginning of sequential tail light design.