(01/05/2023)
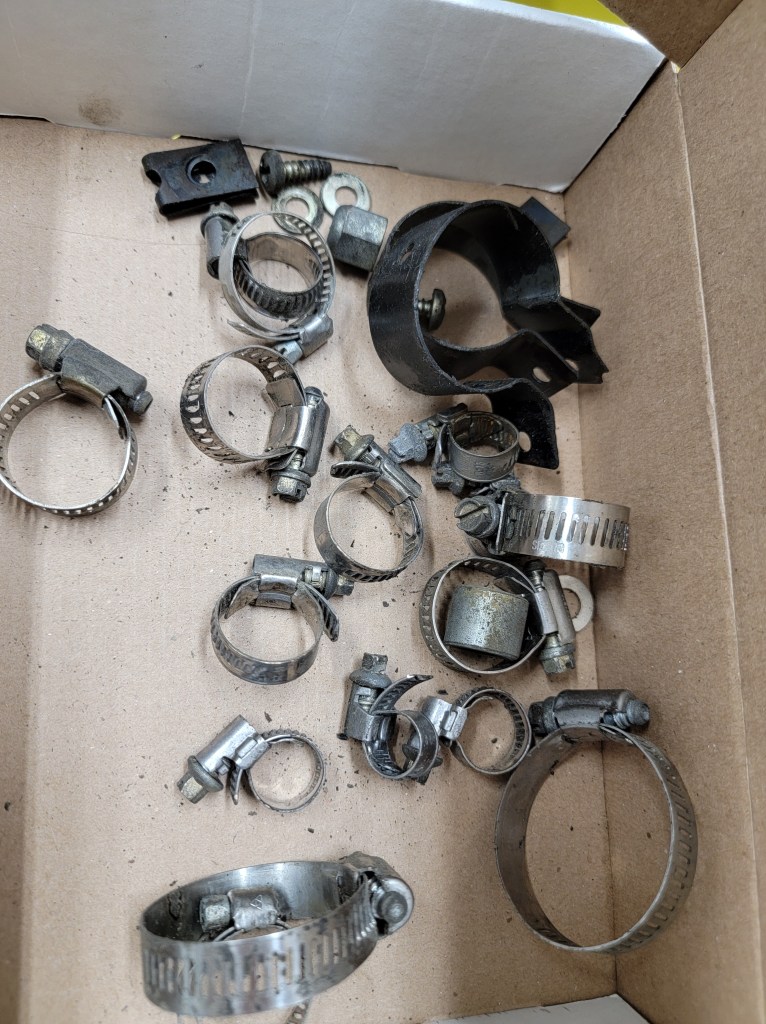
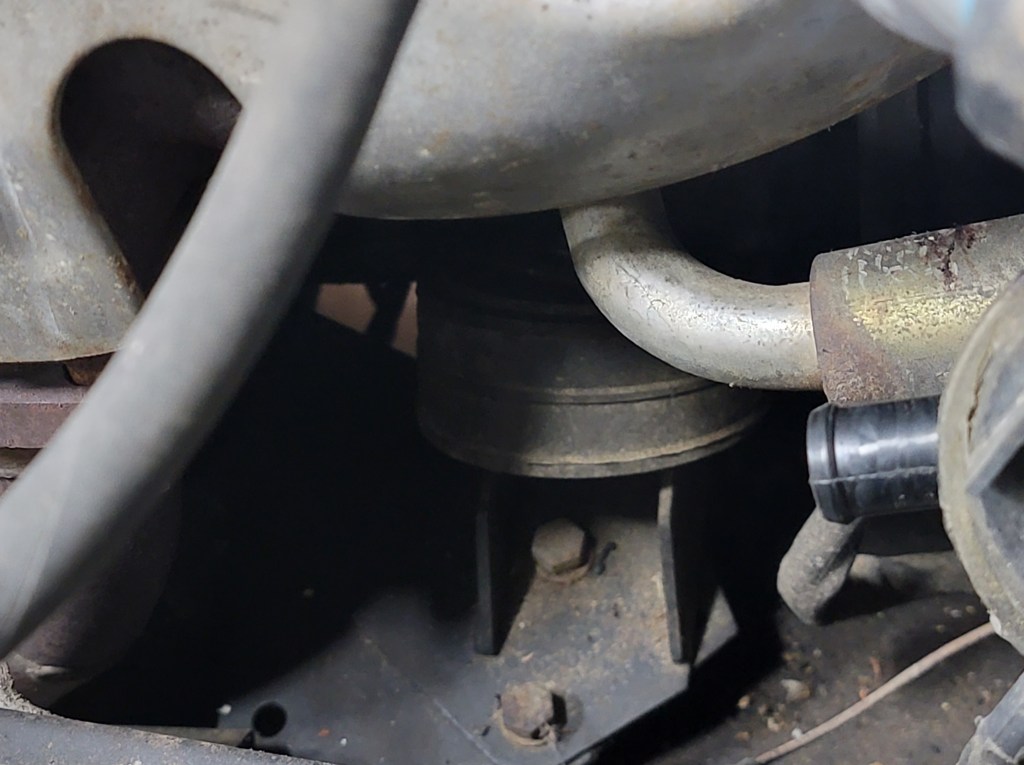
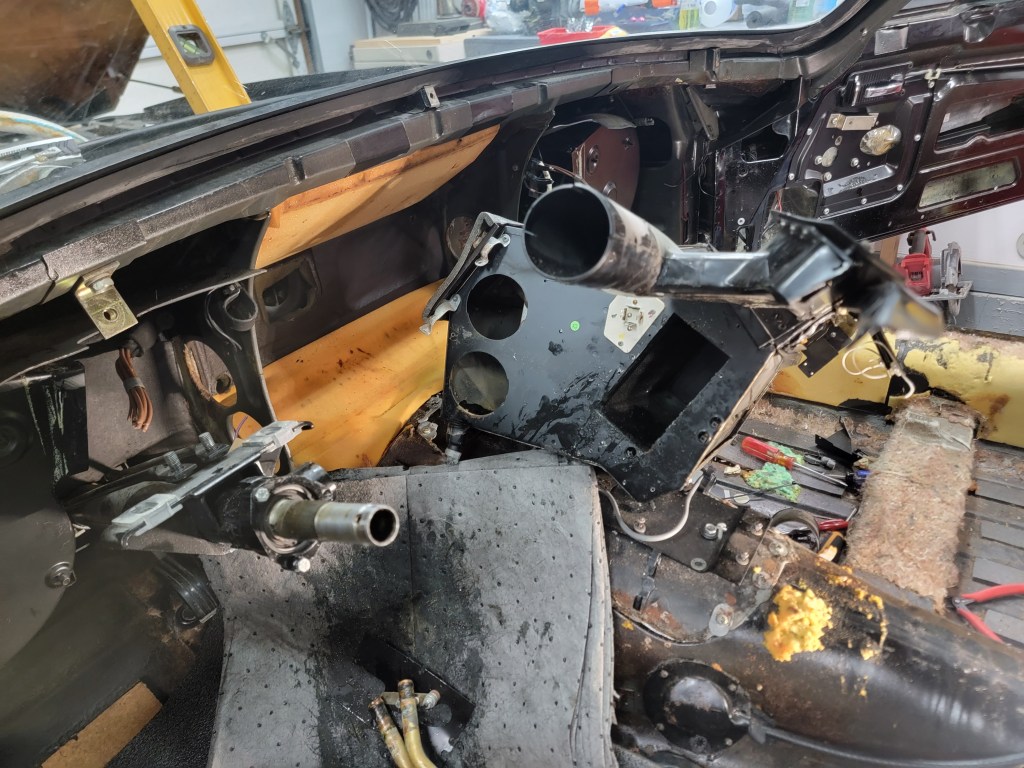
Jaguar: We use worm gear clamps for everything…
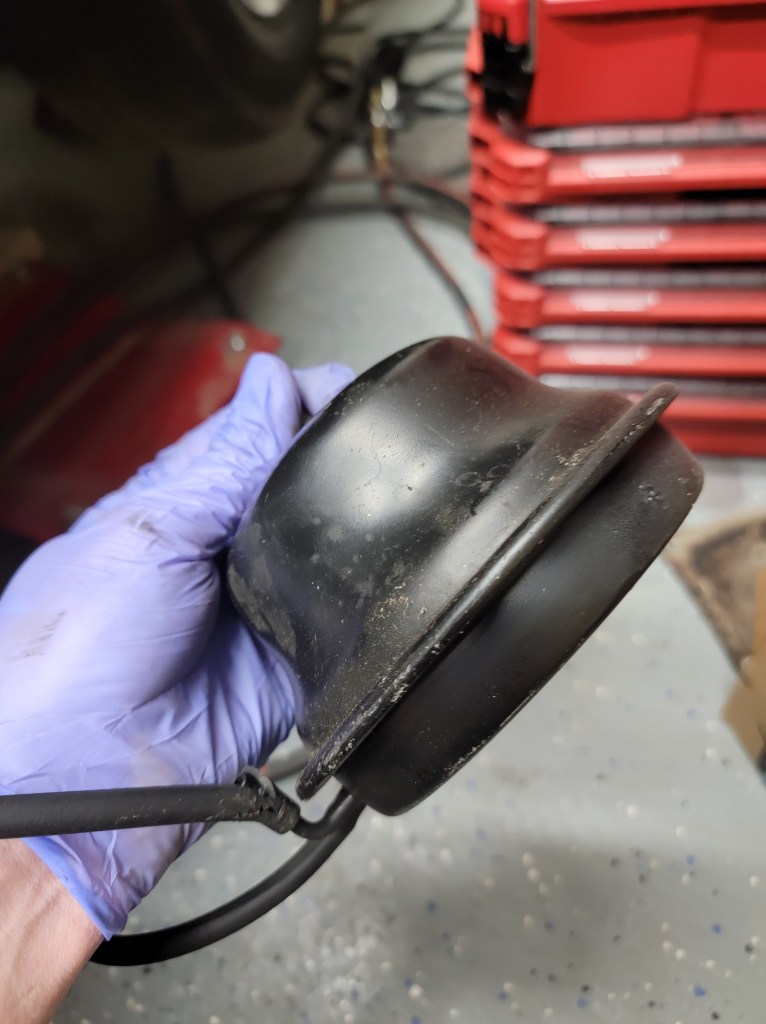
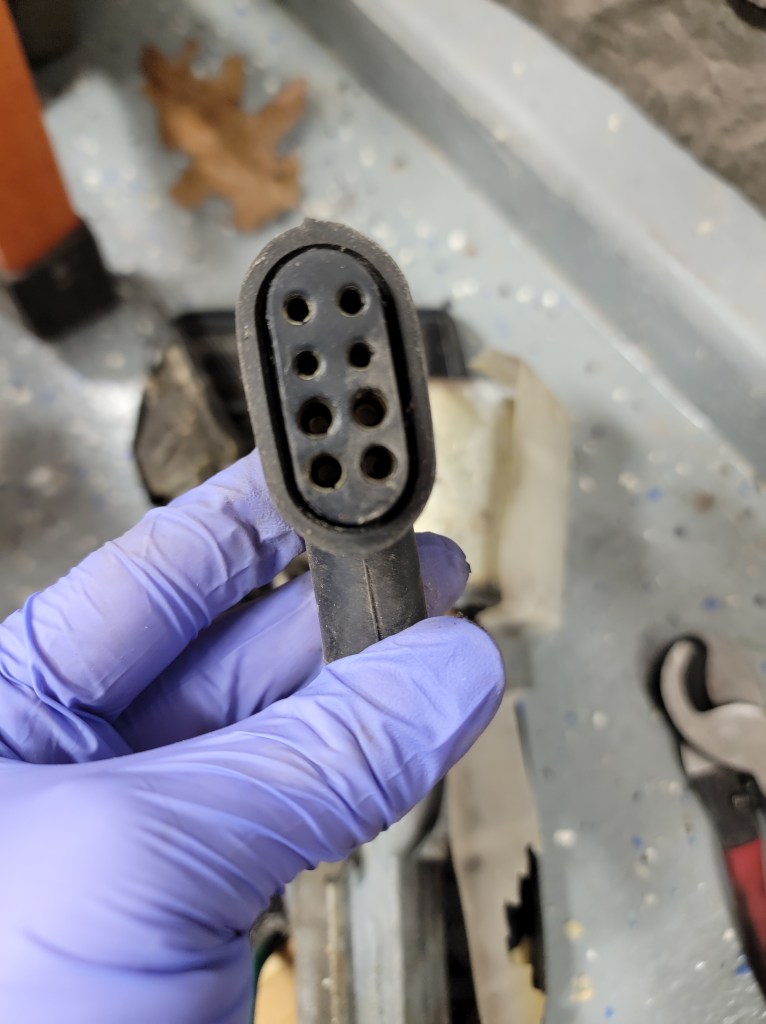
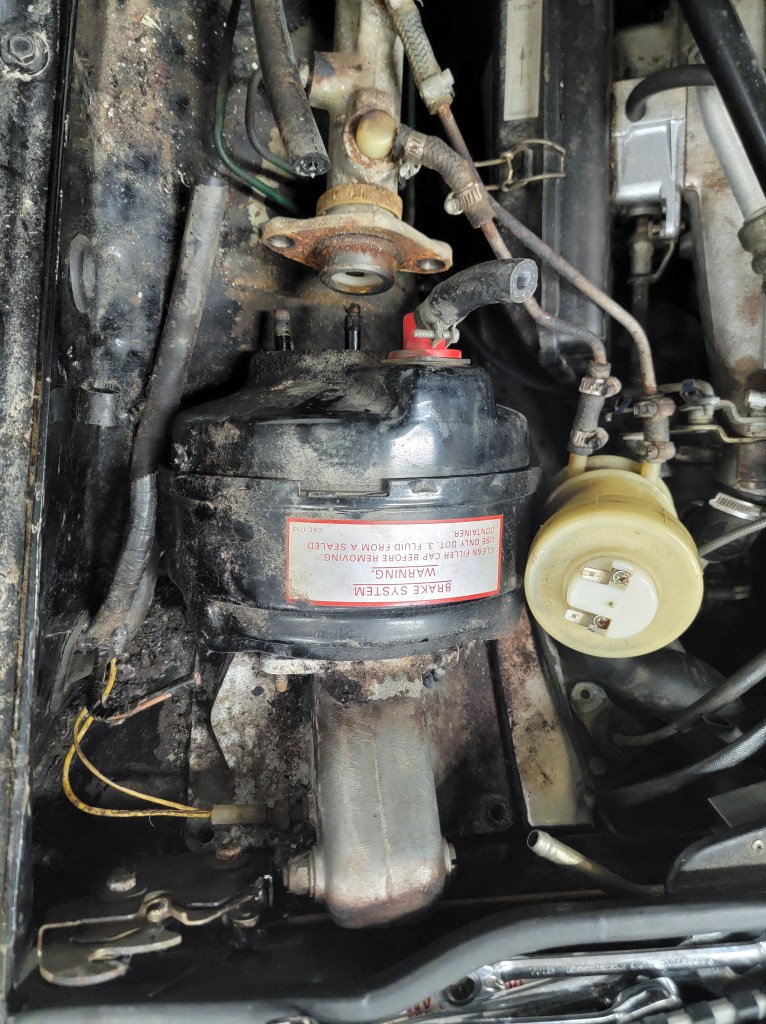
One of about 10,000 vacuum servos
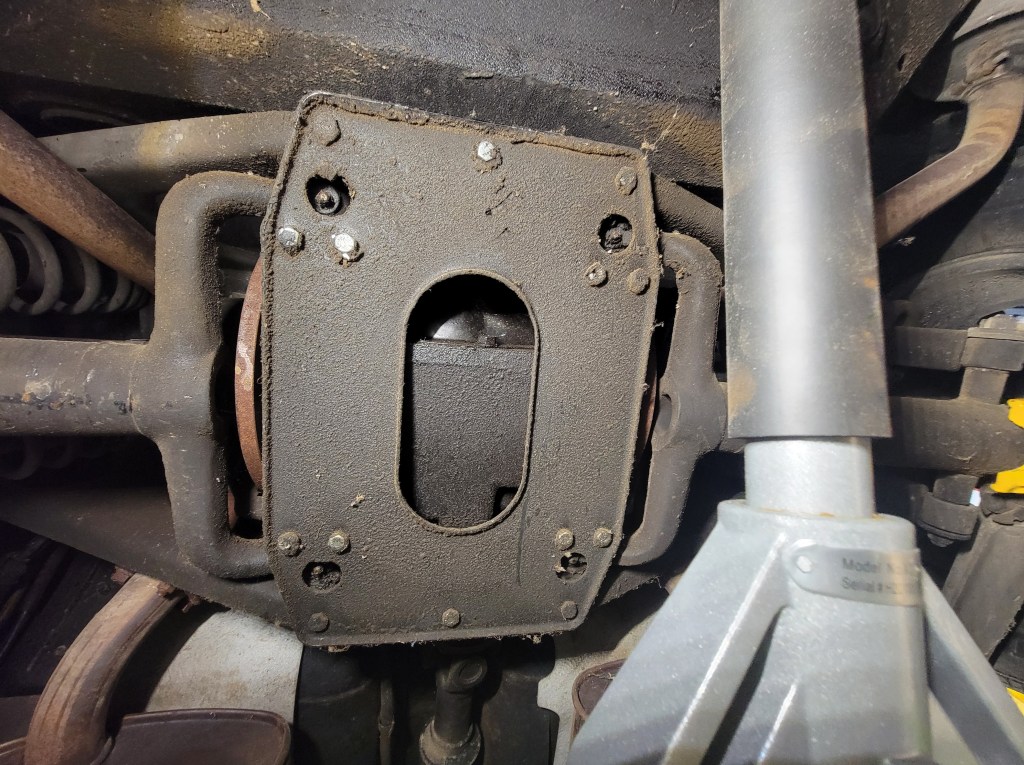
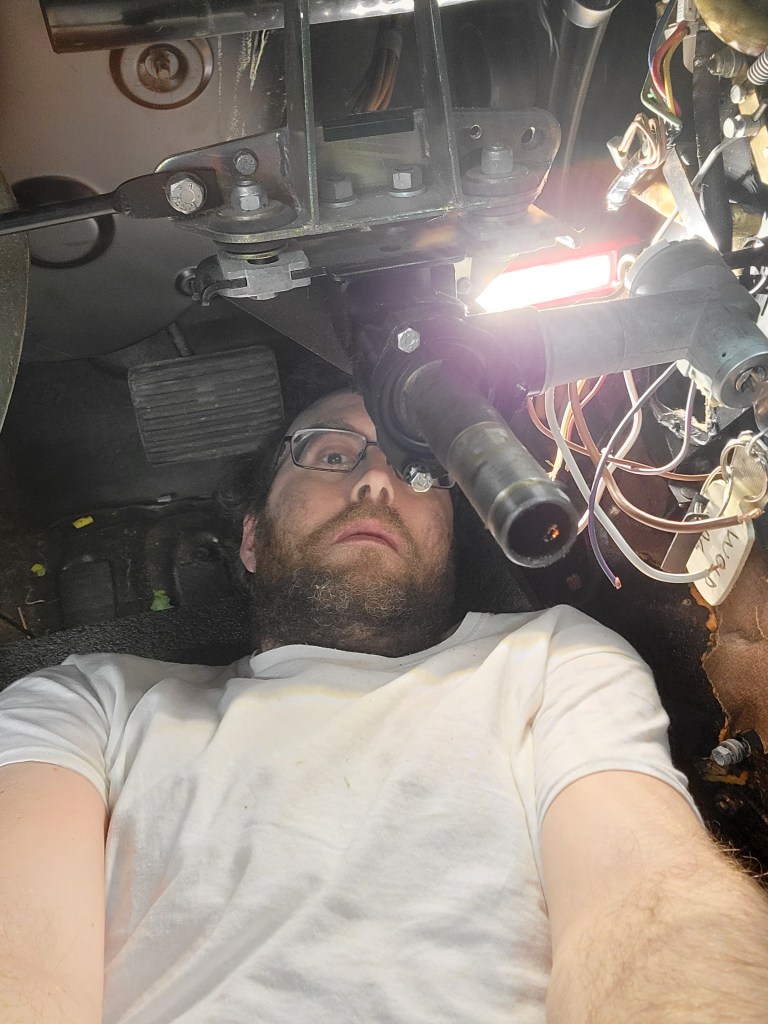
And today was the first day I was able to see one of the engine mounts!

(01/05/2023)
Jaguar: We use worm gear clamps for everything…
One of about 10,000 vacuum servos
And today was the first day I was able to see one of the engine mounts!
(01/04/2023)
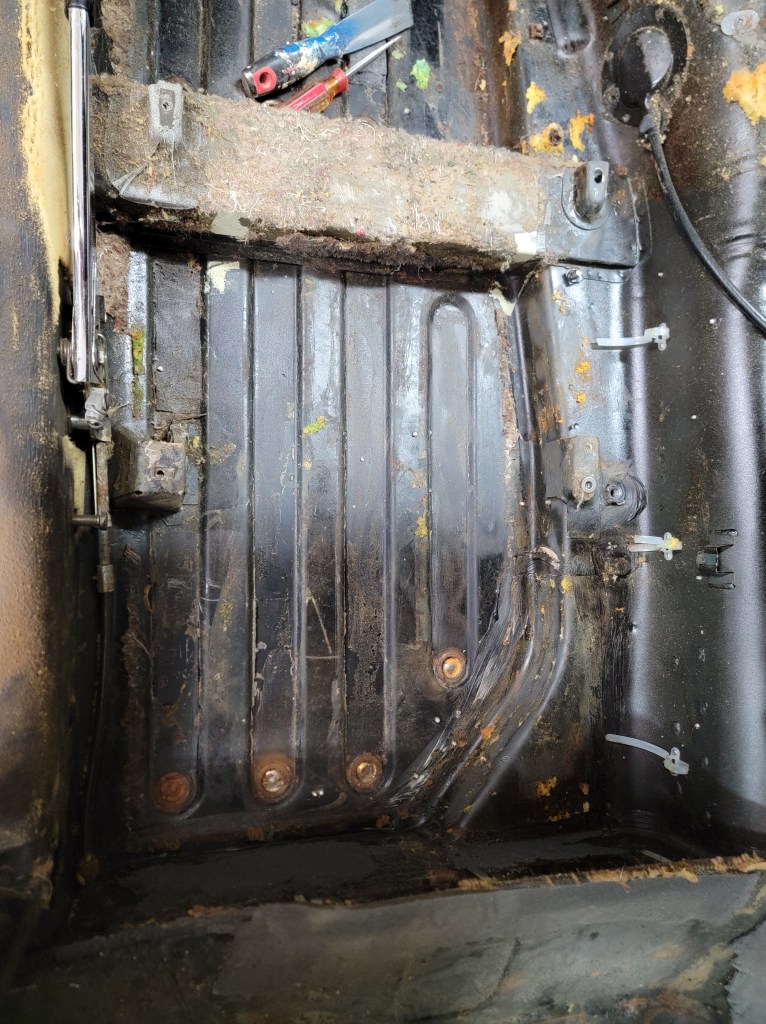
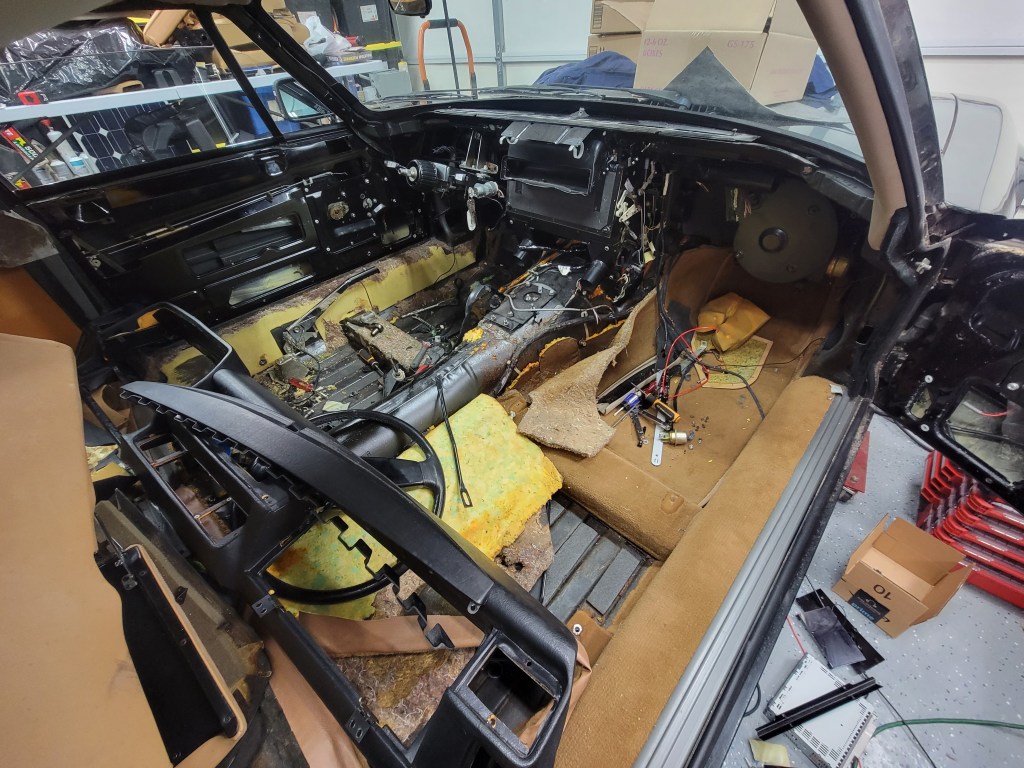
The driver side of the cabin is getting cleaner!

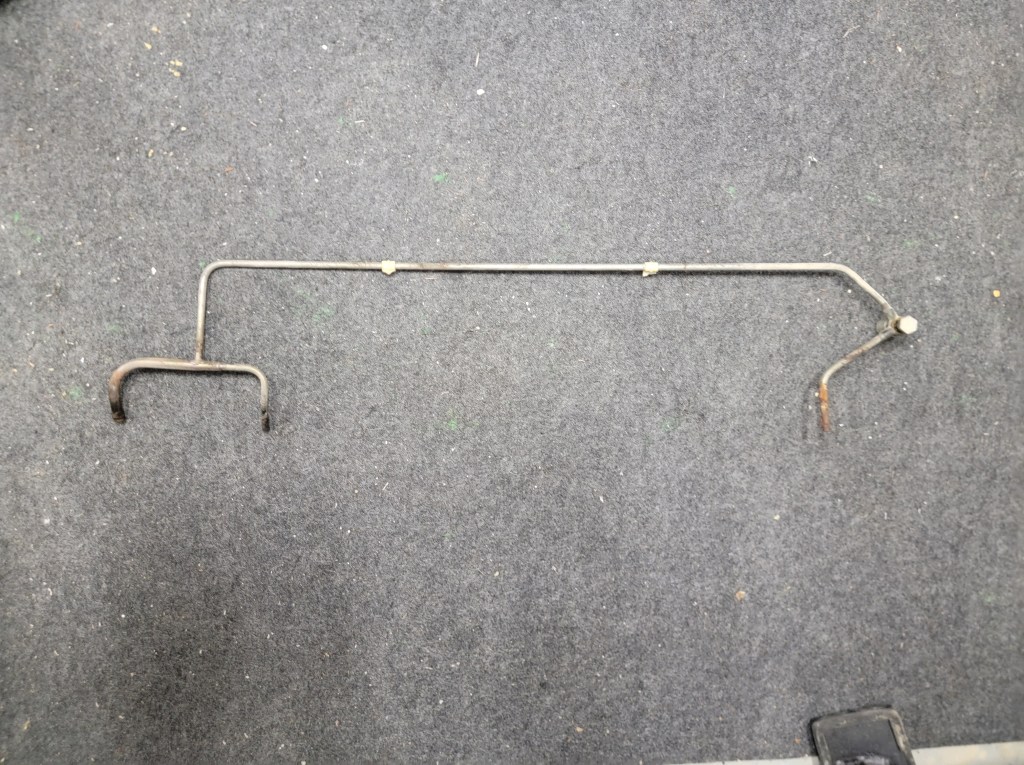
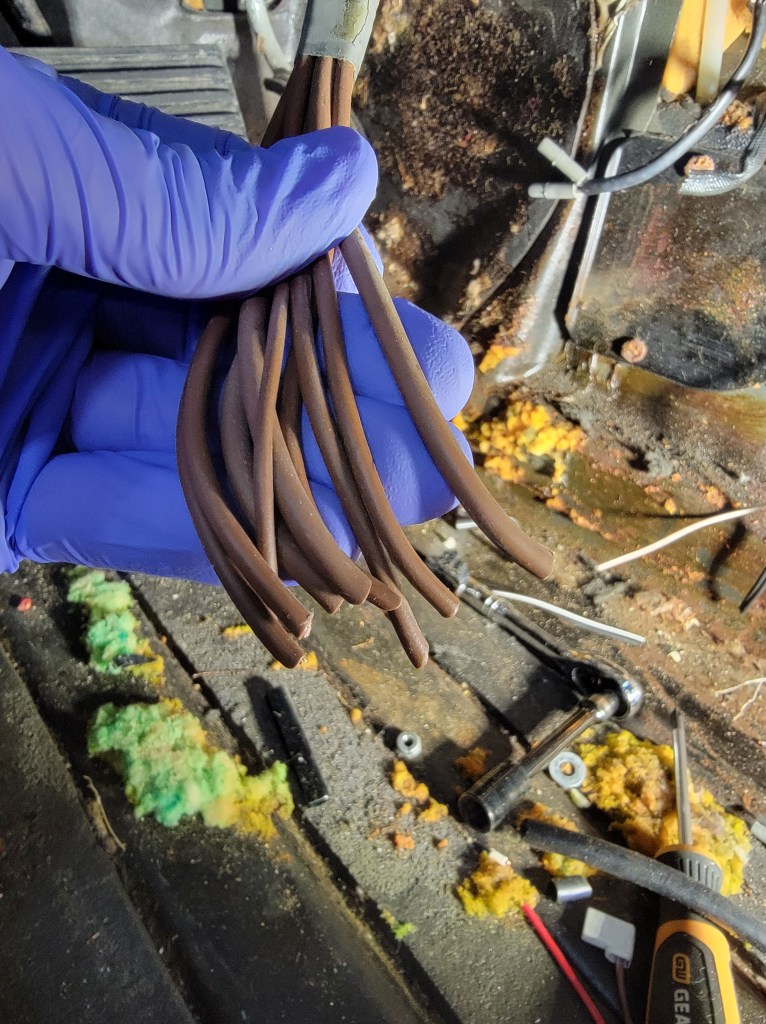
This random pipe was under the hood. It’s used for coolant. It has a bleeder on the right side and exits the engine bay at the radiator support goes around the front and goes BACK into the engine bay on the left side. Why???
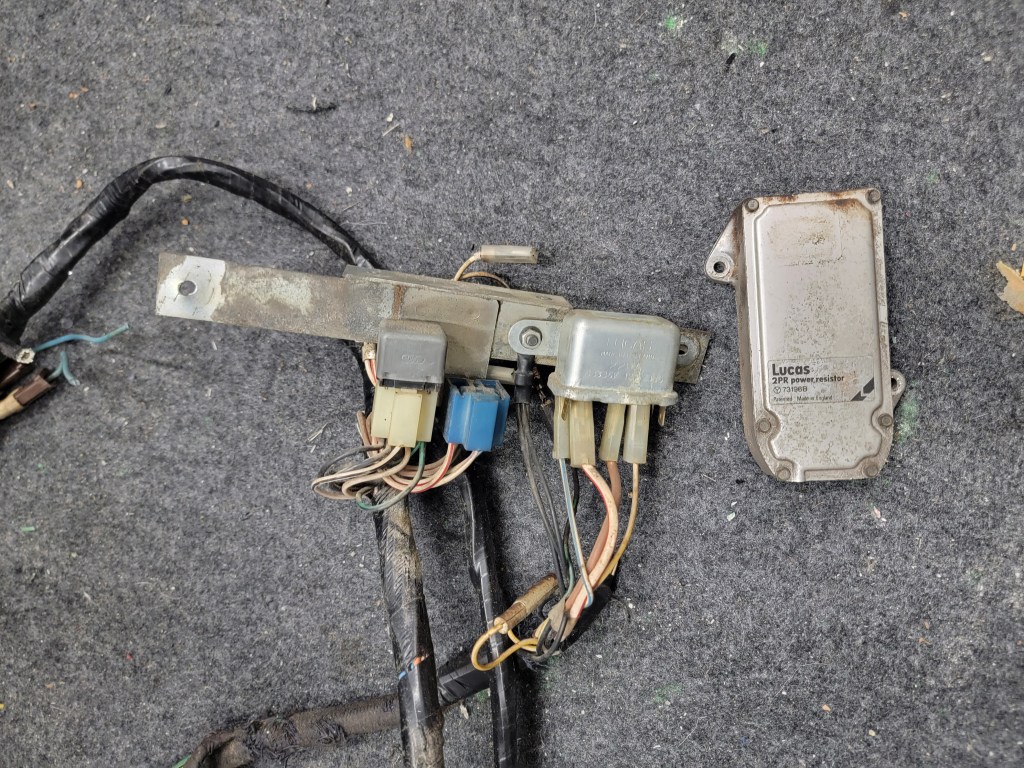
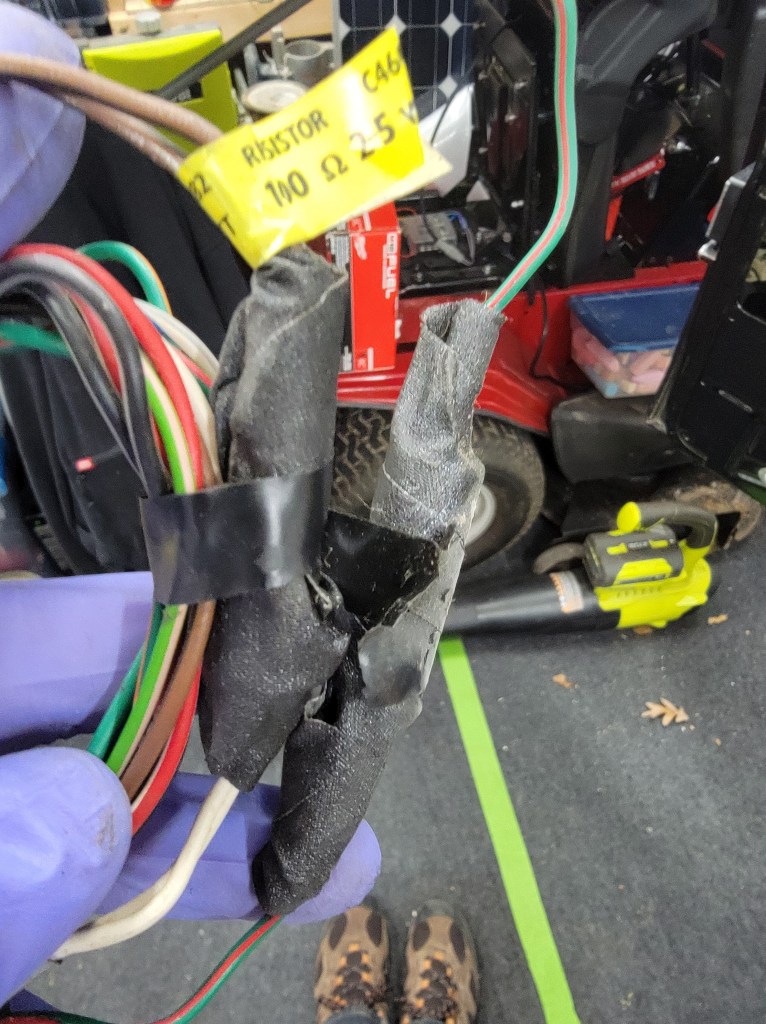
Under the hood I found more relays and inline fuses and a random resistor pack.
(01/03/2023)
I’m starting to move my attention to the underside of the car a little. All of this is prep work to get the engine out as easily as possible.
Here we have the driveshaft going into the rear diff. The other end disappears into one of 4,000 shields.
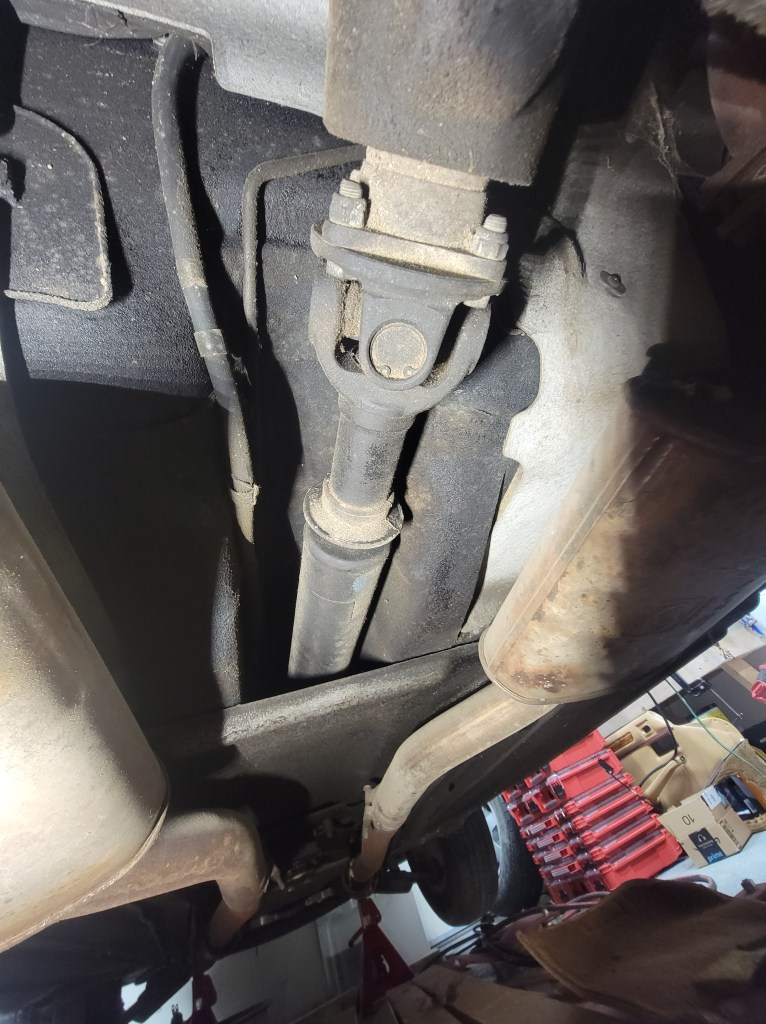
This will be fun to take apart later.
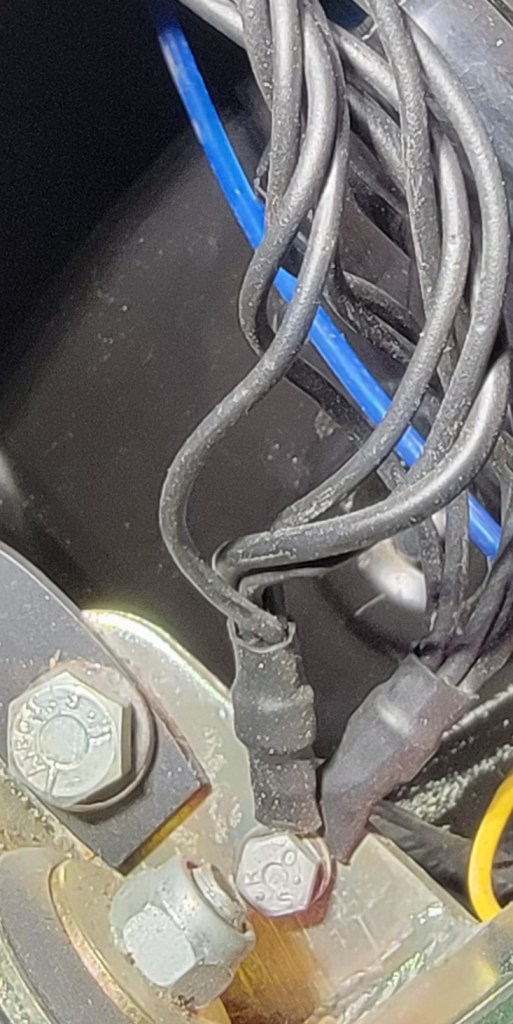
Oh look a bunch more grounds. Wait. No. Those are hots.
And a similar grouping on the otherside of the cabin
(01/02/2023)
Not a big post for today, but I’m slowly getting the carpet and foam glued down mess off from inside the car.
Today I found a random extra rivet from the factory that never made it somewhere.
(12/29/2022)
2022 will be remembered as the year I decided to finally tear into this pig. Now to keep the momentum going in 2023!
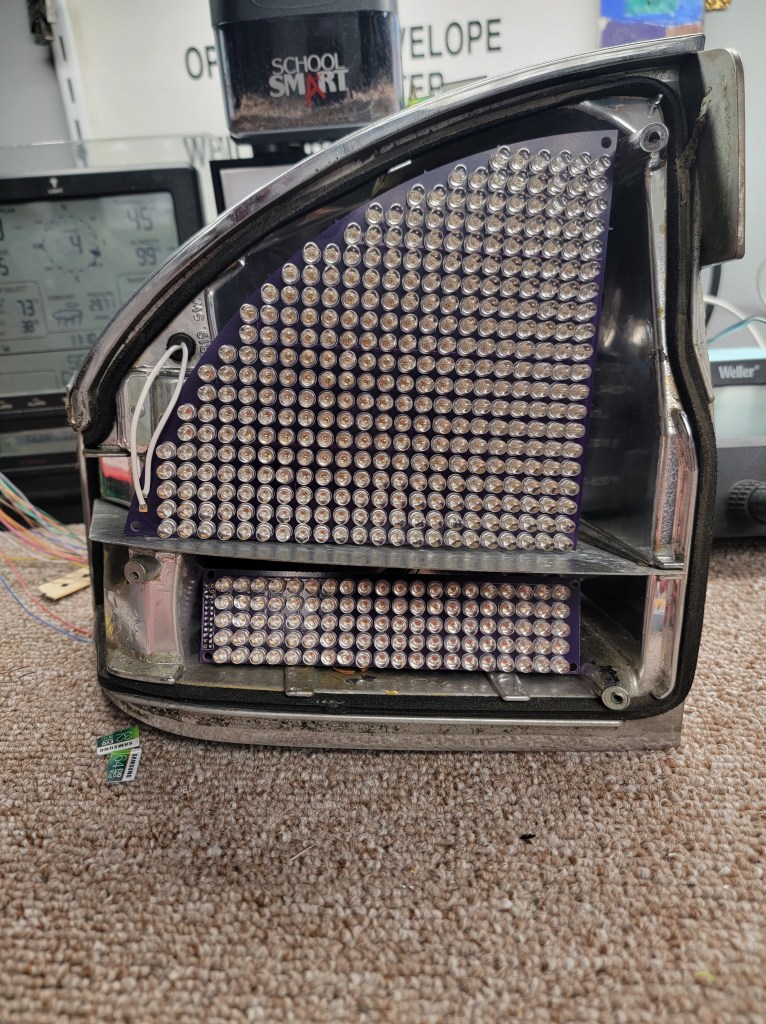
I finished the LEDs for the red part of the tail light and started working on the animation for the turn signals.
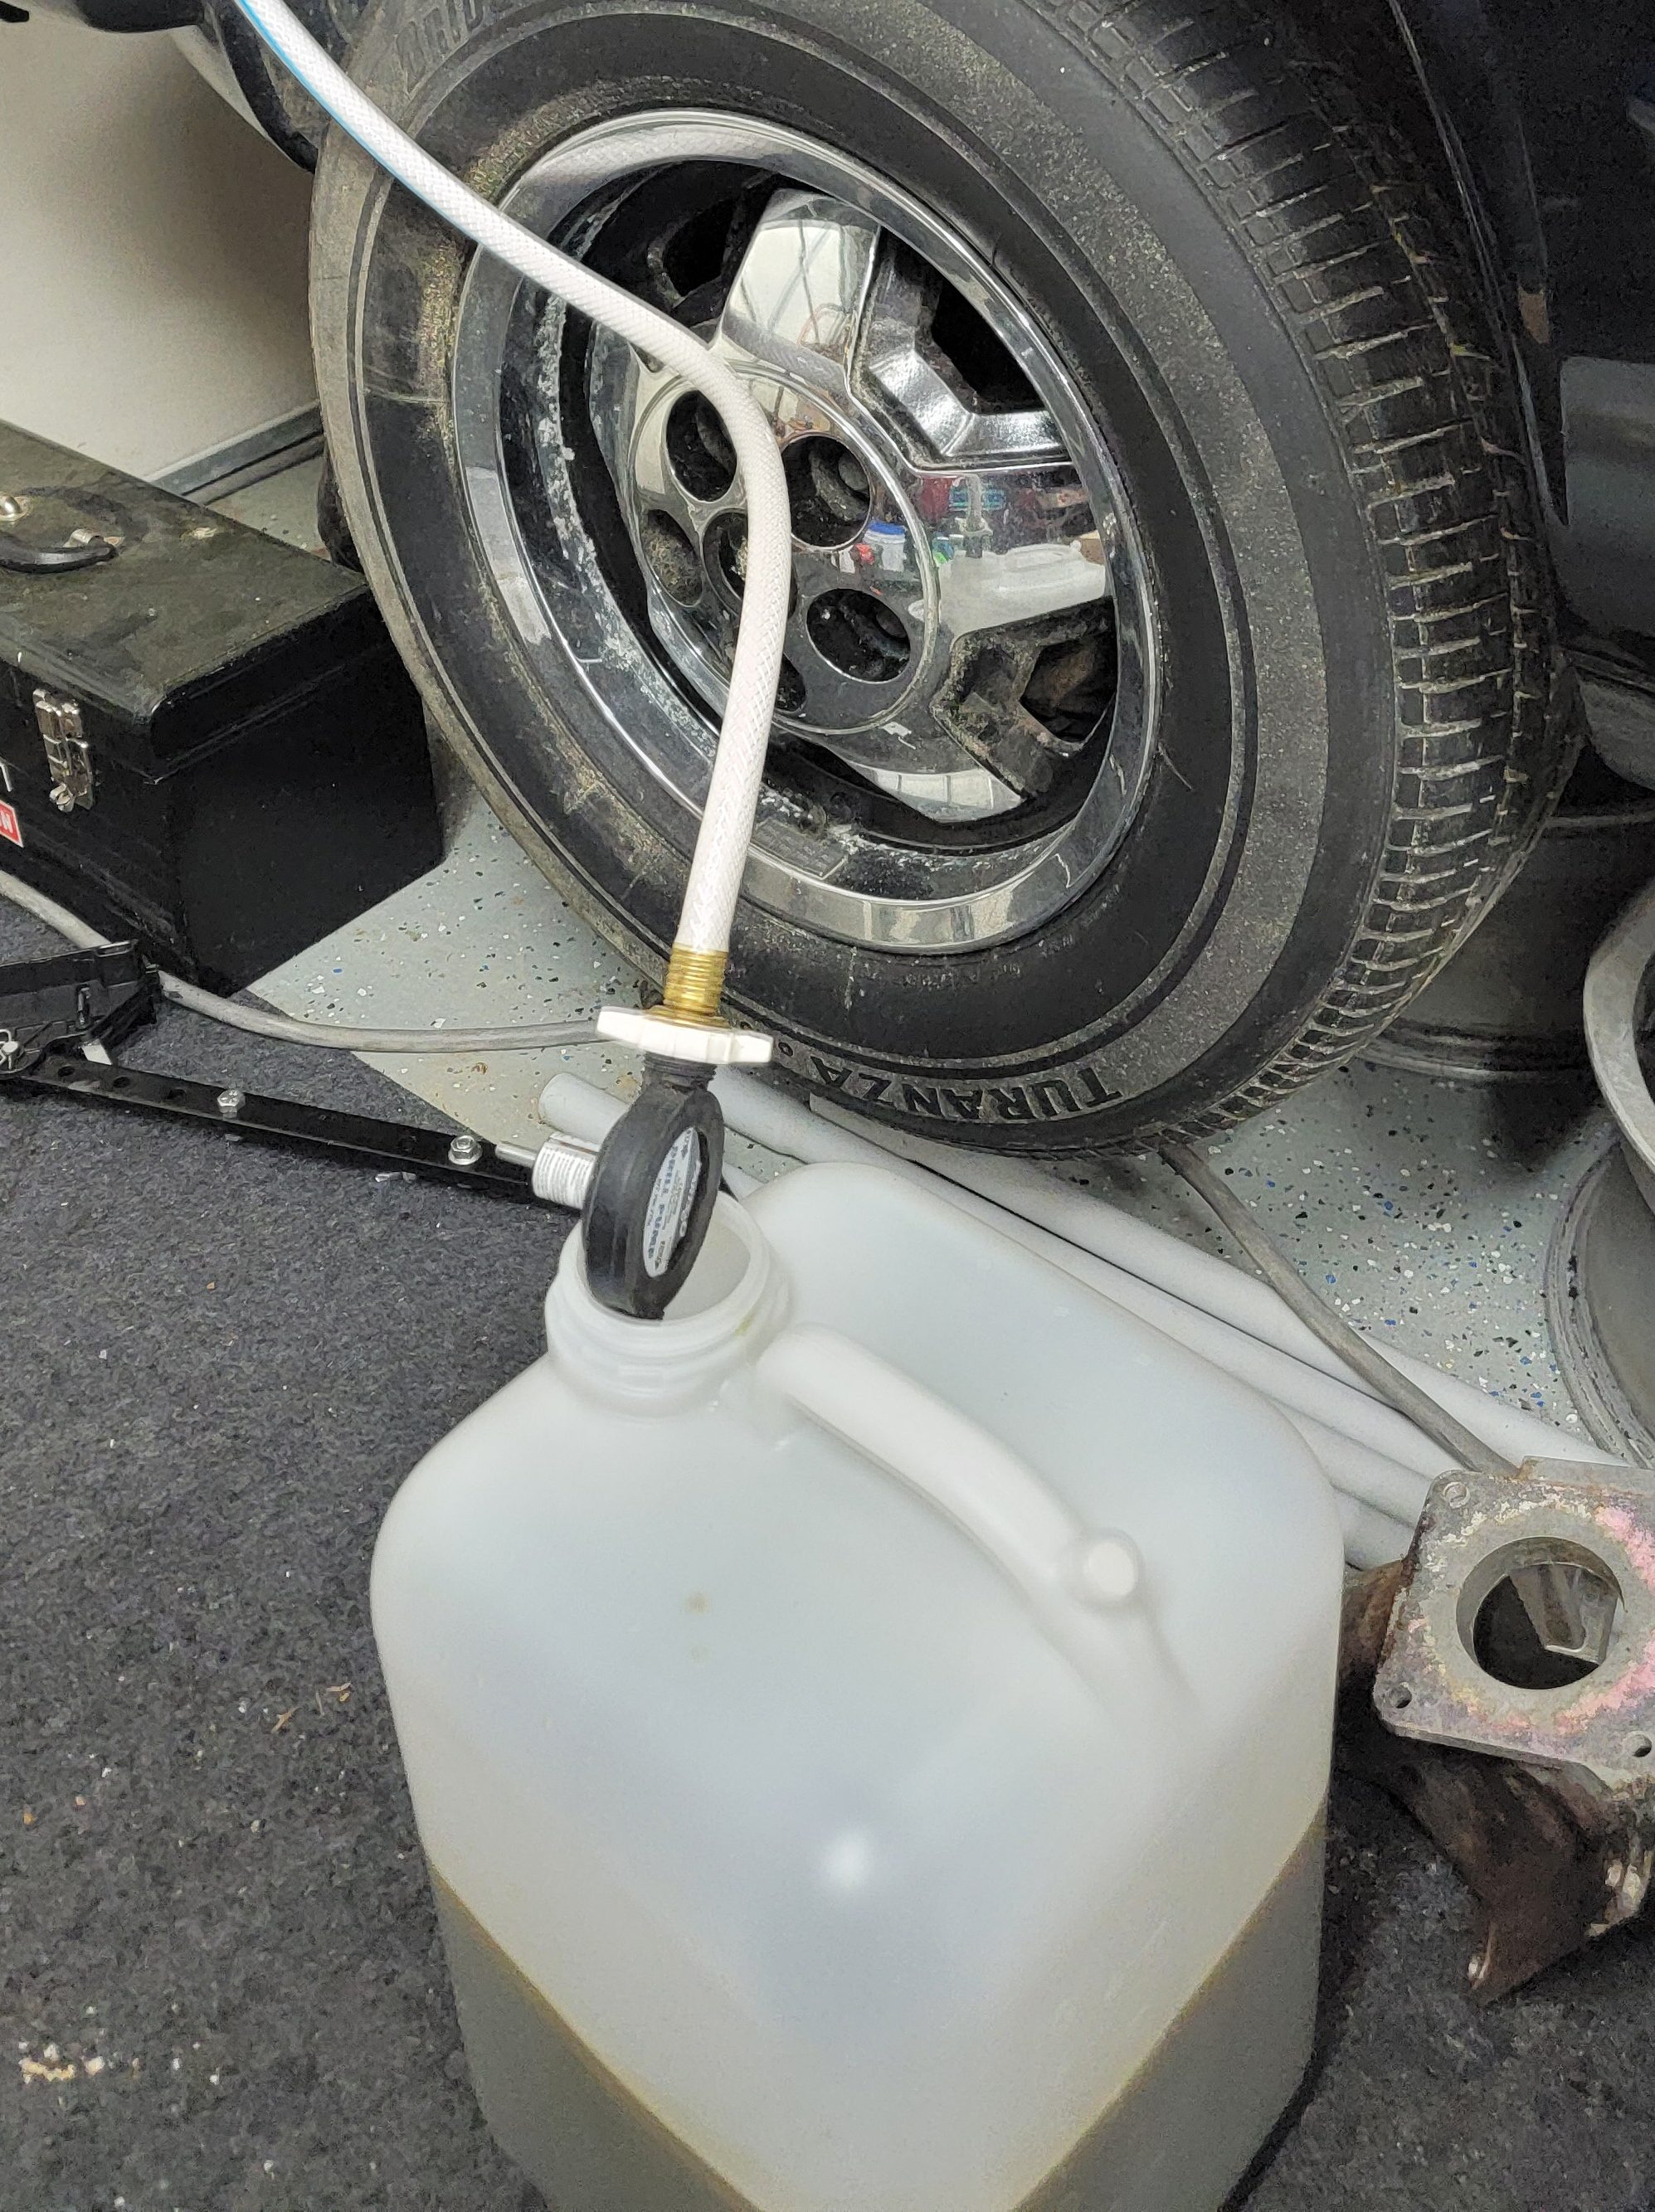
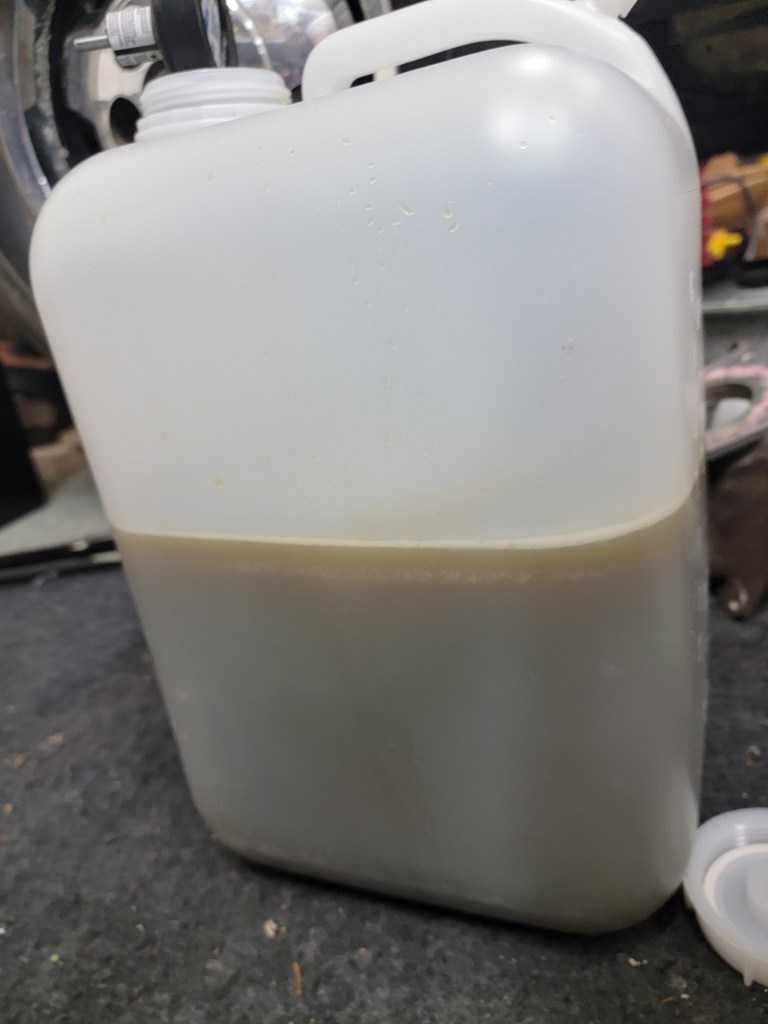
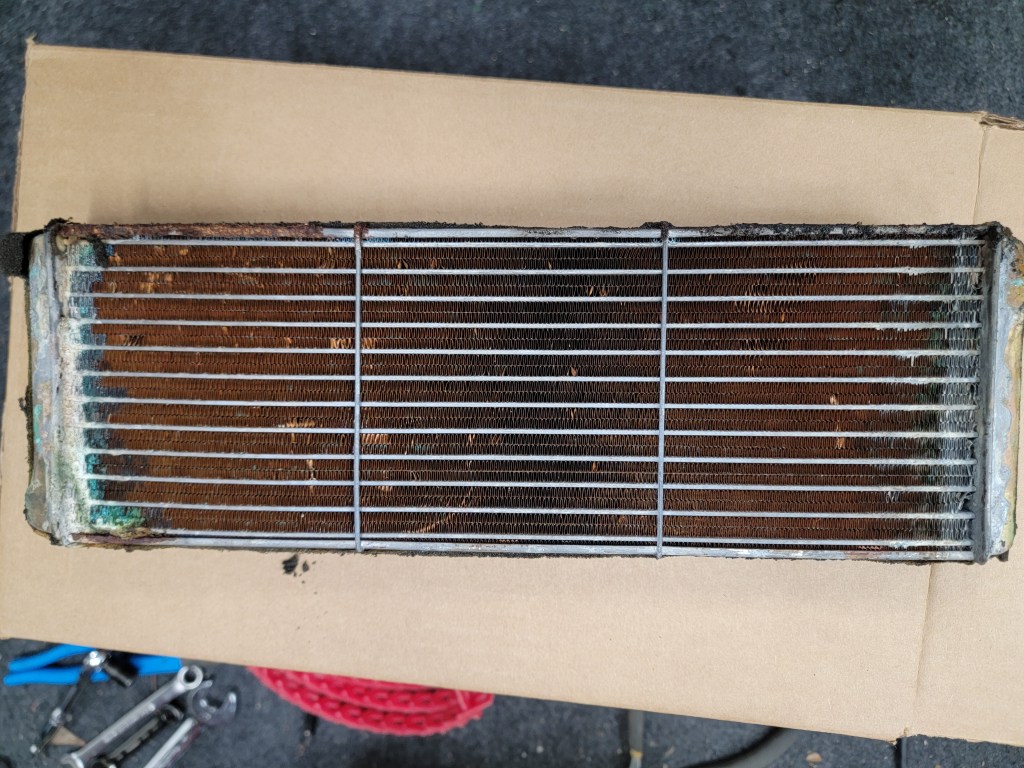
It’s time to pull coolant out of the car. I need to remove the heater core and I don’t have a good way to drain everything in the tight space I’m in. So, I decided to use an old garden hose and a small pump and suck all the coolant out of the engine. And it’s gross looking.
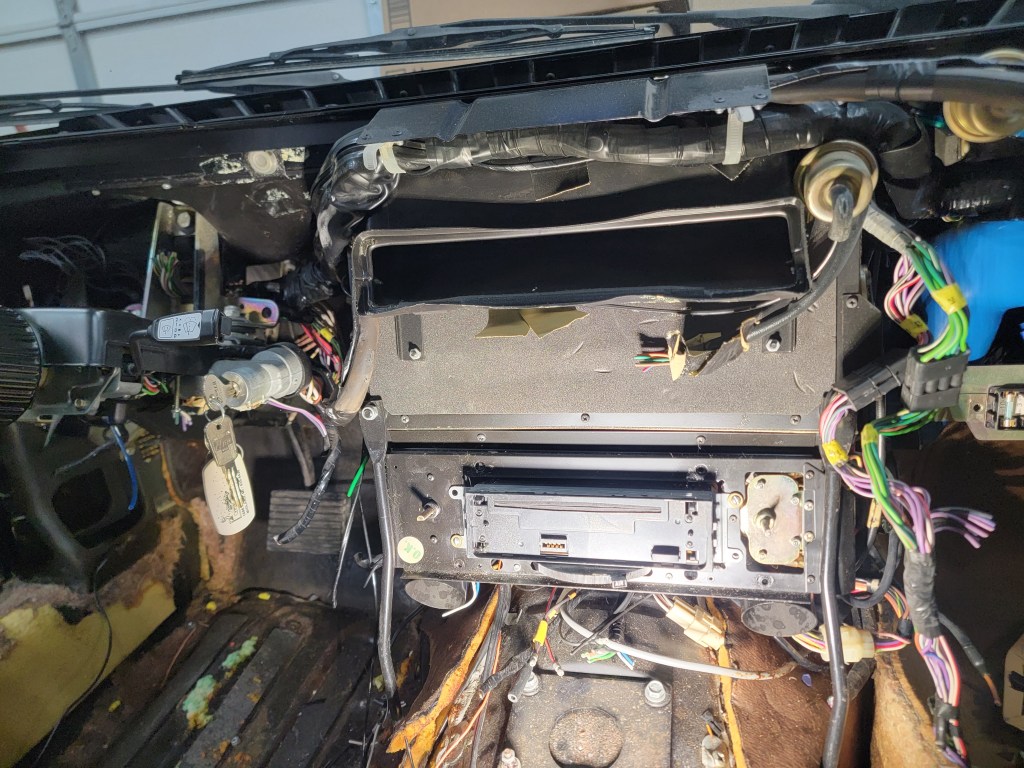
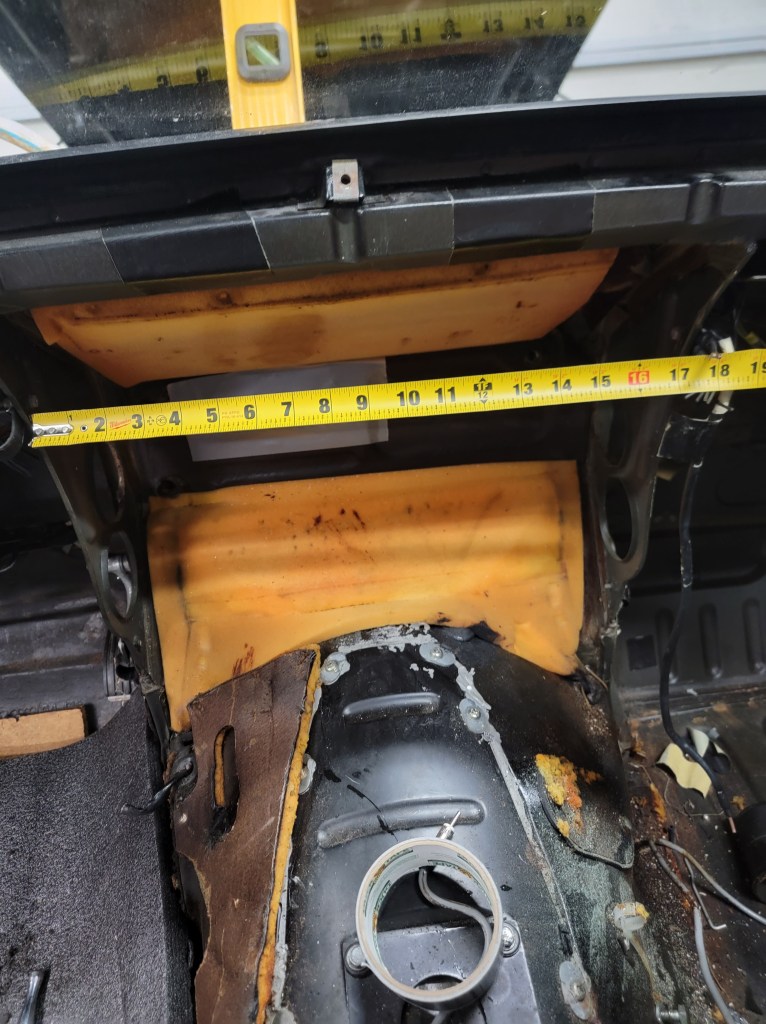
I finally won the battle with this HVAC box. I’m certain someone will email me and tell me that I’m ruining something special. That’s fine. The new setup will be under the hood and I can service it in an afternoon, not a month of afternoons.
Looks like the heater core was leaking anyway. Go figure.
So much more room for activities!
(12/28/2022)
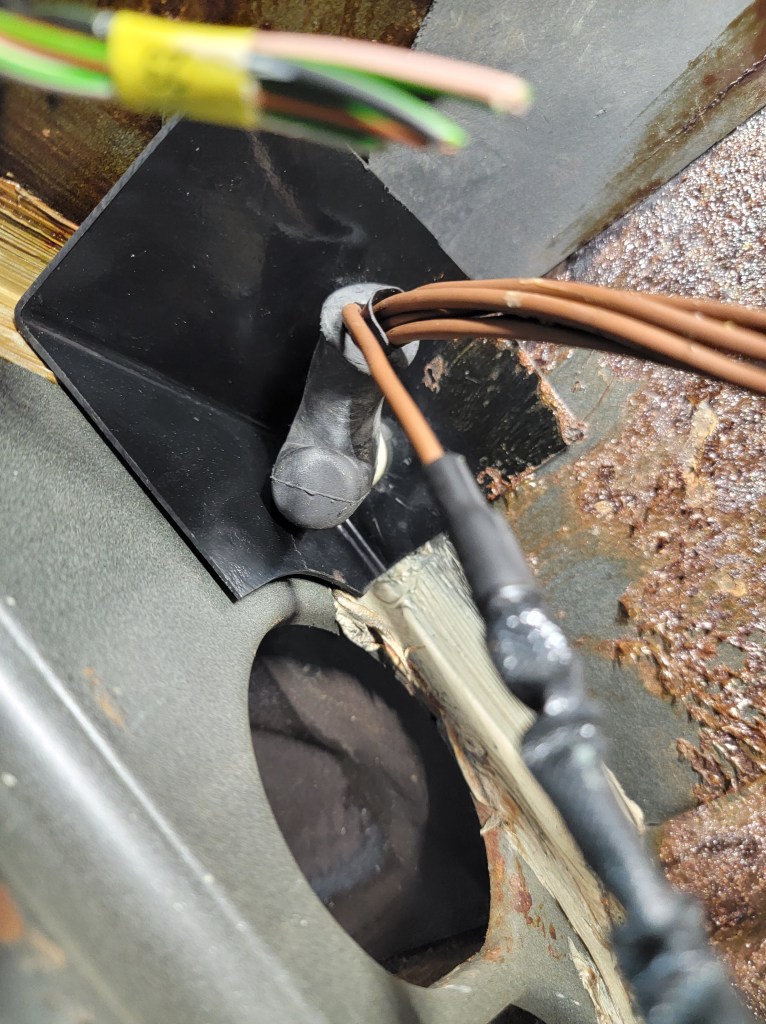
I’ve worked on many wiper motors in the past. All of them have had some sort of crankshaft like bar attached to a cam like gear on a motor. I have never seen anything cable driven.
I have to admit, I don’t think I hate this. Yes, I hate the electrical connector, but something about being able to remove an entire wiper assembly from the car in one piece is kind of refreshing.
I’ll give this one to Jaguar.
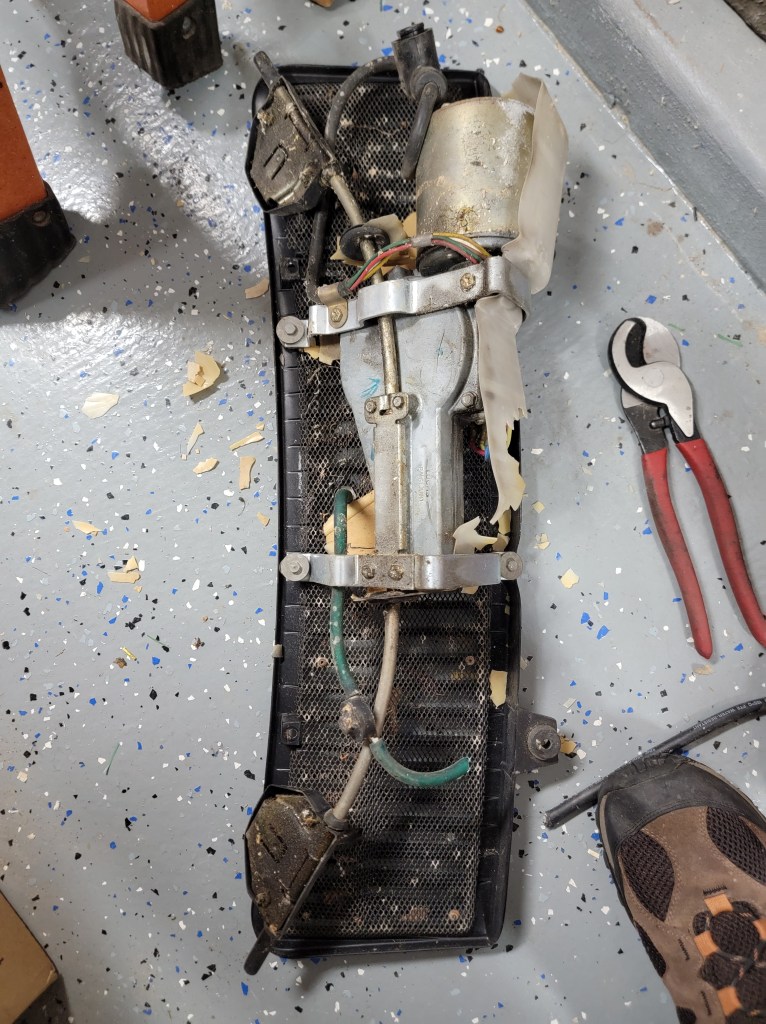
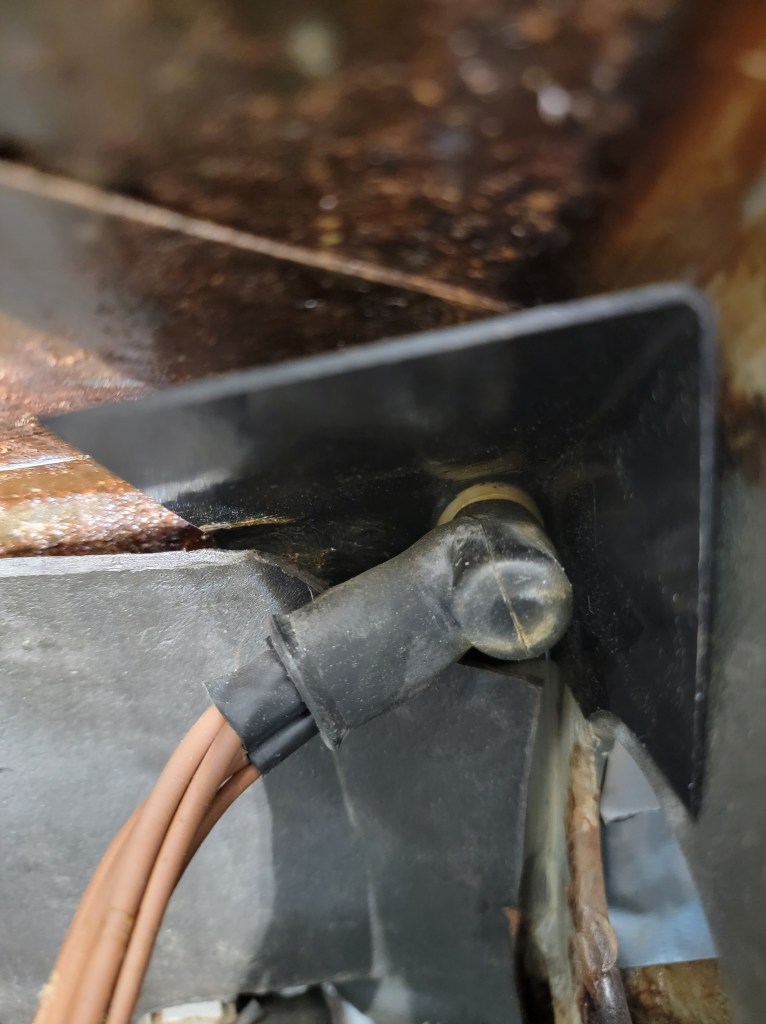
And here’s the terrible electrical connection:
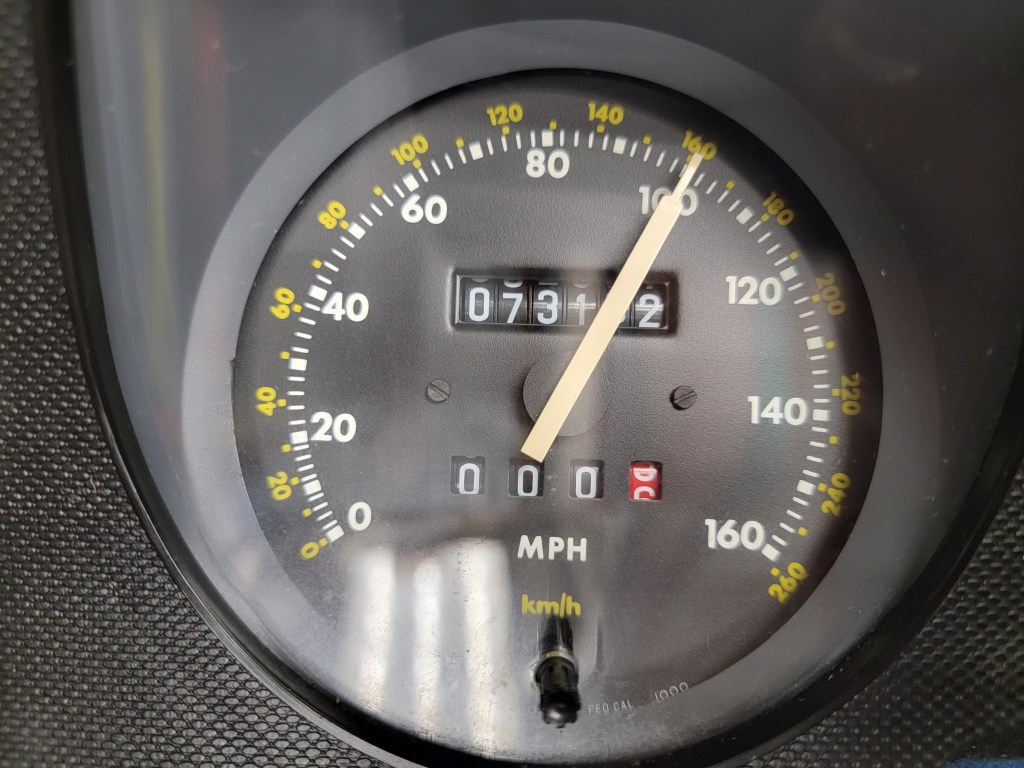
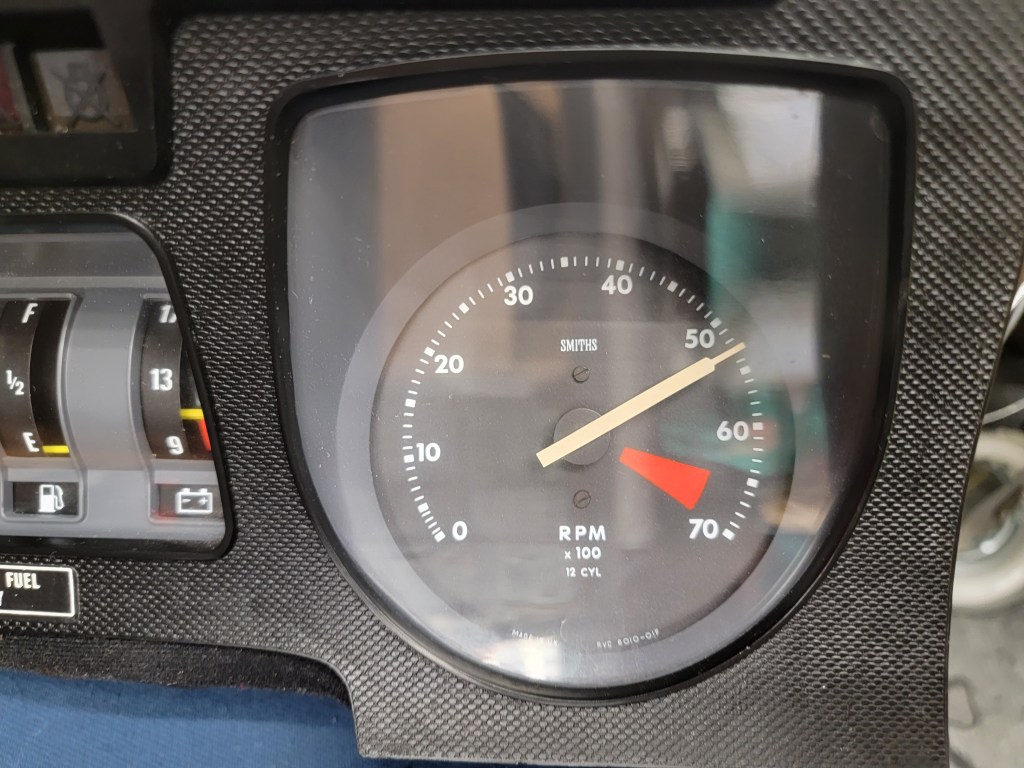
I started playing with the instrument cluster. The four gauges in the middle will be replaced with a small LCD screen, but the speedometer and tachometer will remain. The tachometer will be changed to become a KWH meter. Looks like I can easily put a pulse in and control both gauges. Maybe someday I’ll change them to steppers? For now they work like this and still has the old-car charm of bouncing gauges.
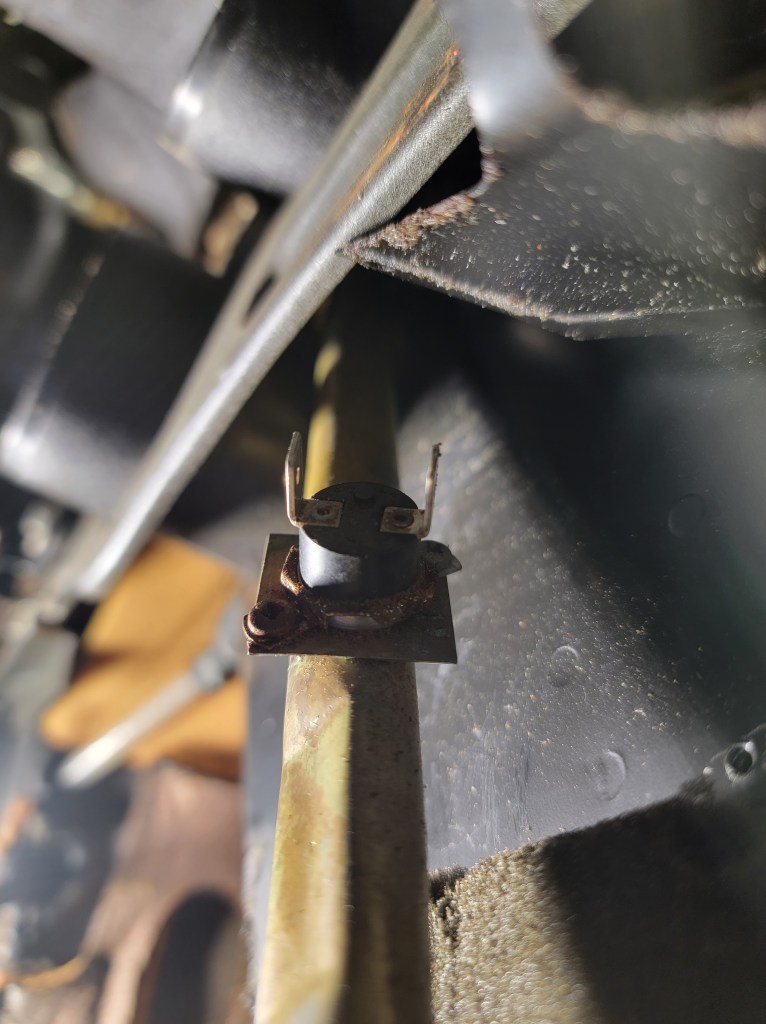
And then there’s this. This is just part of the incredibly over-complex HVAC this car has (had)

And if my dryer at home has it’s thermostat go out, I can just grab this spare off a nearby Jag.
(12/27/2022)
I managed to spend the entire day after Christmas super sick. I was feeling better on the 27th, but not 100%, but managed to get some more work done on the car.
Nothing like looking at something behind the dash with your camera and seeing the phrase “Do NOT remove 2 screws” stamped in the steel.
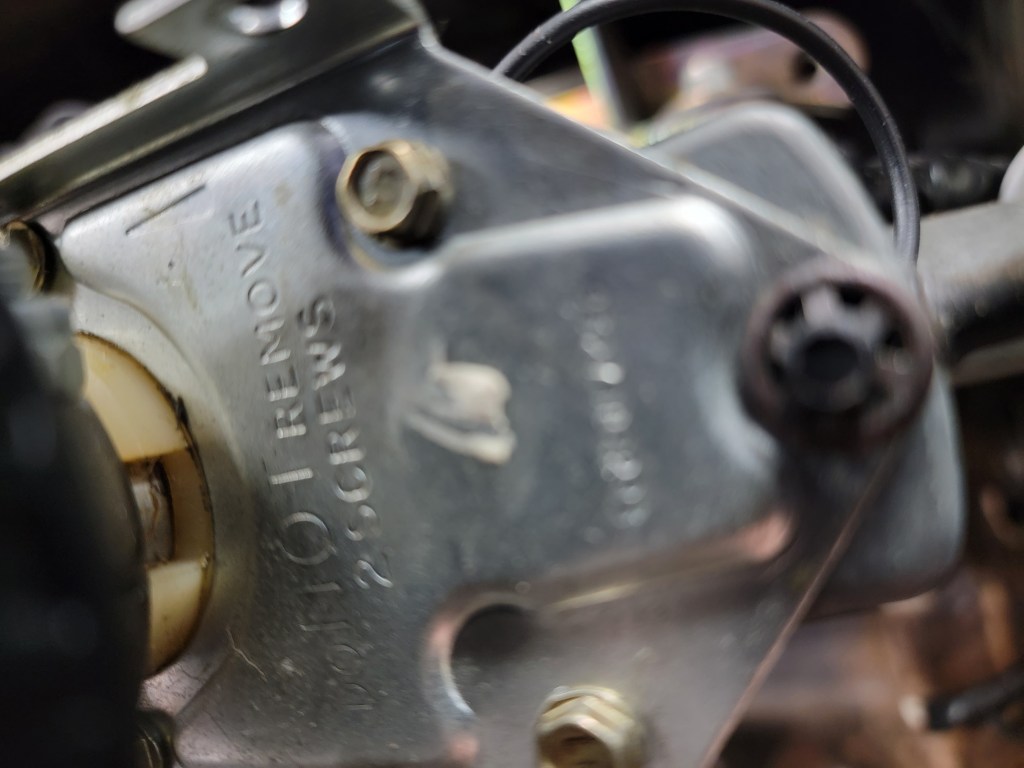
This was a challenge. This is a security screw for the ignition lock assembly, and the way they make it is that the screw is torqued from the factory and the head is snapped off. Makes removing it nearly impossible.
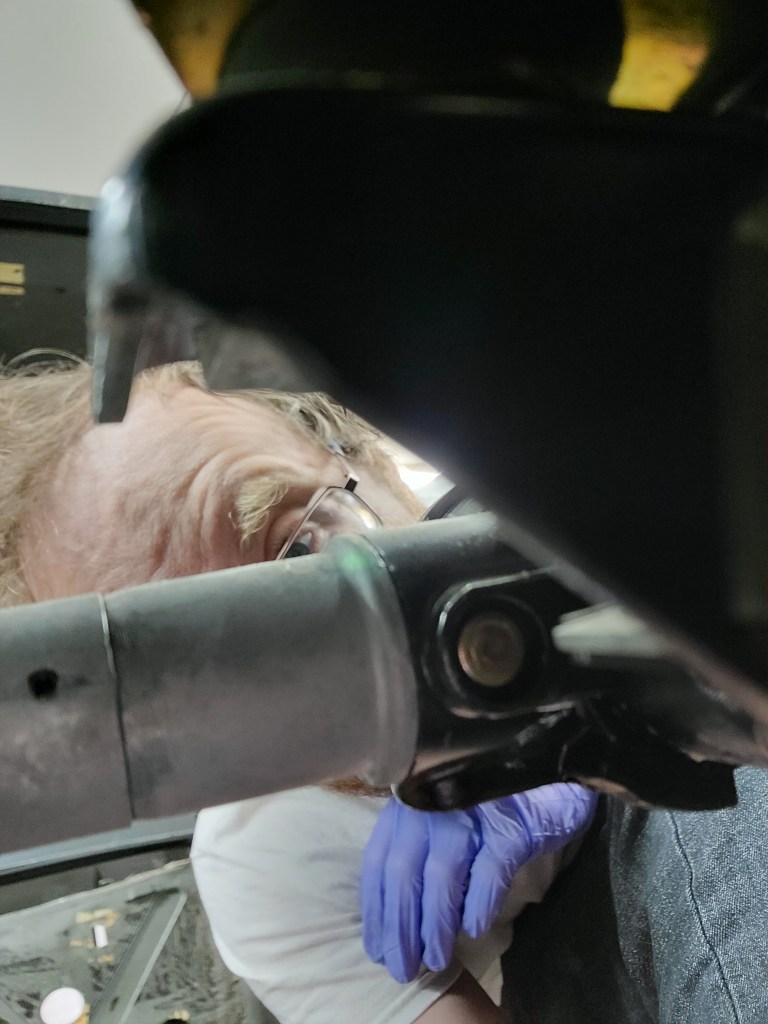
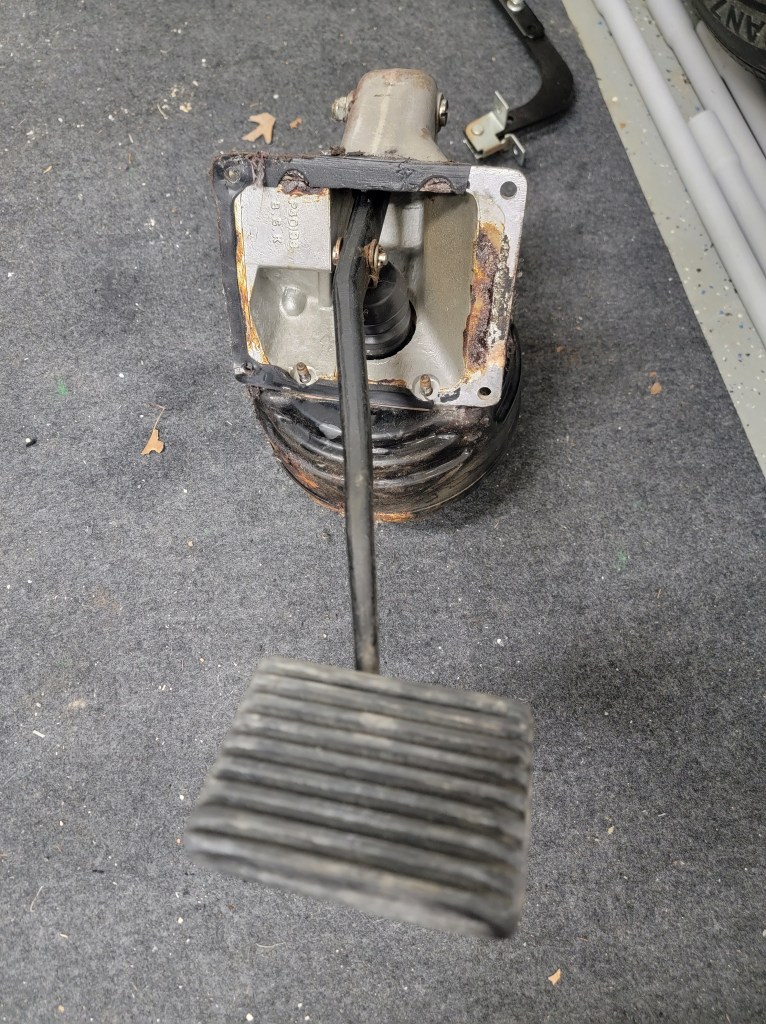
The “What have I got myself into” look…
I need to remove the vacuum booster, which is apparently attached to the brake pedal box, so that has to be removed, too.
And it’s out!
(12/25/2022)
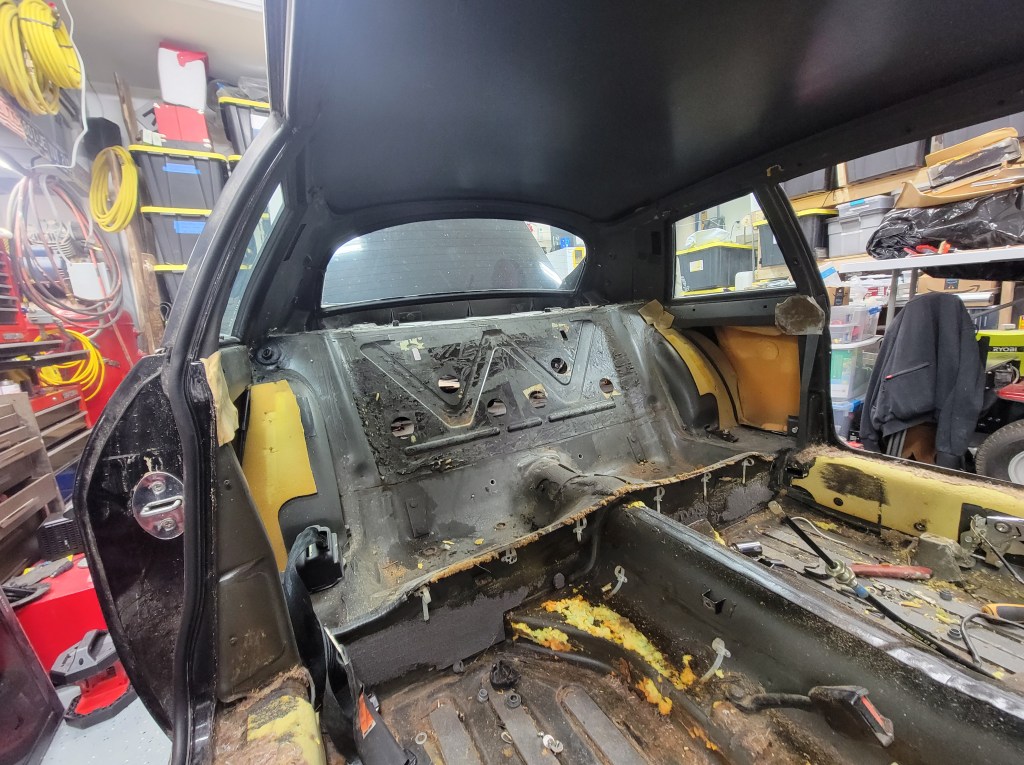
On Christmas afternoon while the rest of the family was asleep from Christmas morning festivities I worked more on the Jaaaaaaaaaaag


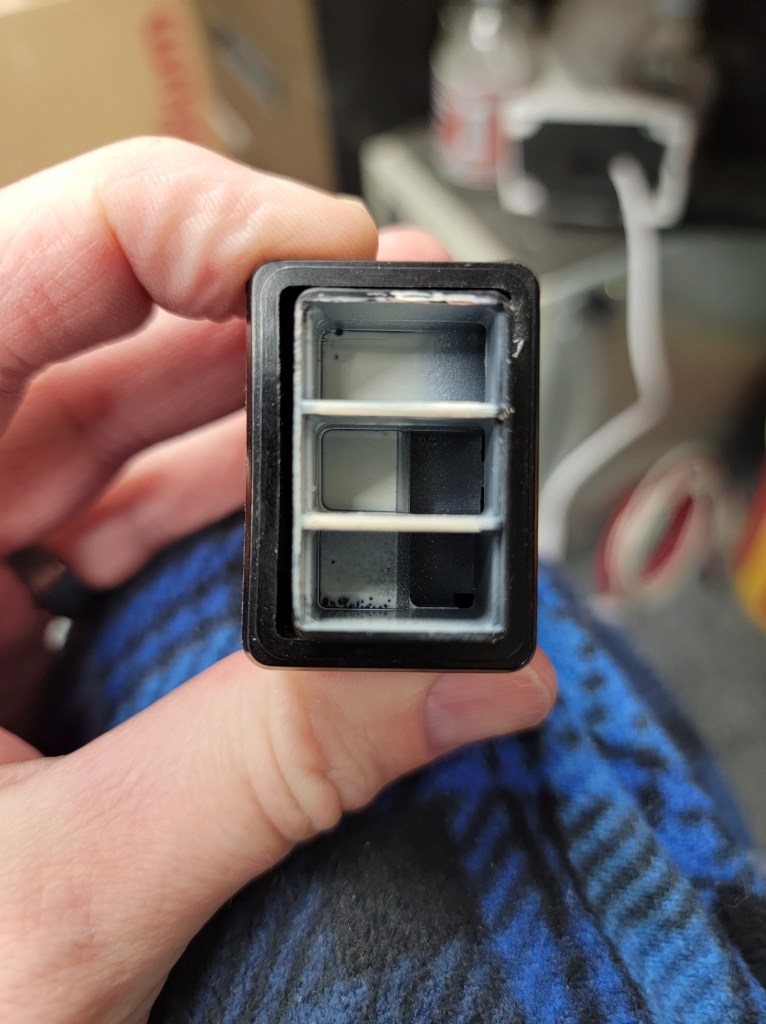
I found this under the headliner. I thought maybe it was a VIN tag – nope, just a random piece of metal half painted.

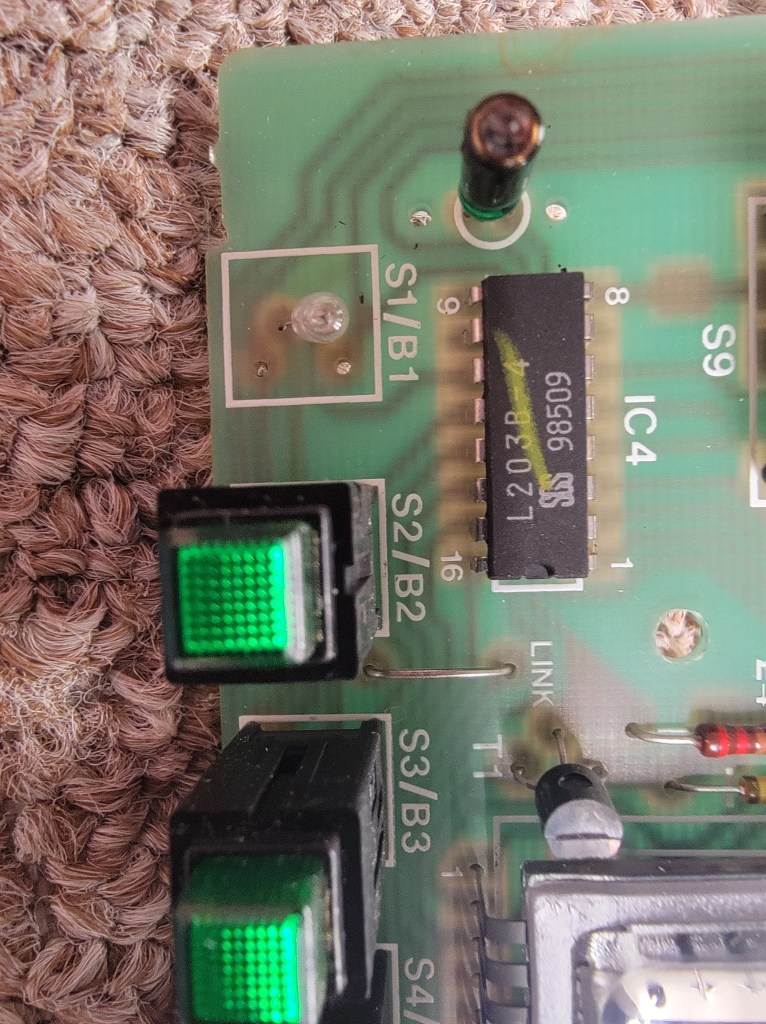
I started looking at these interior switches. The silkscreening is peeling and they are poorly backlit. I have a plan for replacing these with something a little more modern, but looks authenticish.
(12/18/2022)
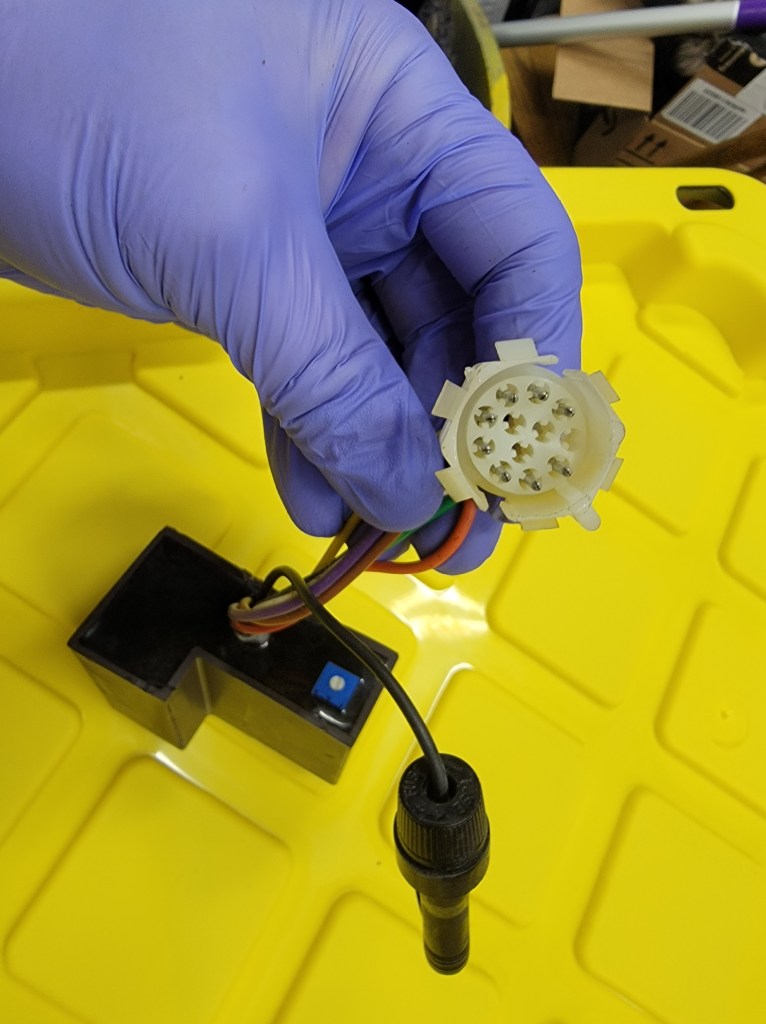
As this is being converted to electric, the heating will change from water to electric. Also, I need to make the AC electric as well. There will be challenges here…so where do I start? The display of course!
So in the Jaguar there is a trip computer that shows a clock, fuel used, etc. That isn’t really going to be necessary in it’s original form for the electric rebuild. Additionally I plan to completely use a different HVAC air box setup as the factory one is a bit more complicated than needed.
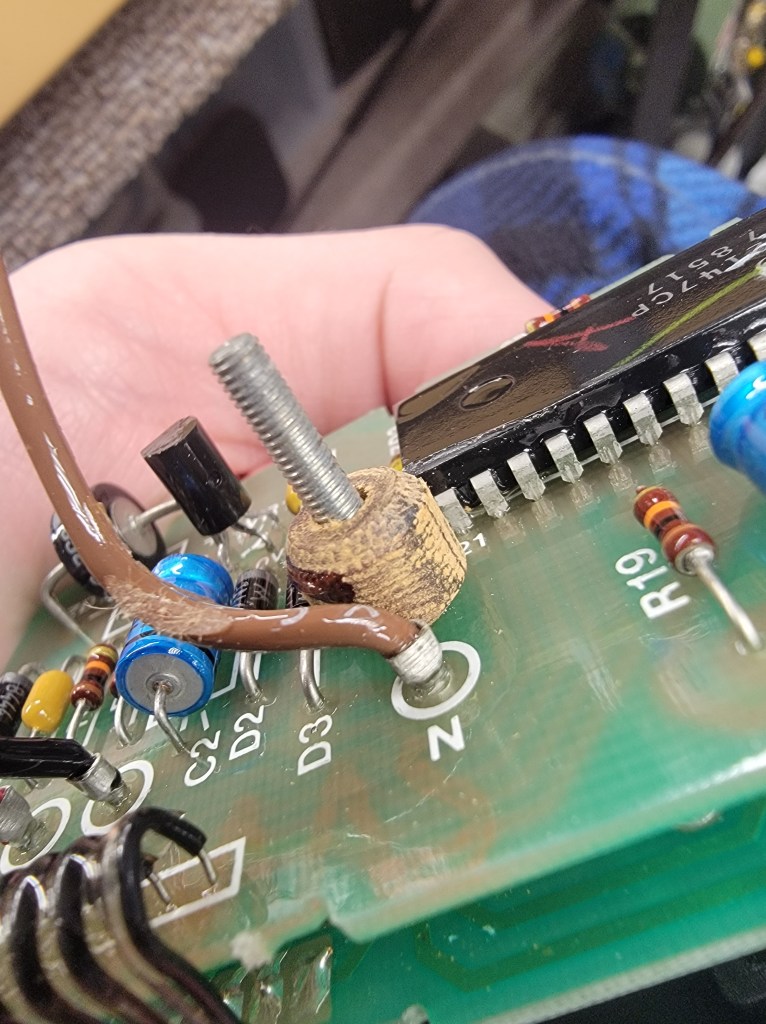
So, I started looking at gutting the trip computer to repurpose it to be a climate control computer. I plan to make it look stock, but function very different.
Lucas – We use wooden beads for PCB standoffs.
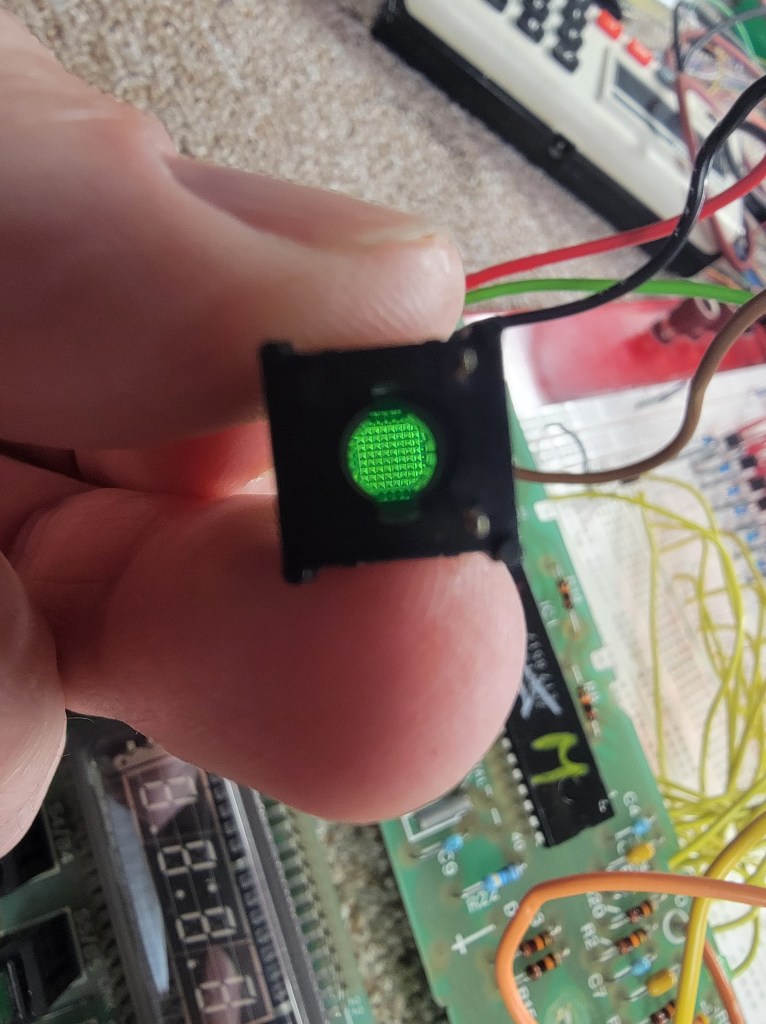
I really like these illuminated buttons, but I was quite shocked to find they were illuminated with an incandescent lamp! On the plus side, LED conversion is simple since the button is hollow up the middle!
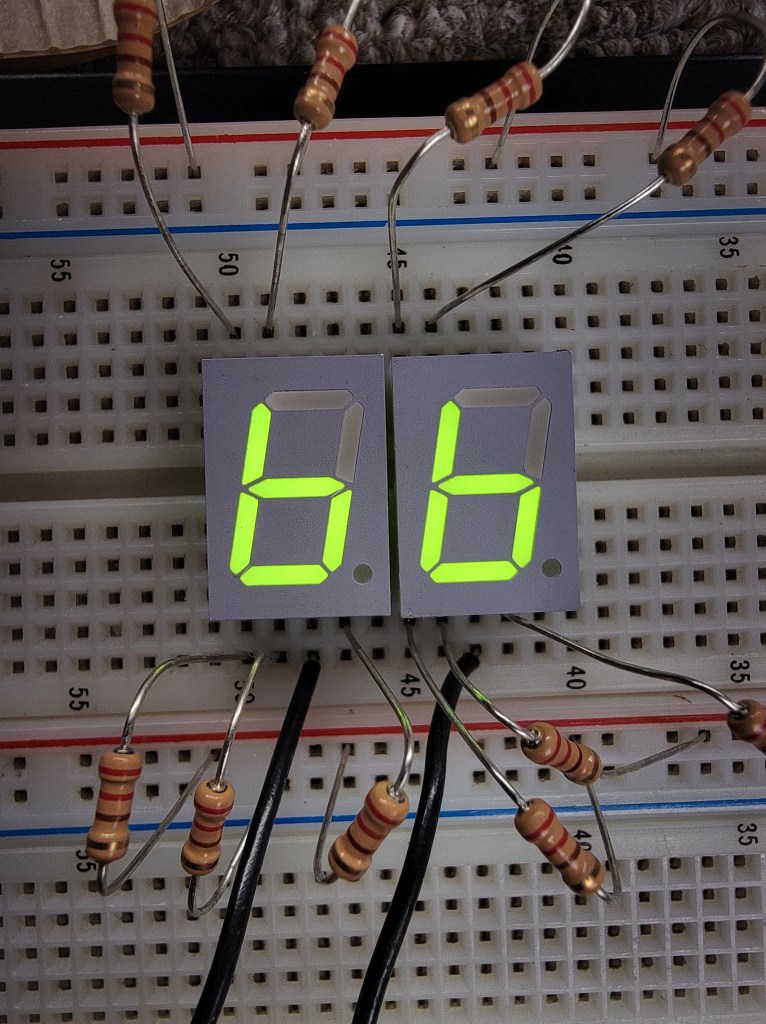
I plan to use a 7-segment LED display, in green, to have the look and feel of 1986 electronics. Also something I like? No tail on the top of the 6. It’s a hold over from TTL 7-segment drivers and I’ve always liked it.
(12/16/2022)
I spent today cutting and gutting.
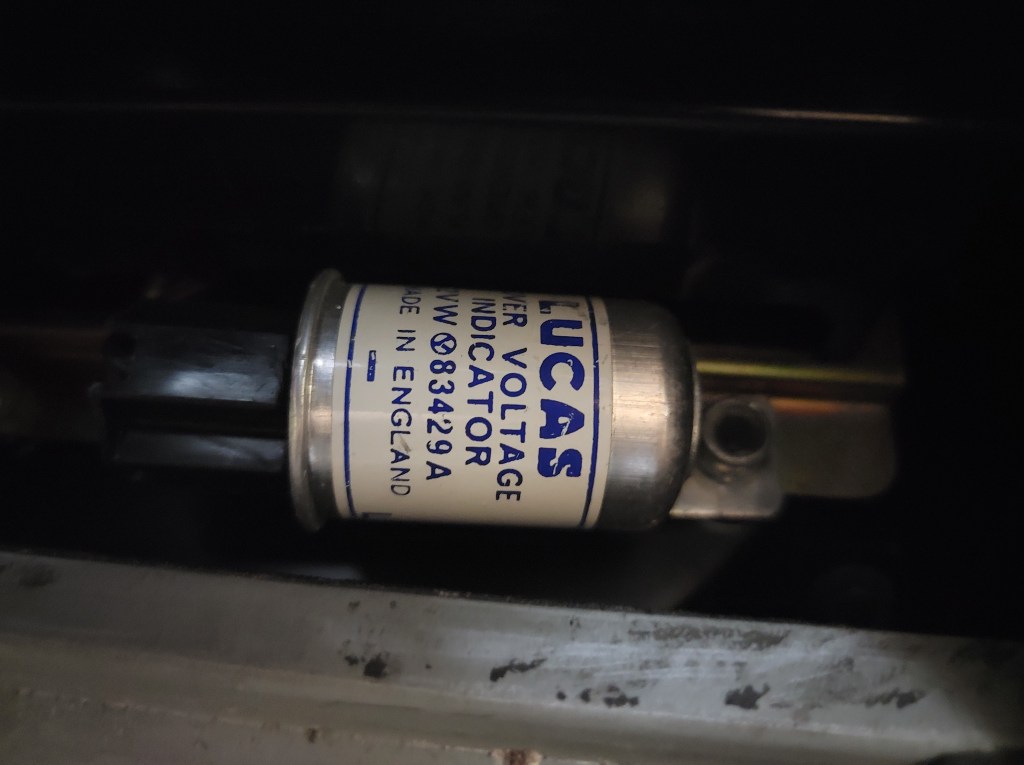
Lucas – we can’t make our voltage regulators work properly, but we CAN alert you when the voltage goes too high!
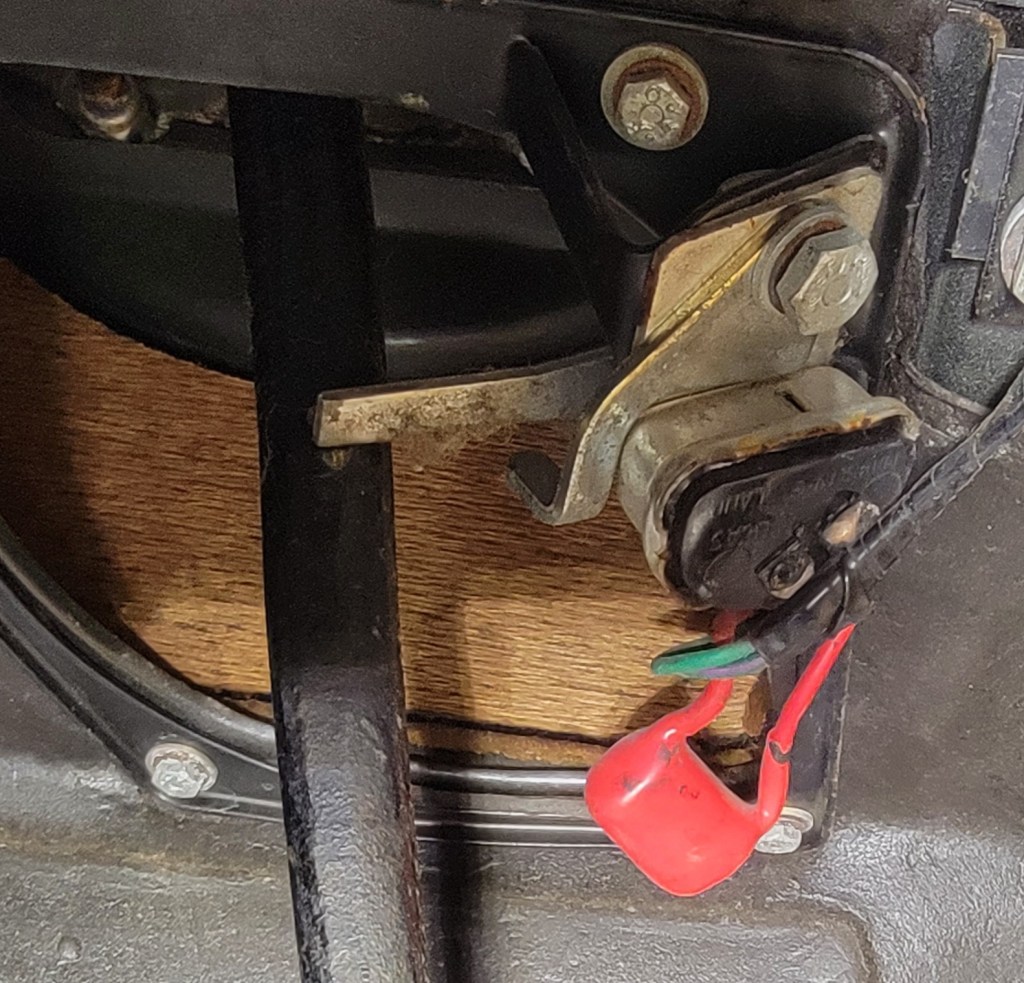
I uncovered this on the driver side kick panel:
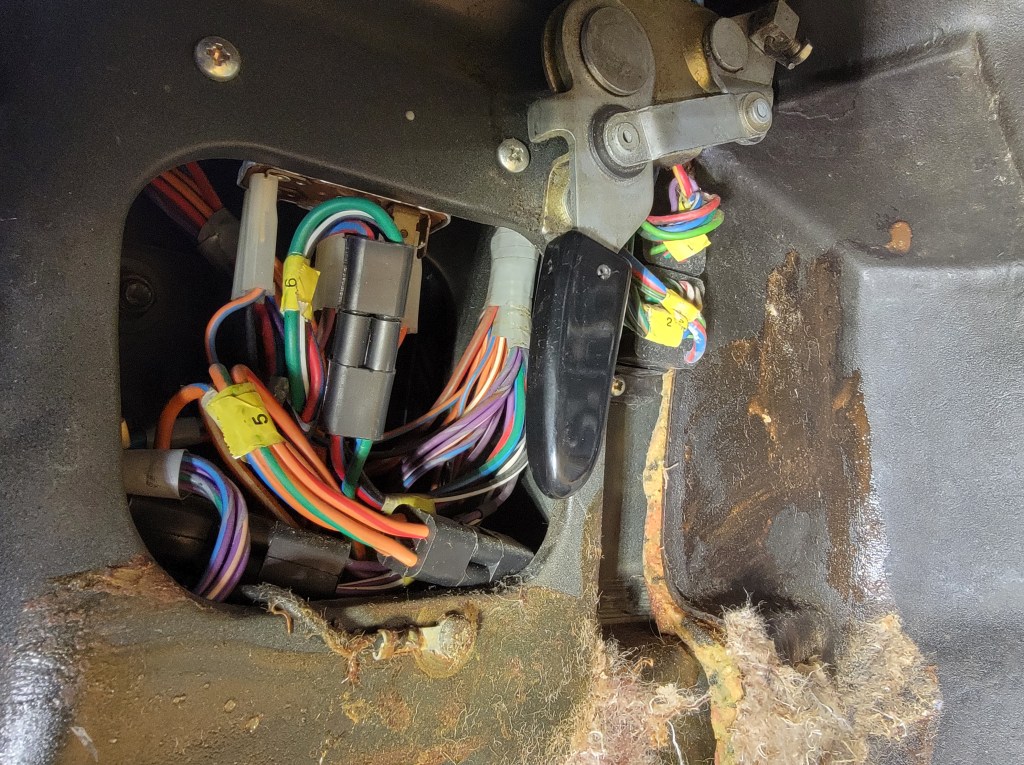
This is the brake light switch. It looks like something out of the 1950s.
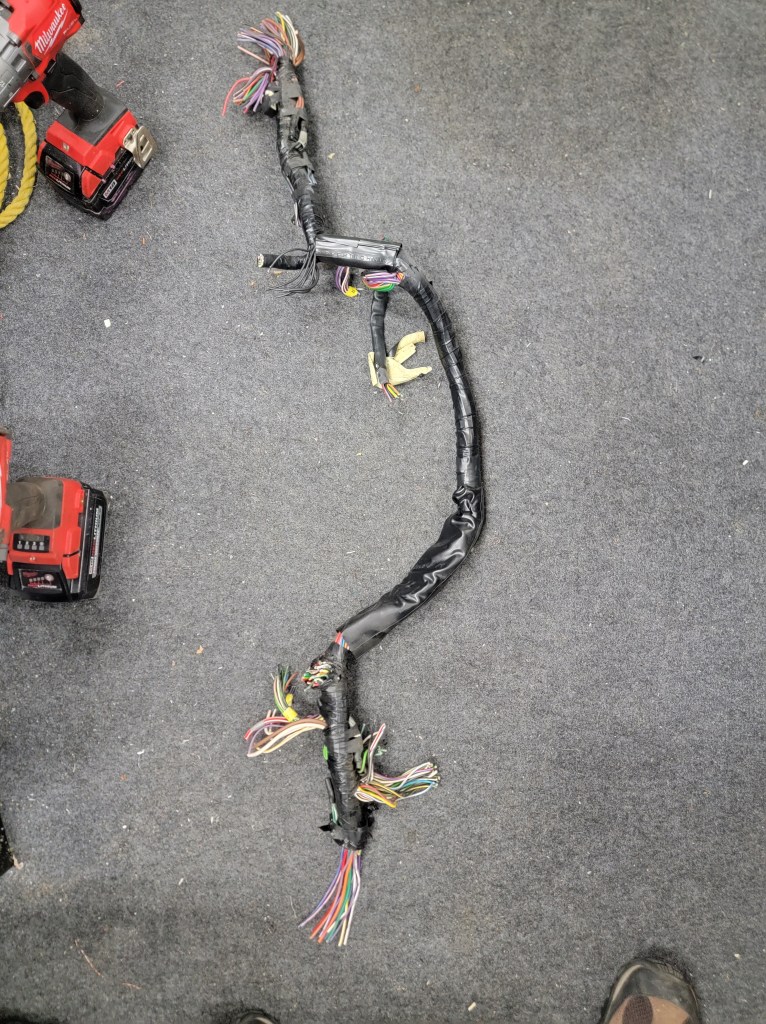
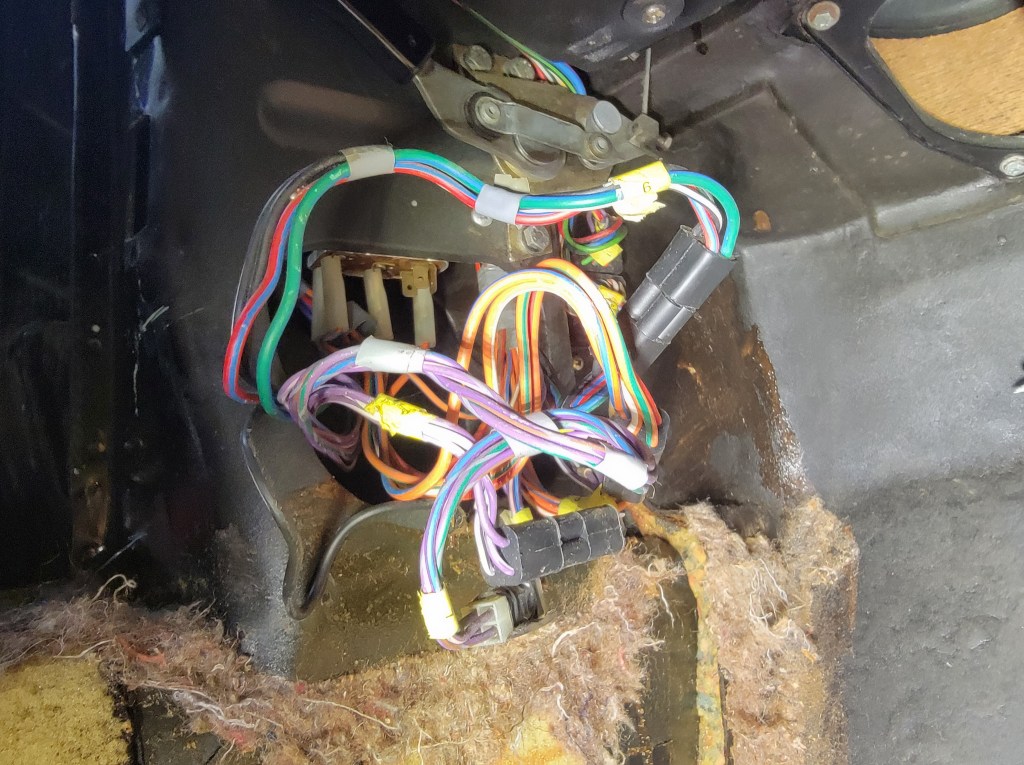
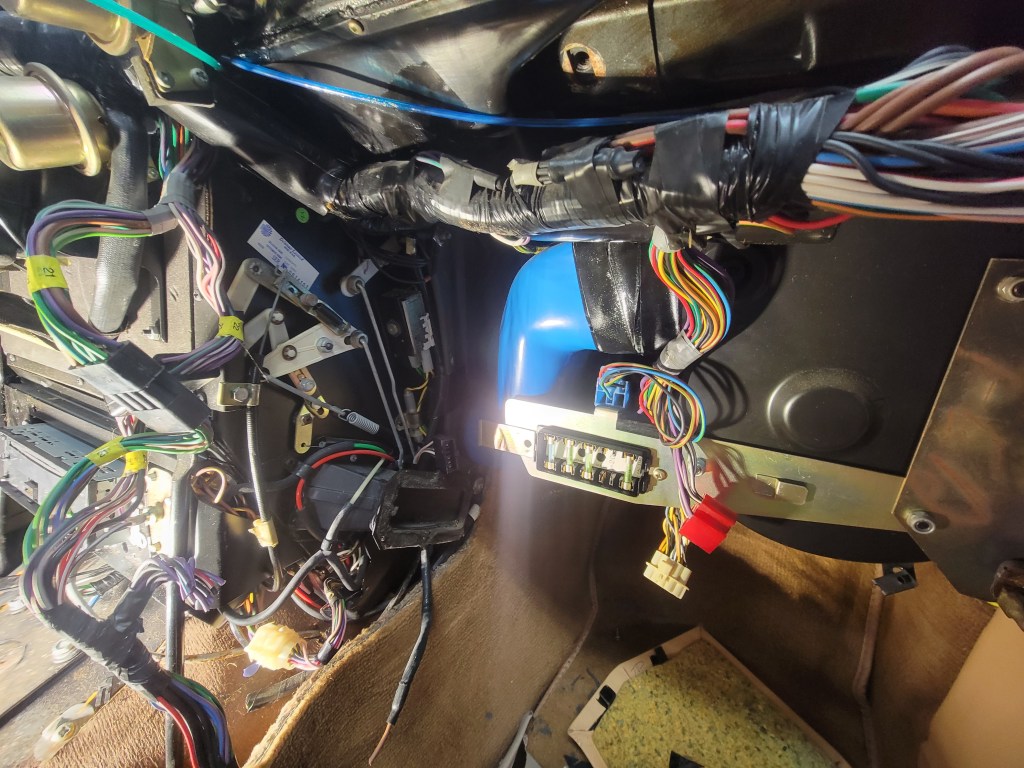
As I began to remove the harnesses tucked up inside that cavern in the kick panel:
Poured in epoxy. Zero markings. Inline fuse.
Here we have power resistors, covered in tape, behind the instrument cluster.
More grounds. Everywhere you look there are grounds.
Insulation all comes out in chunks. This will all be replaced with Dynamat

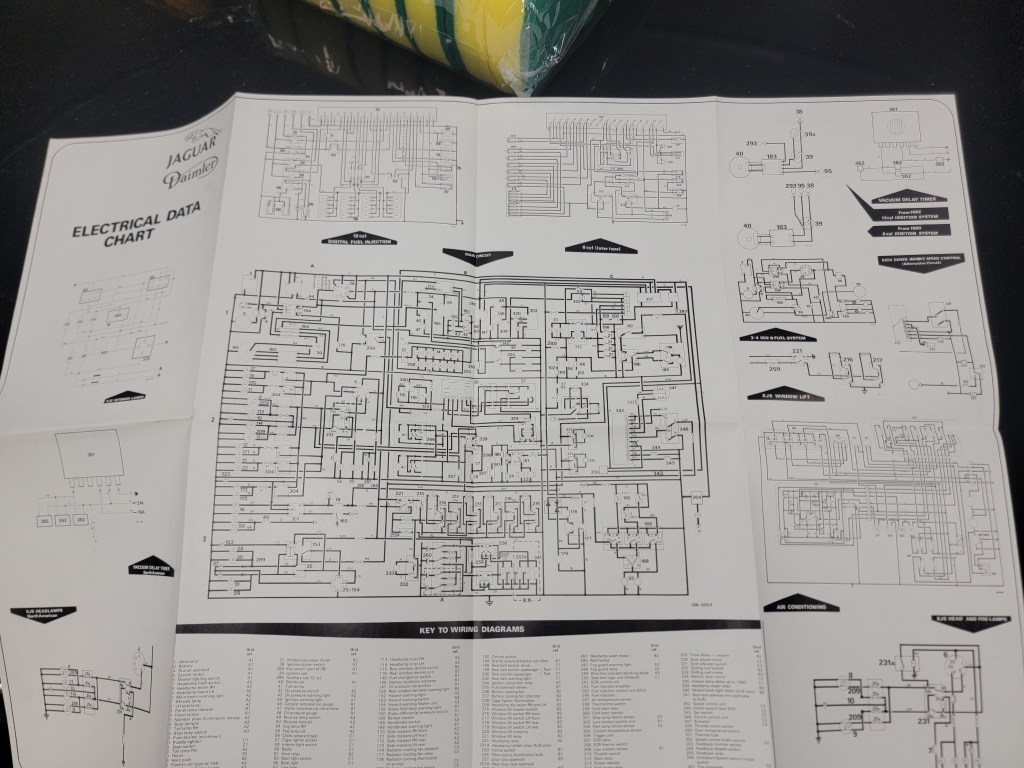
I’ve never seen a vehicle that had a complete electrical schematic included in the owner’s manual…
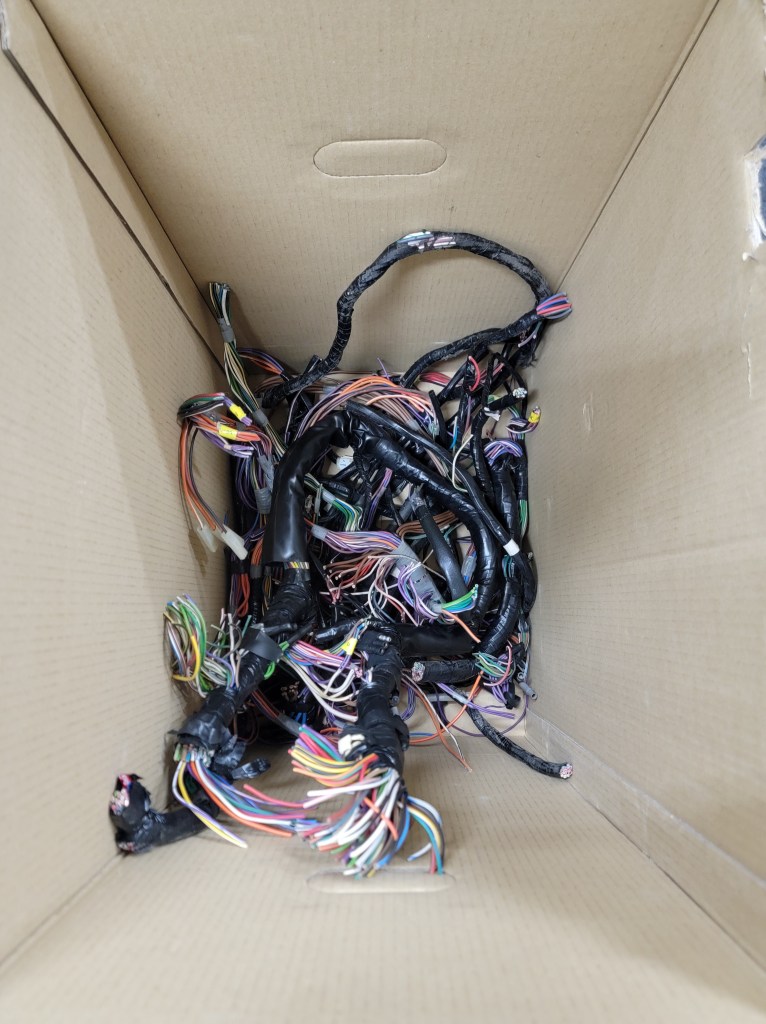
Every connector I found, I put in this bucket: