I managed to spend the entire day after Christmas super sick. I was feeling better on the 27th, but not 100%, but managed to get some more work done on the car.
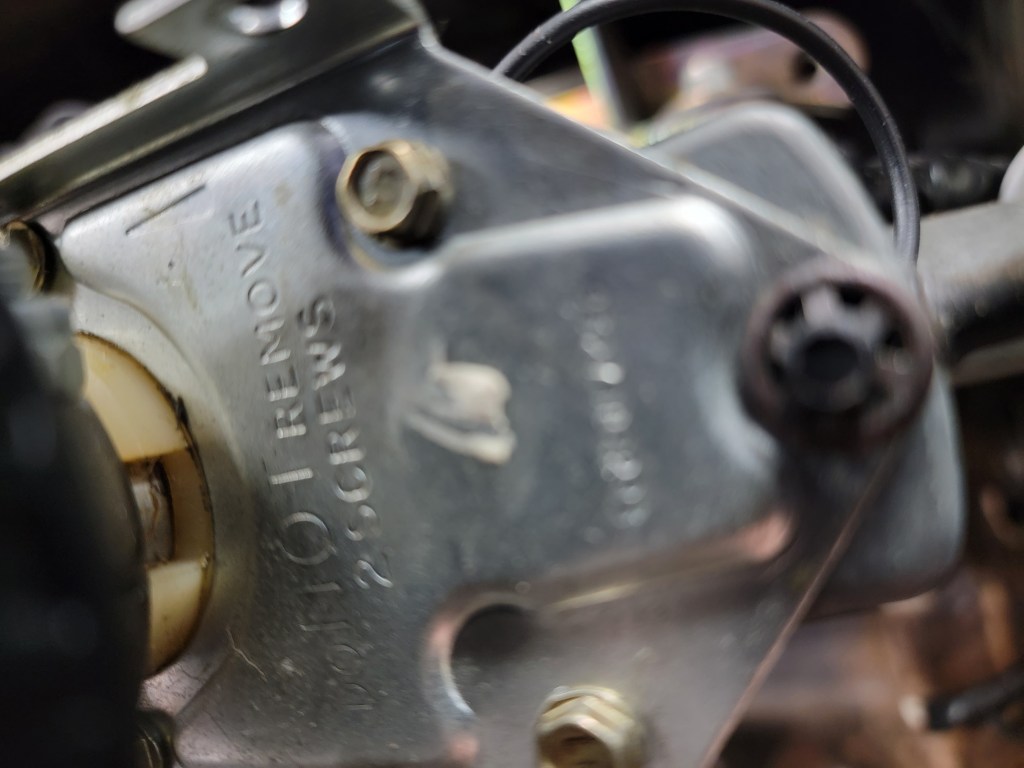
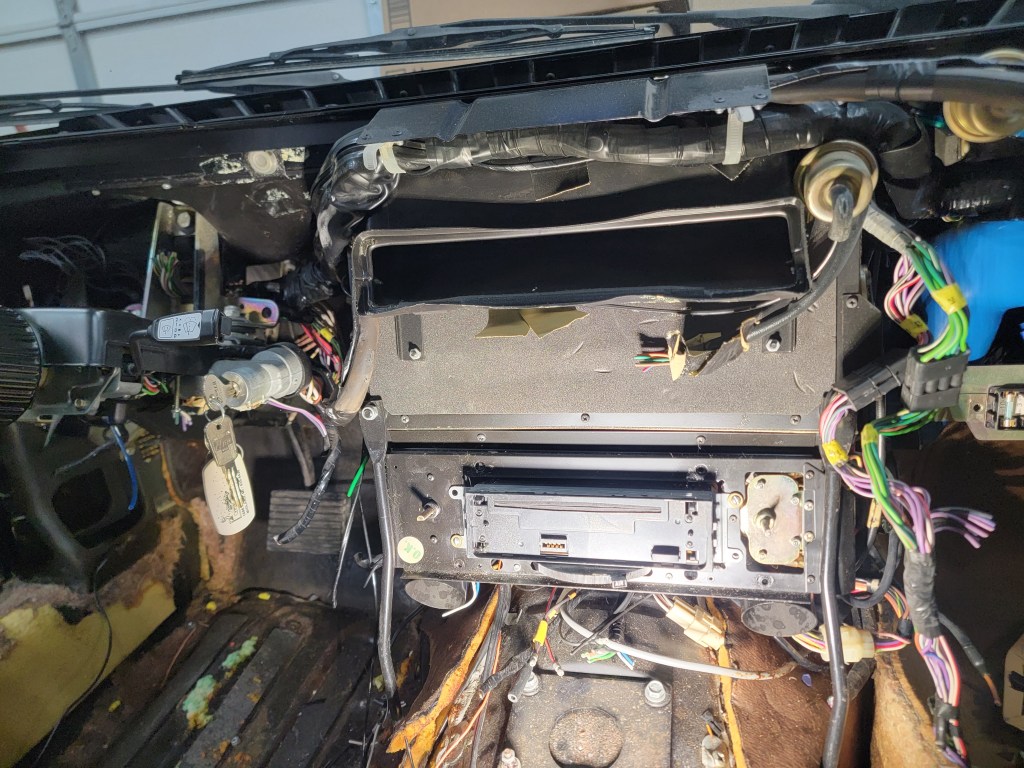
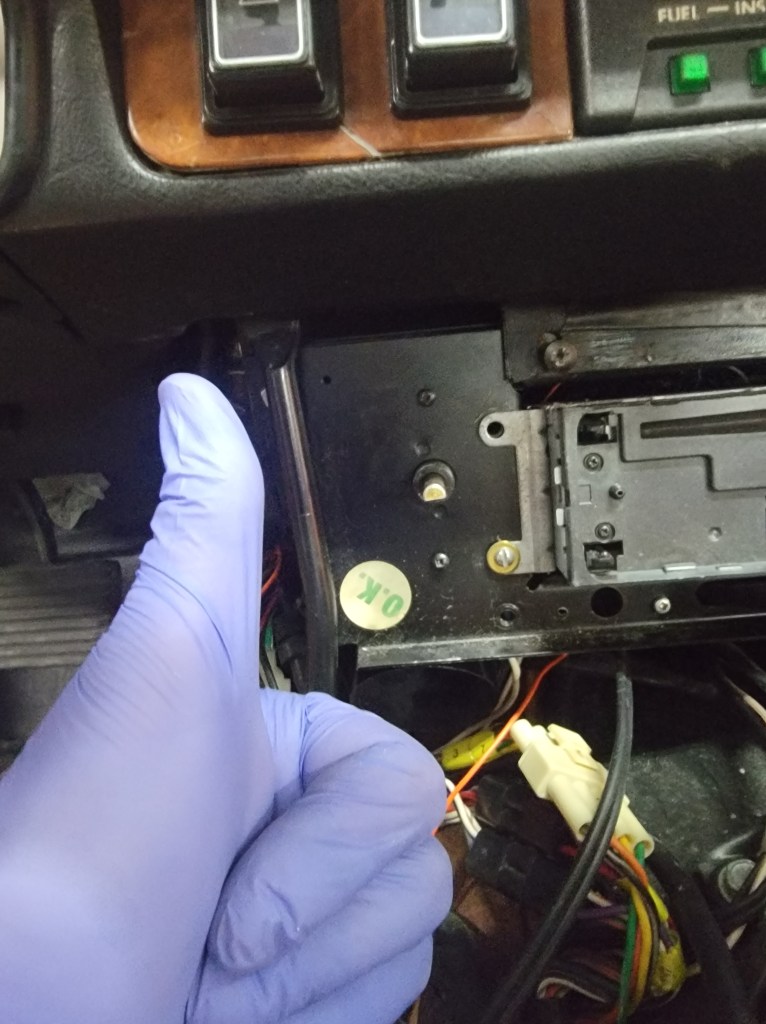
Nothing like looking at something behind the dash with your camera and seeing the phrase “Do NOT remove 2 screws” stamped in the steel.
This was a challenge. This is a security screw for the ignition lock assembly, and the way they make it is that the screw is torqued from the factory and the head is snapped off. Makes removing it nearly impossible.
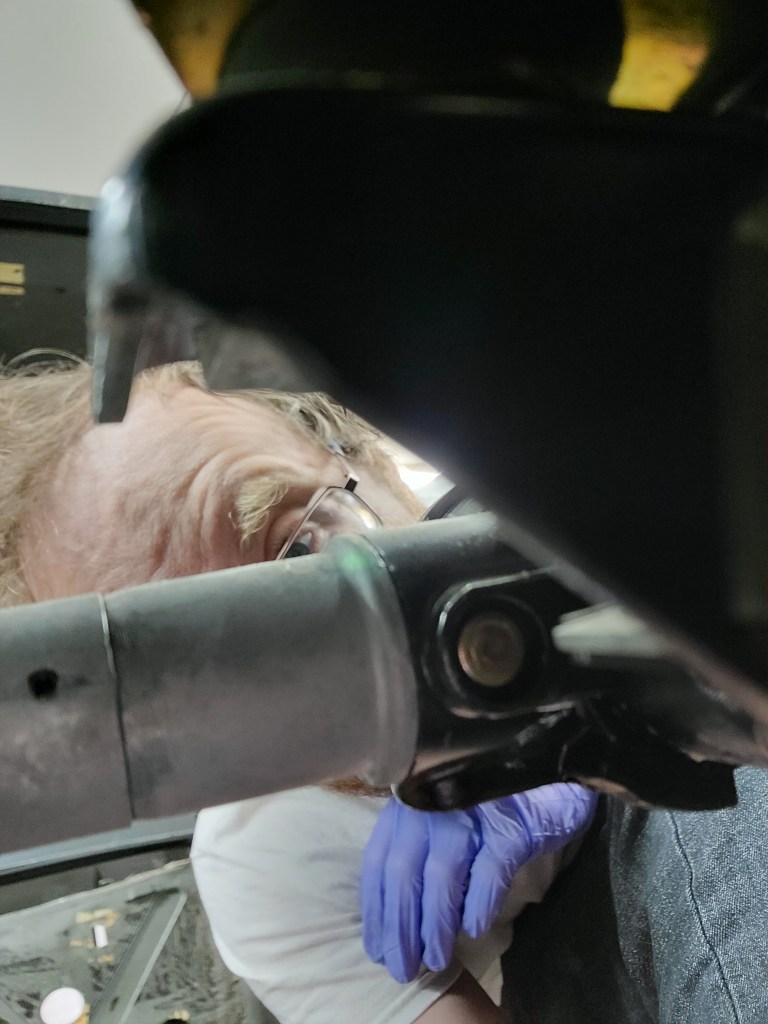
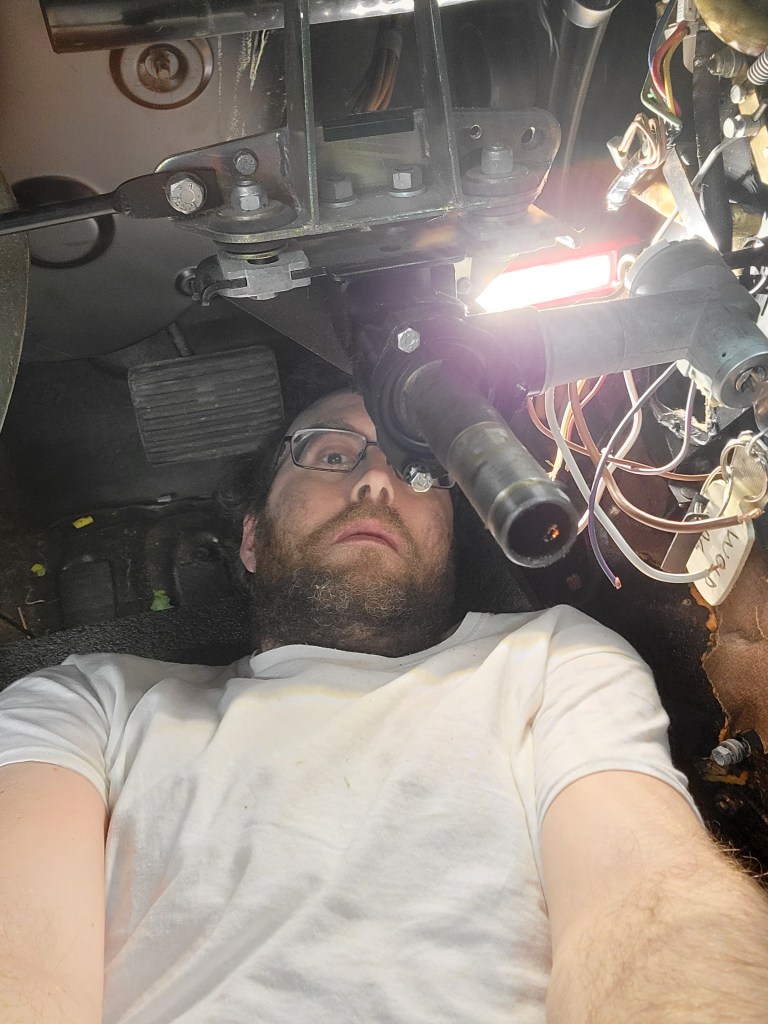
The “What have I got myself into” look…
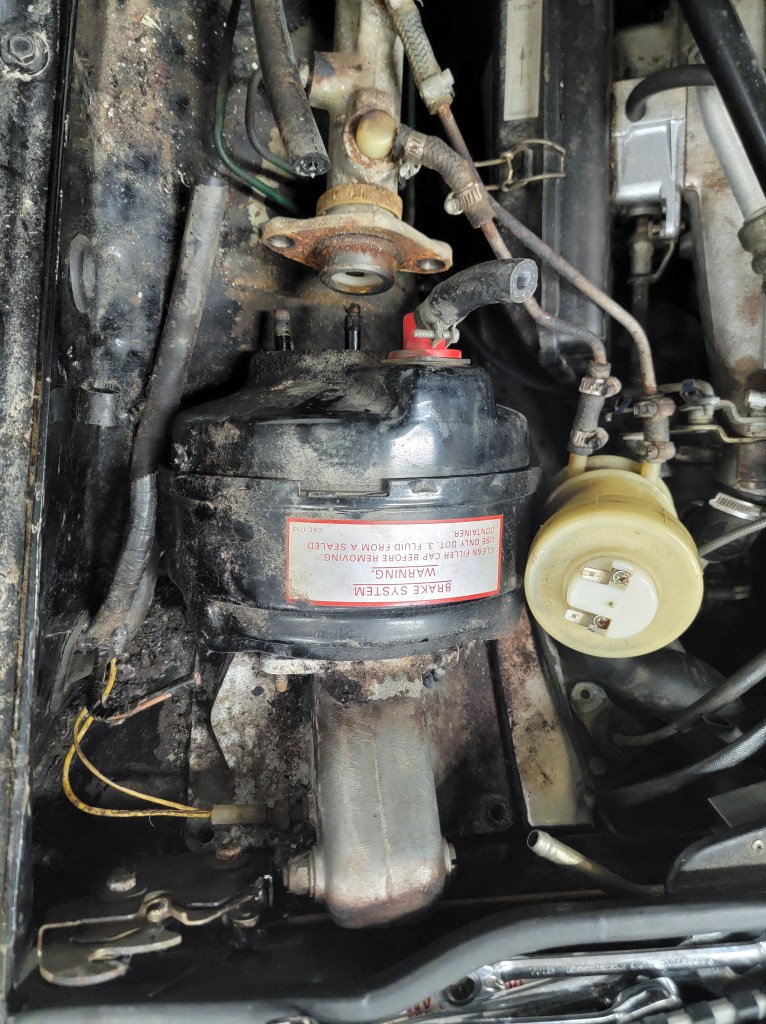
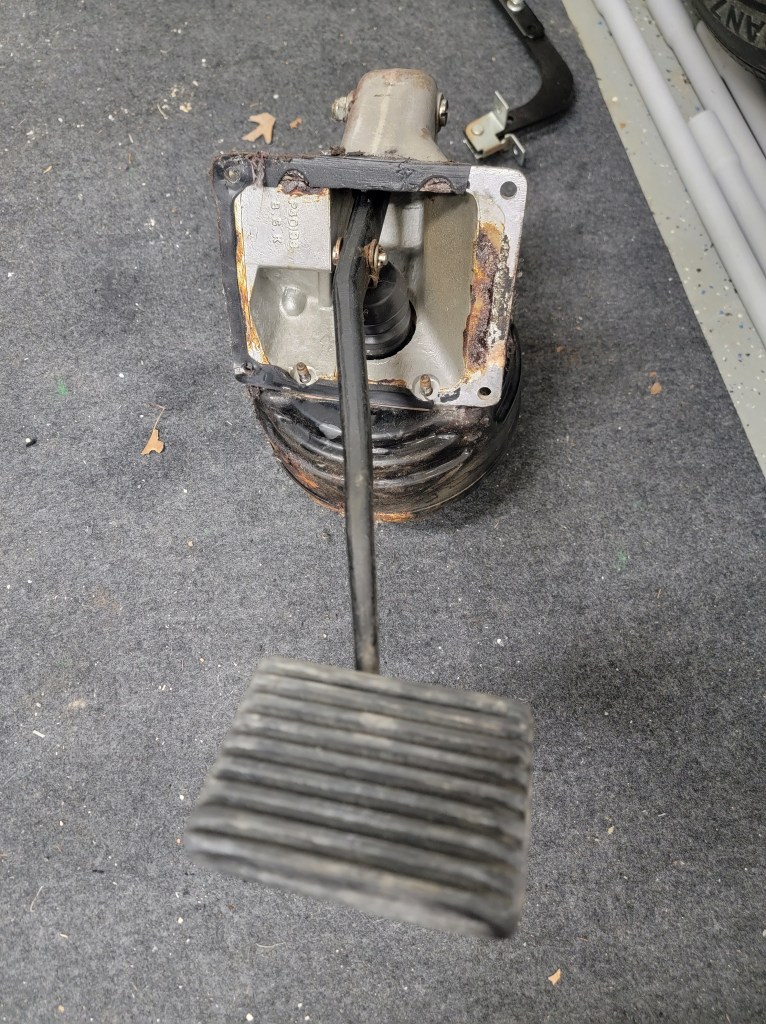
I need to remove the vacuum booster, which is apparently attached to the brake pedal box, so that has to be removed, too.
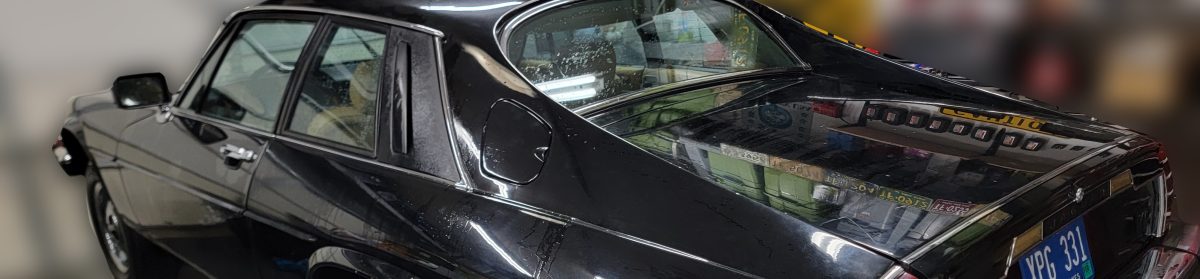
On Christmas afternoon while the rest of the family was asleep from Christmas morning festivities I worked more on the Jaaaaaaaaaaag
I found this under the headliner. I thought maybe it was a VIN tag – nope, just a random piece of metal half painted.
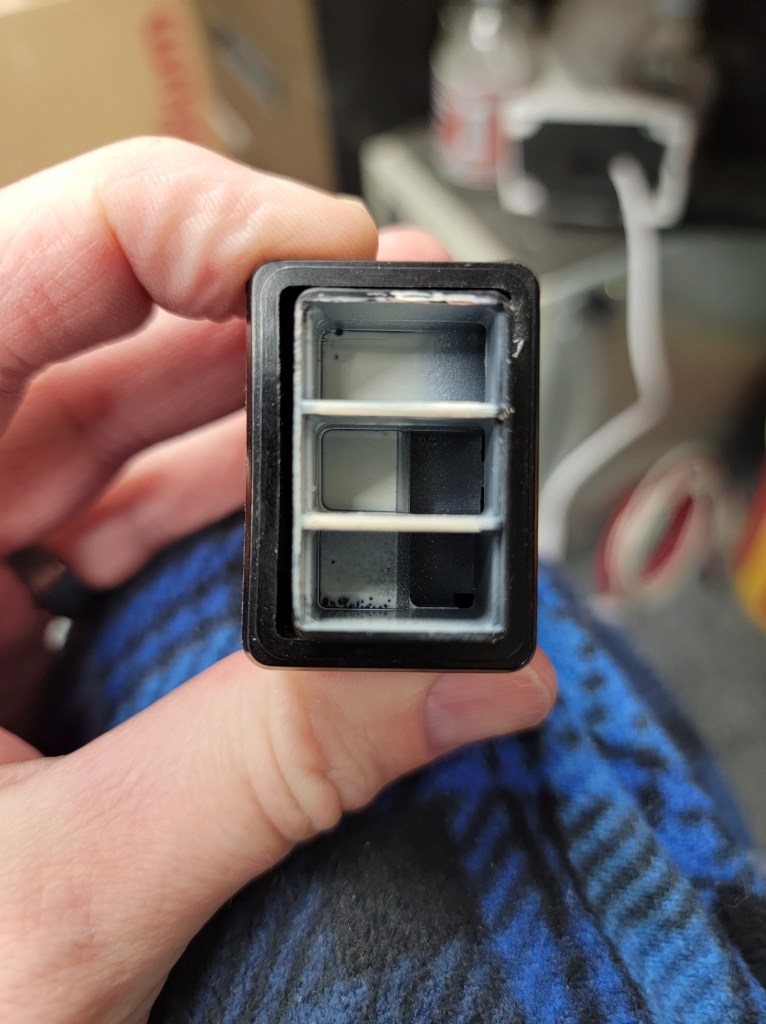
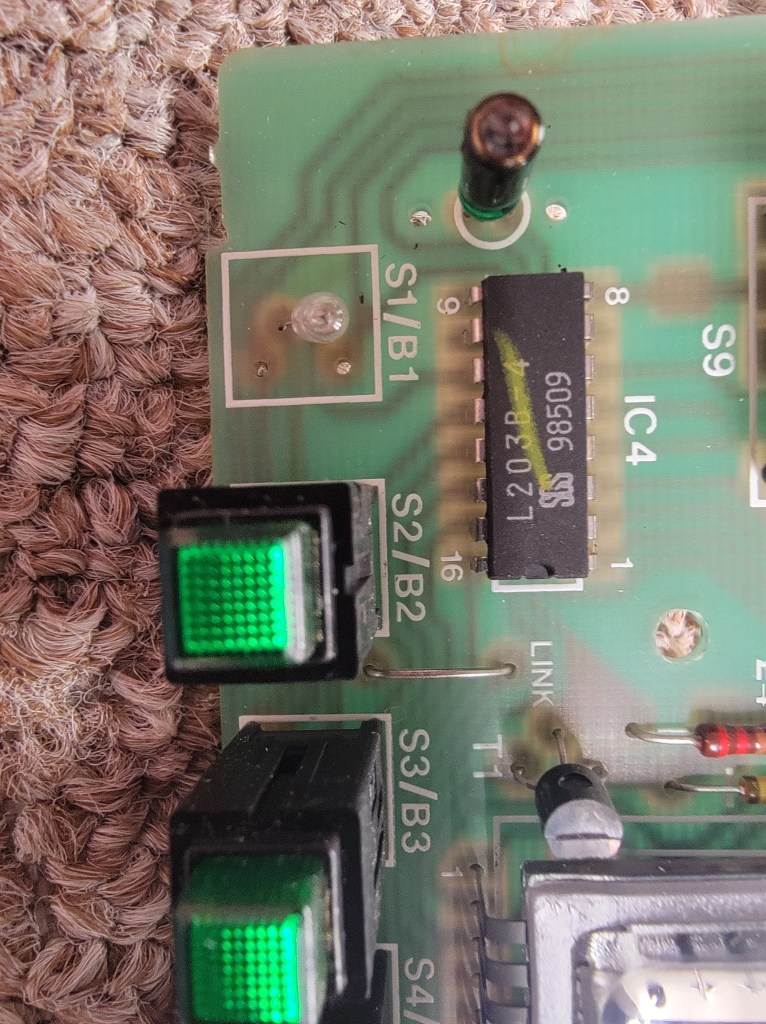
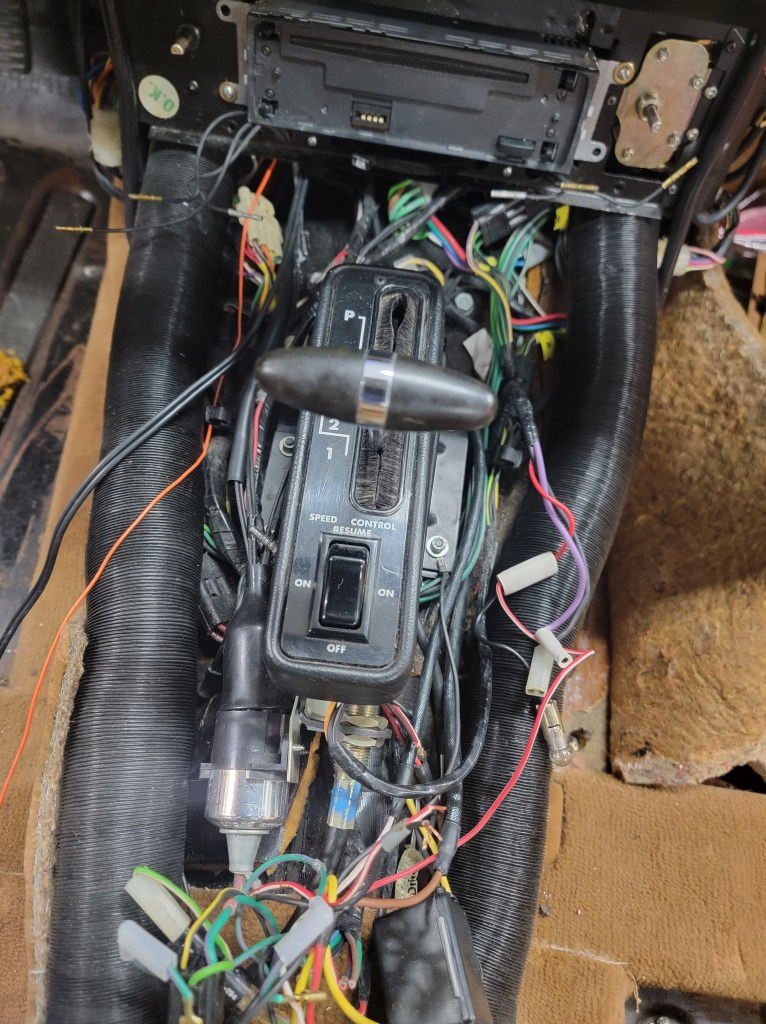
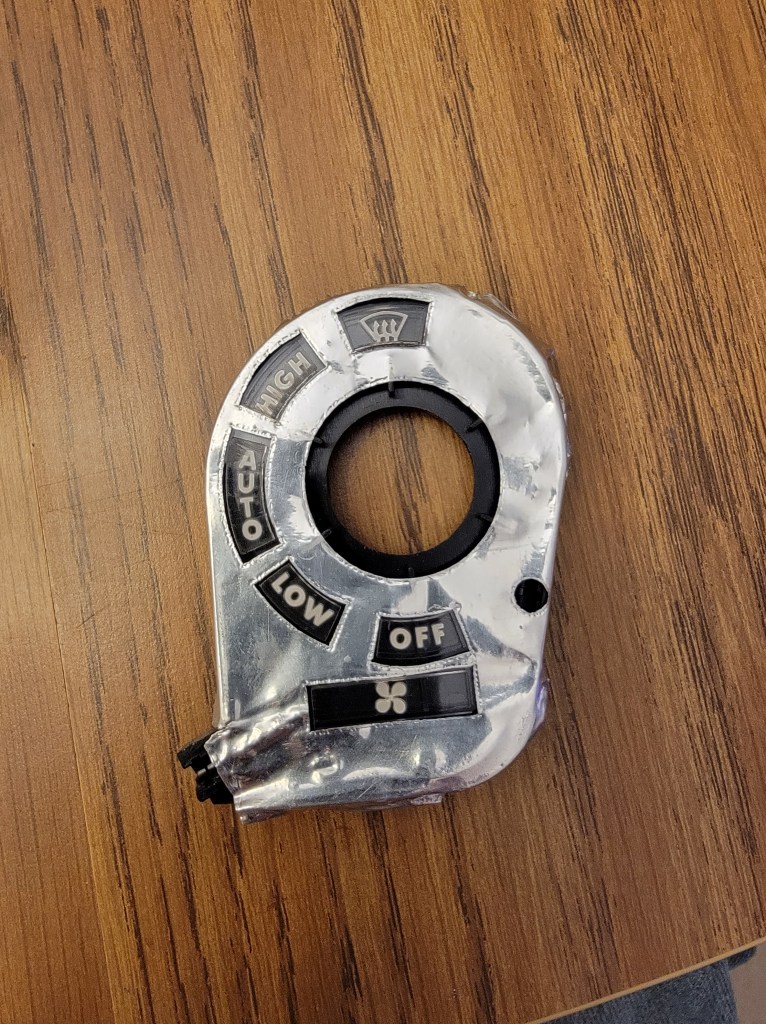
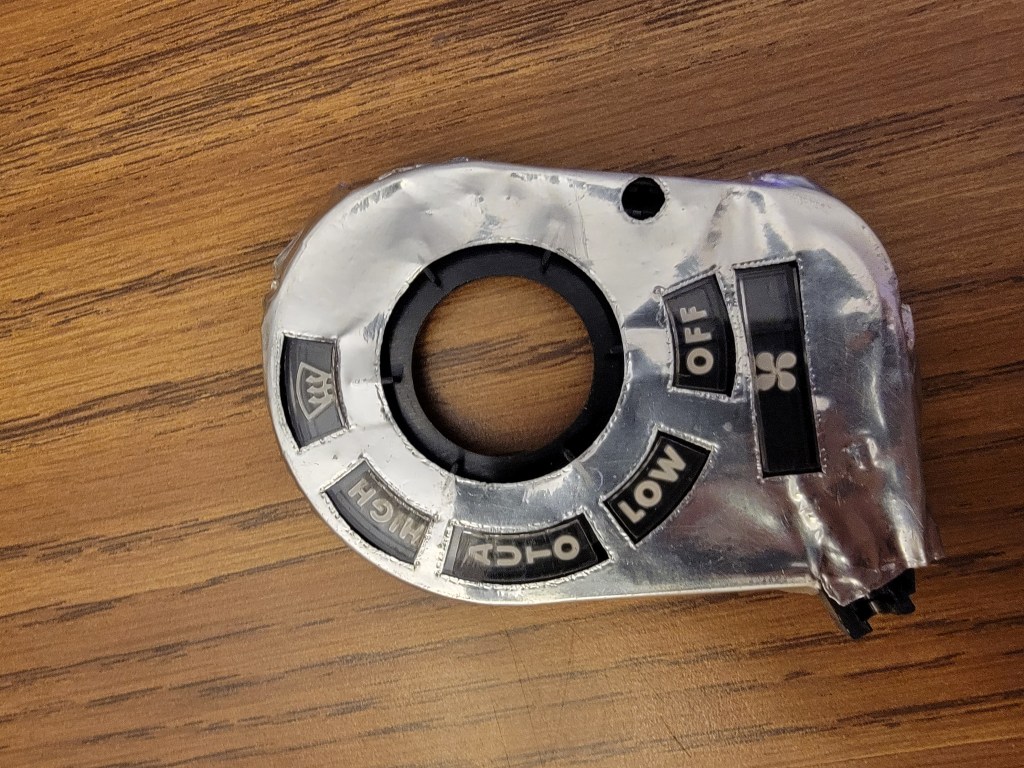
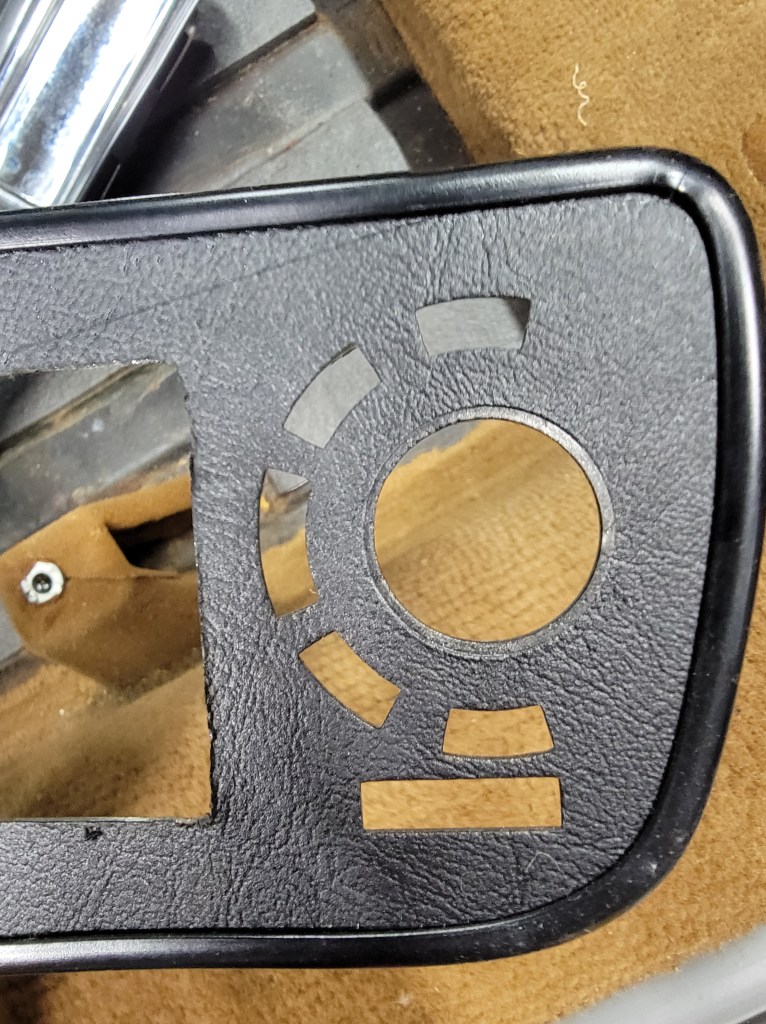
I started looking at these interior switches. The silkscreening is peeling and they are poorly backlit. I have a plan for replacing these with something a little more modern, but looks authenticish.
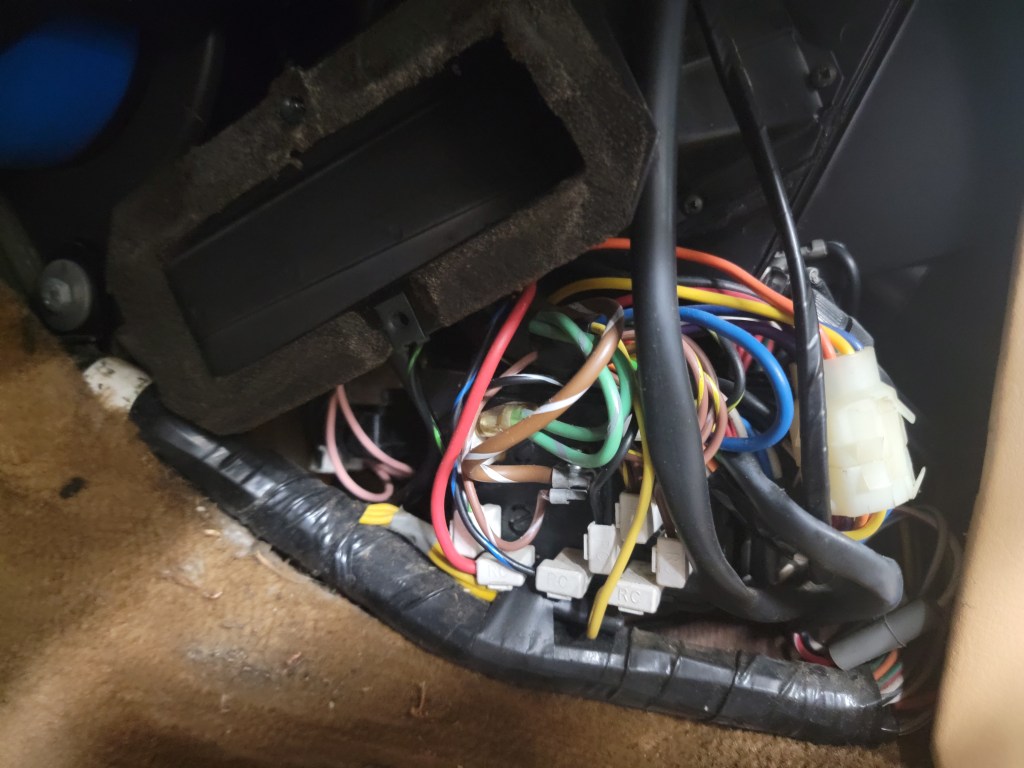
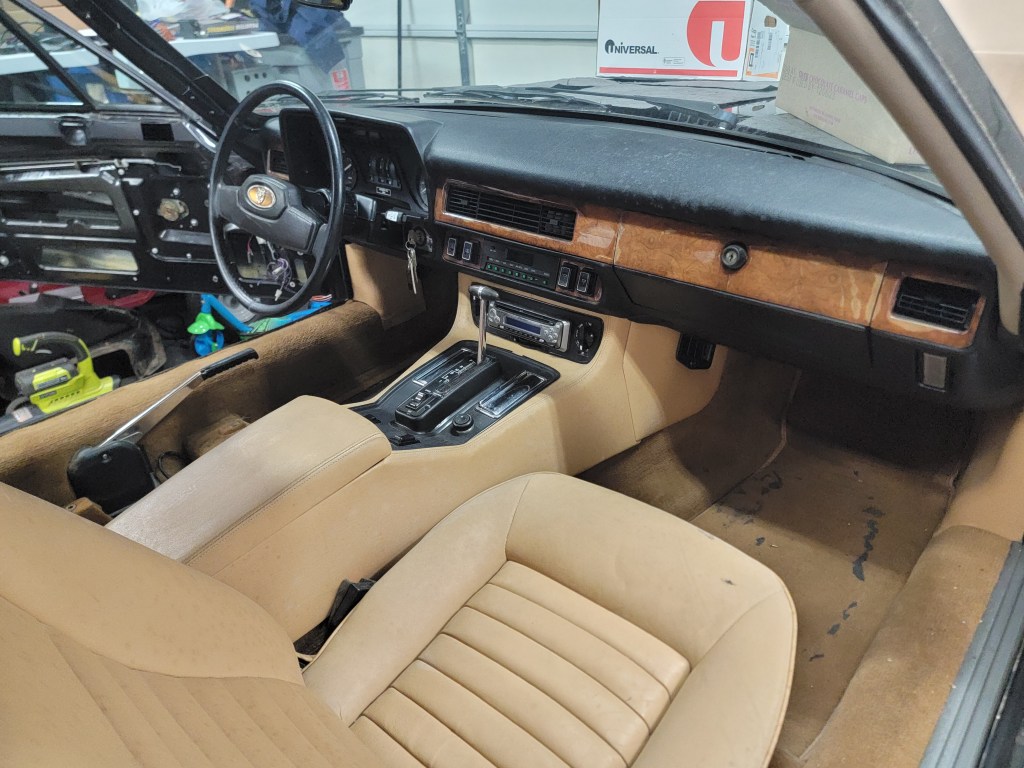
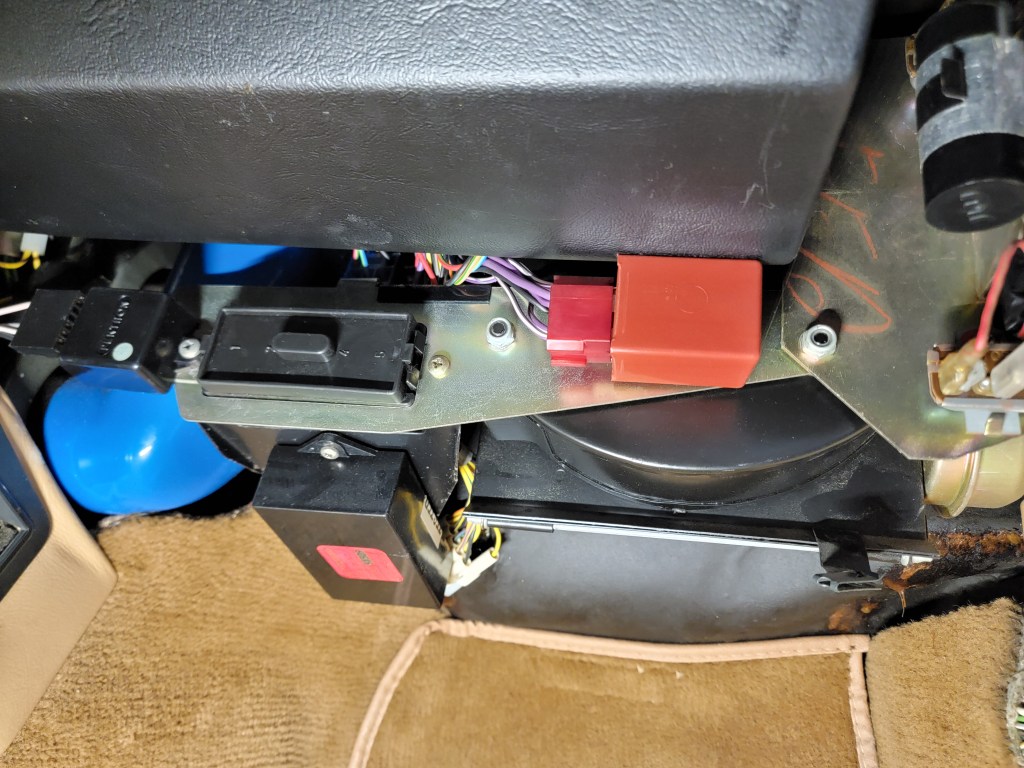
As this is being converted to electric, the heating will change from water to electric. Also, I need to make the AC electric as well. There will be challenges here…so where do I start? The display of course!
So in the Jaguar there is a trip computer that shows a clock, fuel used, etc. That isn’t really going to be necessary in it’s original form for the electric rebuild. Additionally I plan to completely use a different HVAC air box setup as the factory one is a bit more complicated than needed.
So, I started looking at gutting the trip computer to repurpose it to be a climate control computer. I plan to make it look stock, but function very different.
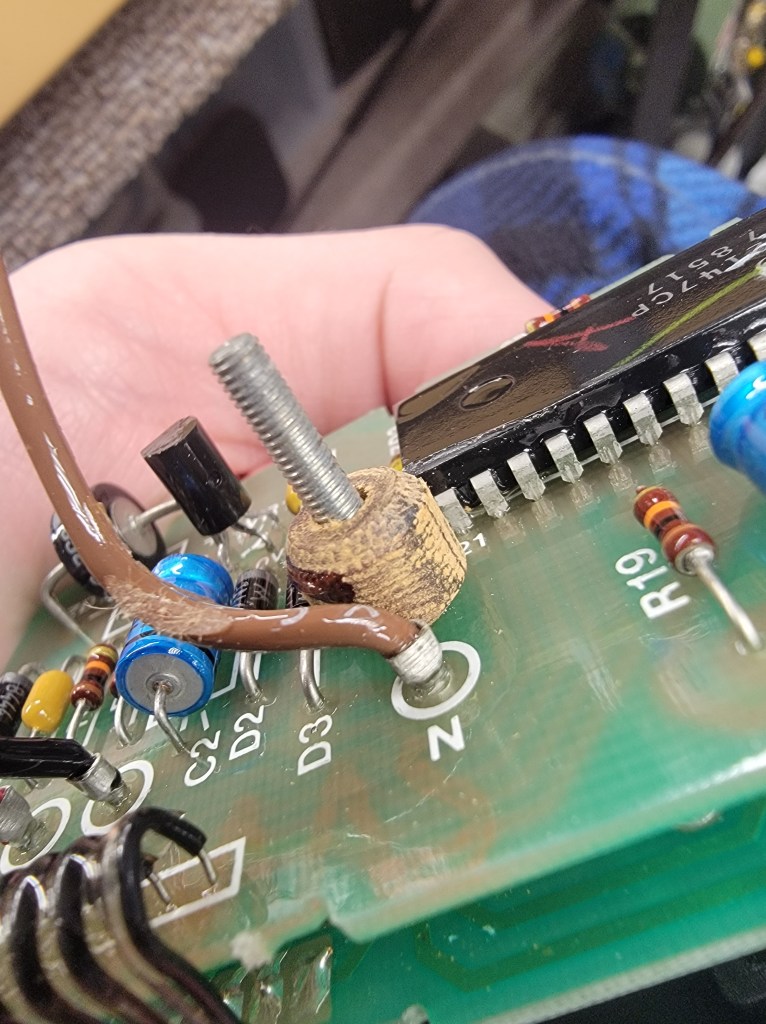
Lucas – We use wooden beads for PCB standoffs.
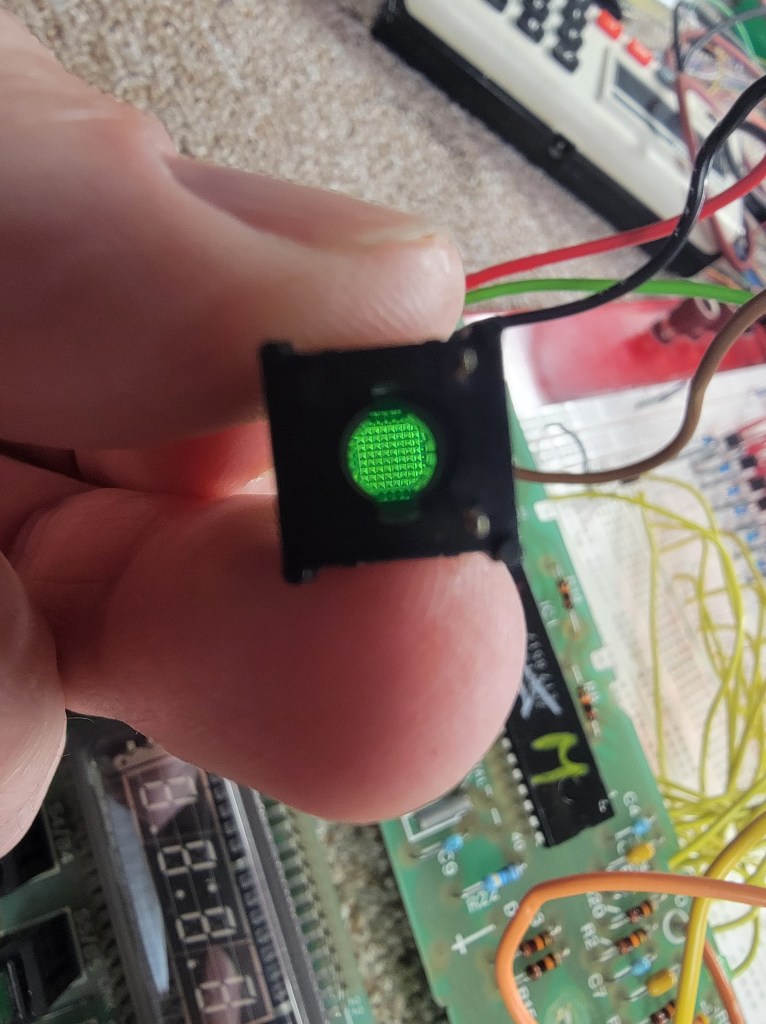
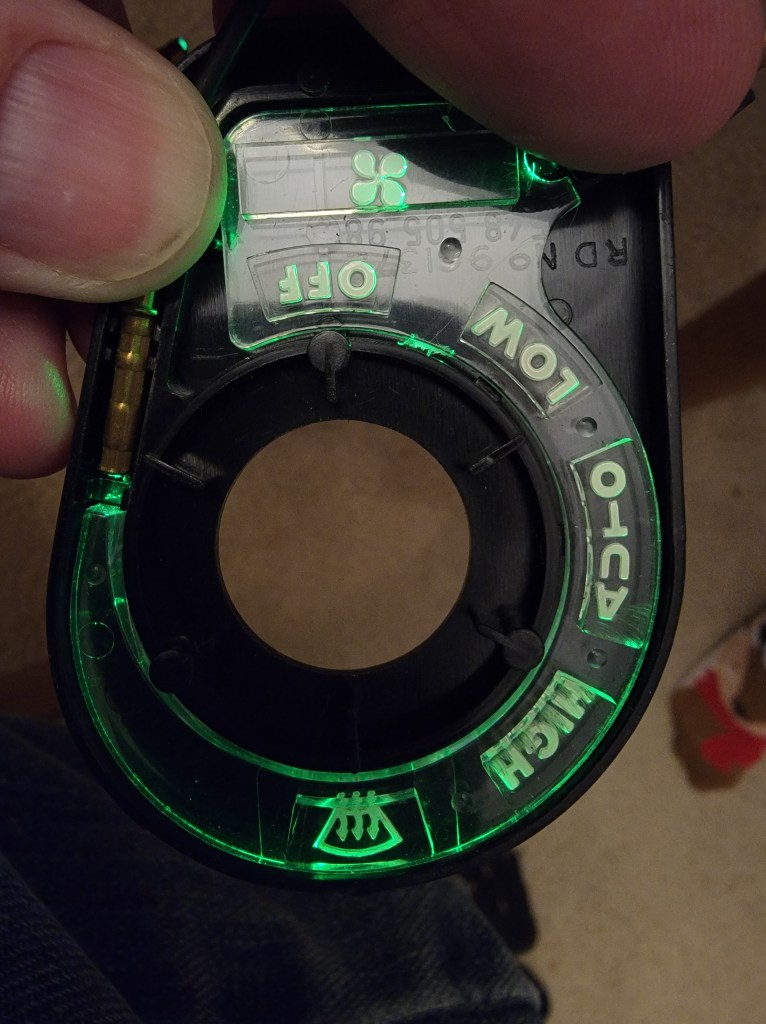
I really like these illuminated buttons, but I was quite shocked to find they were illuminated with an incandescent lamp! On the plus side, LED conversion is simple since the button is hollow up the middle!
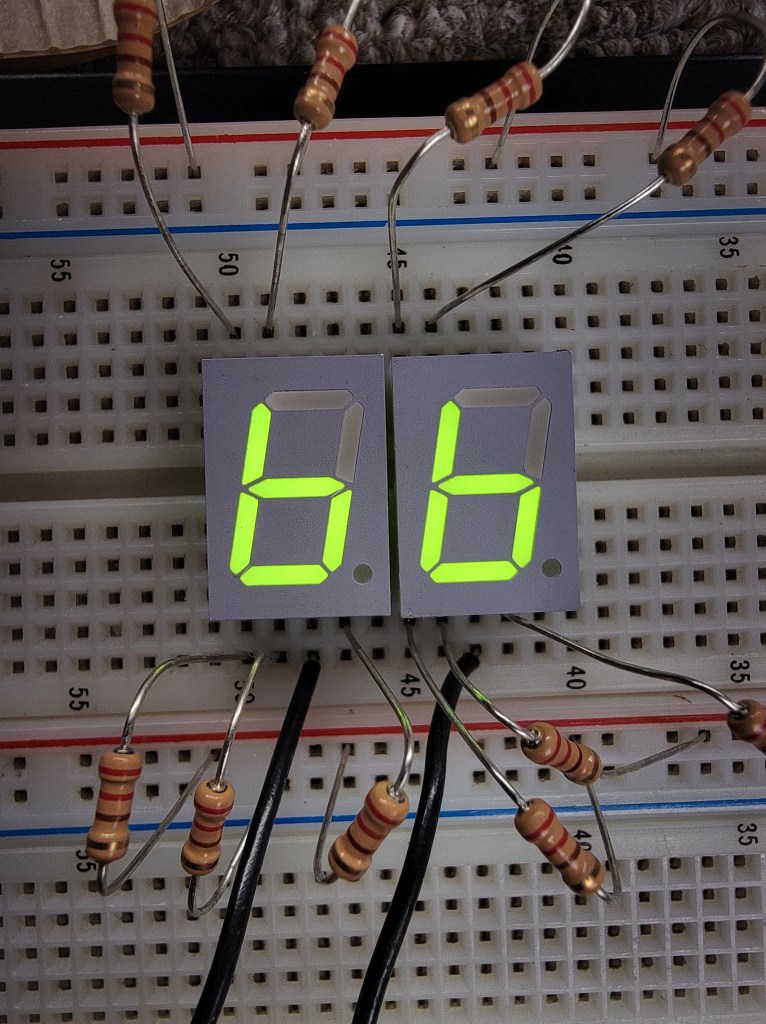
I plan to use a 7-segment LED display, in green, to have the look and feel of 1986 electronics. Also something I like? No tail on the top of the 6. It’s a hold over from TTL 7-segment drivers and I’ve always liked it.
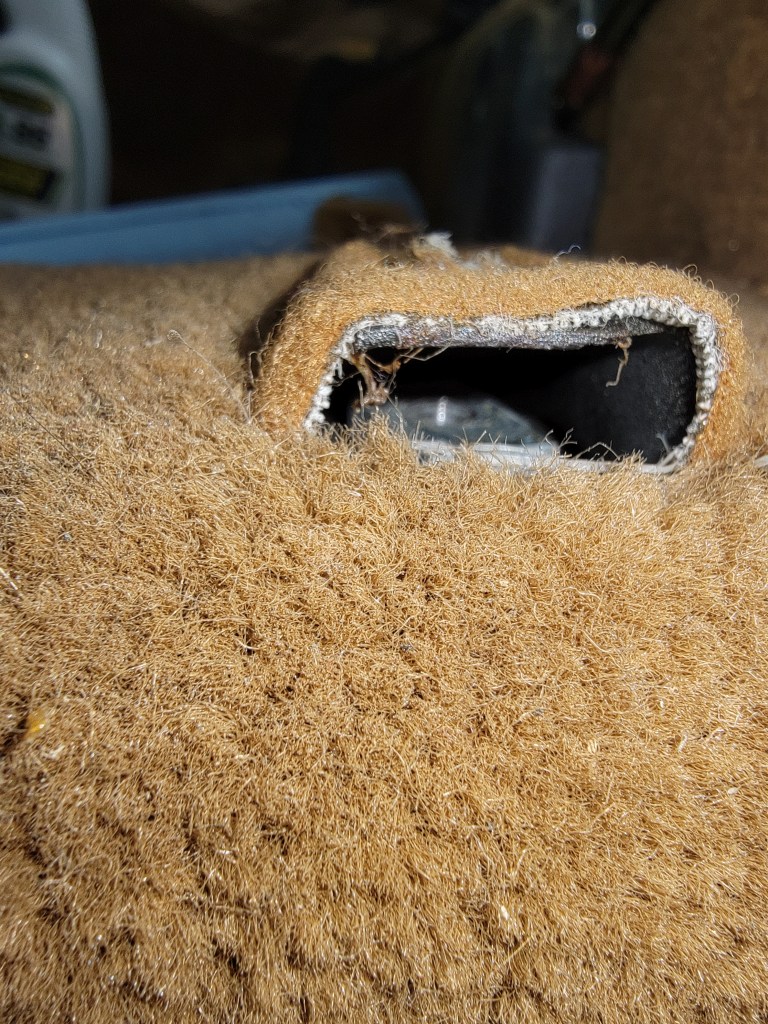
This piece of wood is used as a filler to achieve a radius in the rear quarter head lining. Sure.
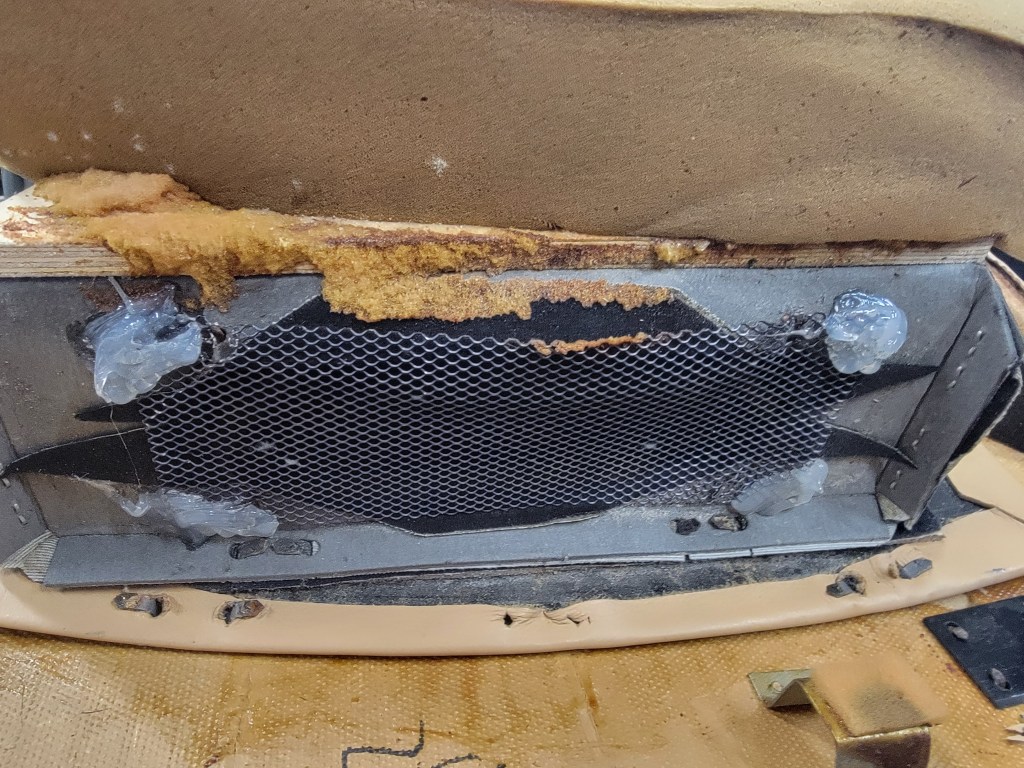
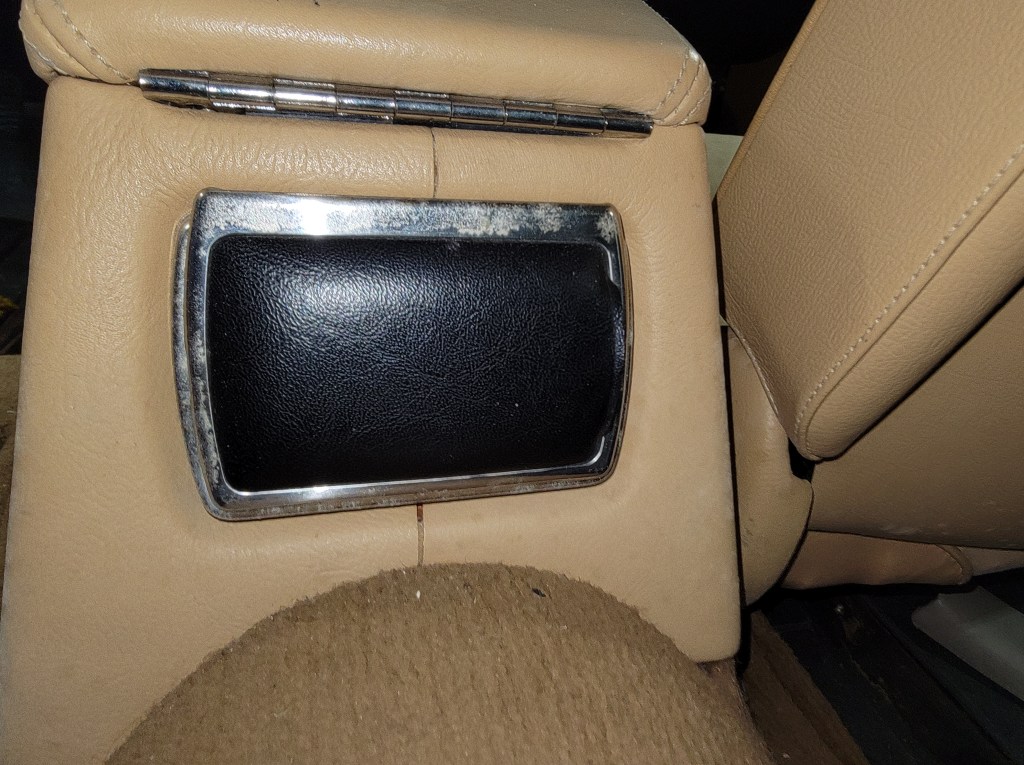
In the backseat there are side armrests that double as speaker pods. This is the grill they use to vent that pod. This is factory. It’s gobs of silicone holding steel mesh that was attached to thick cardboard.
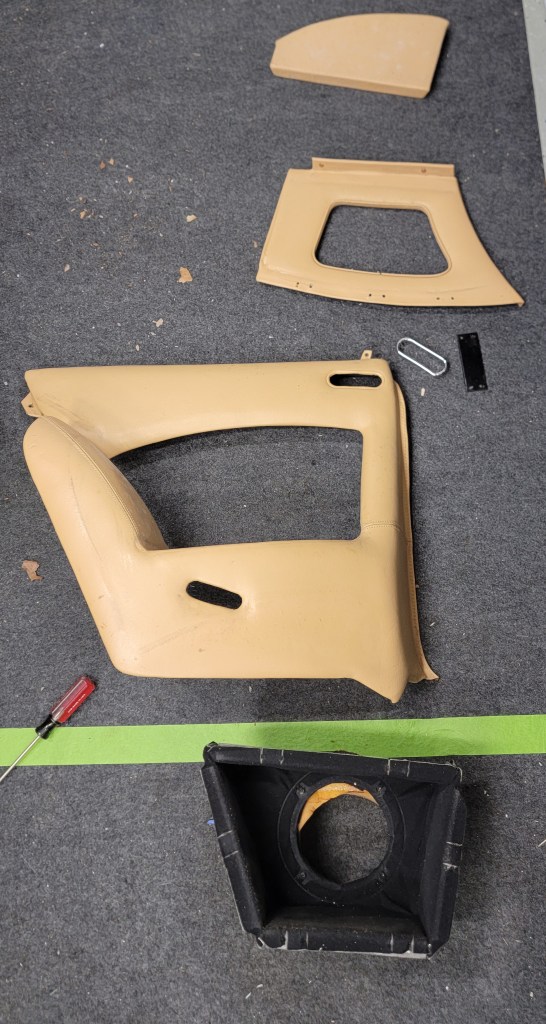
One positive I can say is that nearly everything comes apart. This is that same rear speaker pod. I can remove all the pieces with tabs and give it a good cleaning. While I’m at it I’m going to expand the hole for the new speaker in the rear and apply new velvet fabric as this stuff is rotting from age and the glue has dried up.
Here’s something else I don’t get about this car. This is a seat mounting point. It’s not the best picture, but it’s a little embossing above the floor. Jaguar uses a nut under it to hold the seat. Not a caged nut or a welded nut – a loose nut. Why? So we can lose it?
Oh cool, all the carpet is glued down.
This vehicle is not in short supply of ash trays.
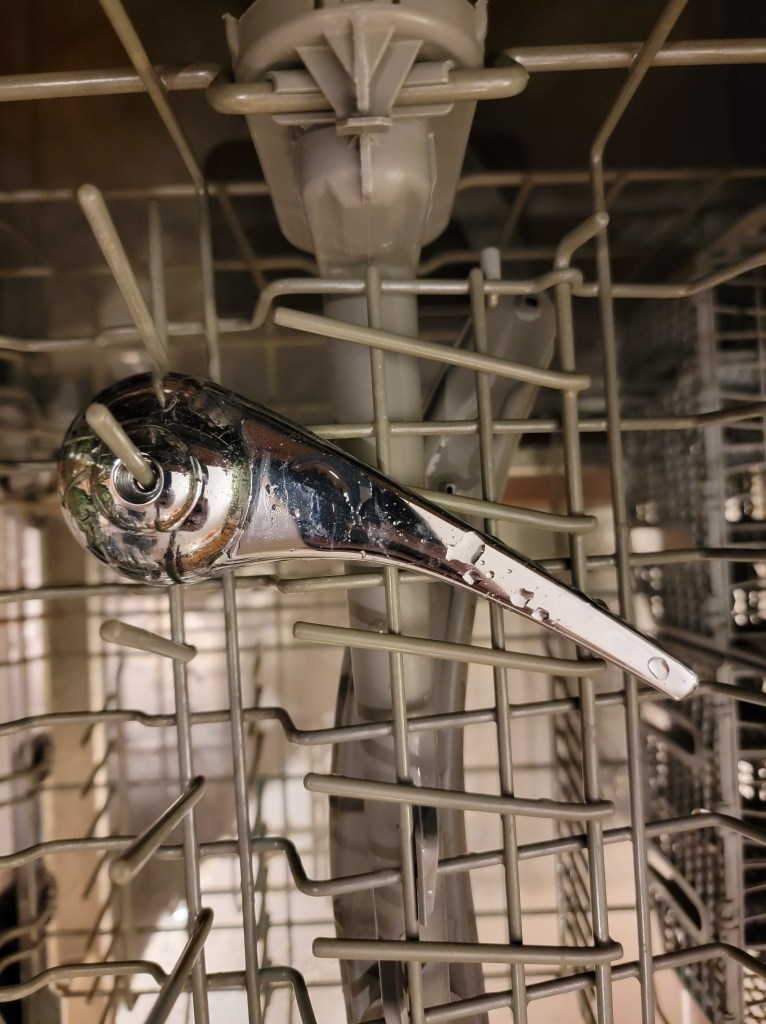
Nothing to see here. Just washing a seat lever in the dishwasher (shhhh)
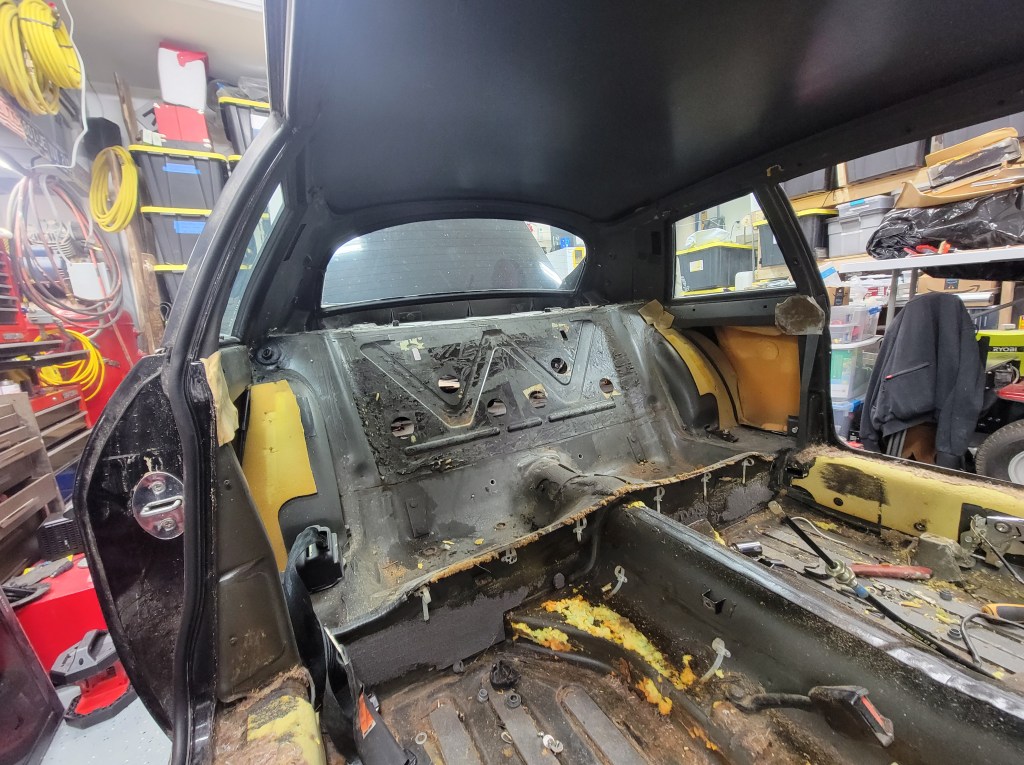
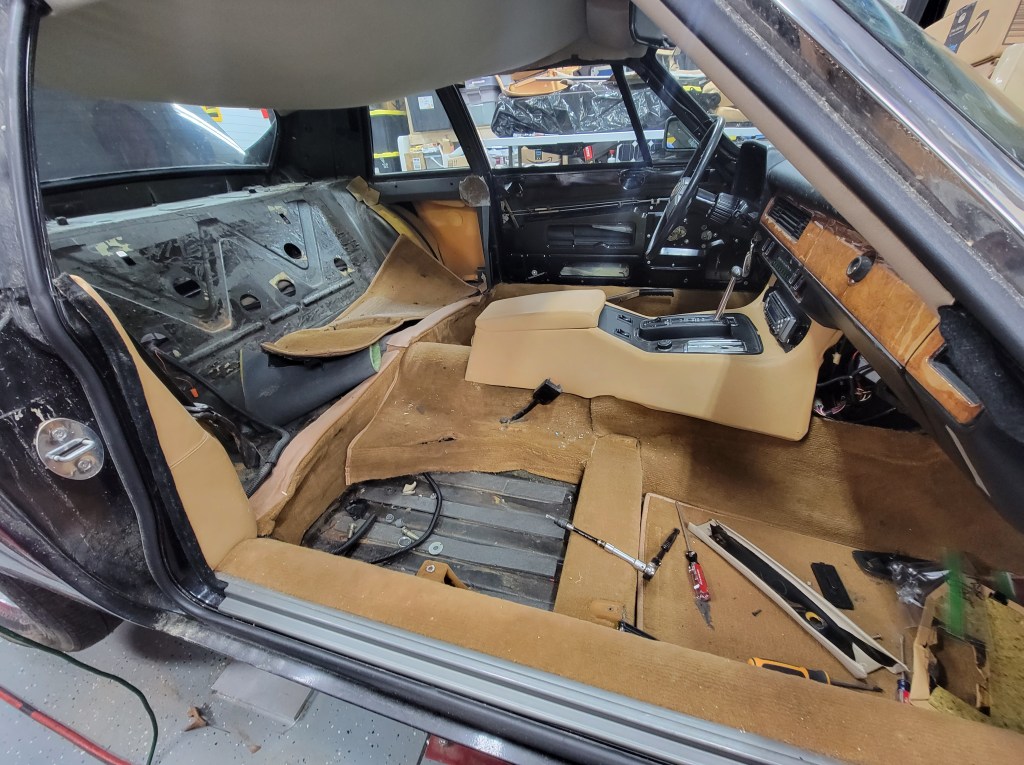
I continue to remove the interior of the Jag. The process is pretty simple: Remove a part, bag/box the bolts and label them so I’m less confused upon reassembly months later, spray with the anti-fungal, wipe down, spray with the cleaner, wipe down and let dry a day. Once dry, use the Chemical Guys leather treatment.
If you look closely here you can see mildew spots.
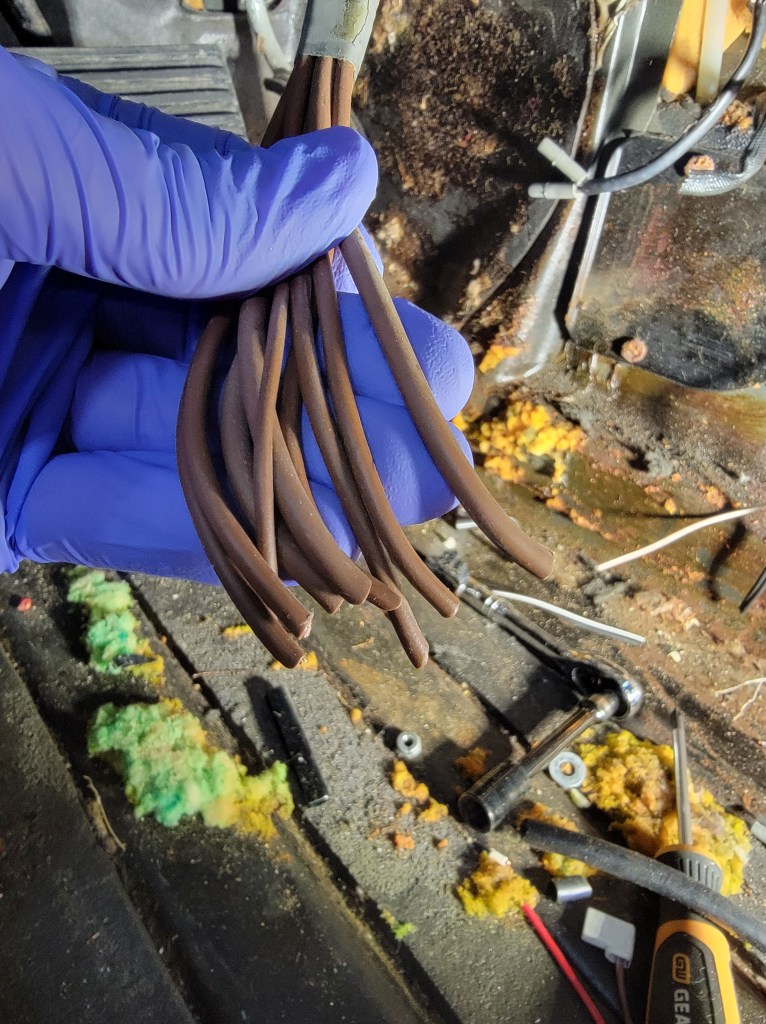
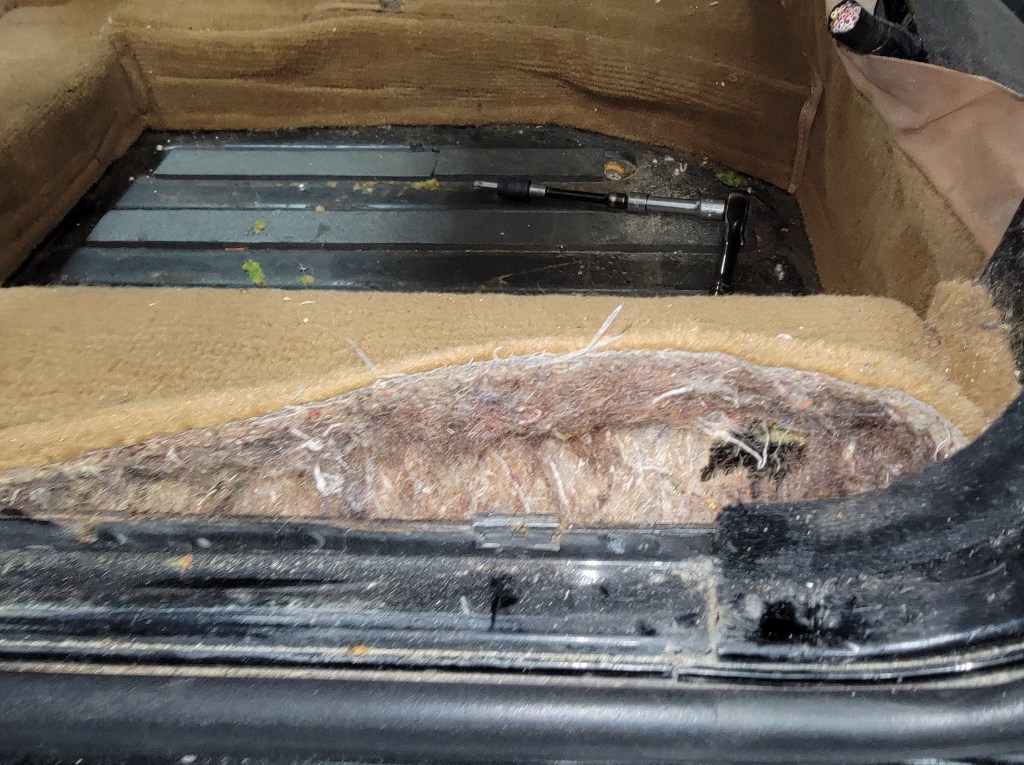
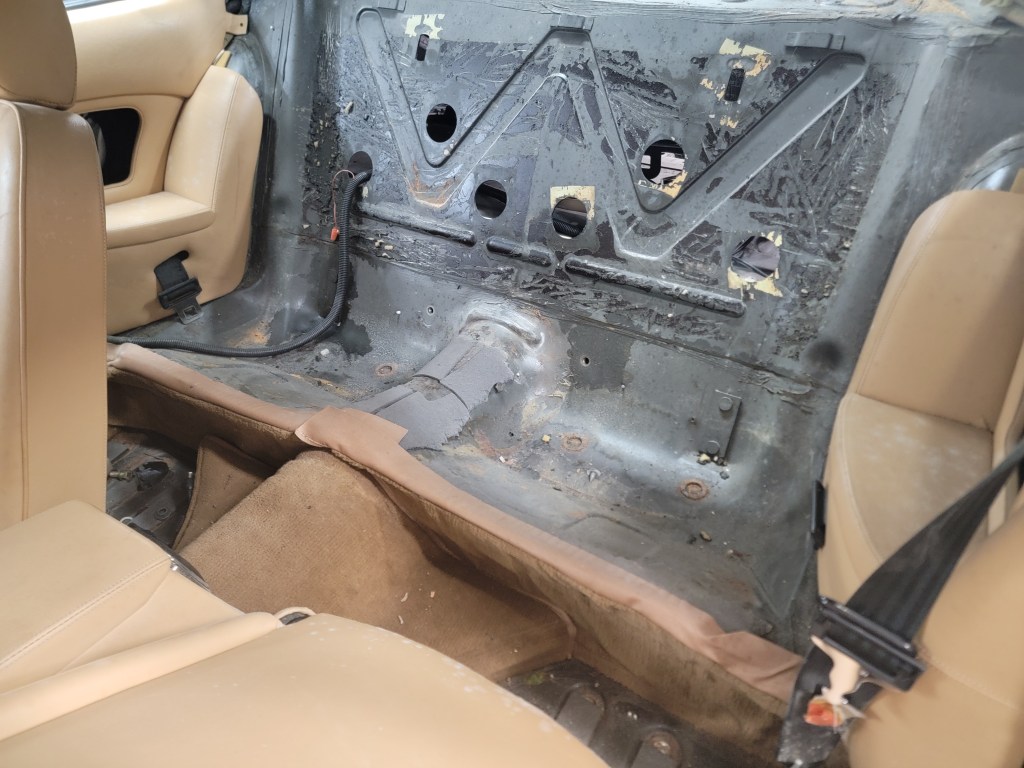
When the whole gas tank fiasco happened I removed the foam from behind the back seat. I plan to replace all this with Dynamat.
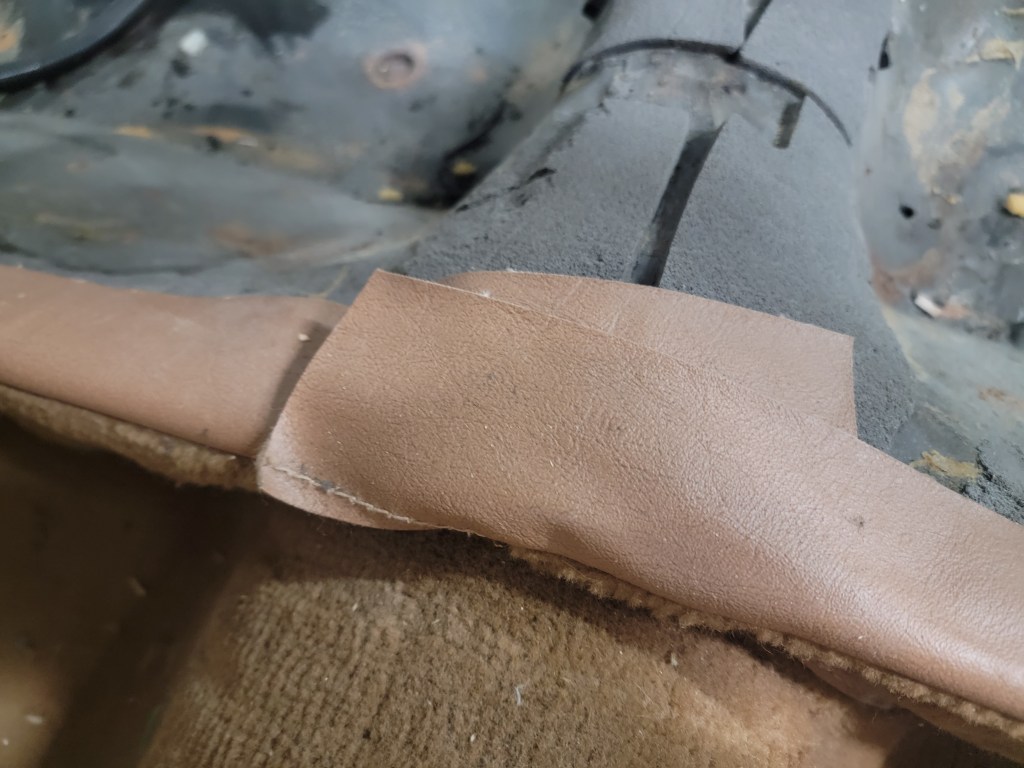
Again, why is this like this? An expensive ‘luxury’ car and here we have scraps of leather slapped into place to cover this spot.
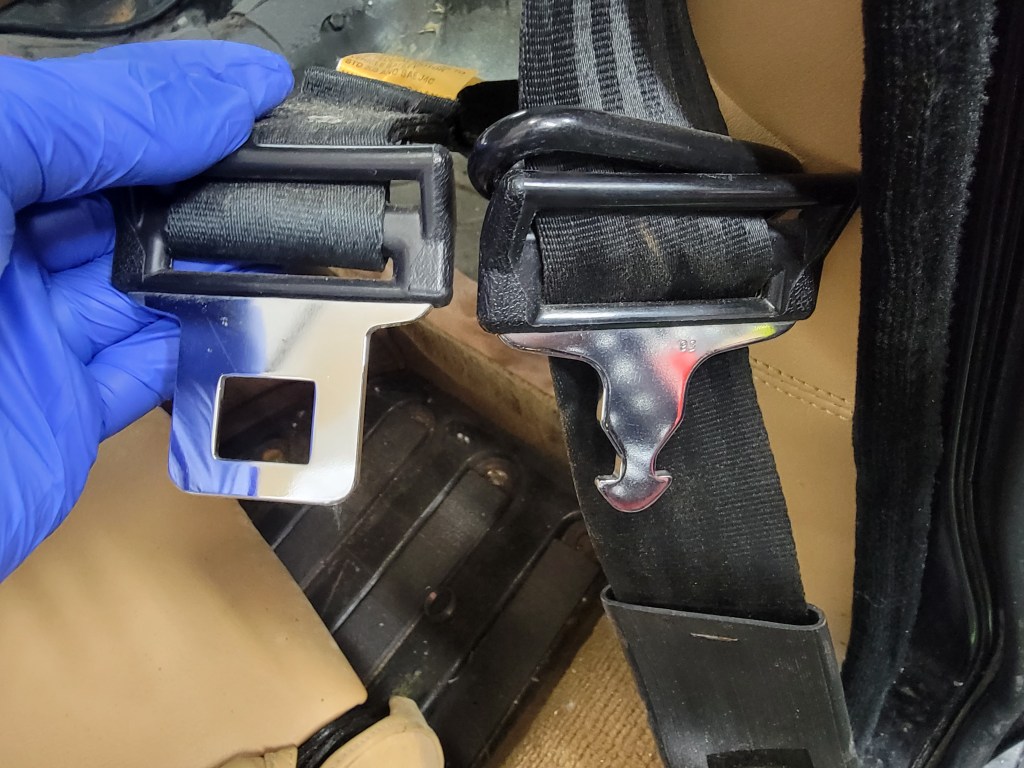
Why are the front and rear seat belt tongs SO DIFFERENT? I have so many questions about how this car came about…
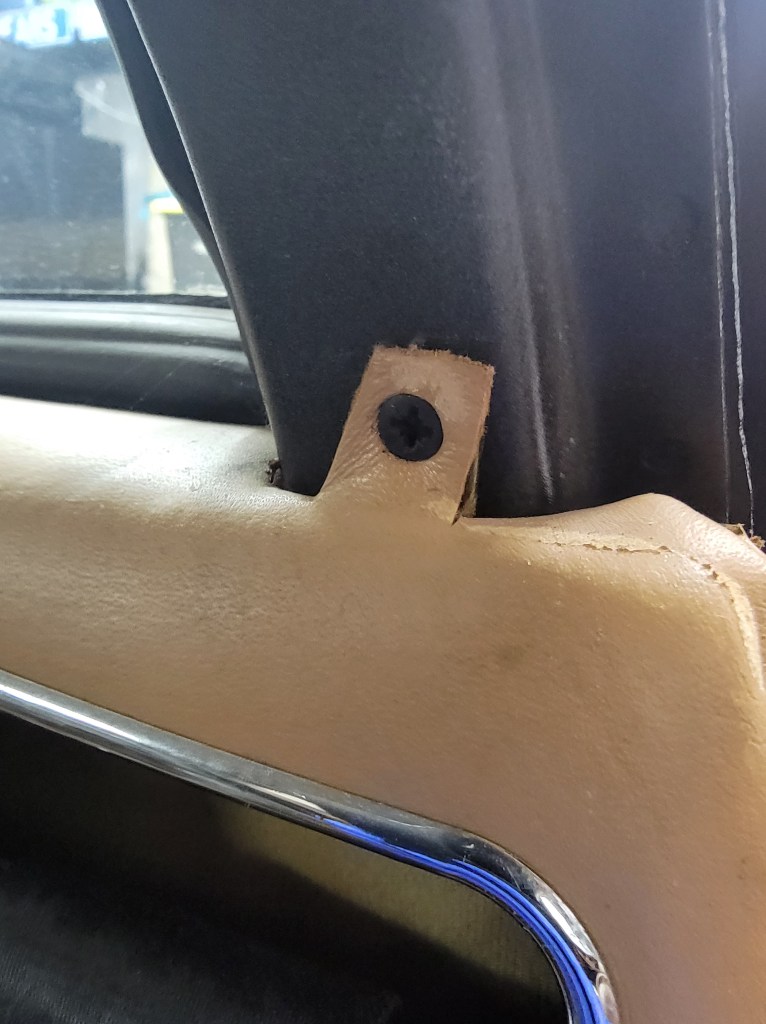
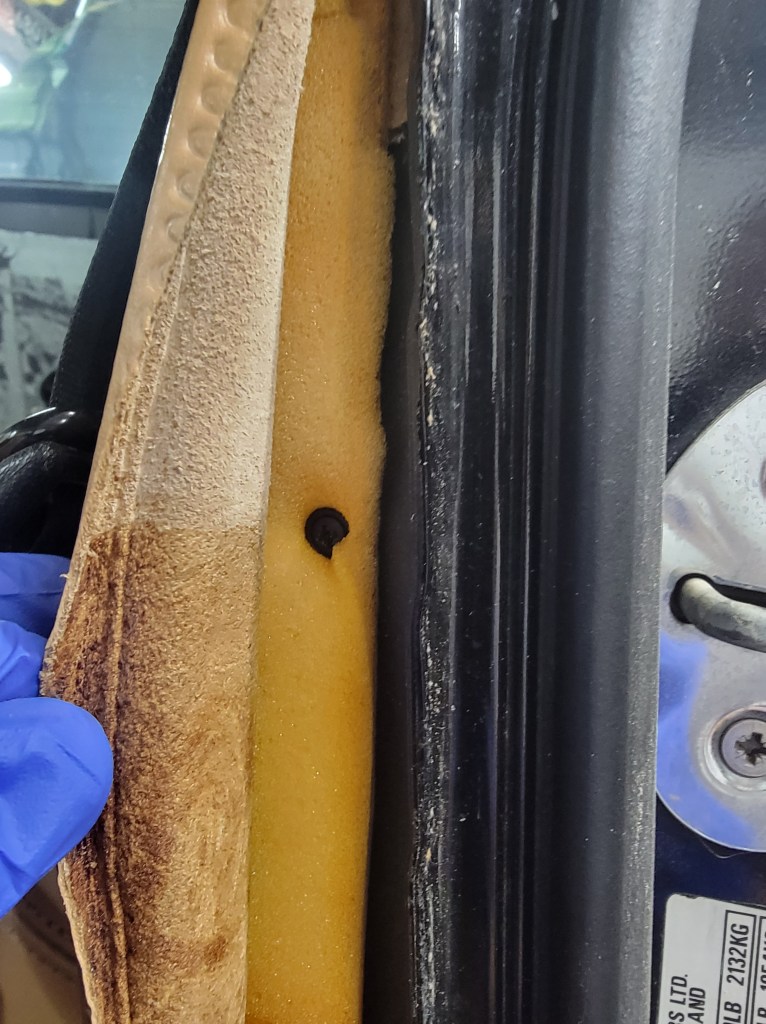
This panel was held on by a tab of leather (no backer) with a hidden screw!
Another hidden screw! This time behind leather that was glued on!
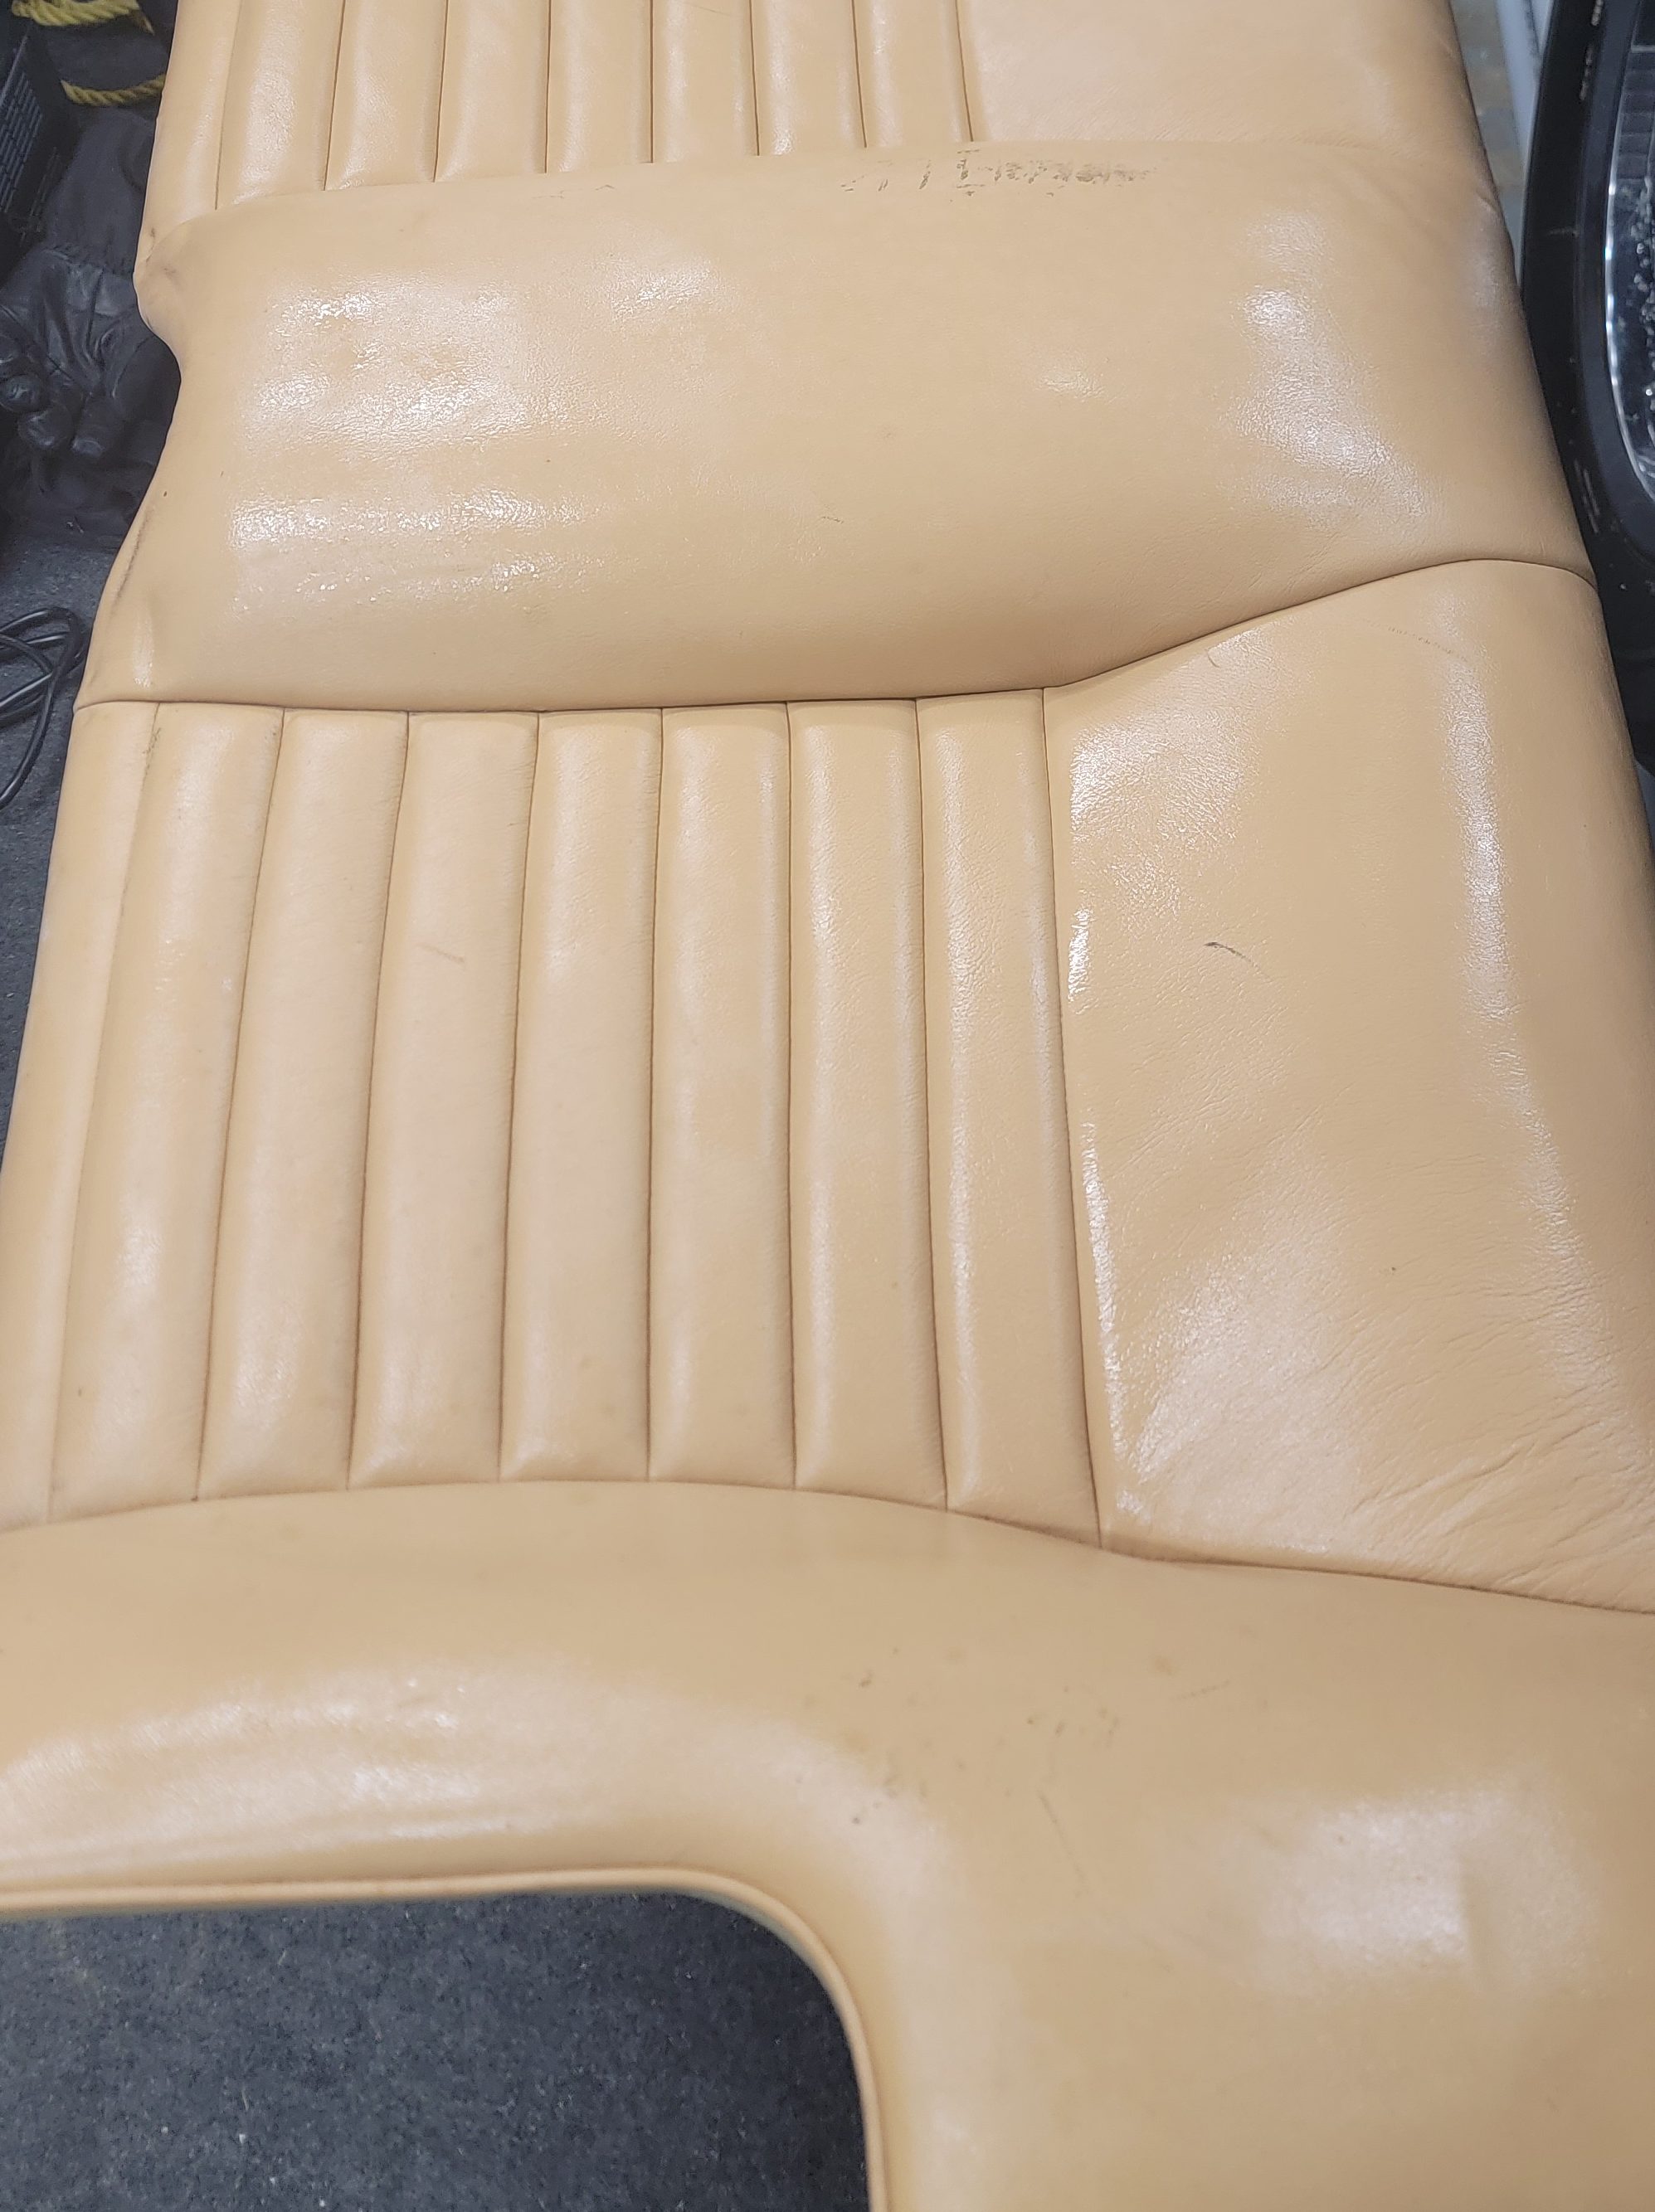
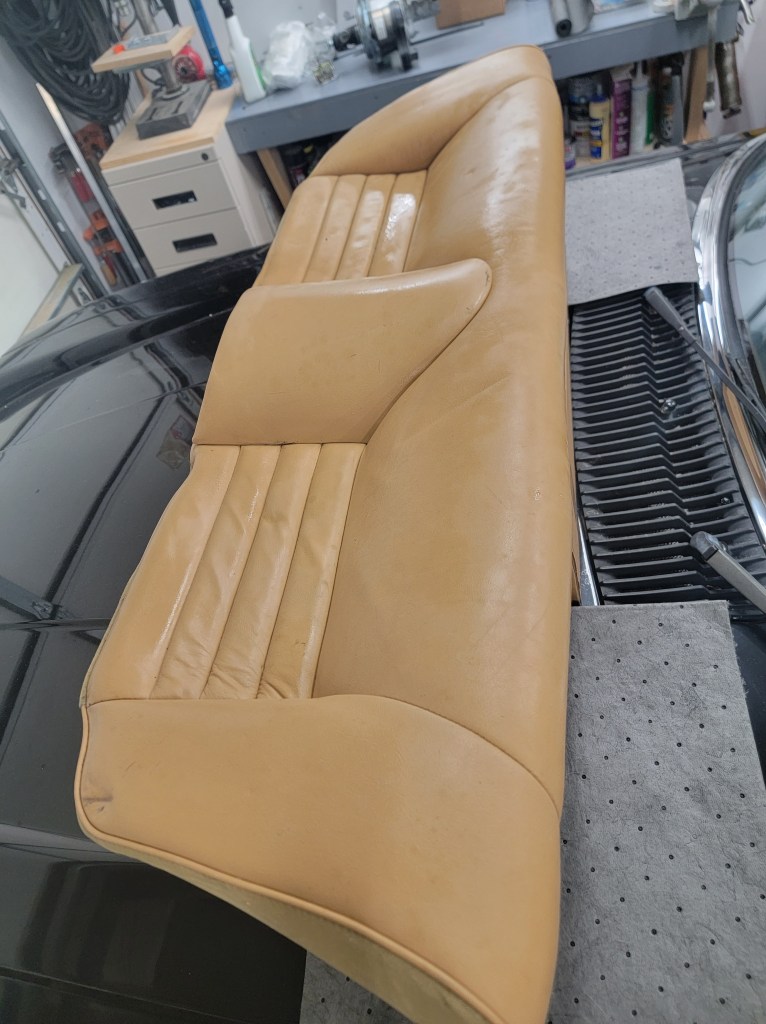
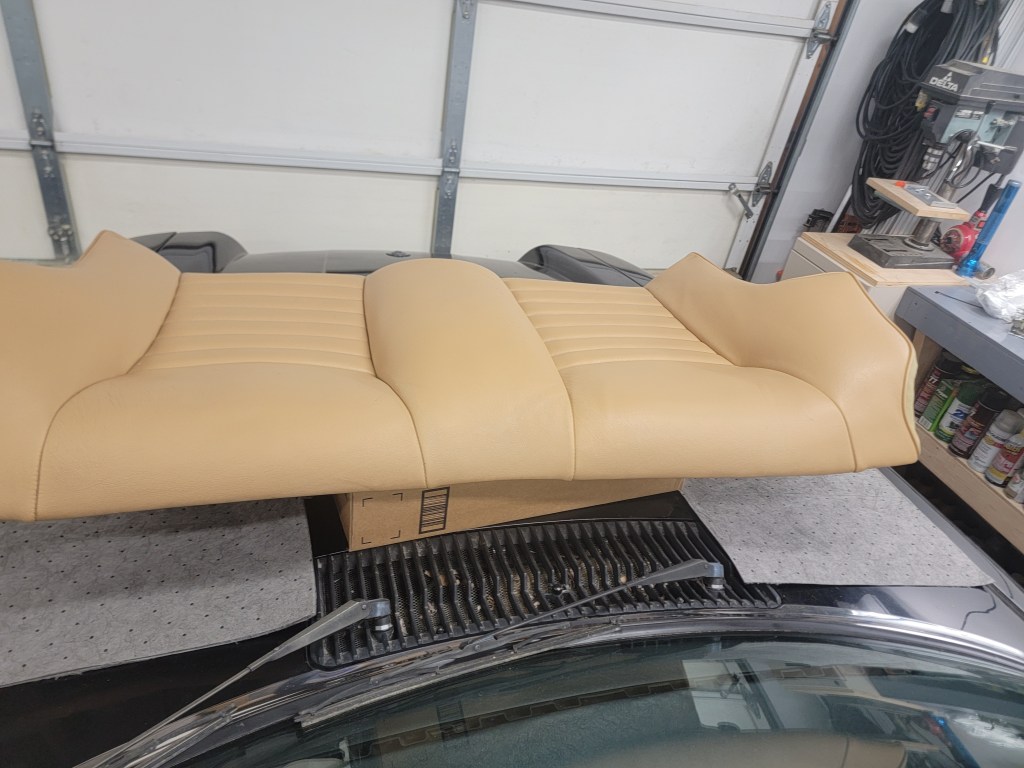
The back of the seat is starting to look really nice now
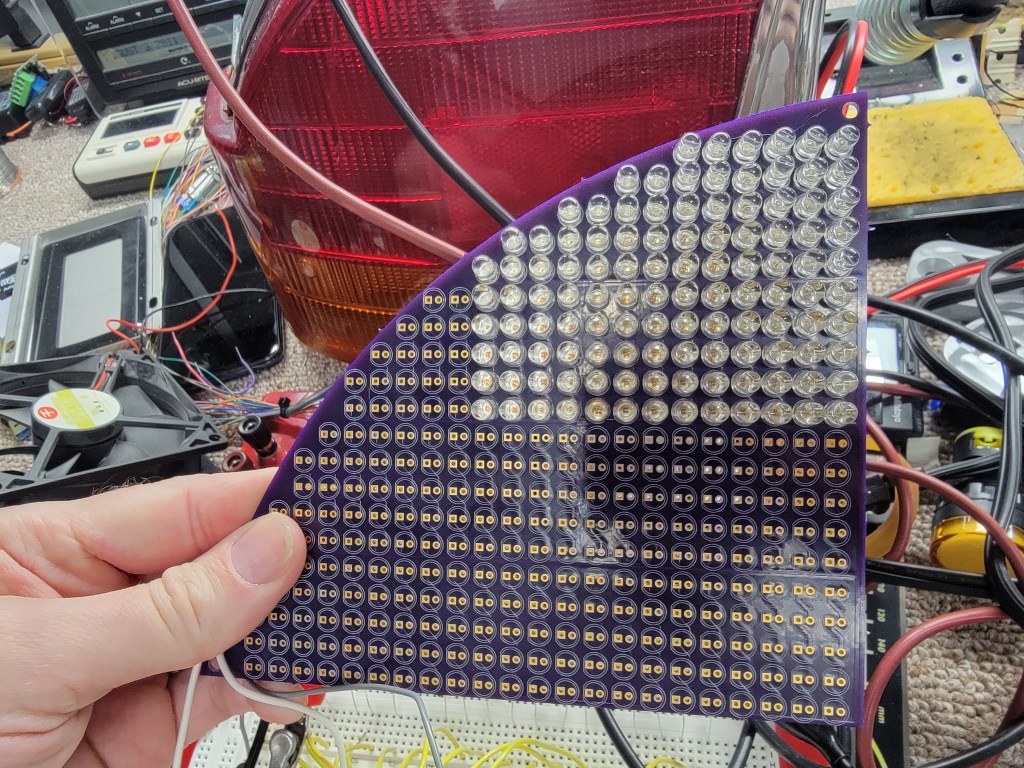
Quick update on the taillight project. I designed the red part of the light and had what look like shark fins created at OshPark
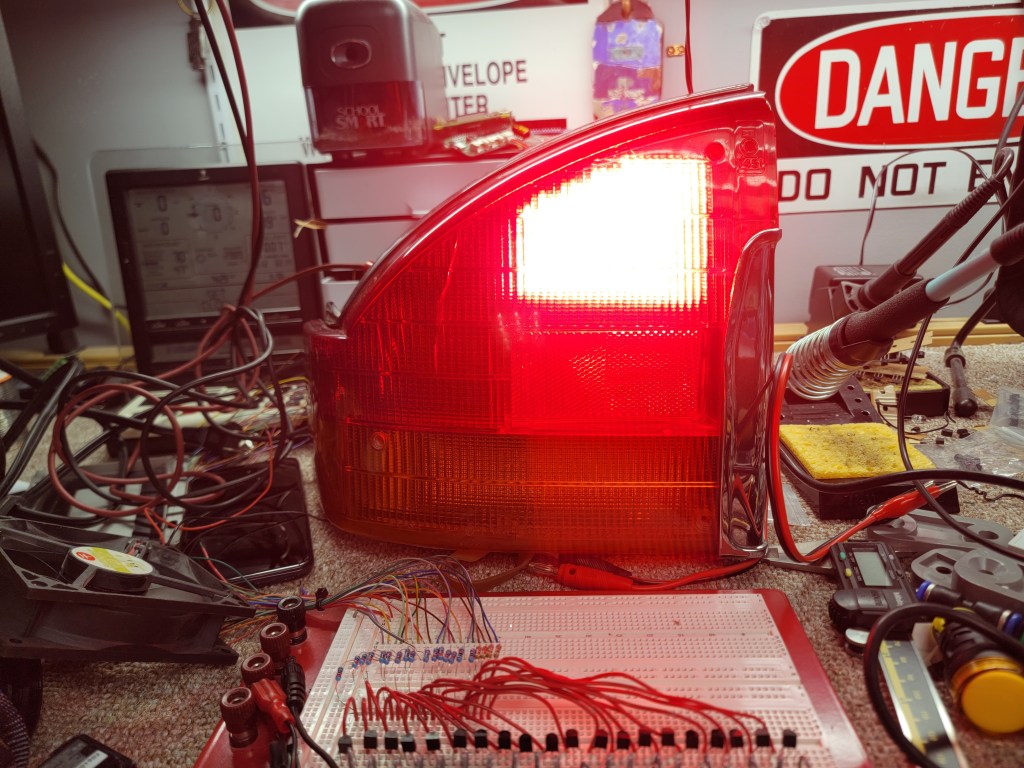
At this point I ran out of red LEDs and had to order more. I actually ordered GOOD LEDs for this project from Mouser. I certainly don’t want to be back in this replacing random dead elements any time soon.
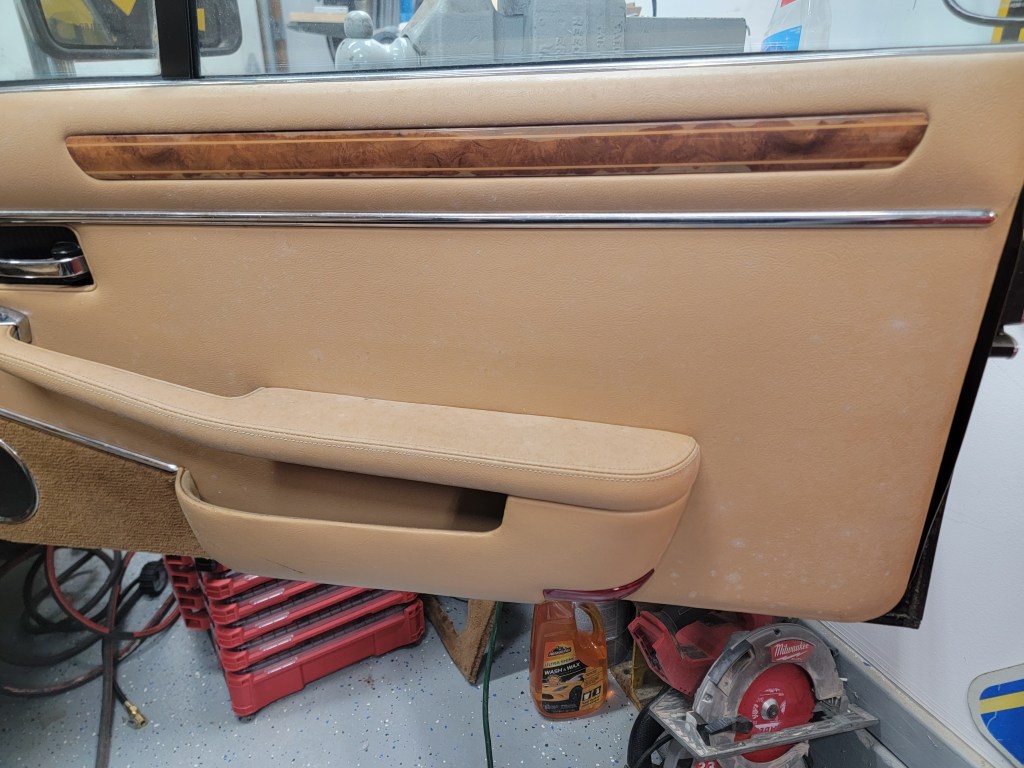
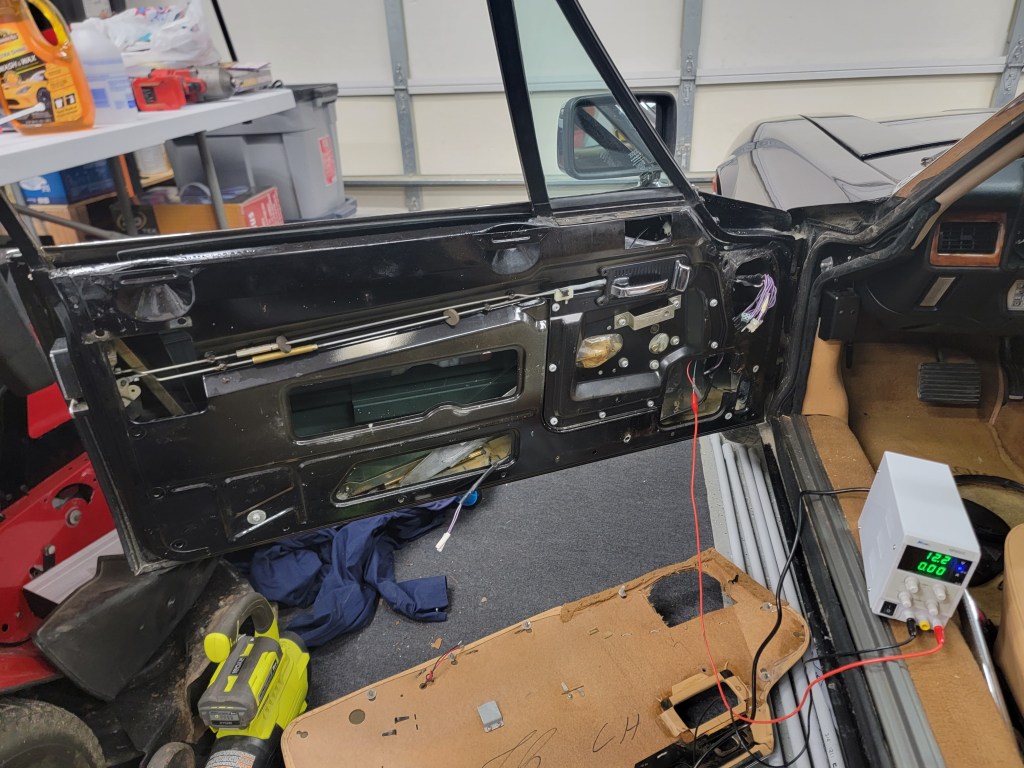
Today I started tearing into the driver side door. I really wanted to get the window down so keep airflow inside the cabin now that I had a lot of the interior wiped down. Up until this point I was keeping the vehicle sealed up to not spread any mold/smells into the garage.
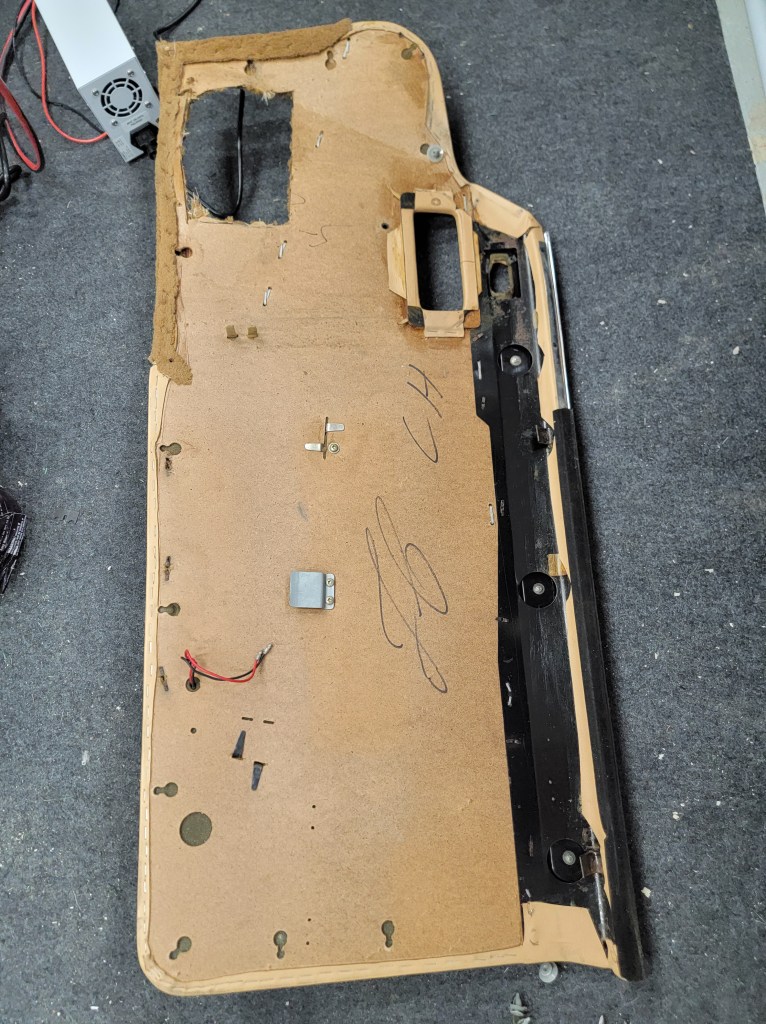
I’m still amazed for such an expensive car the door cards are essentially a pressed carboard…
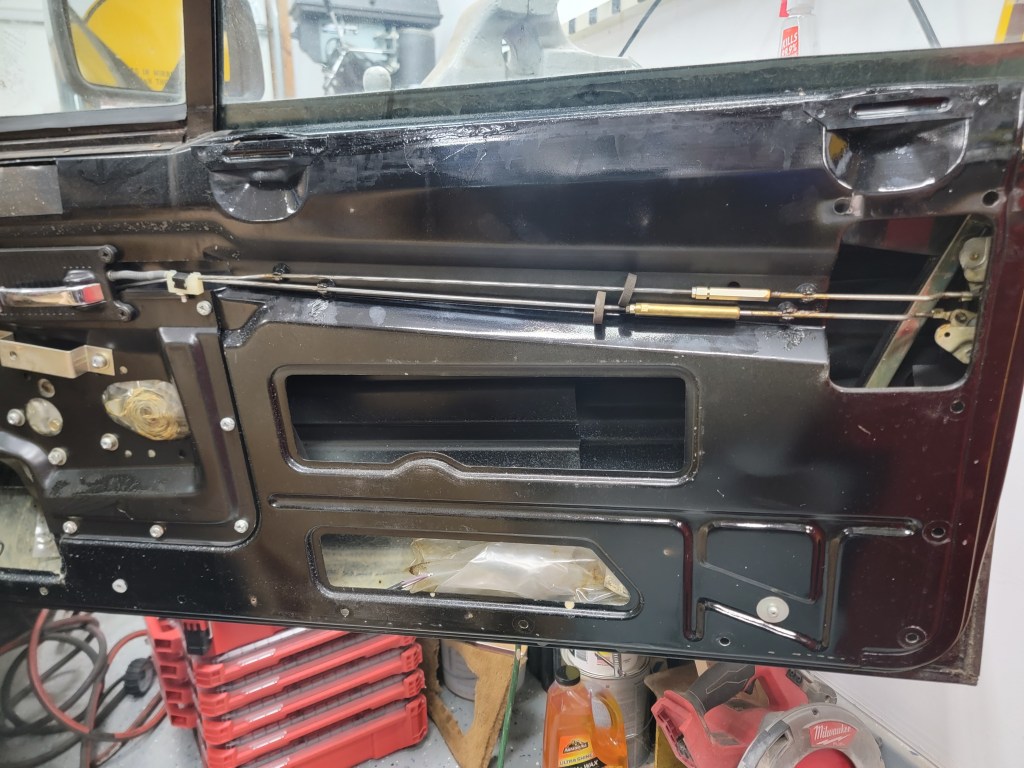
I’m also amazed how much of this vehicle is GM based. This is the window regulartor:
Here is a VERY old style of door lock actuator – a solenoid.
A neat feature of the jag is that when someone unlocks the door with a key or the little flap inside the cabin, the other door will lock/unlock at the same time.
I’m going to ditch these solenoids (they are toast anyway), but I plan to retain this magical feature…somehow. Sensors. Lots of sensors.
Inside the solenoid shows how they accomplished this in ’86:
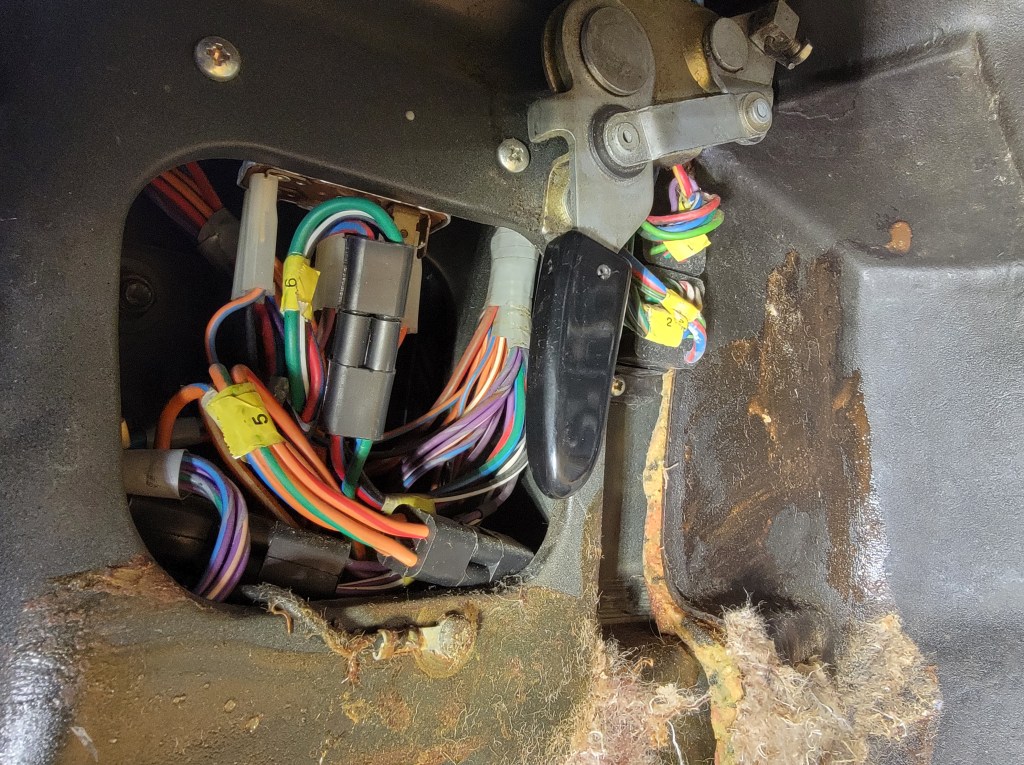
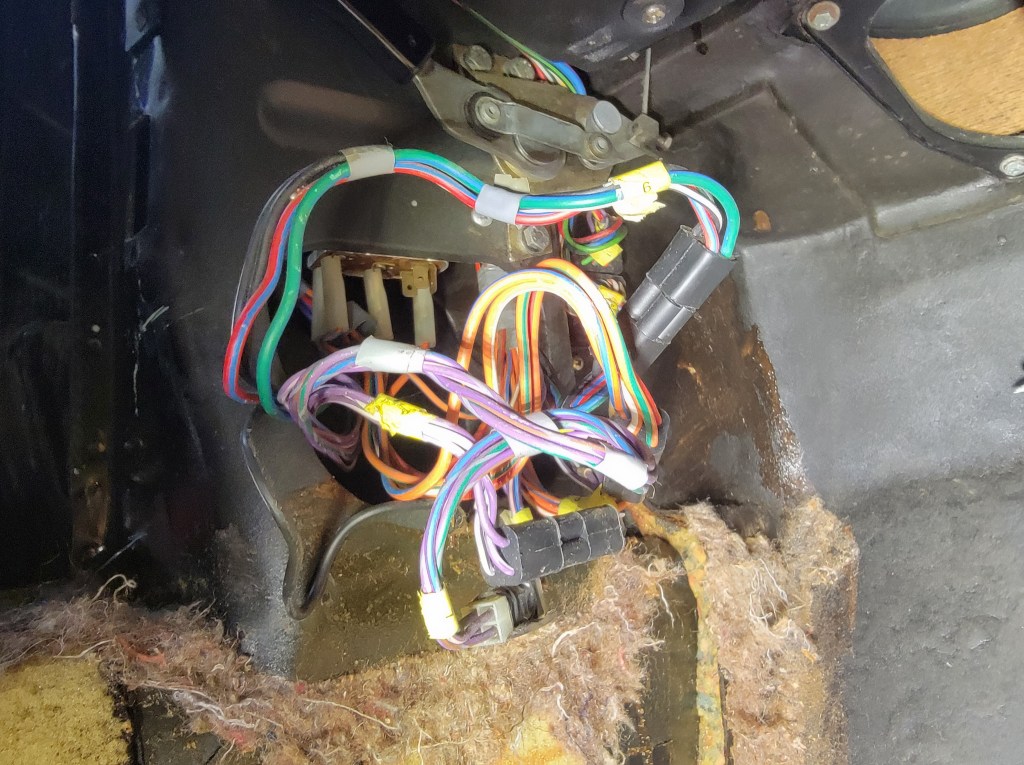
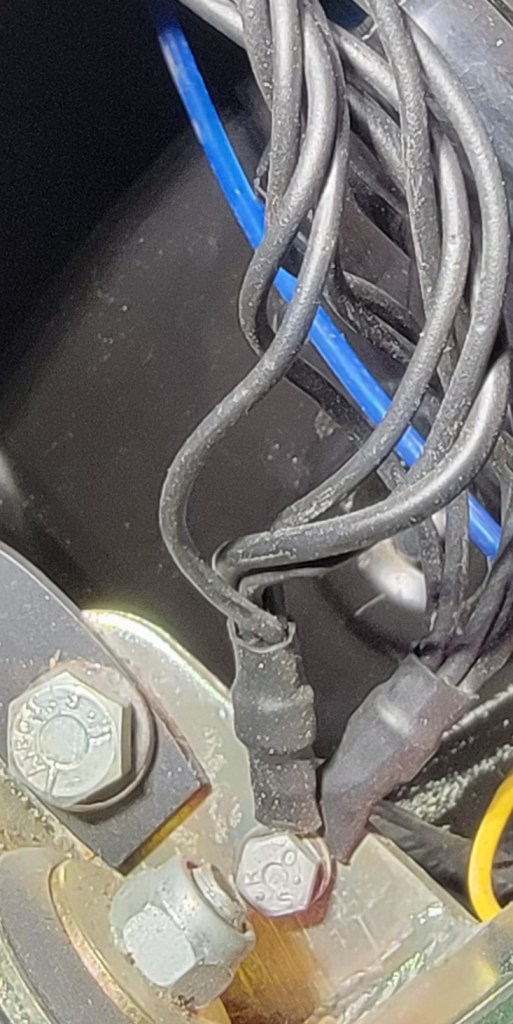
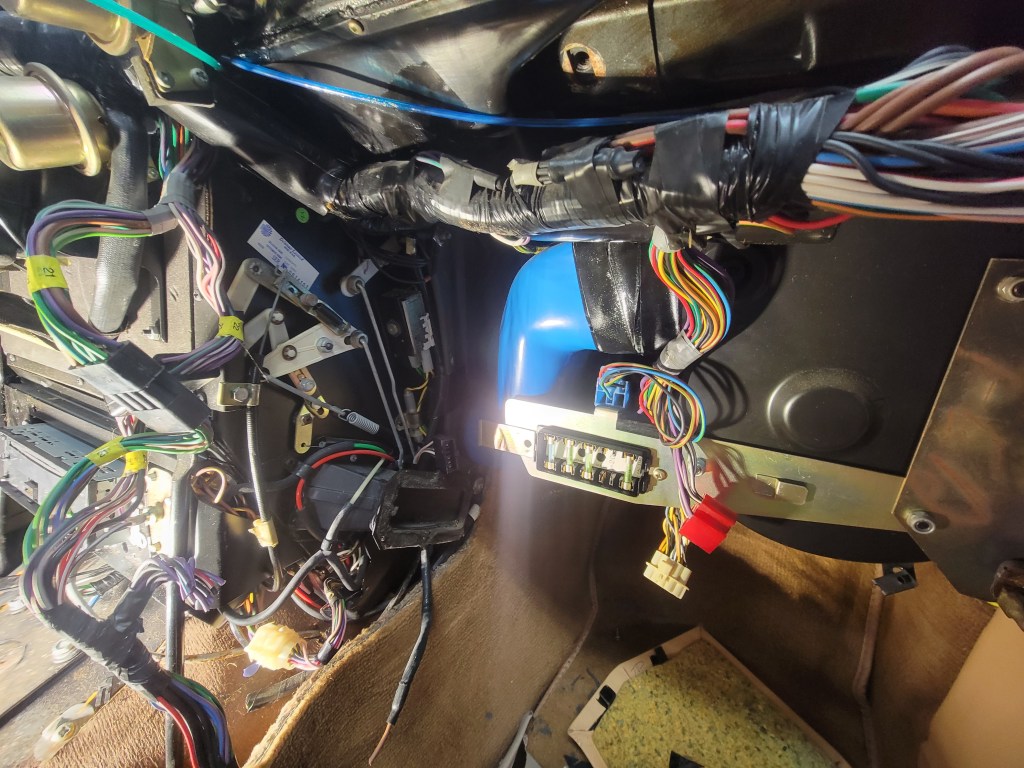
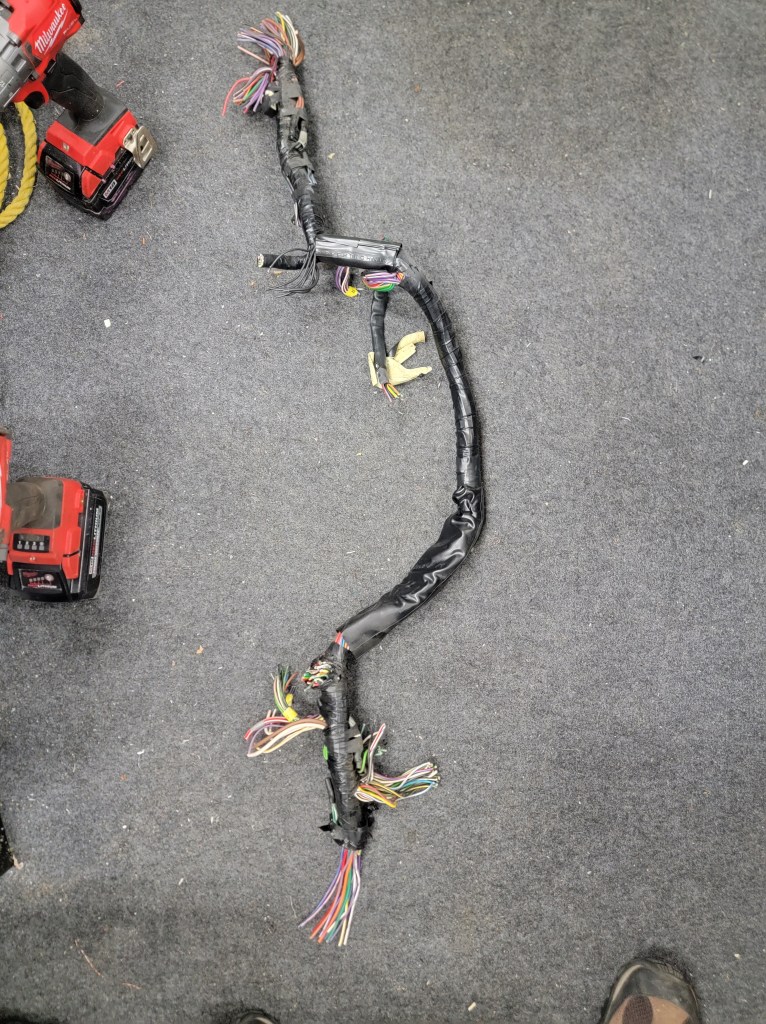
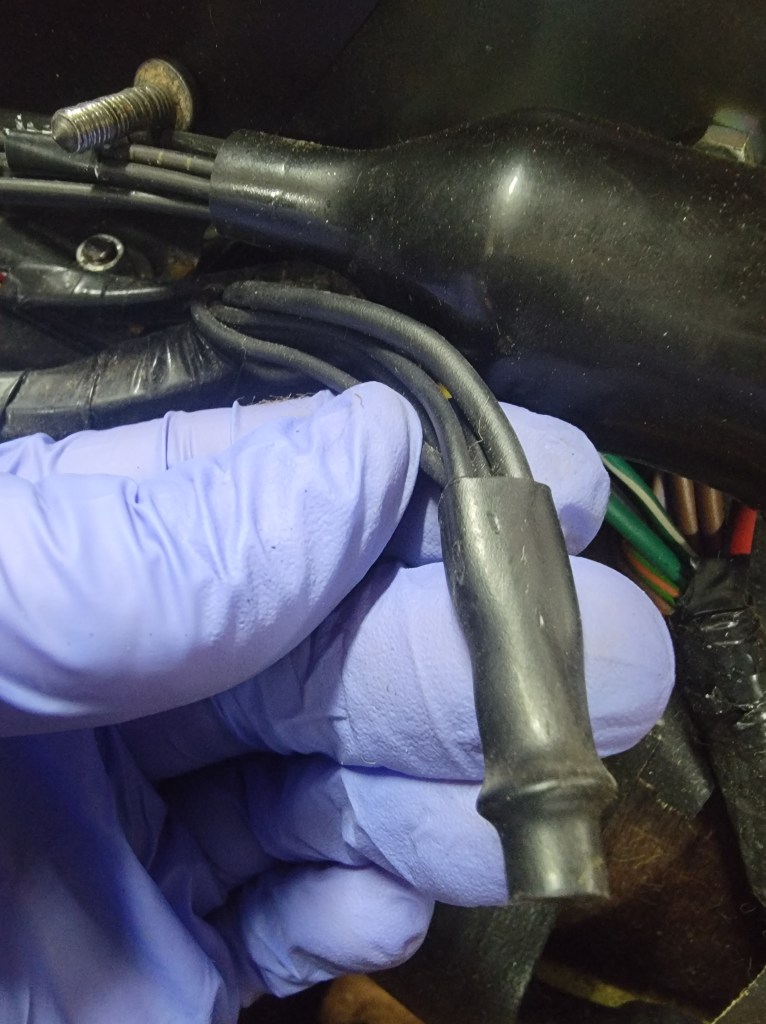
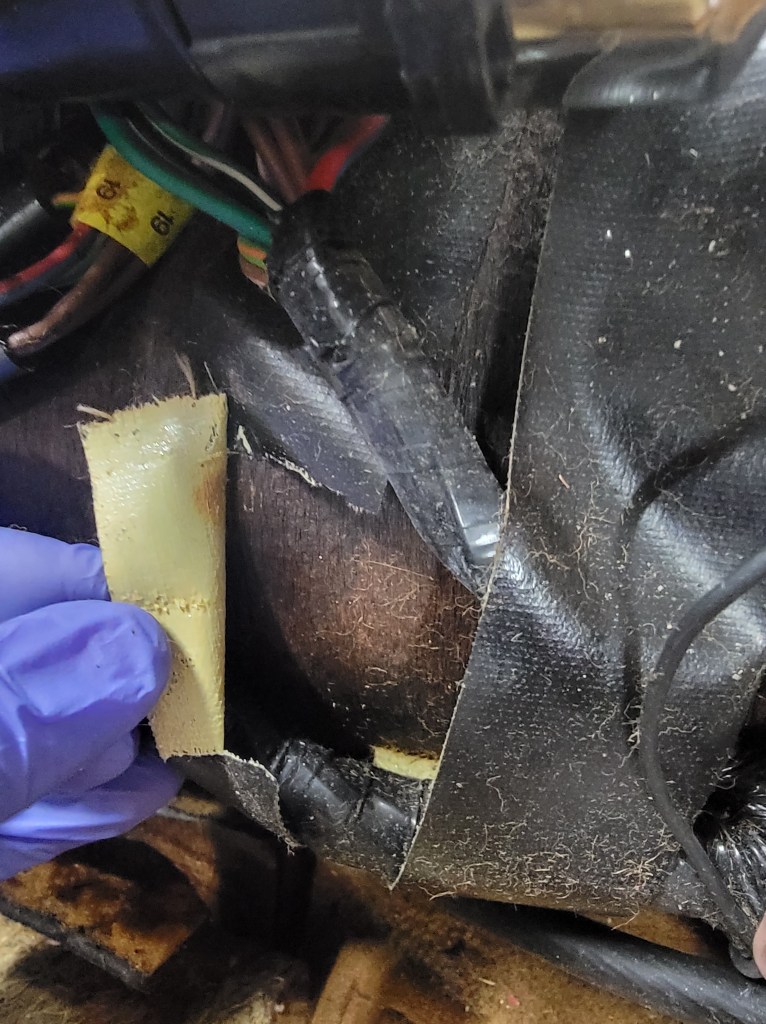
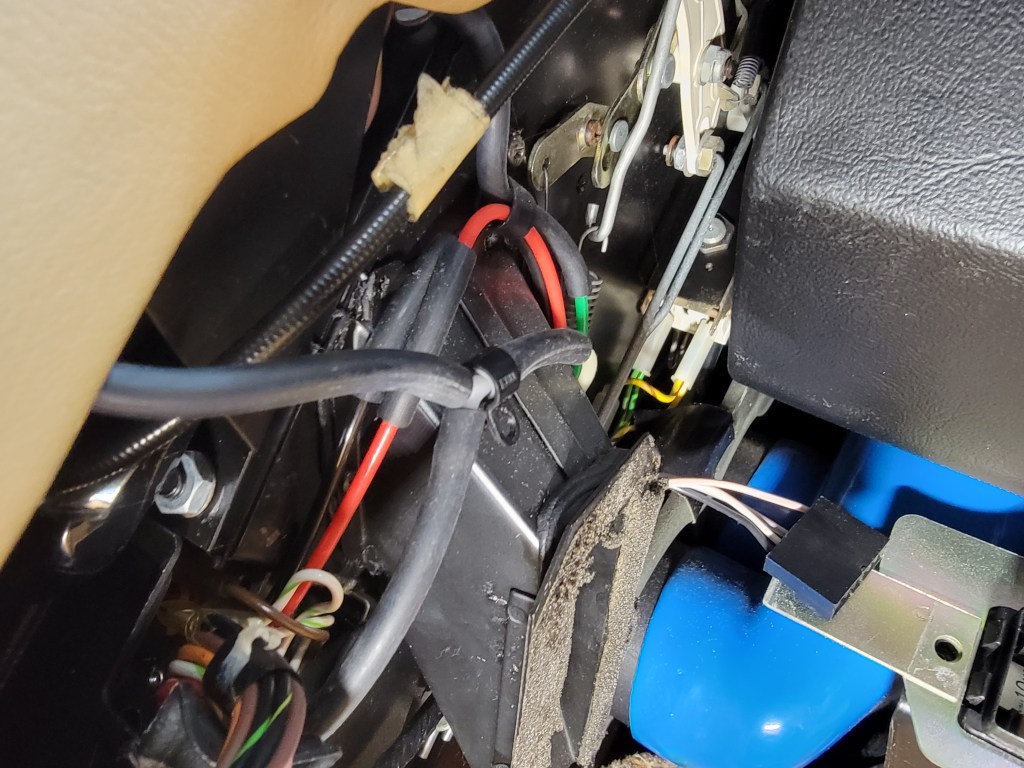
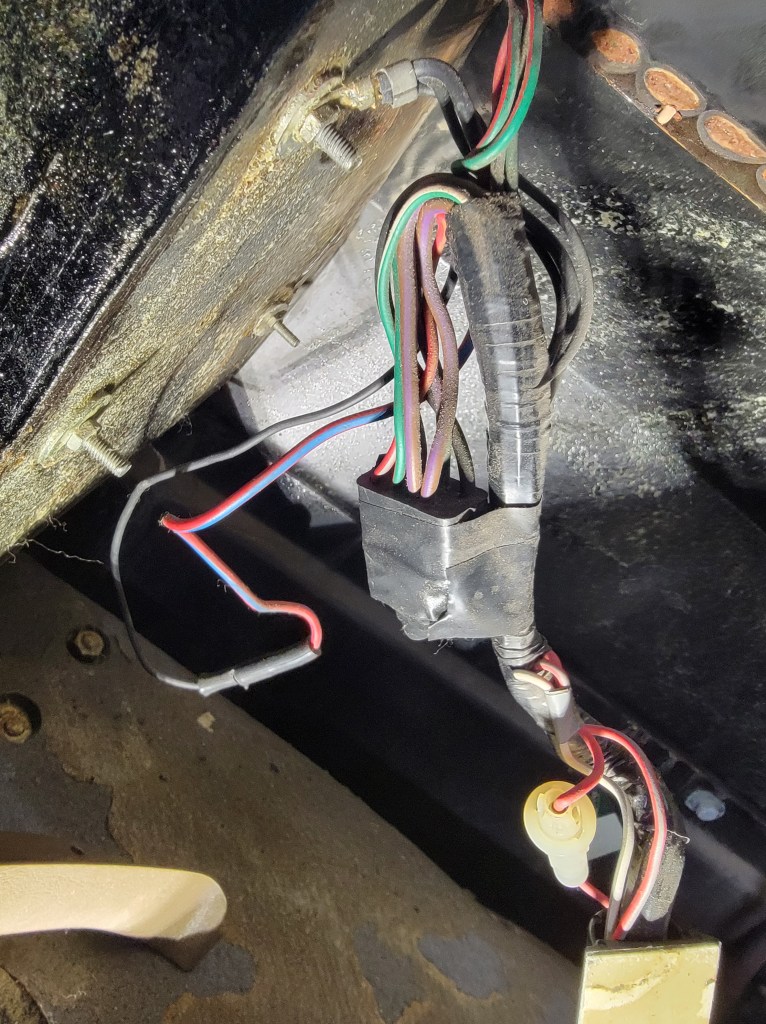
Ok, back in the car we find more hidden plugs in the wiring harnesses!
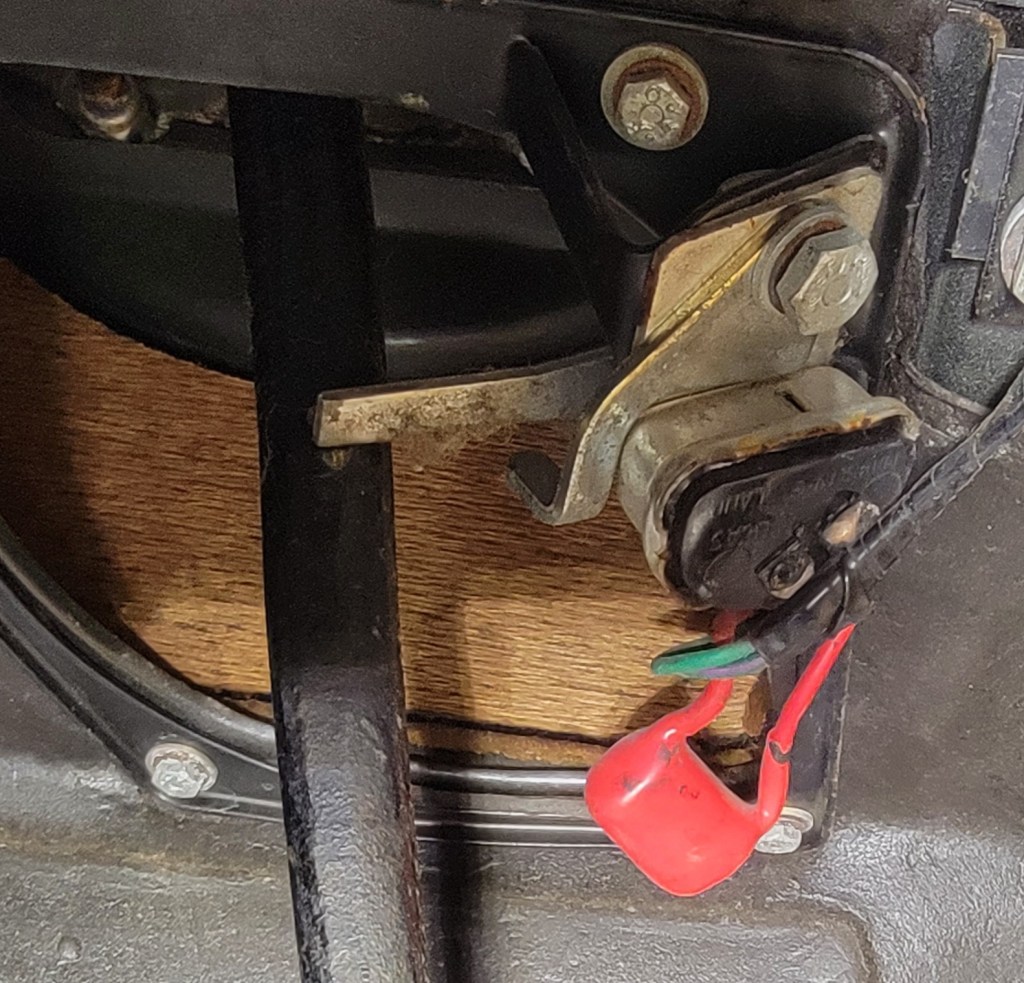
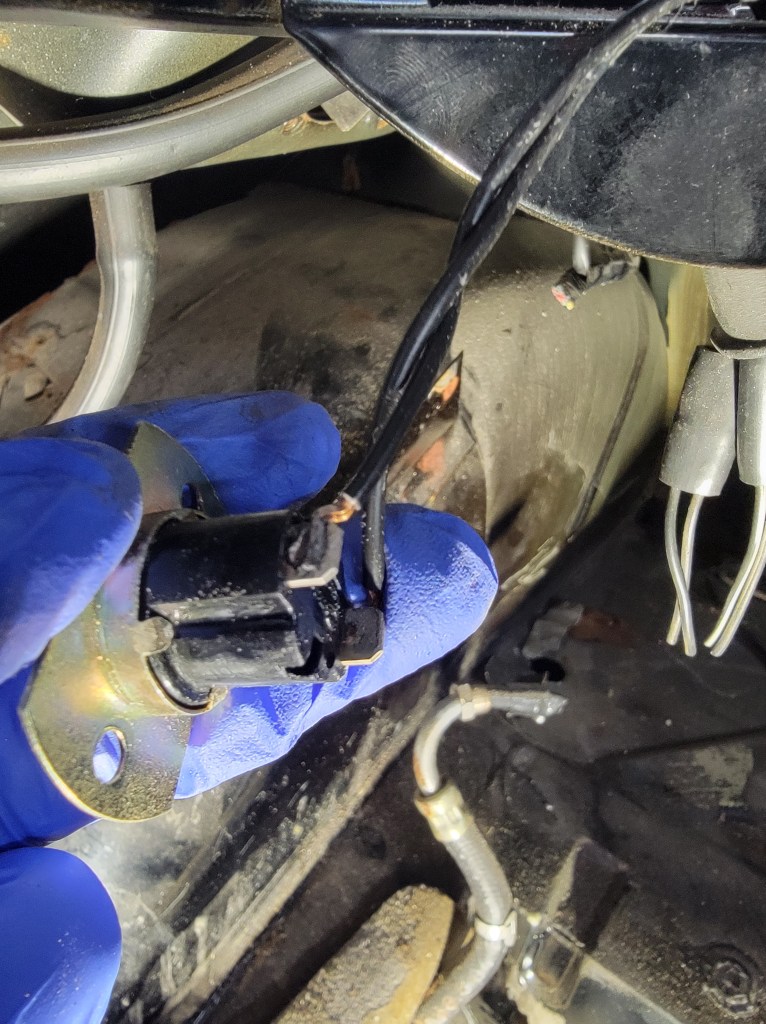
This is the button that actuates when the door is open/closed. Why is this soldered when everything else on the car has a plug? The passenger side and the trunk lid switch are also soldered, so this isn’t a one-off.
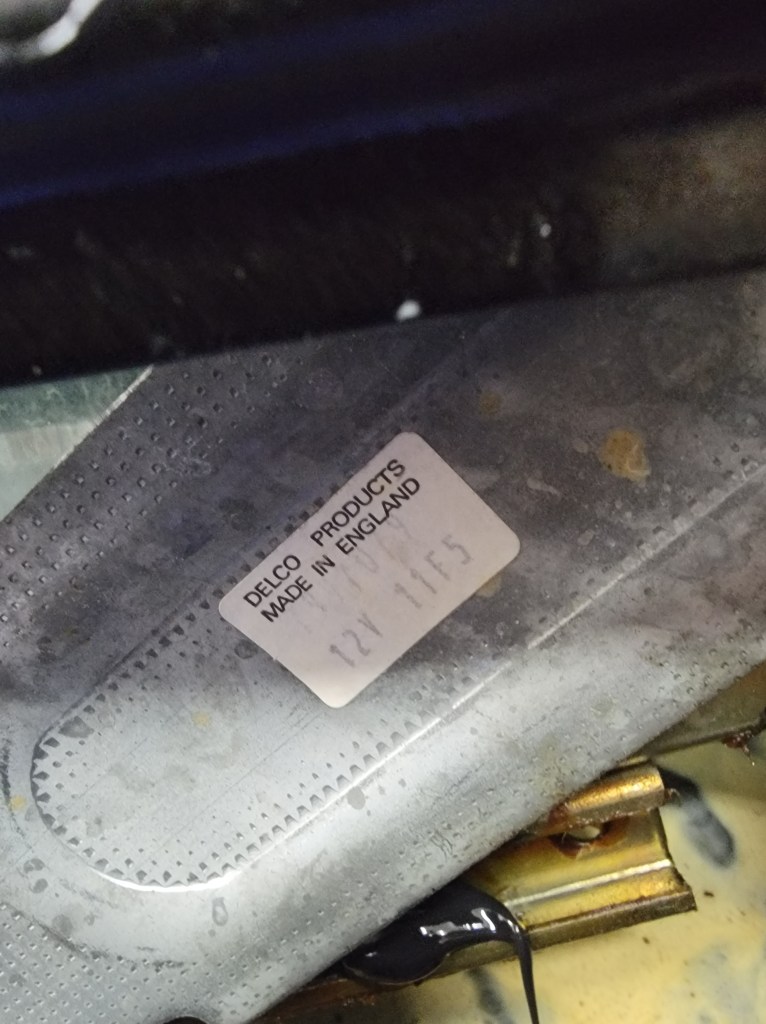
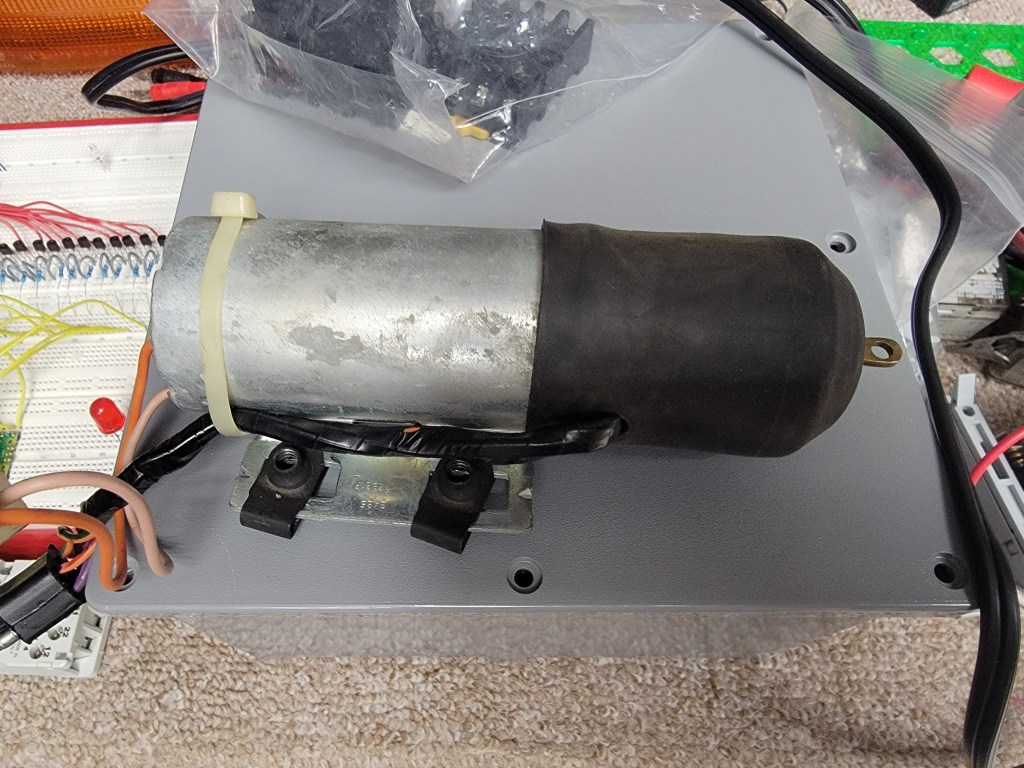
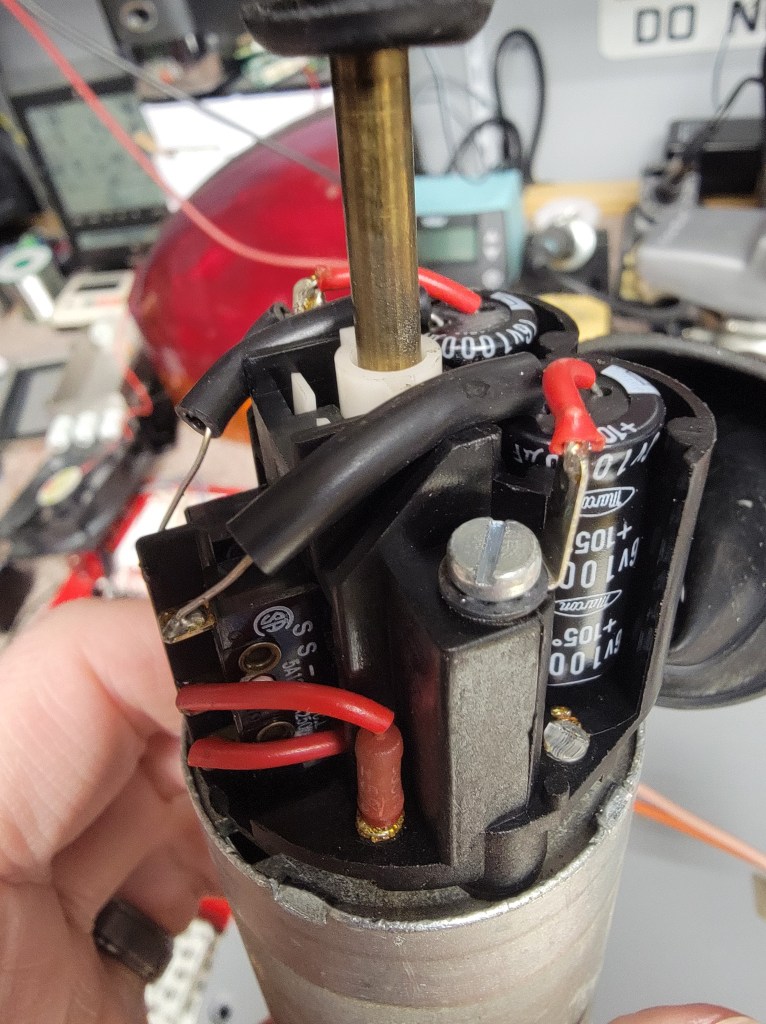
Back to the trunk we have the power antenna motor. I love power antennas. There’s something charming about them. This one is in perfect condition sans a rubber grommet and I was able to source a replacement. Even though I rarely listen to FM, I will still connect this to the head unit.
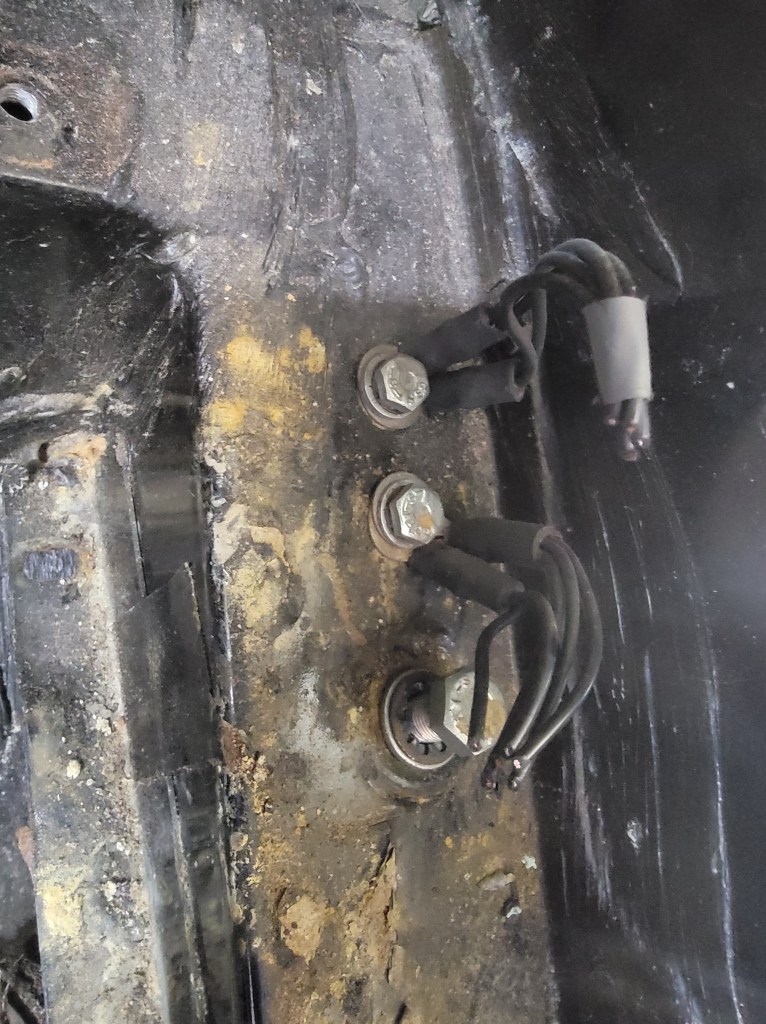
Grounds everywhere. Any place there could be a ground, there’s a ground.
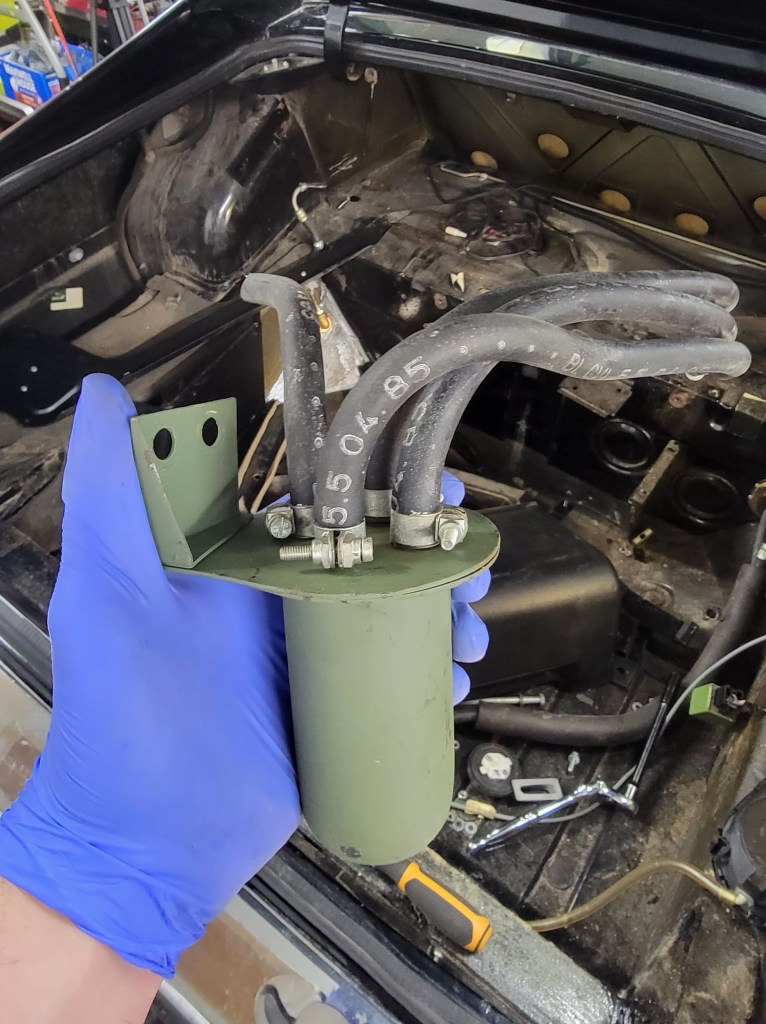
Hidden behind the passenger quarter panel is this evap canaster. Just tucked in there.
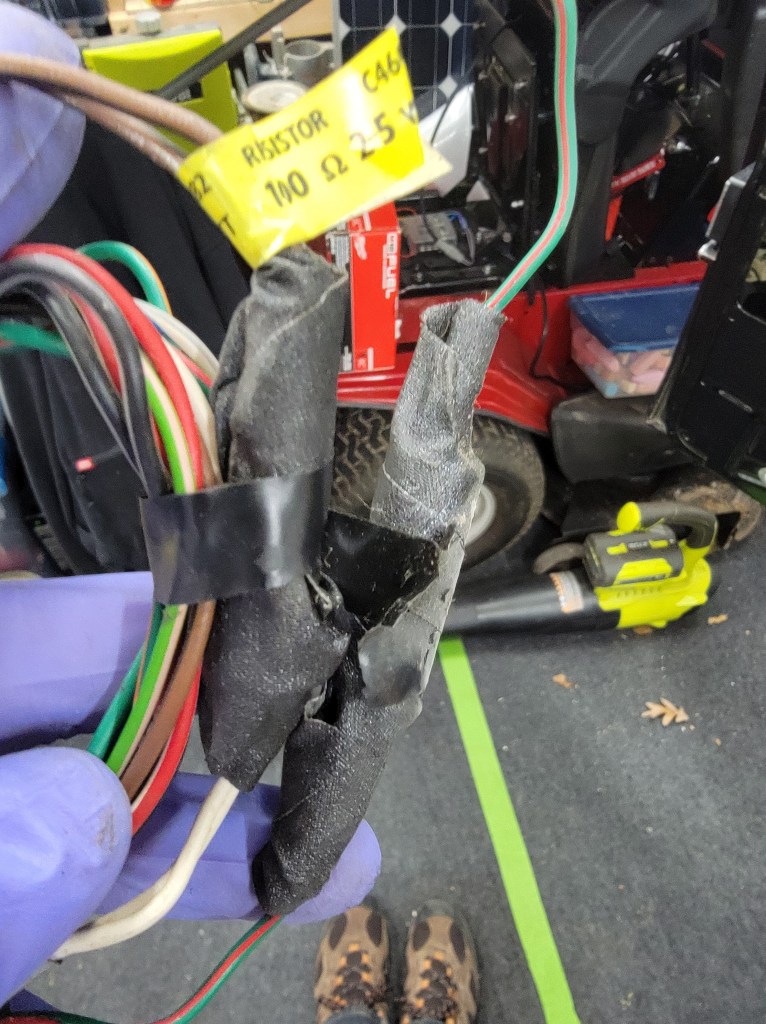
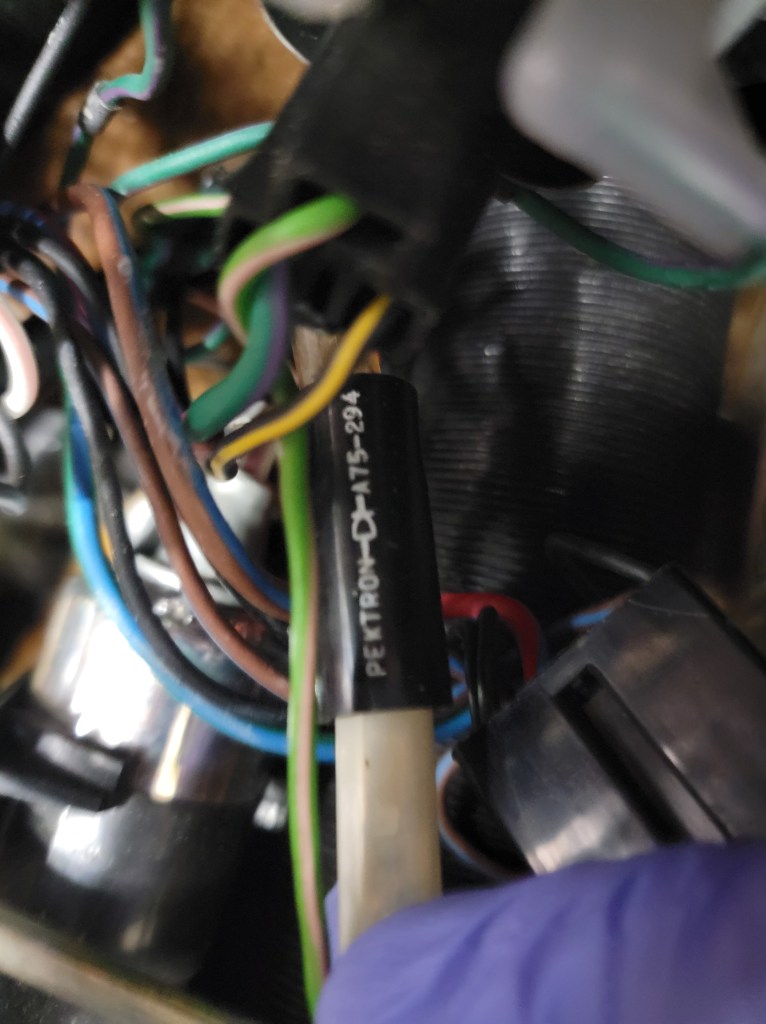
Then there’s this.
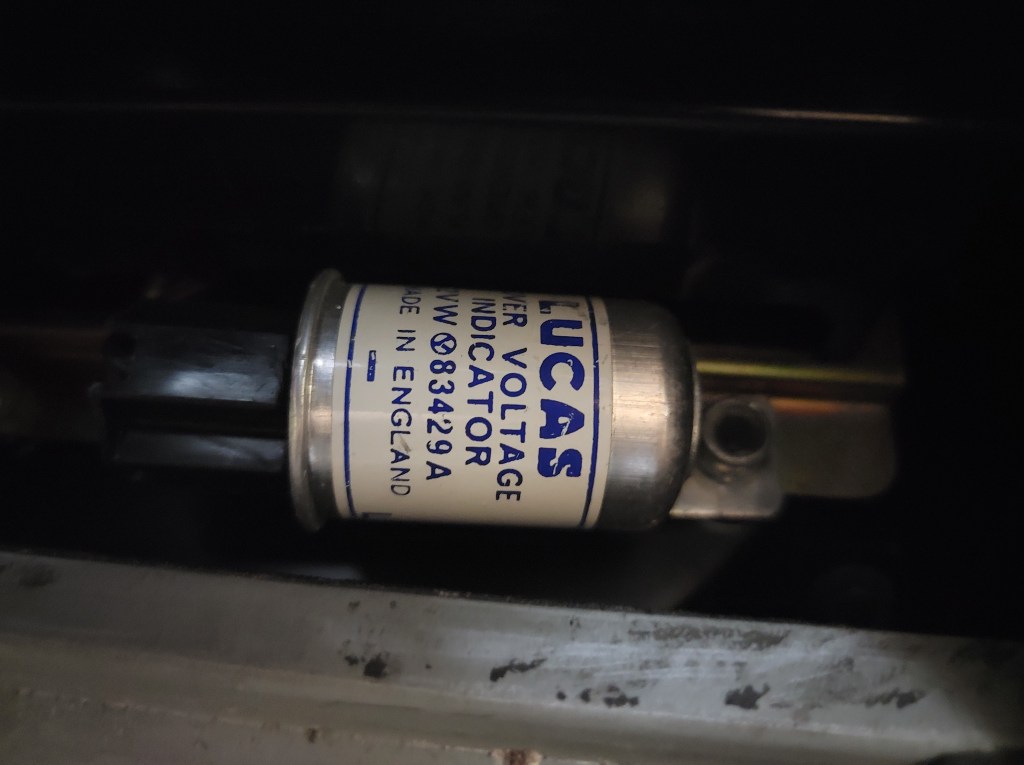
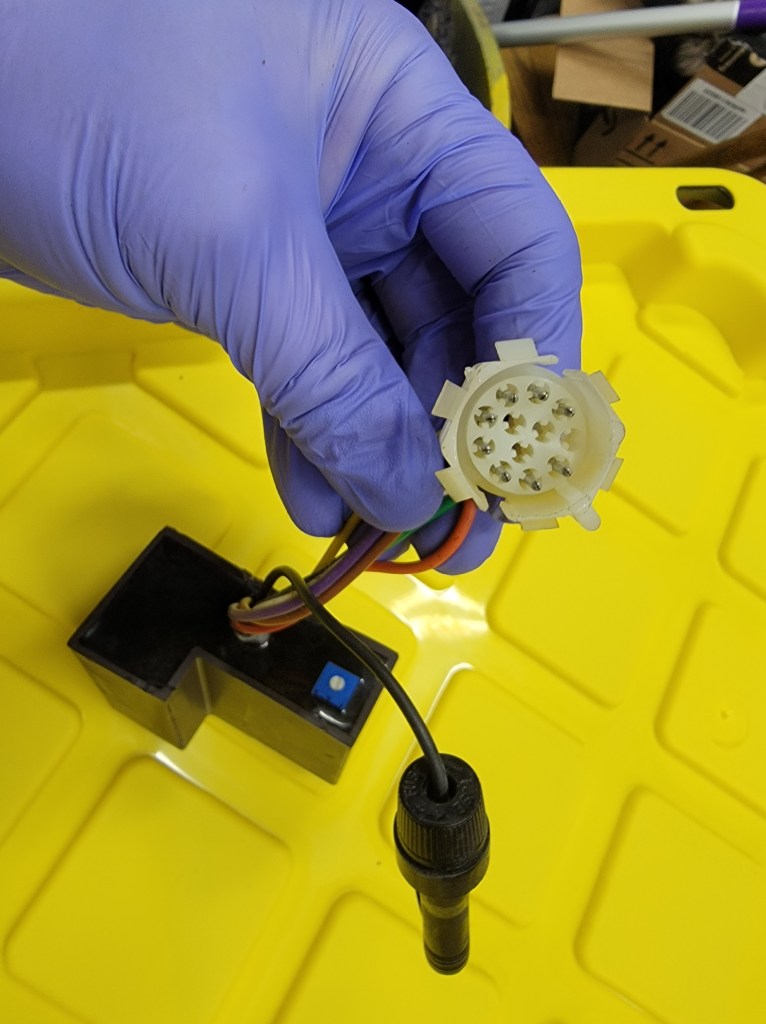
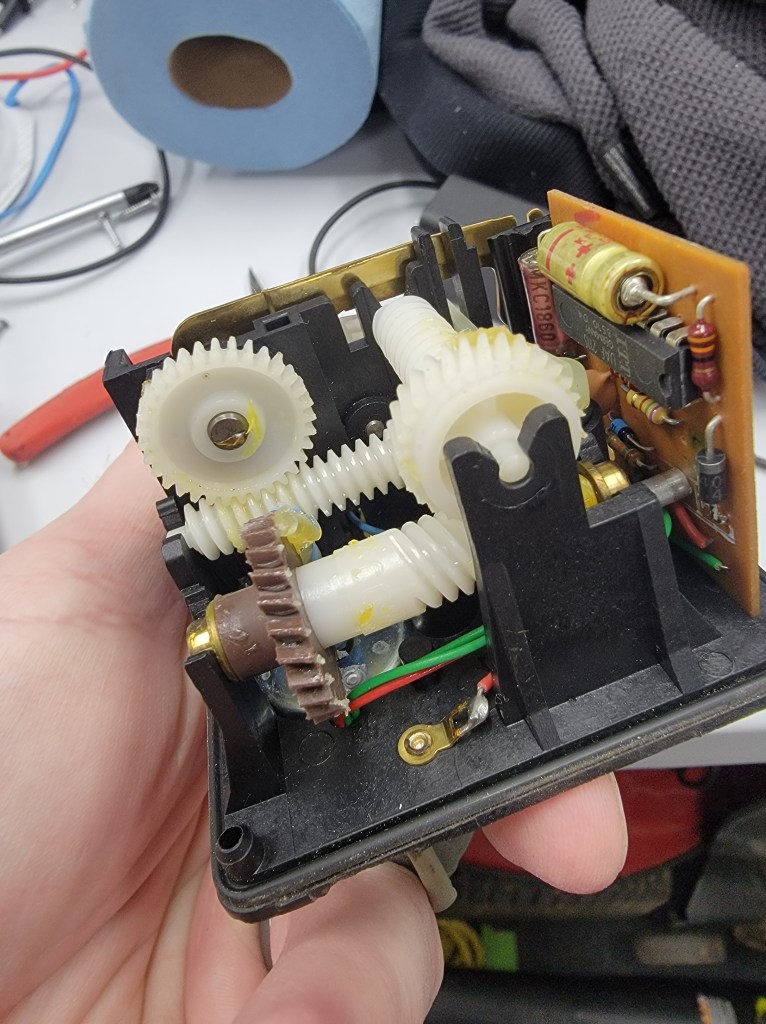
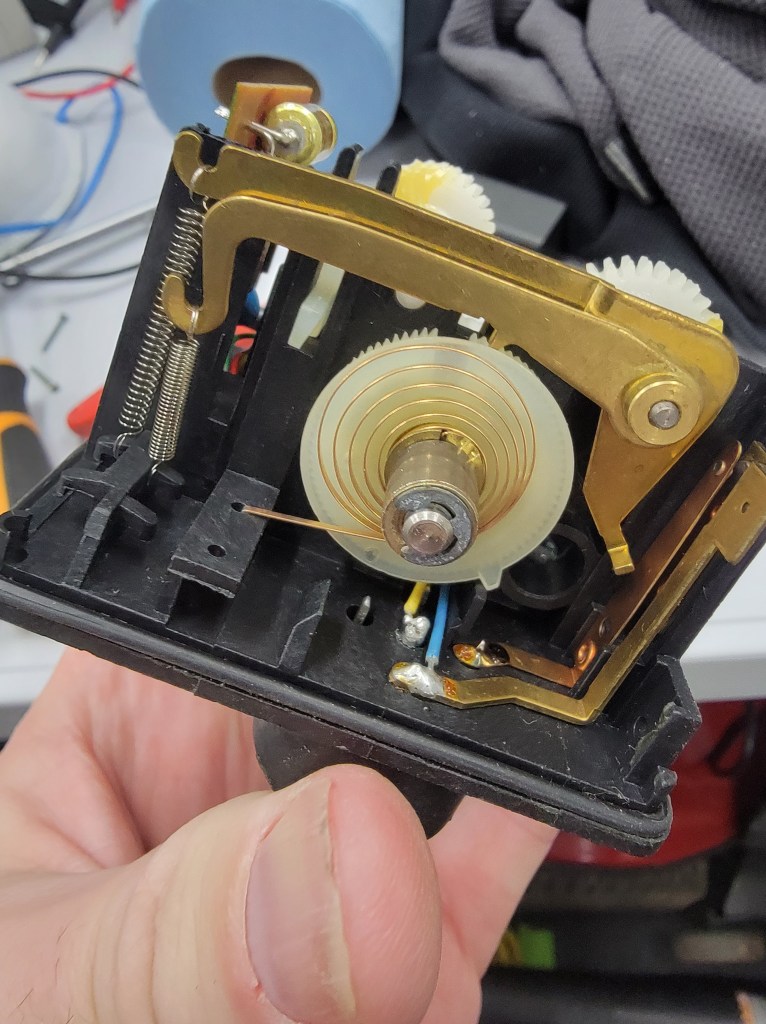
This is a timer. A milage timer. From what I read the O2 sensors need to be replaced every 30k miles. Modern vehicles would look at the output of the sensors and tell you when things aren’t working as they should and trip a check engine light. The XJS? Timer. When you hit 30k miles a light in the dash appears specifically for these sensors. The sensors could have failed 10k miles ago. They could be still good. Timer. Reset the timer and you have 30k more light-free miles.
I am very impressed with the internals though:
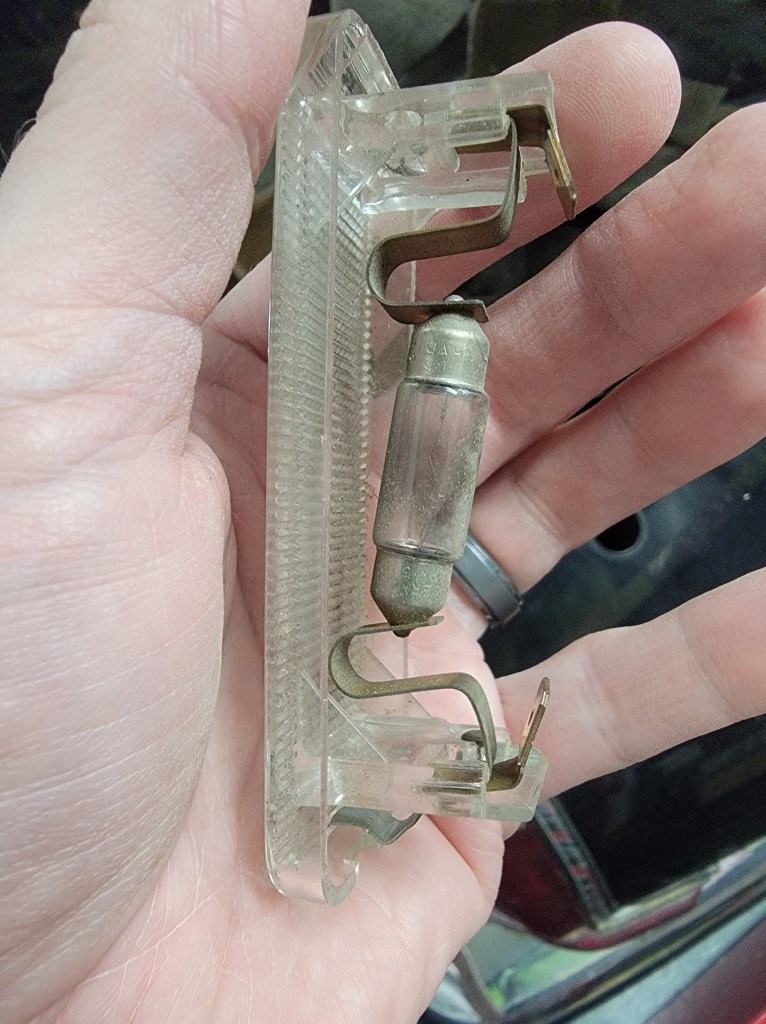
Lastly for today’s tear down…these lights. The bulb is just sorta shoved in there. These will be LEDs.