(02/16/2025)
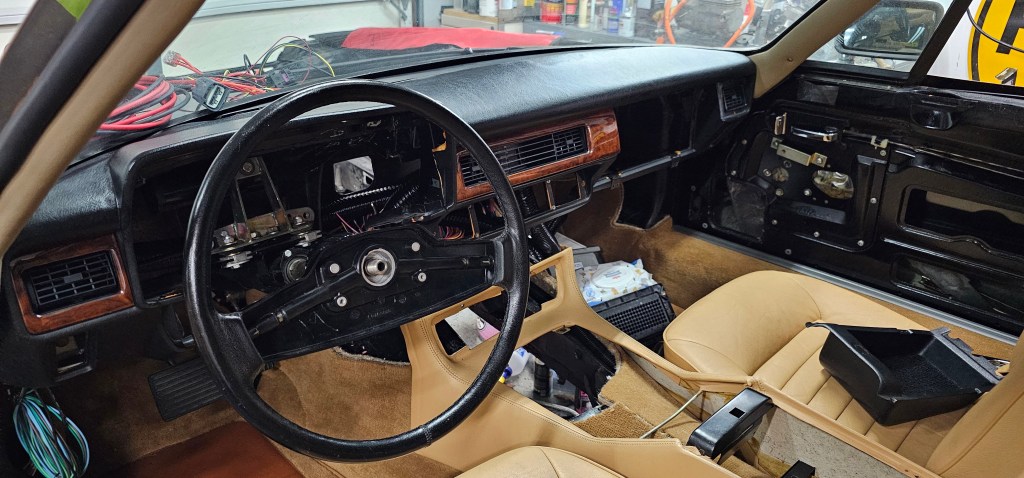
This year has certainly started off extra busy and I haven’t had a lot of time since Christmas to work on the Jag.
A few things…
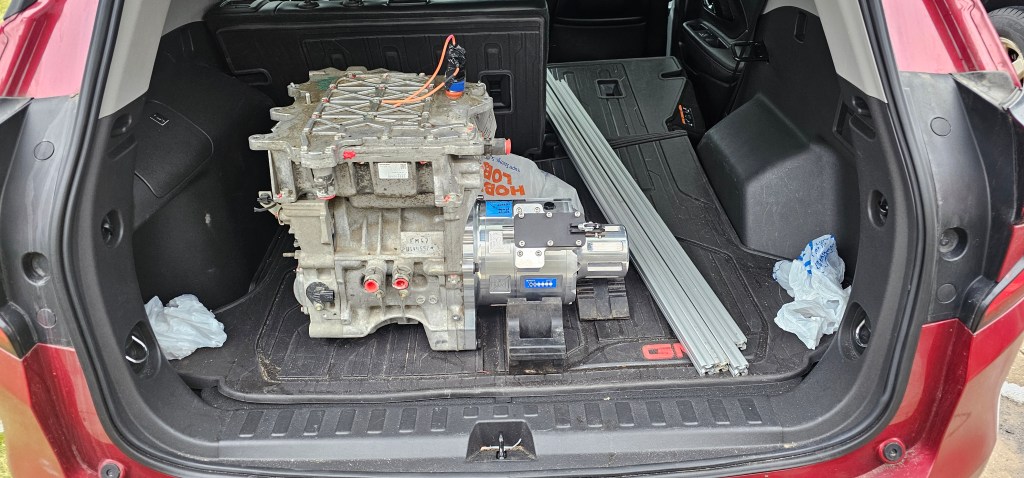
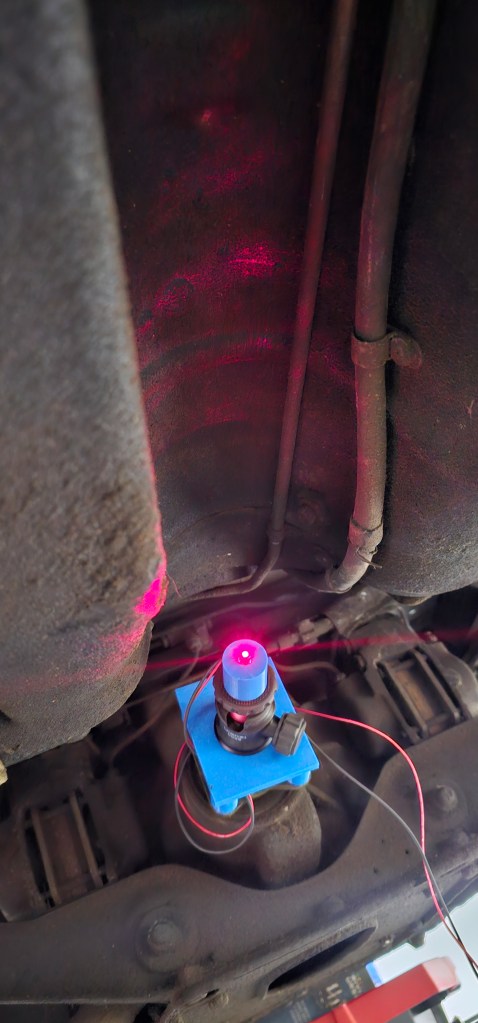
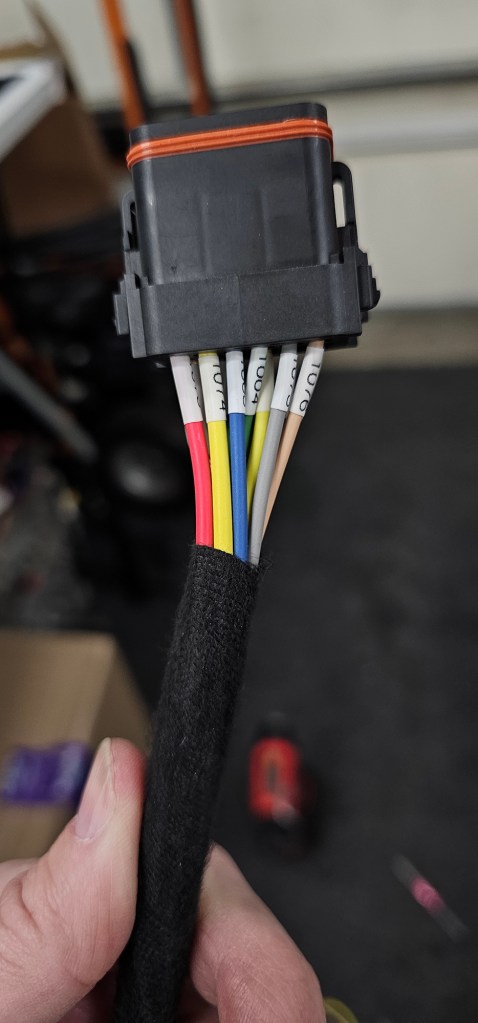
I got a PTC heater and CAN/LIN unit from EV Create (https://www.evcreate.com/volkswagen-air-ptc-heater-control-via-lin-bus/) in early January and an AC evaporator that should fit up to it nicely! I’ll be making a complete air box from scratch with servo-controlled dampers, so be on the look out for that in the future.

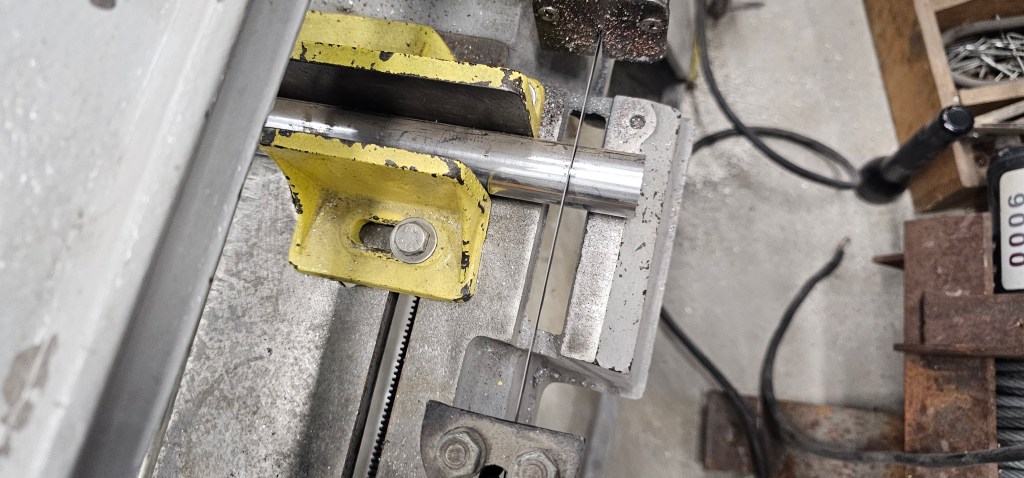
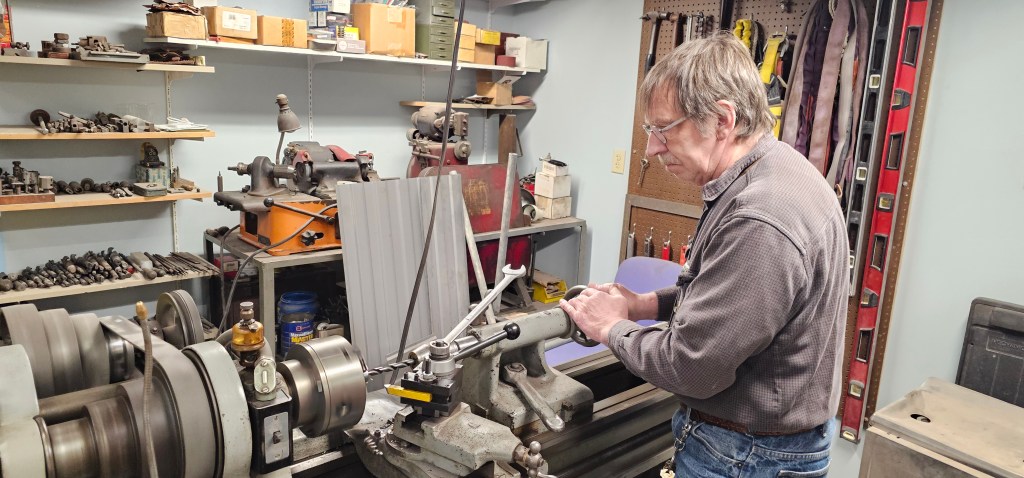
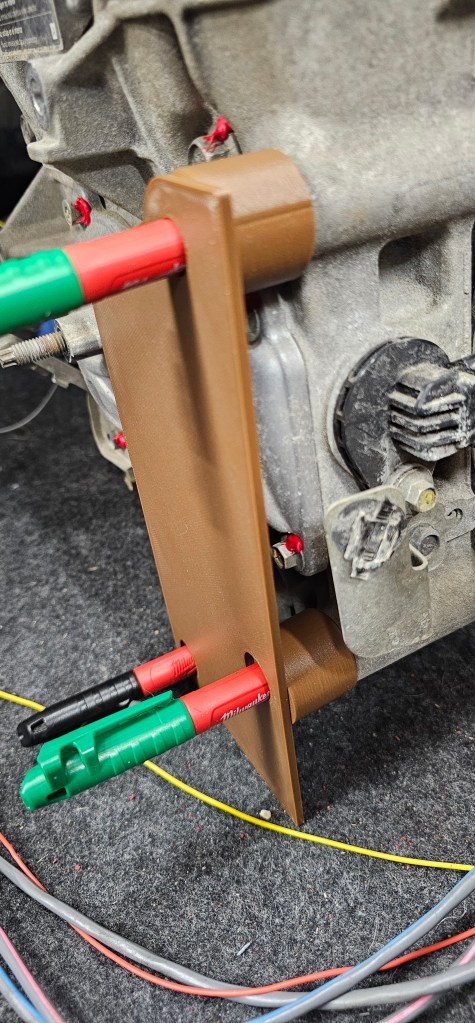
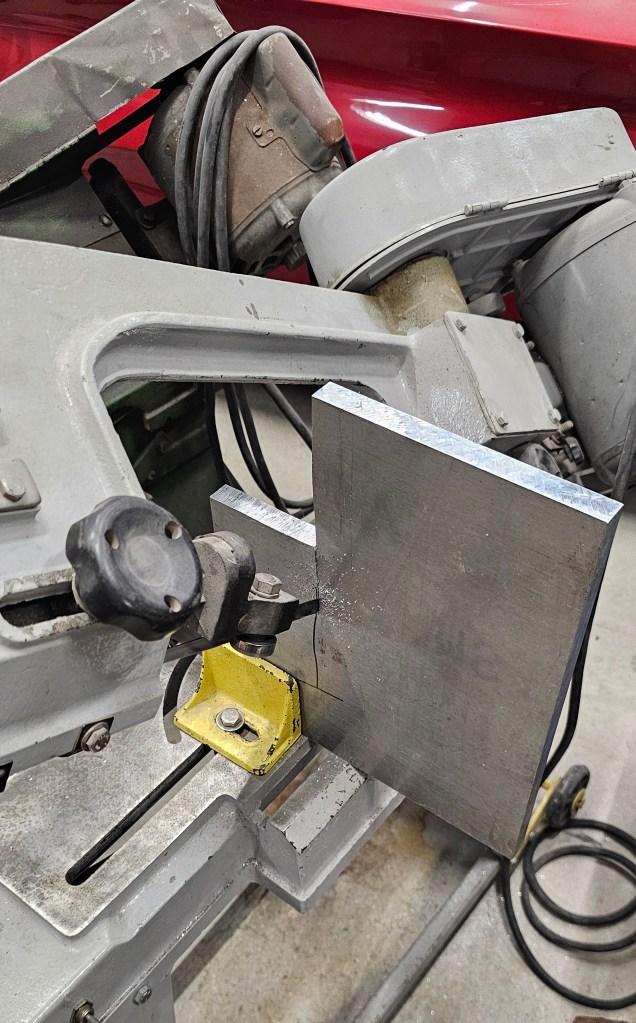
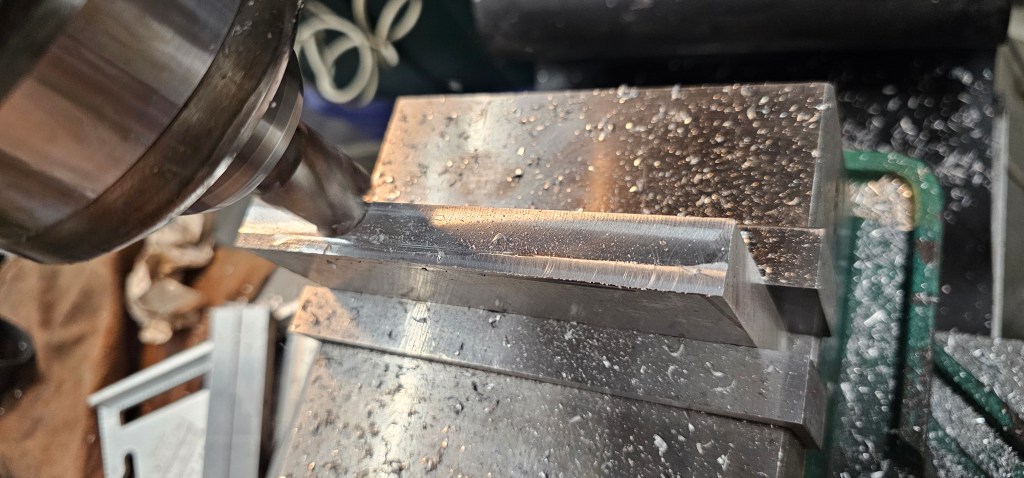
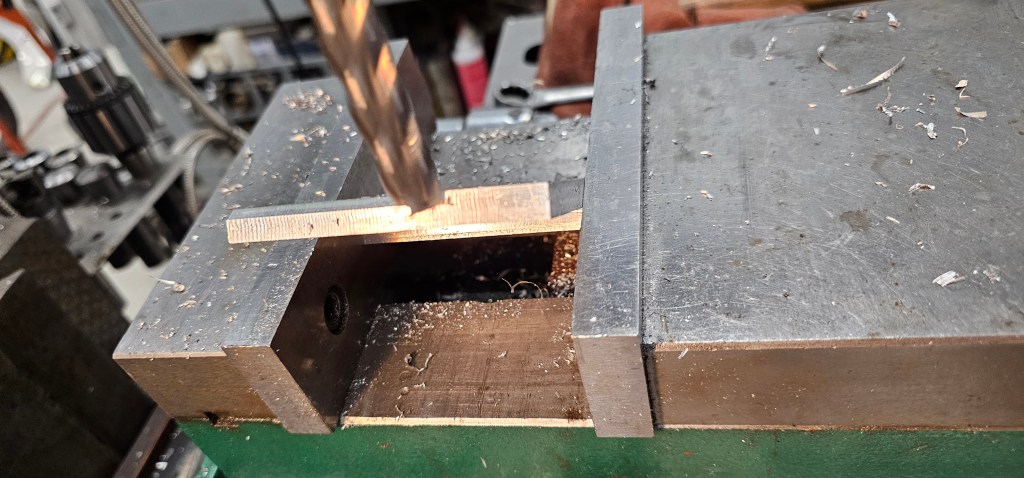
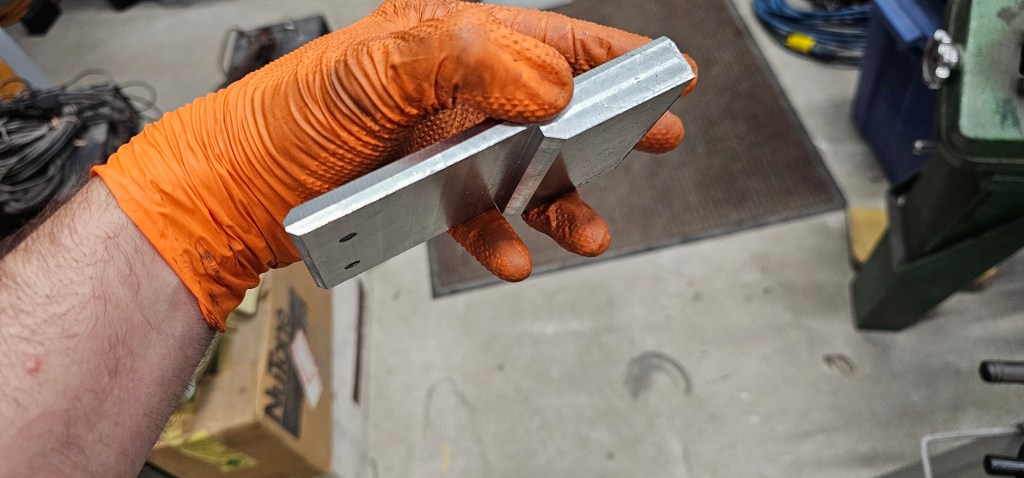
I have the start of the front motor mount underway, with some plates I had laser cut at SendCutSend along with a piece of 2″ square stock. I tack welded these and will pull it out of the car to do the final weld. I’m certainly not a welder, so this project will help me hone those skills.


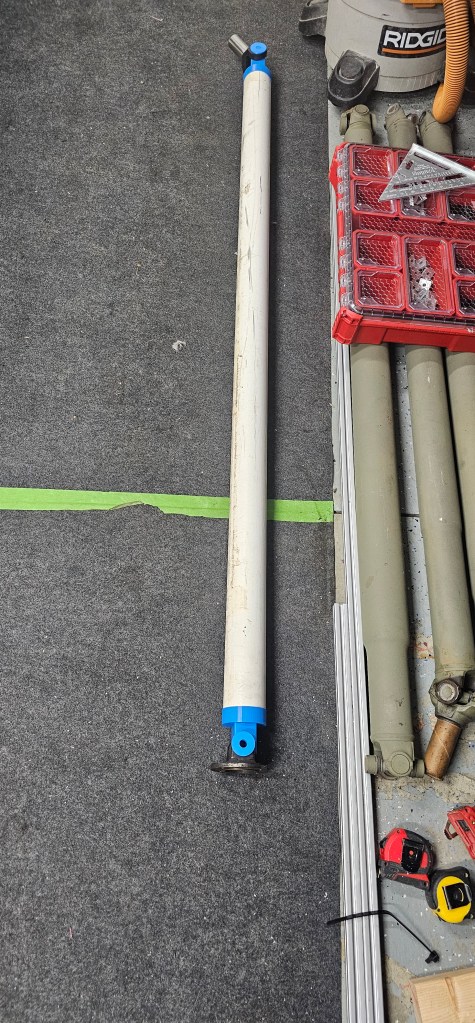
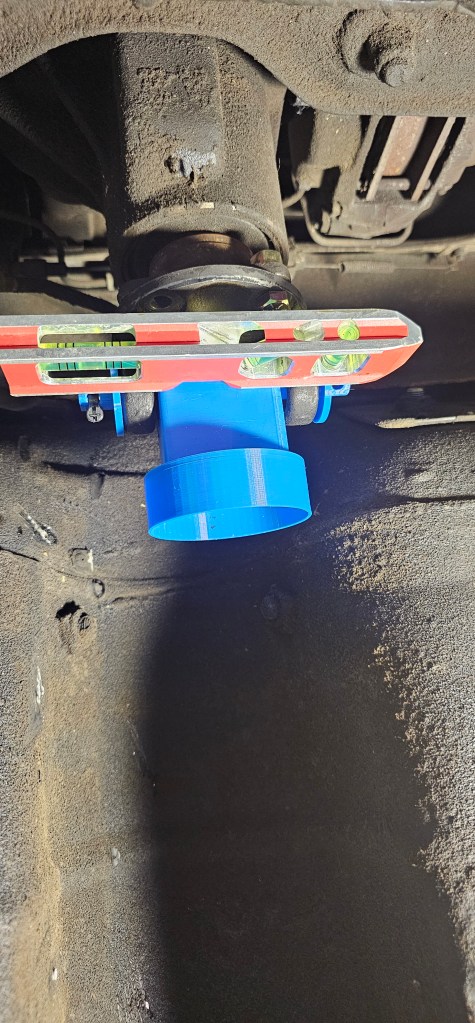
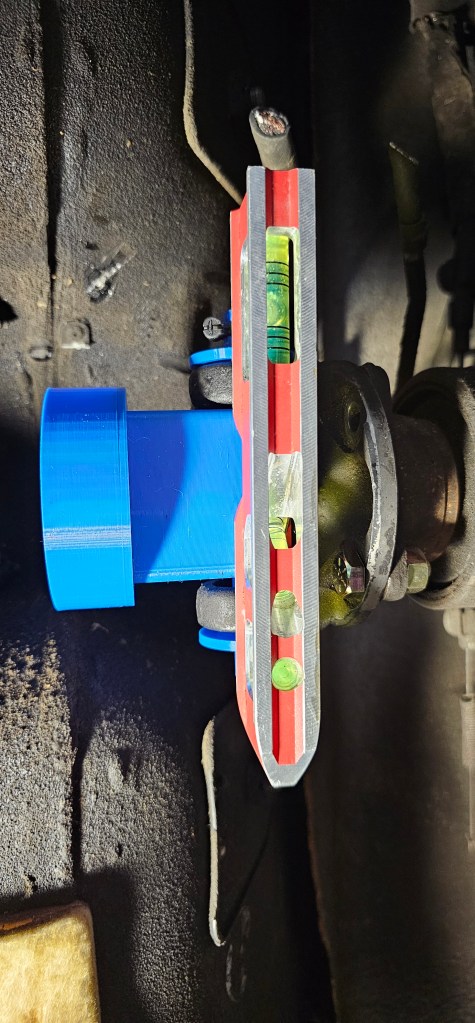
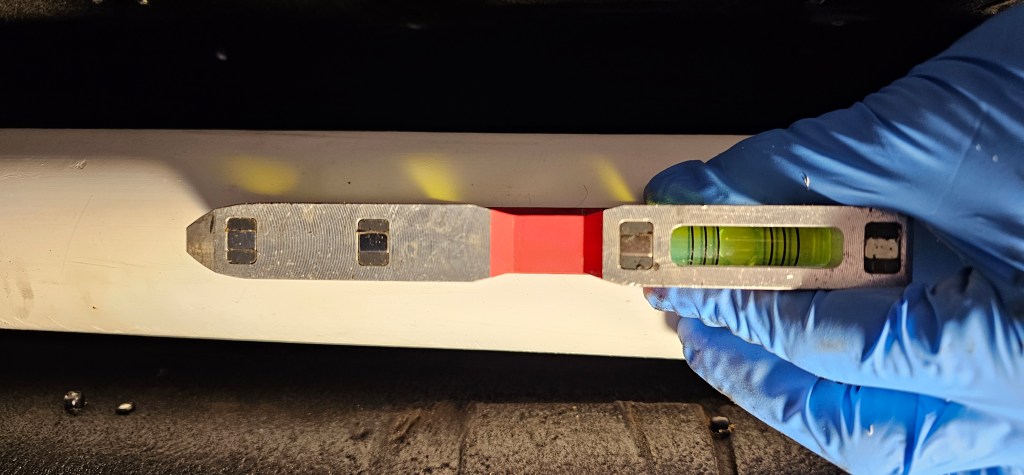
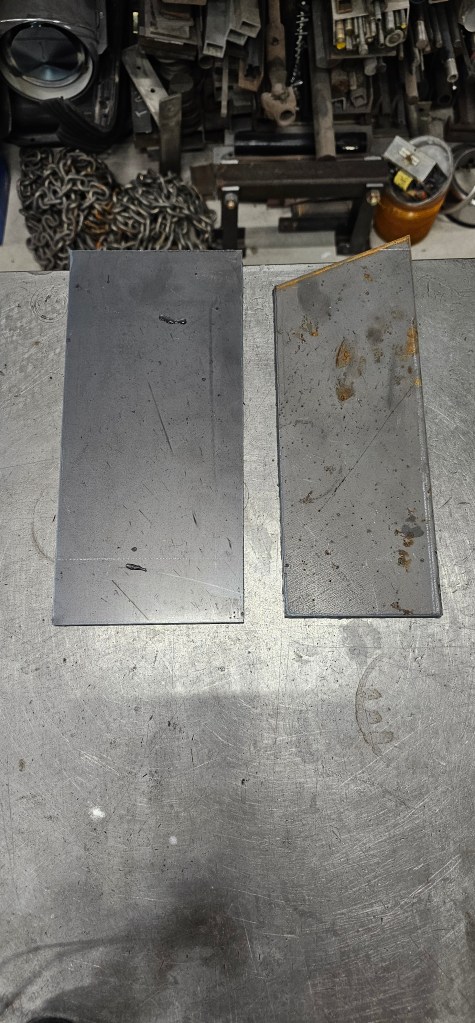
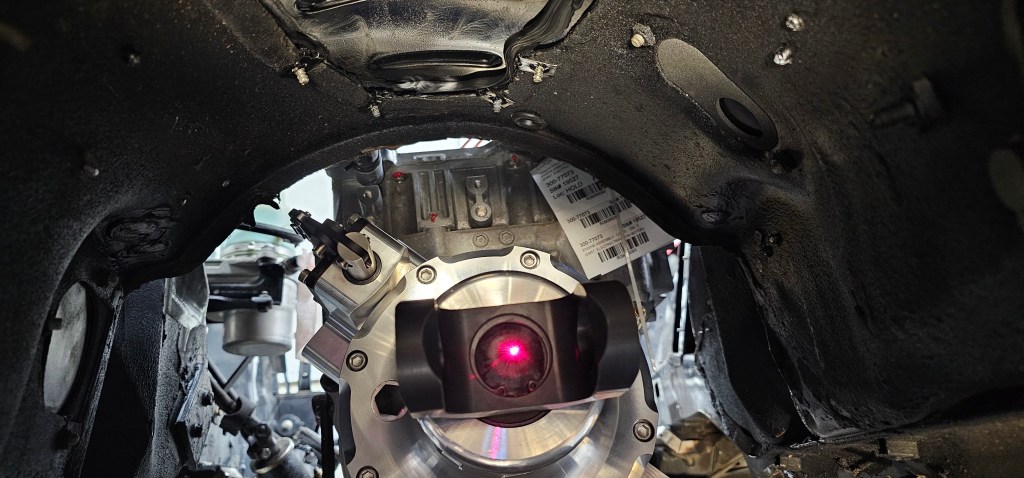
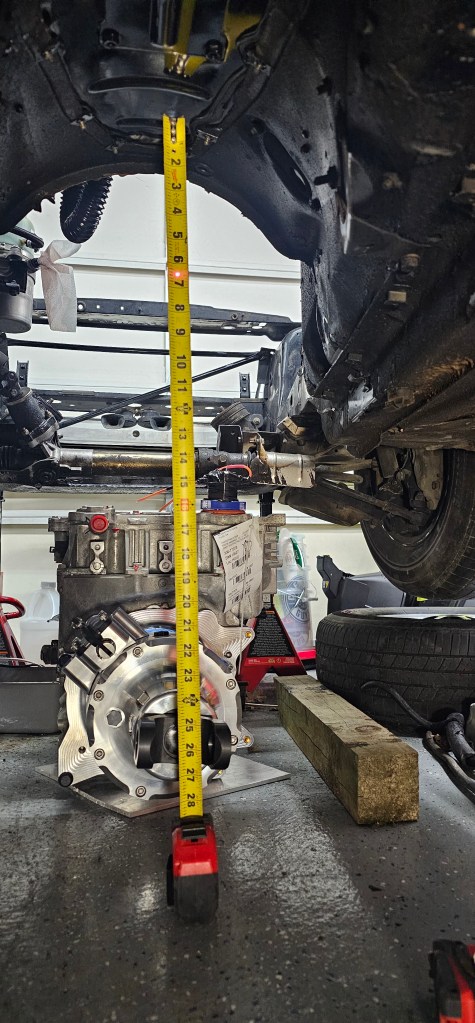
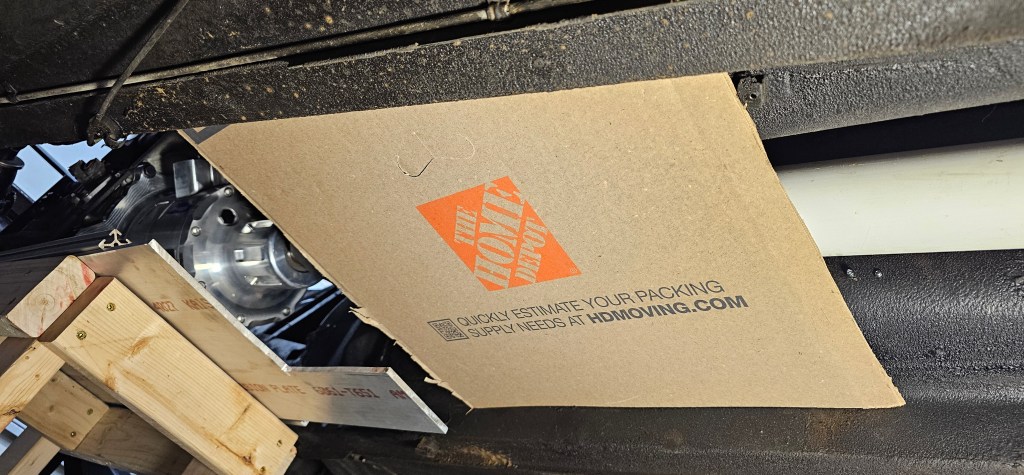
Lastly I started making a cardboard template to draft what the bottom plate of the car will look like. This plate will mount under the driveshaft where the original transmission support mounted. This will then have two trailing arms that will support the back of the motor/gearbox “bucket”
HOPEFULLY by the end of March I’ll have the motor mounted in place and can start working on getting a proper driveline built and balanced.